During Covid lockdowns, we all needed an outlet for stress and anxiety. We have become more aware of our interiors having been surrounded by them for months on end. Your home may need some serious DIY, a few rooms painted or just the addition of pop of colour or two. If you enjoy creative pursuits and want something to help you relax and unwind, why not paint a piece of furniture? We all love instant gratification when decorating our home and Chalk Paint® by Annie Sloan is perfect as it is so easy to use – no sanding or priming and you can paint any type of surface – wood, ceramic, glass, metal ….. T
Read moreCreating a ta-dah effect in your entrance hall
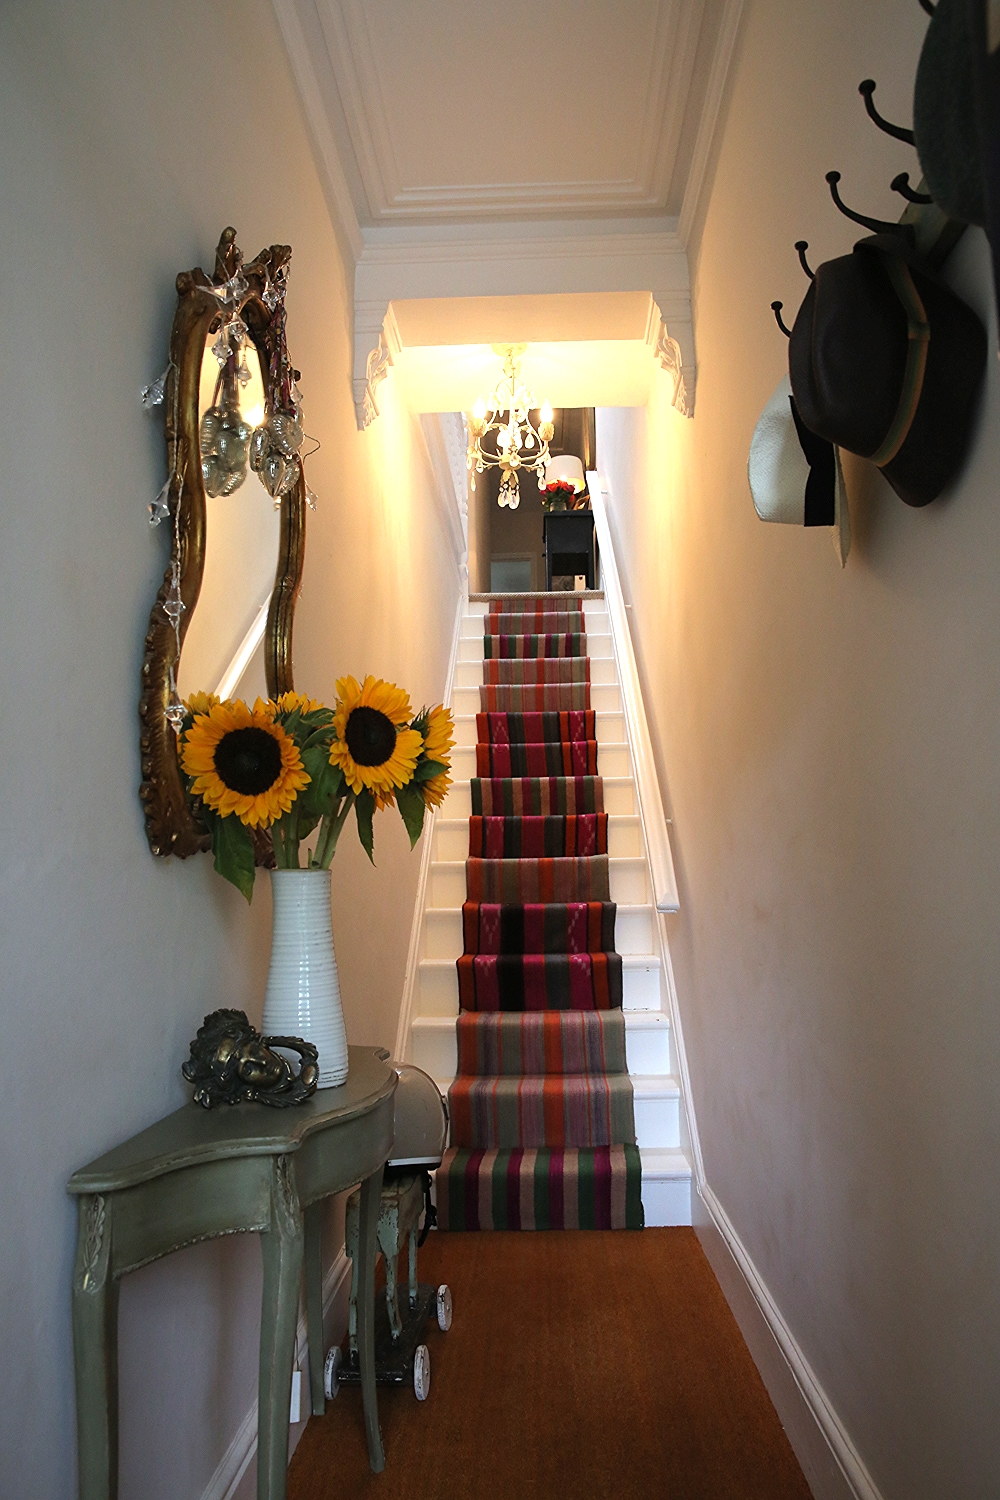
Every home needs to create an impact as soon as you open the front door, to draw the eye in and make you want to enter. It creates that feelgood factor that is so important when you open the front door.
Read moreRenovation of a mews house to sell
Further to a previous blog post about the Clapham mews house, I’ve completed the work and the house is now on the market. Yesterday, Friday 10th May 2019, the property was featured in The Times as House of the Week ! Sadly I’m not mentioned in the article as the interior designer neither Shelley Hugh-Jones who I used to design the courtyard garden and terrace planting, but it’s great to see the house featured in the newspaper.
Read moreMagazine feature of my home
I’m delighted to announce that my home is featured in the latest issue of Homes & Antiques magazine’s Art Issue. The beautiful images were taken by the brilliant photographer Mark Bolton. His wife Sarah Bolton wrote the feature.
Read moreRevamping an Edwardian Home used for Bed & Breakfast
CLIENT PROFILE:
Large Edwardian family home in Tooting, South West London, with a well established bed & breakfast Parklands Bed & Breakfast.
I was contacted by the client to revamp the guest suites and communal areas with new colour schemes and to restyle each room with different accessories. In most instances I was able to recycle all the accessories in the property.
Read moreRenovating a Victorian apartment on a tight budget
CLIENT PROFILE:
Single professional male; first home he has owned; South West London two bedroom ground floor Victorian apartment; east facing.
The client had no furniture when he moved in except a deck chair! The whole apartment needed to be painted, decorated and filled with furniture and accessories. His brief was for a stylish and comfortable design as his previous abode had been a real bachelor pad! And all on a very small budget.
Read moreAdd colour to a grey colour scheme
The trend for grey interiors continues, at least in south west London where I and most of my clients live. Most paint their interiors in various shades of grey and then wonder what they can do to brighten them up. After all, it's grey outside most of the year in London so why would you want to bring that indoors?!
Read moreTips for creating a picture wall
Most of my clients and friends are daunted by the task of hanging their artwork so it usually never makes it on to a wall !
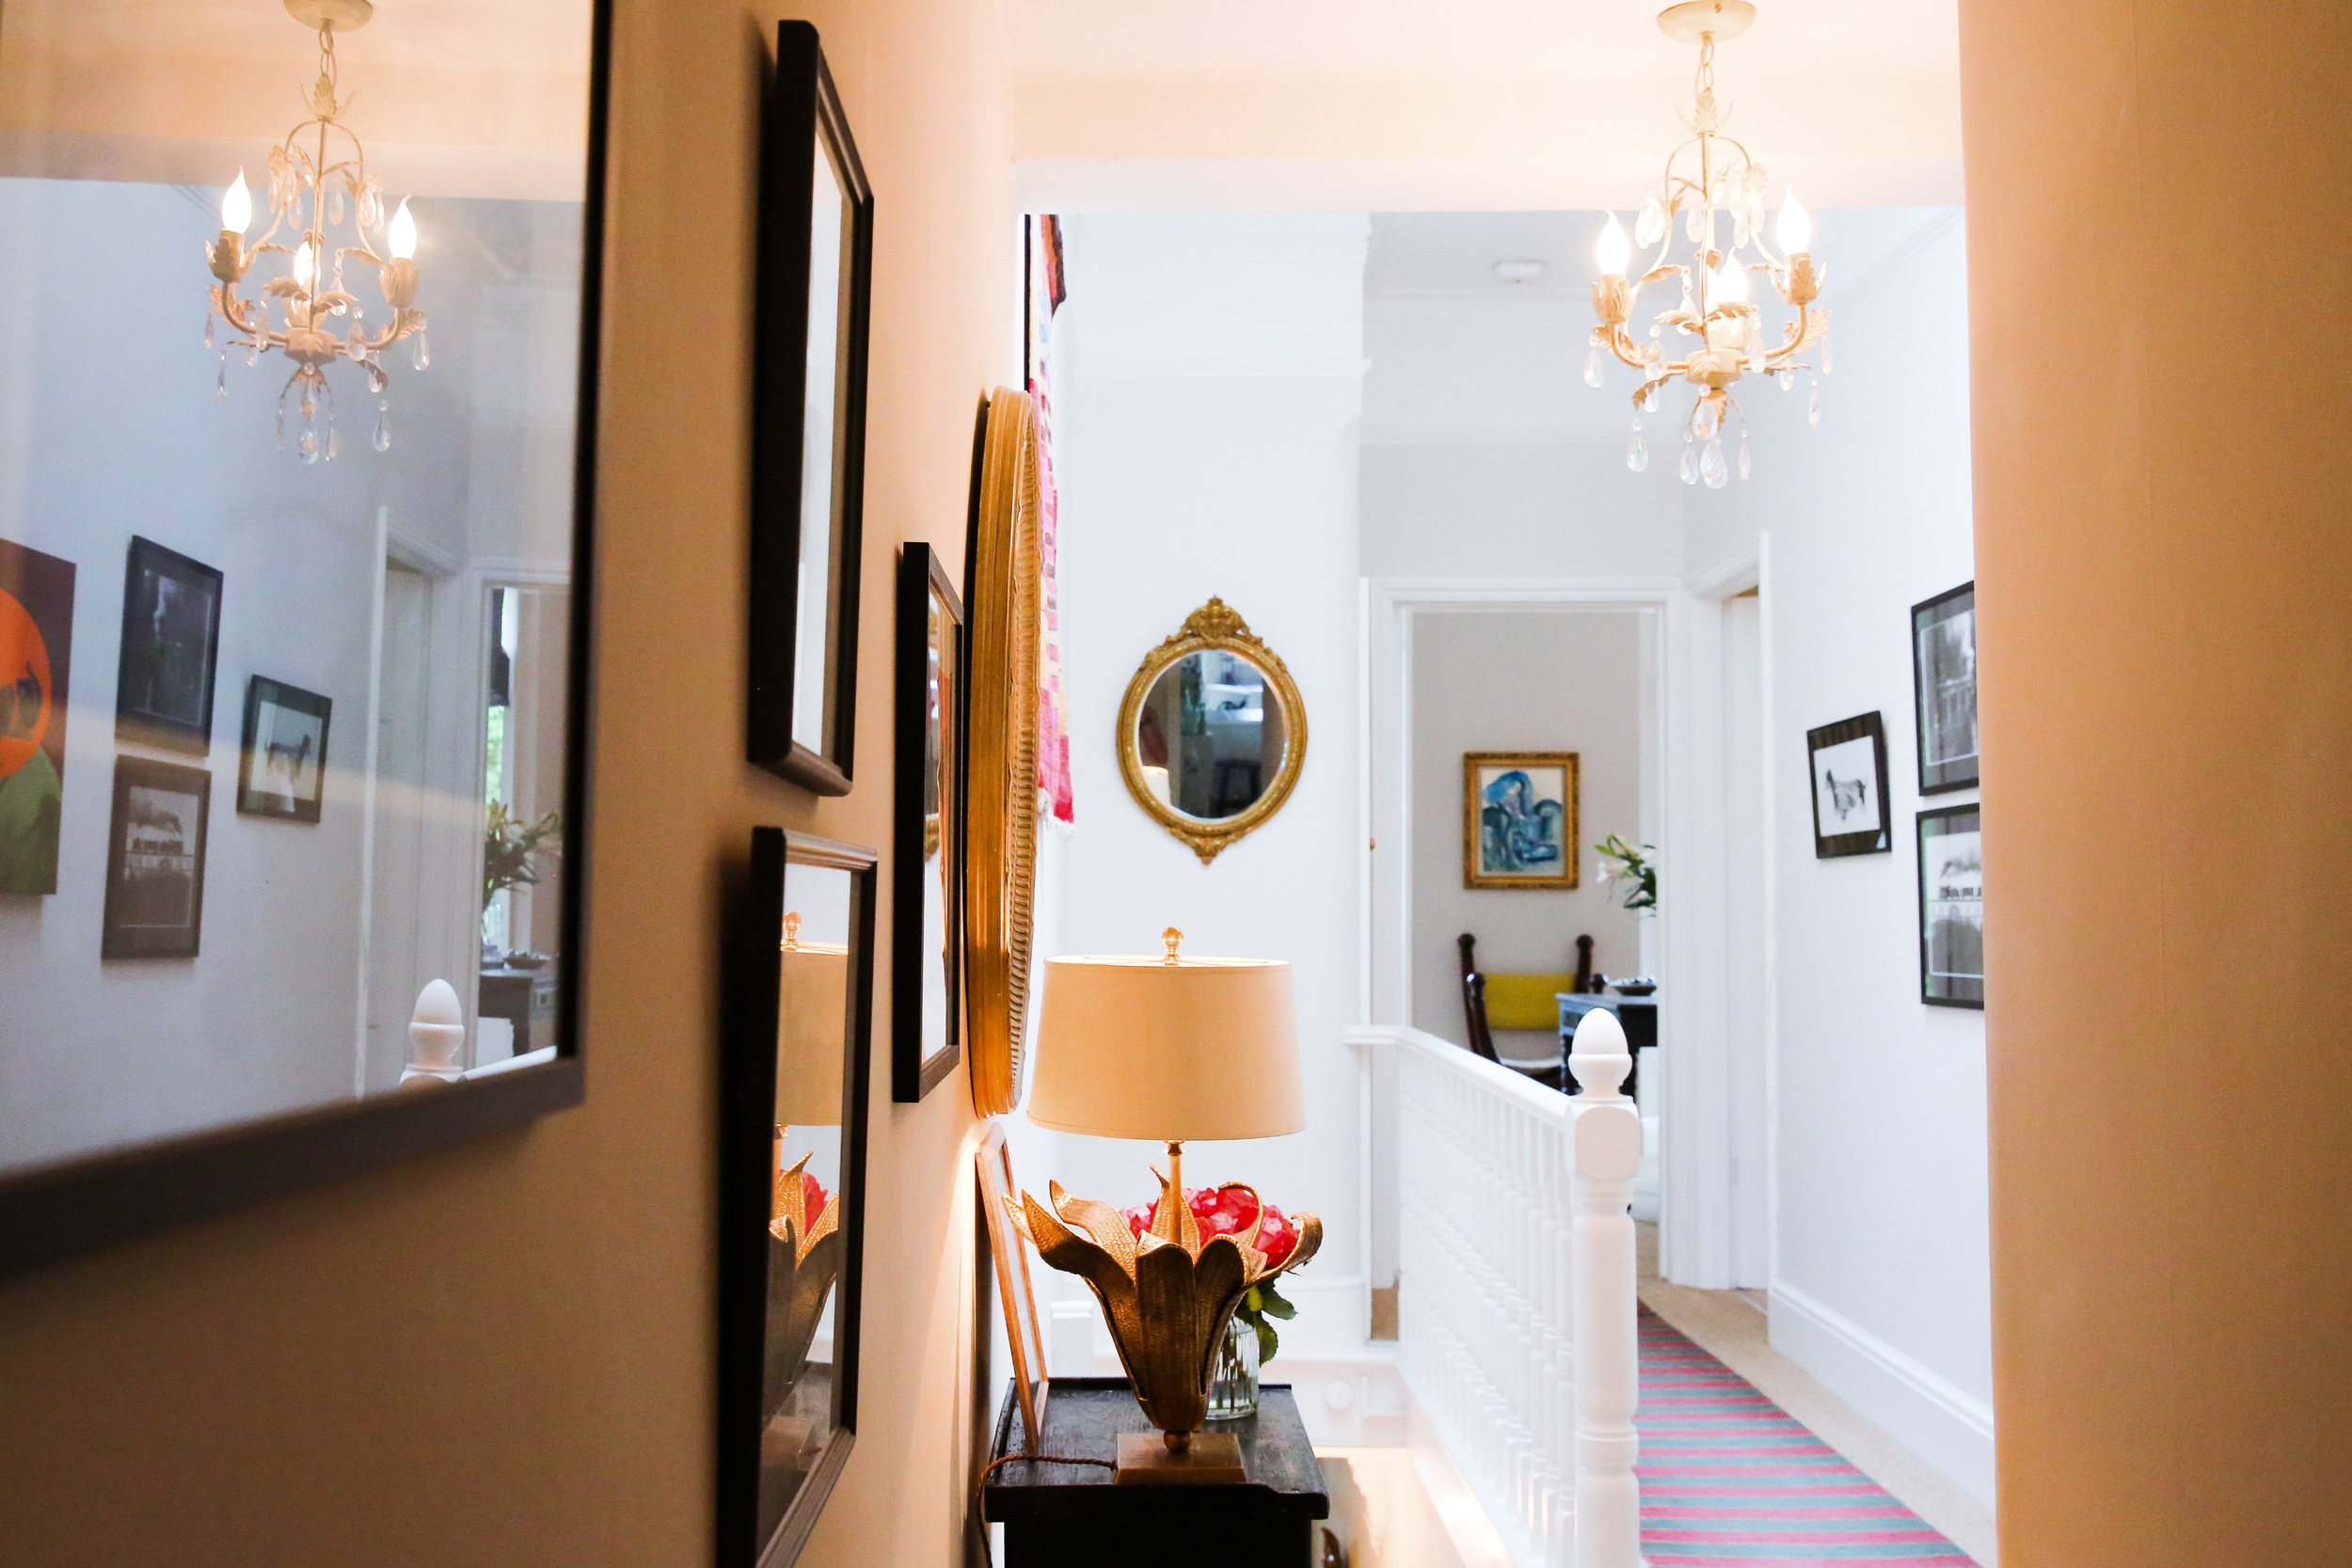
Styling your walls with artwork and mirrors is something that people struggle with because they don't know where to start and when they do start, they usually hang everything too high and don’t group things to give a feeling of cohesiveness (see my separate blog post How to Hang Artwork).
Read moreMirror mirror on the wall….
As many of you know, I have a passion for mirrors and my home is full of them. At last count I had 27 and it's only a two bedroom apartment!
You can't have too many mirrors in the home. Apart from their functional purpose, they are a superb way to bring light into a space, can be used as artwork or generally to enhance the aesthetics of a room.
Here are some of the mirrors in my home and how I've used them.
Read moreThe Flower Fairy
Not only am I an interior decorator but I'm also a qualified & experienced florist. As part of the services I provide, I offer a two hour consultation at your home to teach you how to make the most of your vases and the flowers you buy or pick from your garden. I'm the Flower Fairy!!
Read moreHeadboard or Artwork in a Bedroom?
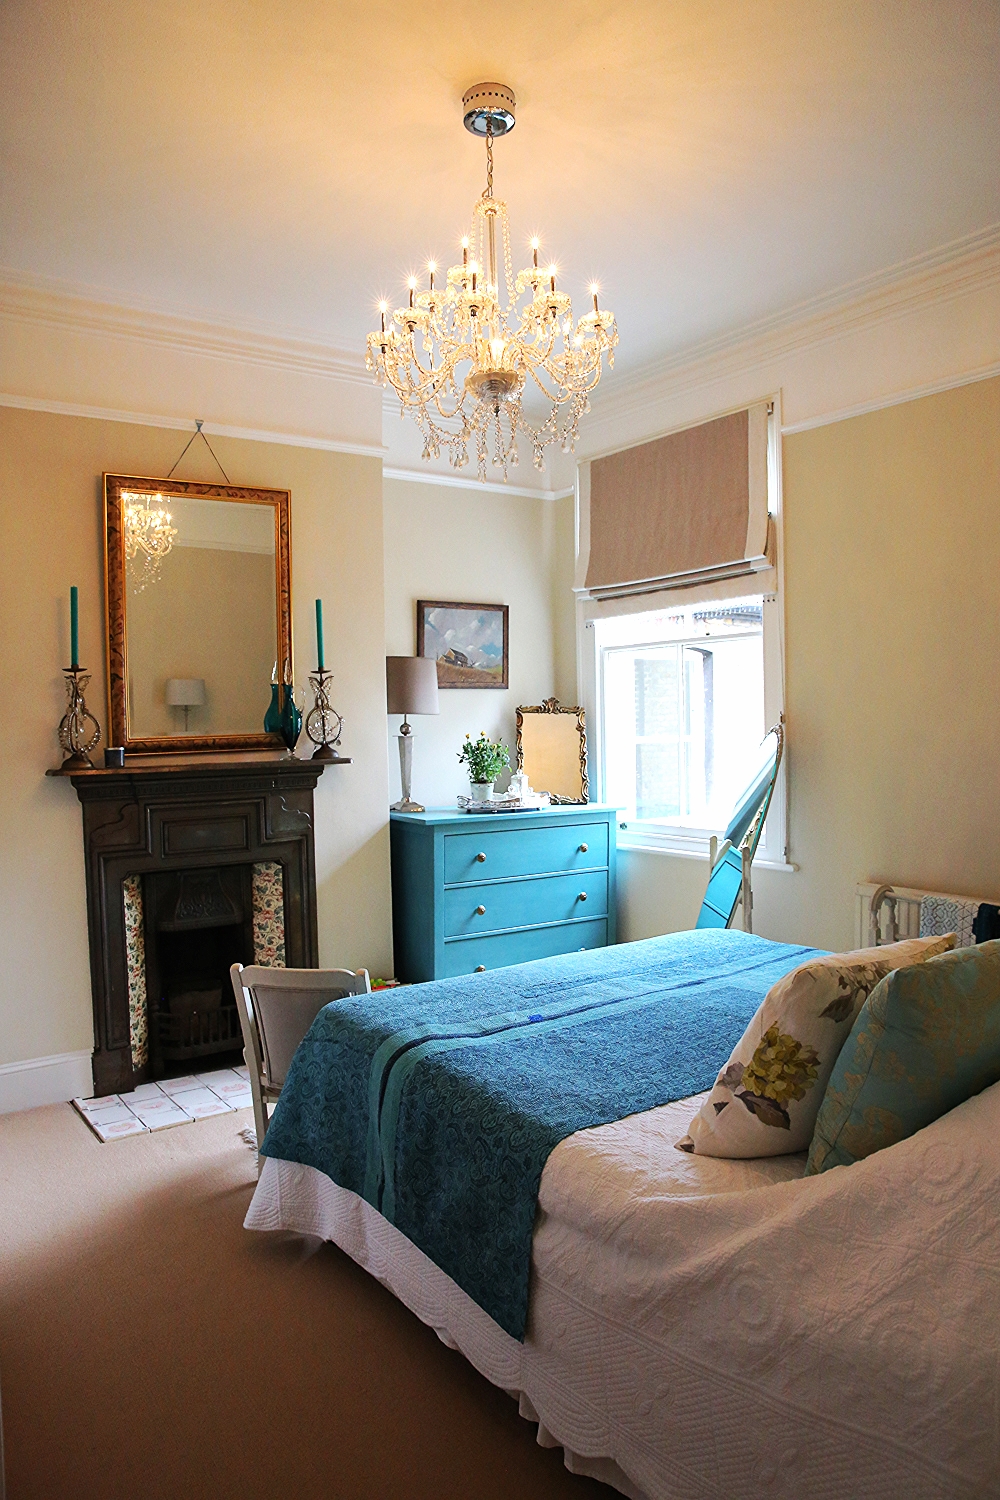
Do you have a headboard on your bed? Many of us don't. So what alternatives are there? Mirrors, artwork, wall hangings.......... ?
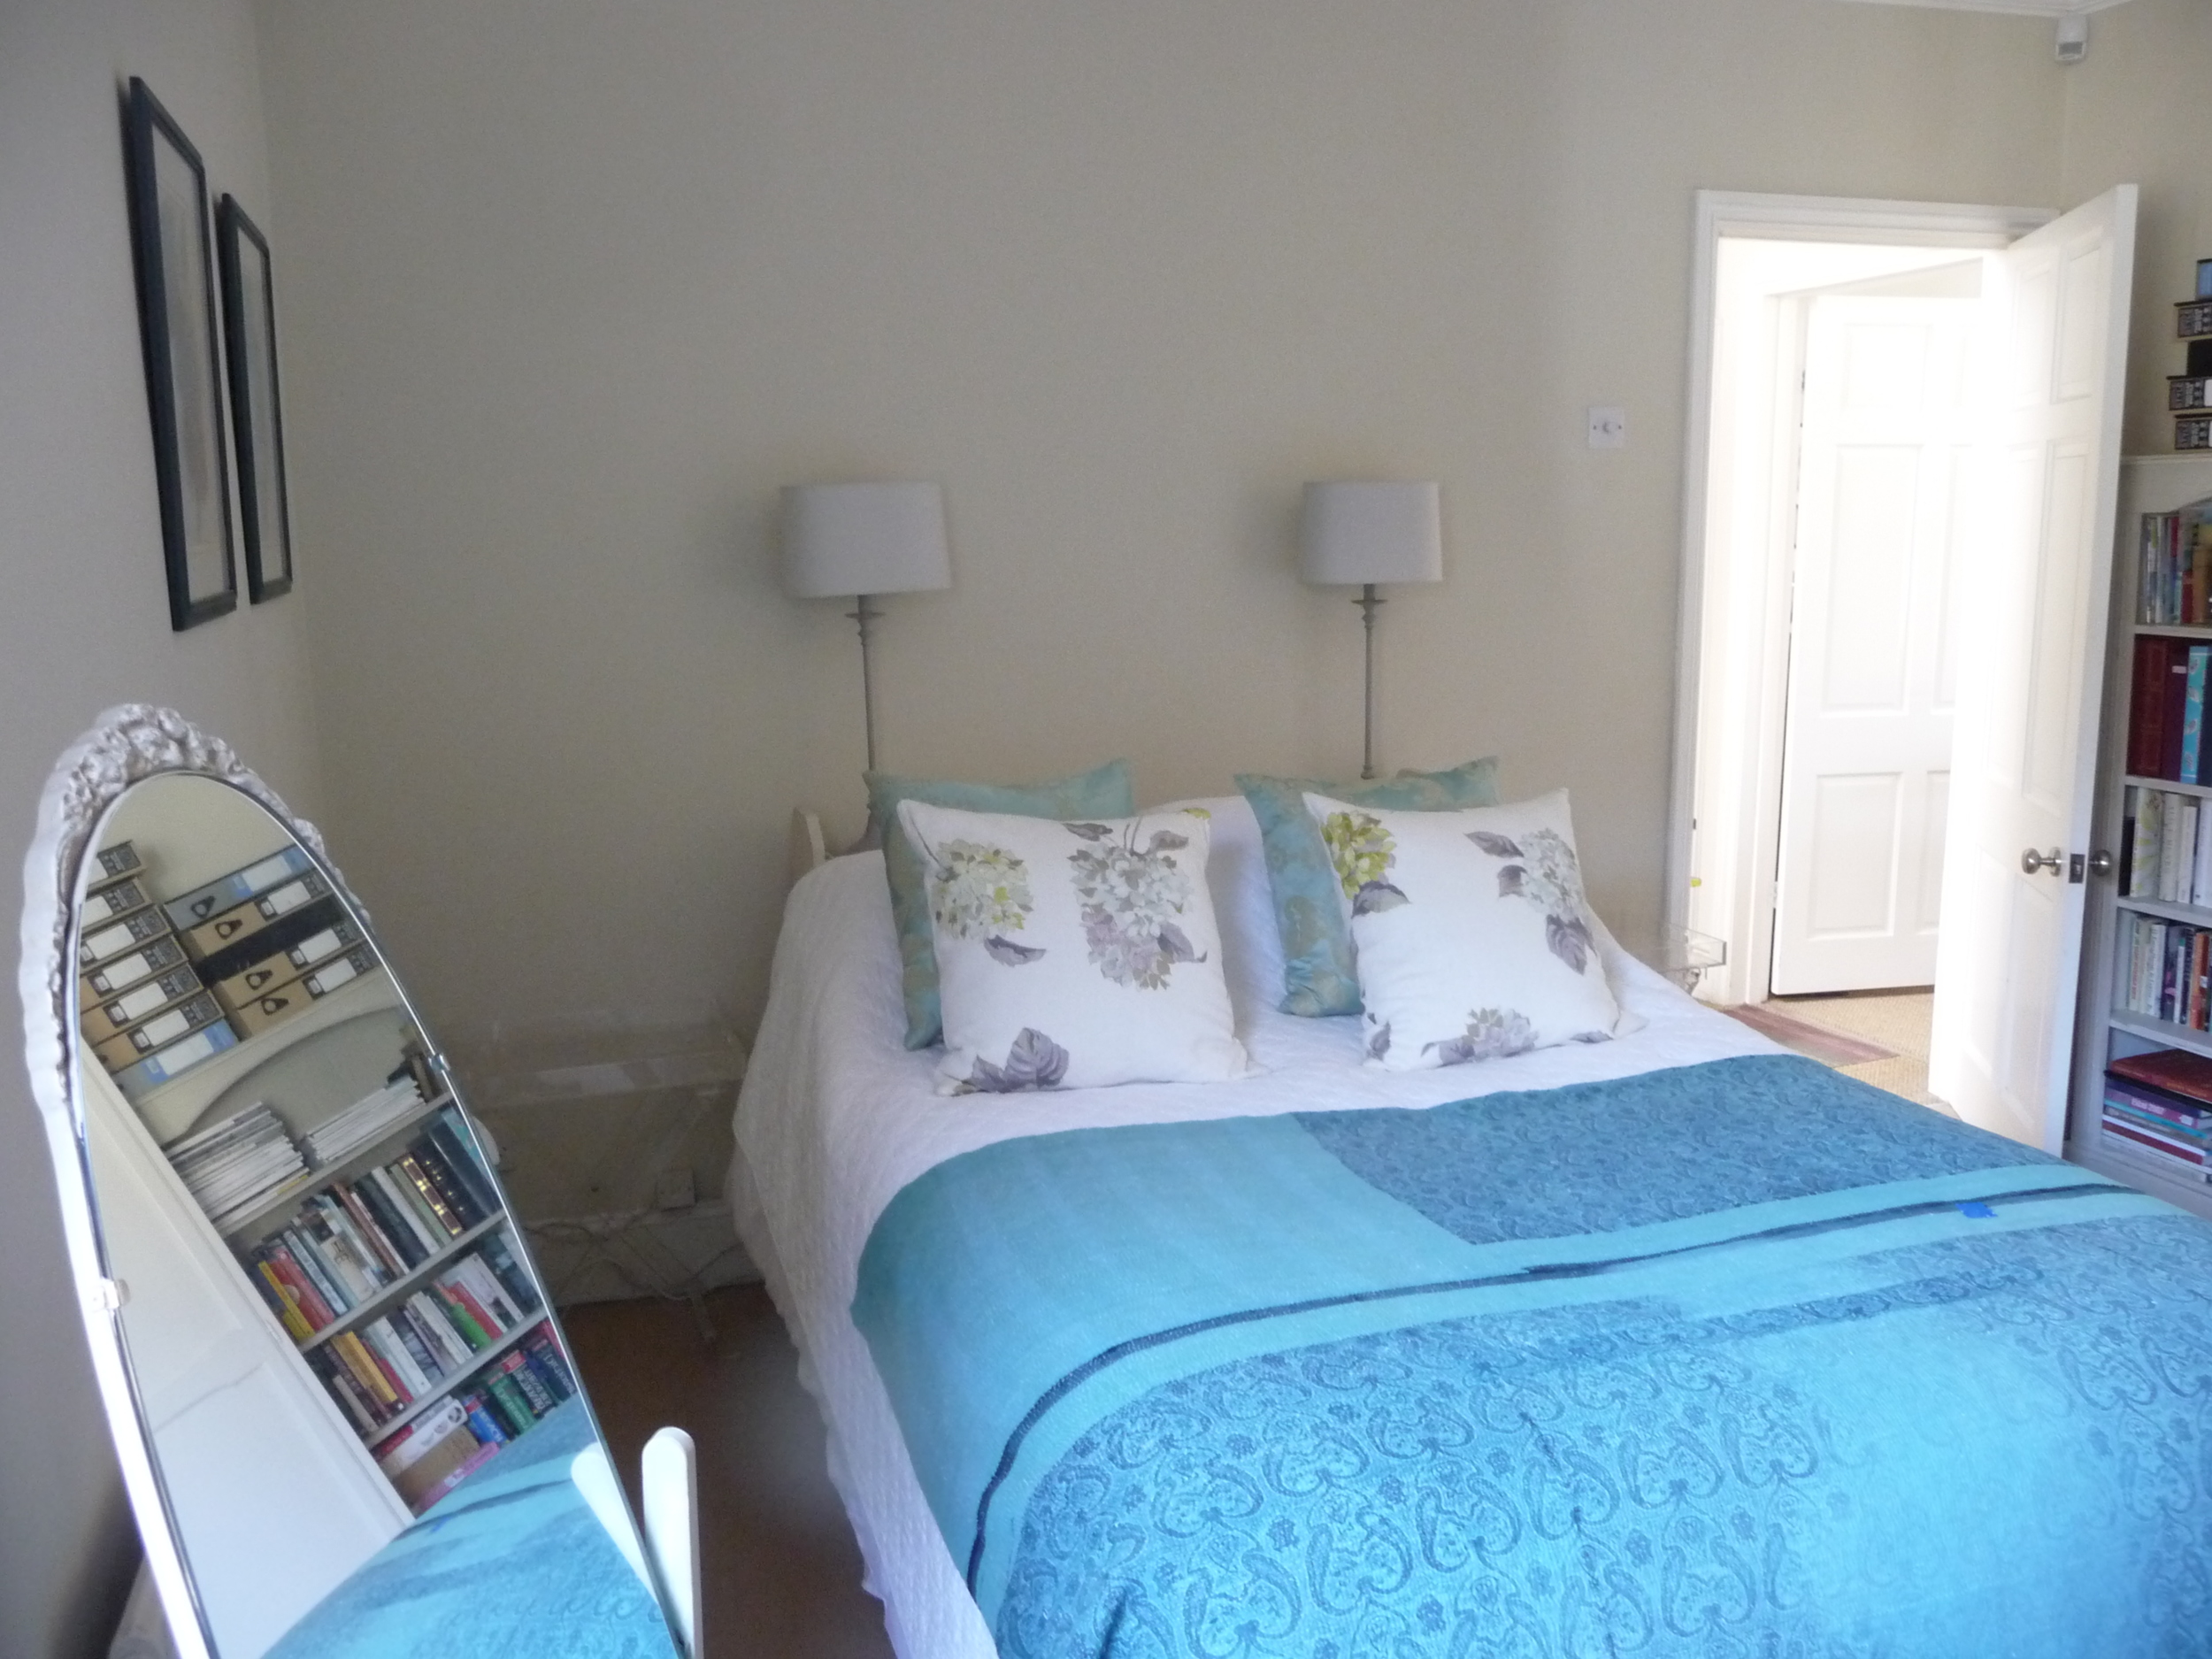
In one of my bedrooms the bed has no headboard so I have added a very narrow bookcase on which are two lamps. However the wall above that was completely empty and crying out for a wow factor alternative to a headboard.
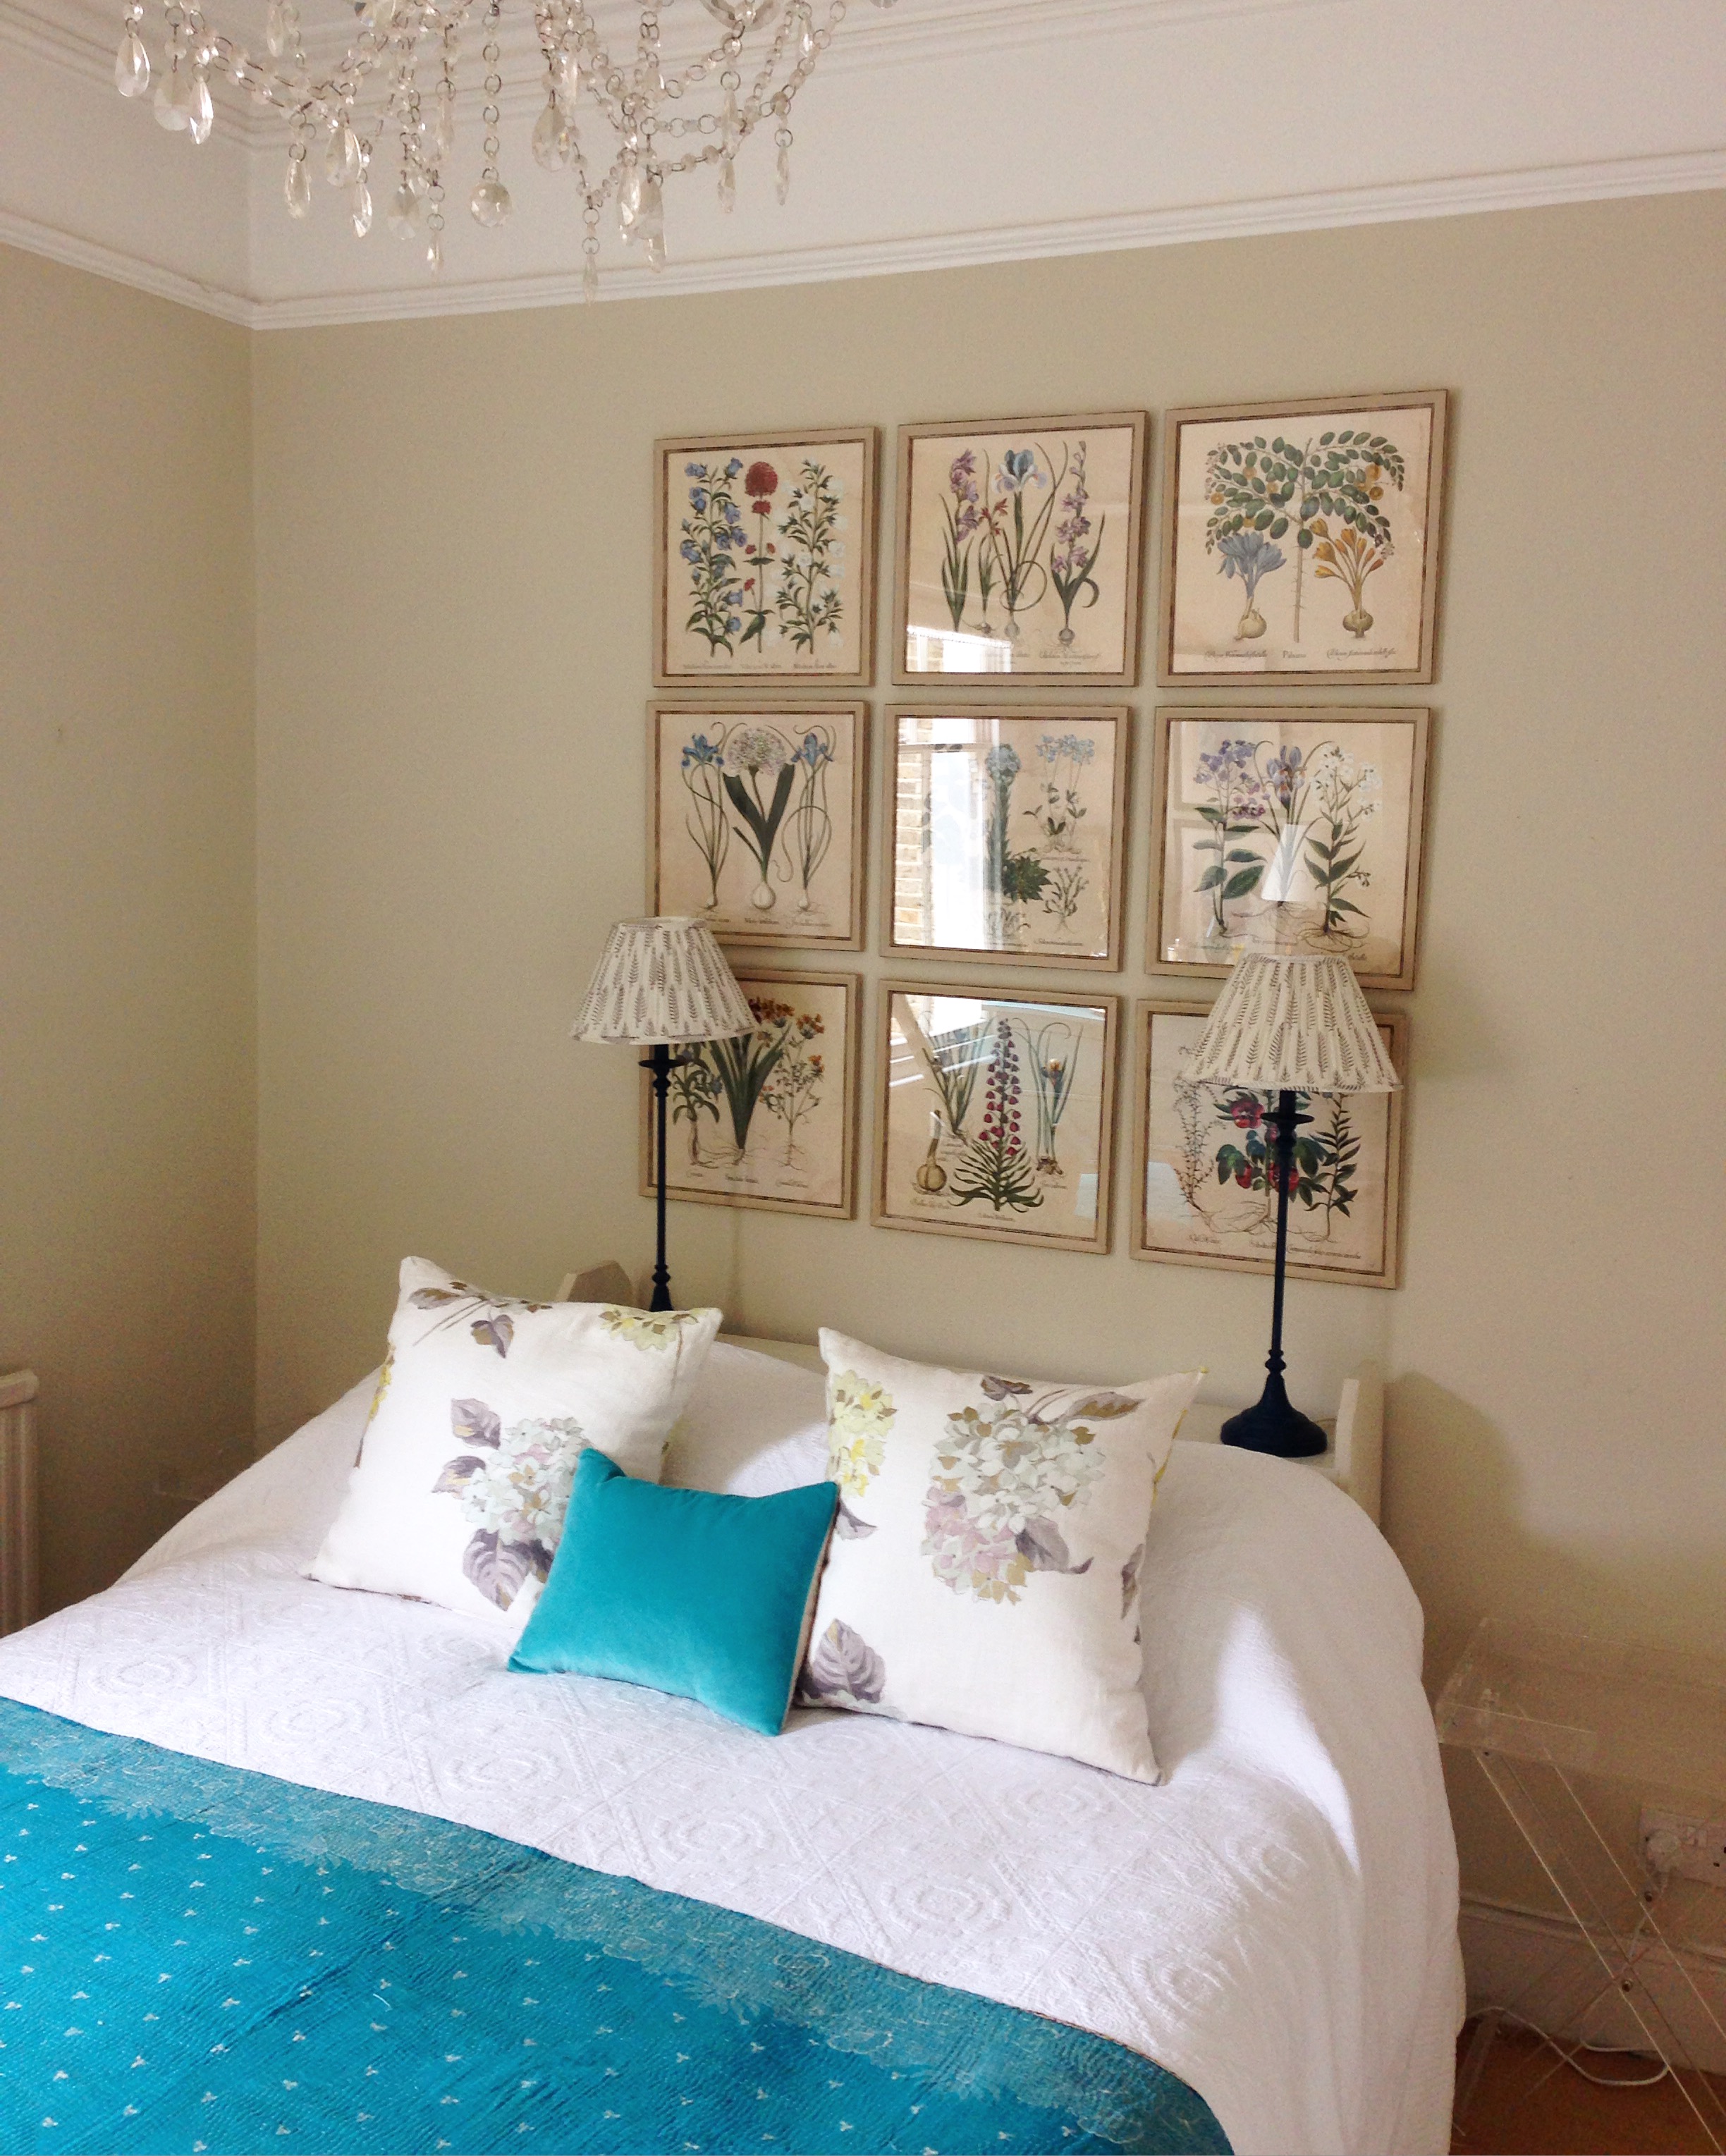
I recently purchased a boxed set by Natural Curiosities of 14 x 14 inch square prints called 'Images for the Inquisitive - Volume 12 - Hortus Eystettensis'. They bear the authentic Latin name of an important 1613 collection of engravings of every species in the palace garden of Prince Bishop of Eichstätt in Bavaria). The box had been sitting in a cupboard and this was the perfect opportunity to have some of them framed and placed as art decor behind the bed. I used my wonderful picture framers, Read and Booth, in Wandsworth Bridge Road, London SW6, who helped me select nine of the prints and a suitable frame (with no mount). I planned to hang them 3 x 3 to add a real sense of drama to the room. The ceilings are very high in the room so there was plenty of space below the picture rail. I also painted the lamp bases in Annie Sloan's 'Aubusson Blue' and bought a pair with a lovely botanical fern pattern pleated shades by Pooky Lighting.
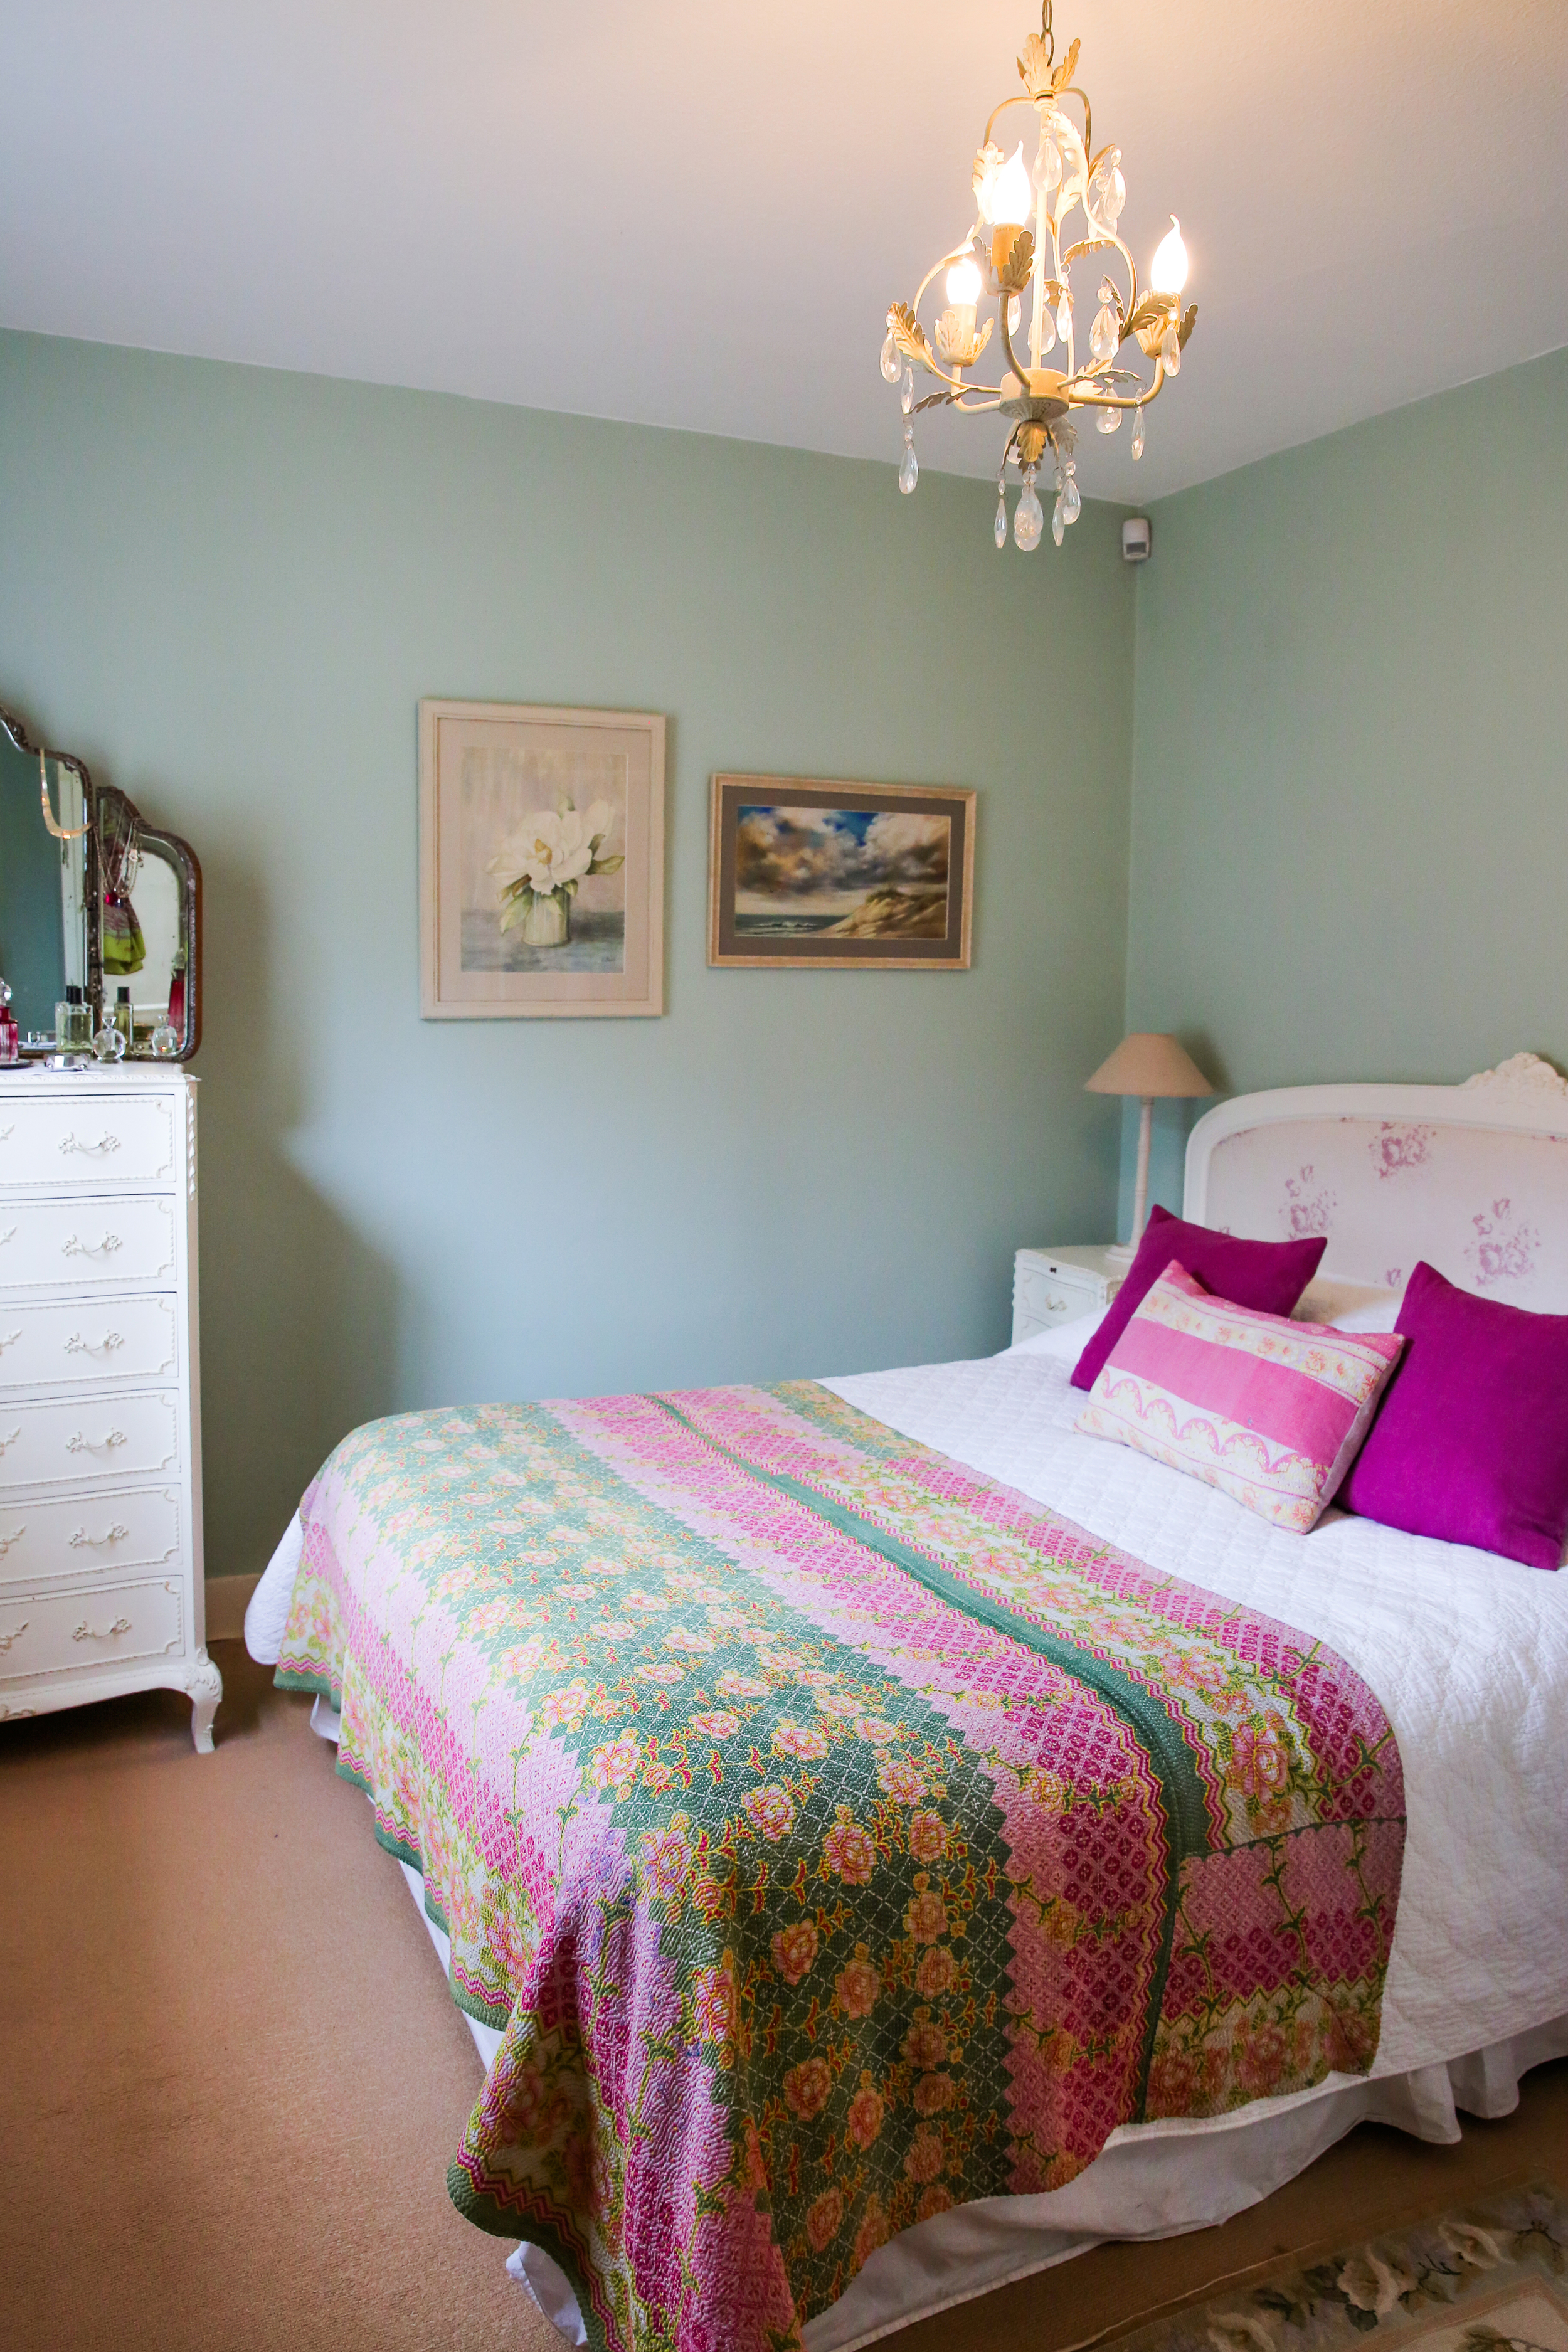
In the other bedroom there is a headboard but the wall above the headboard needed something on it to complement the headboard and add a wow factor.
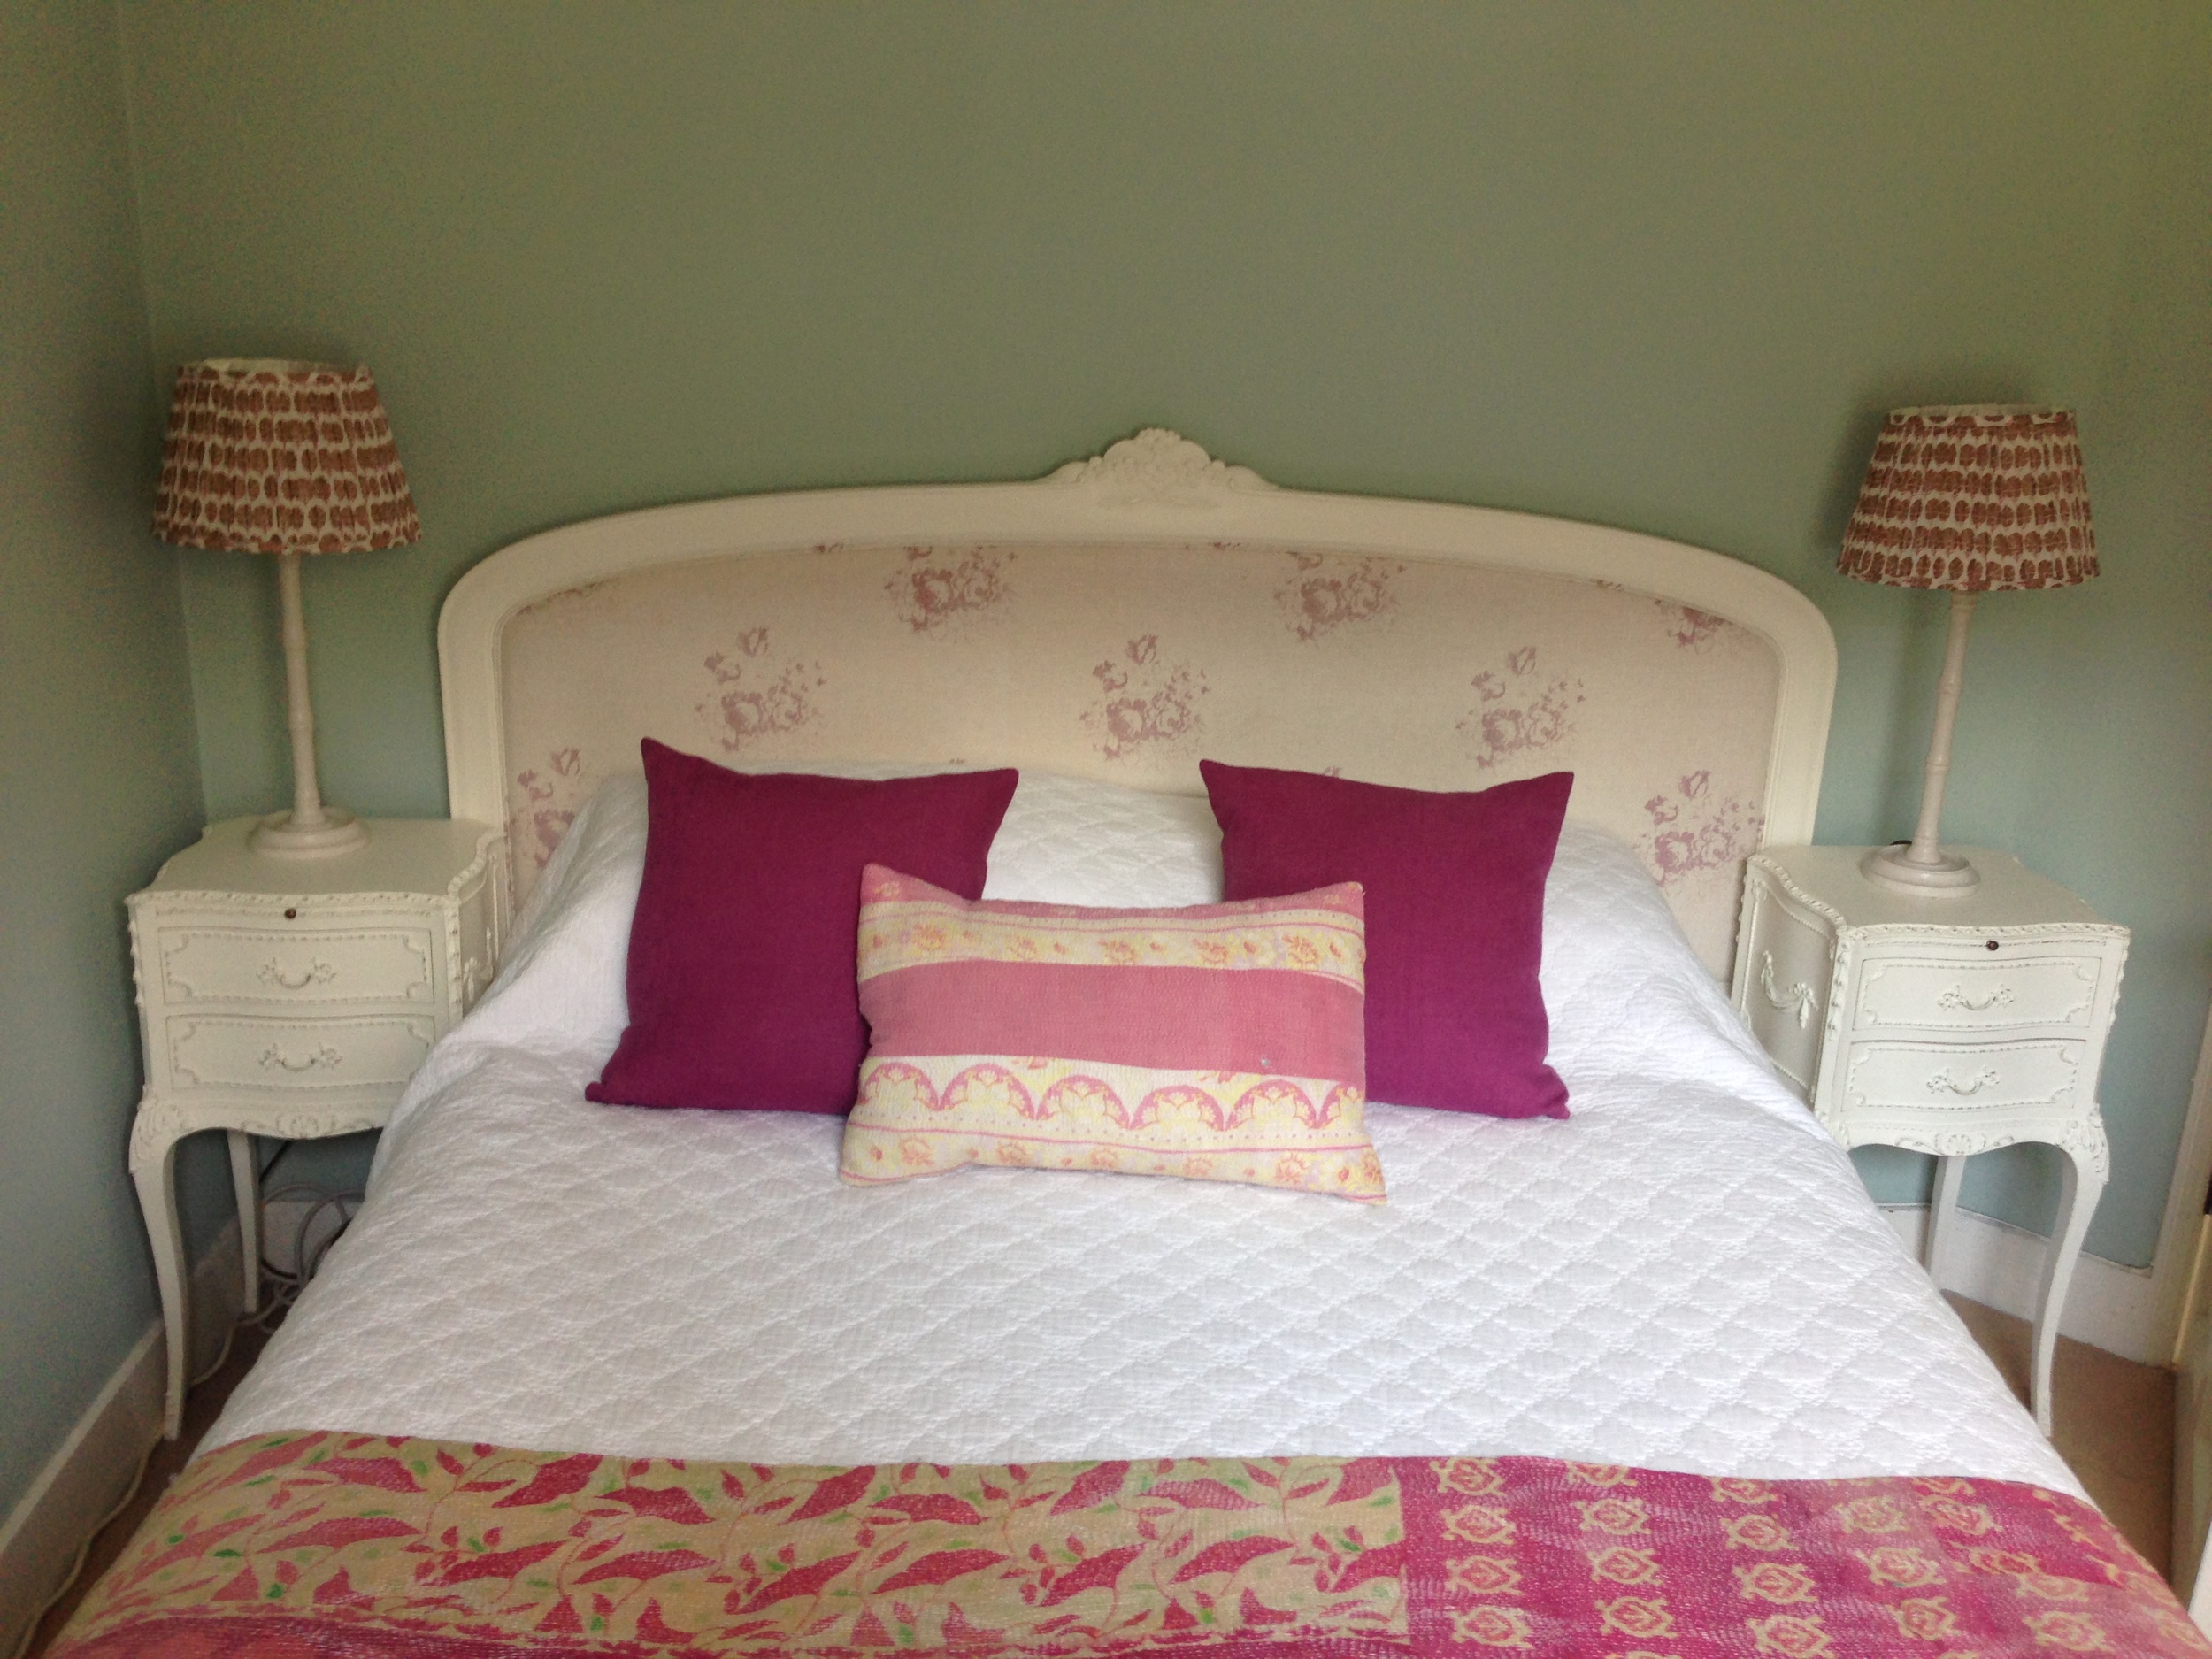
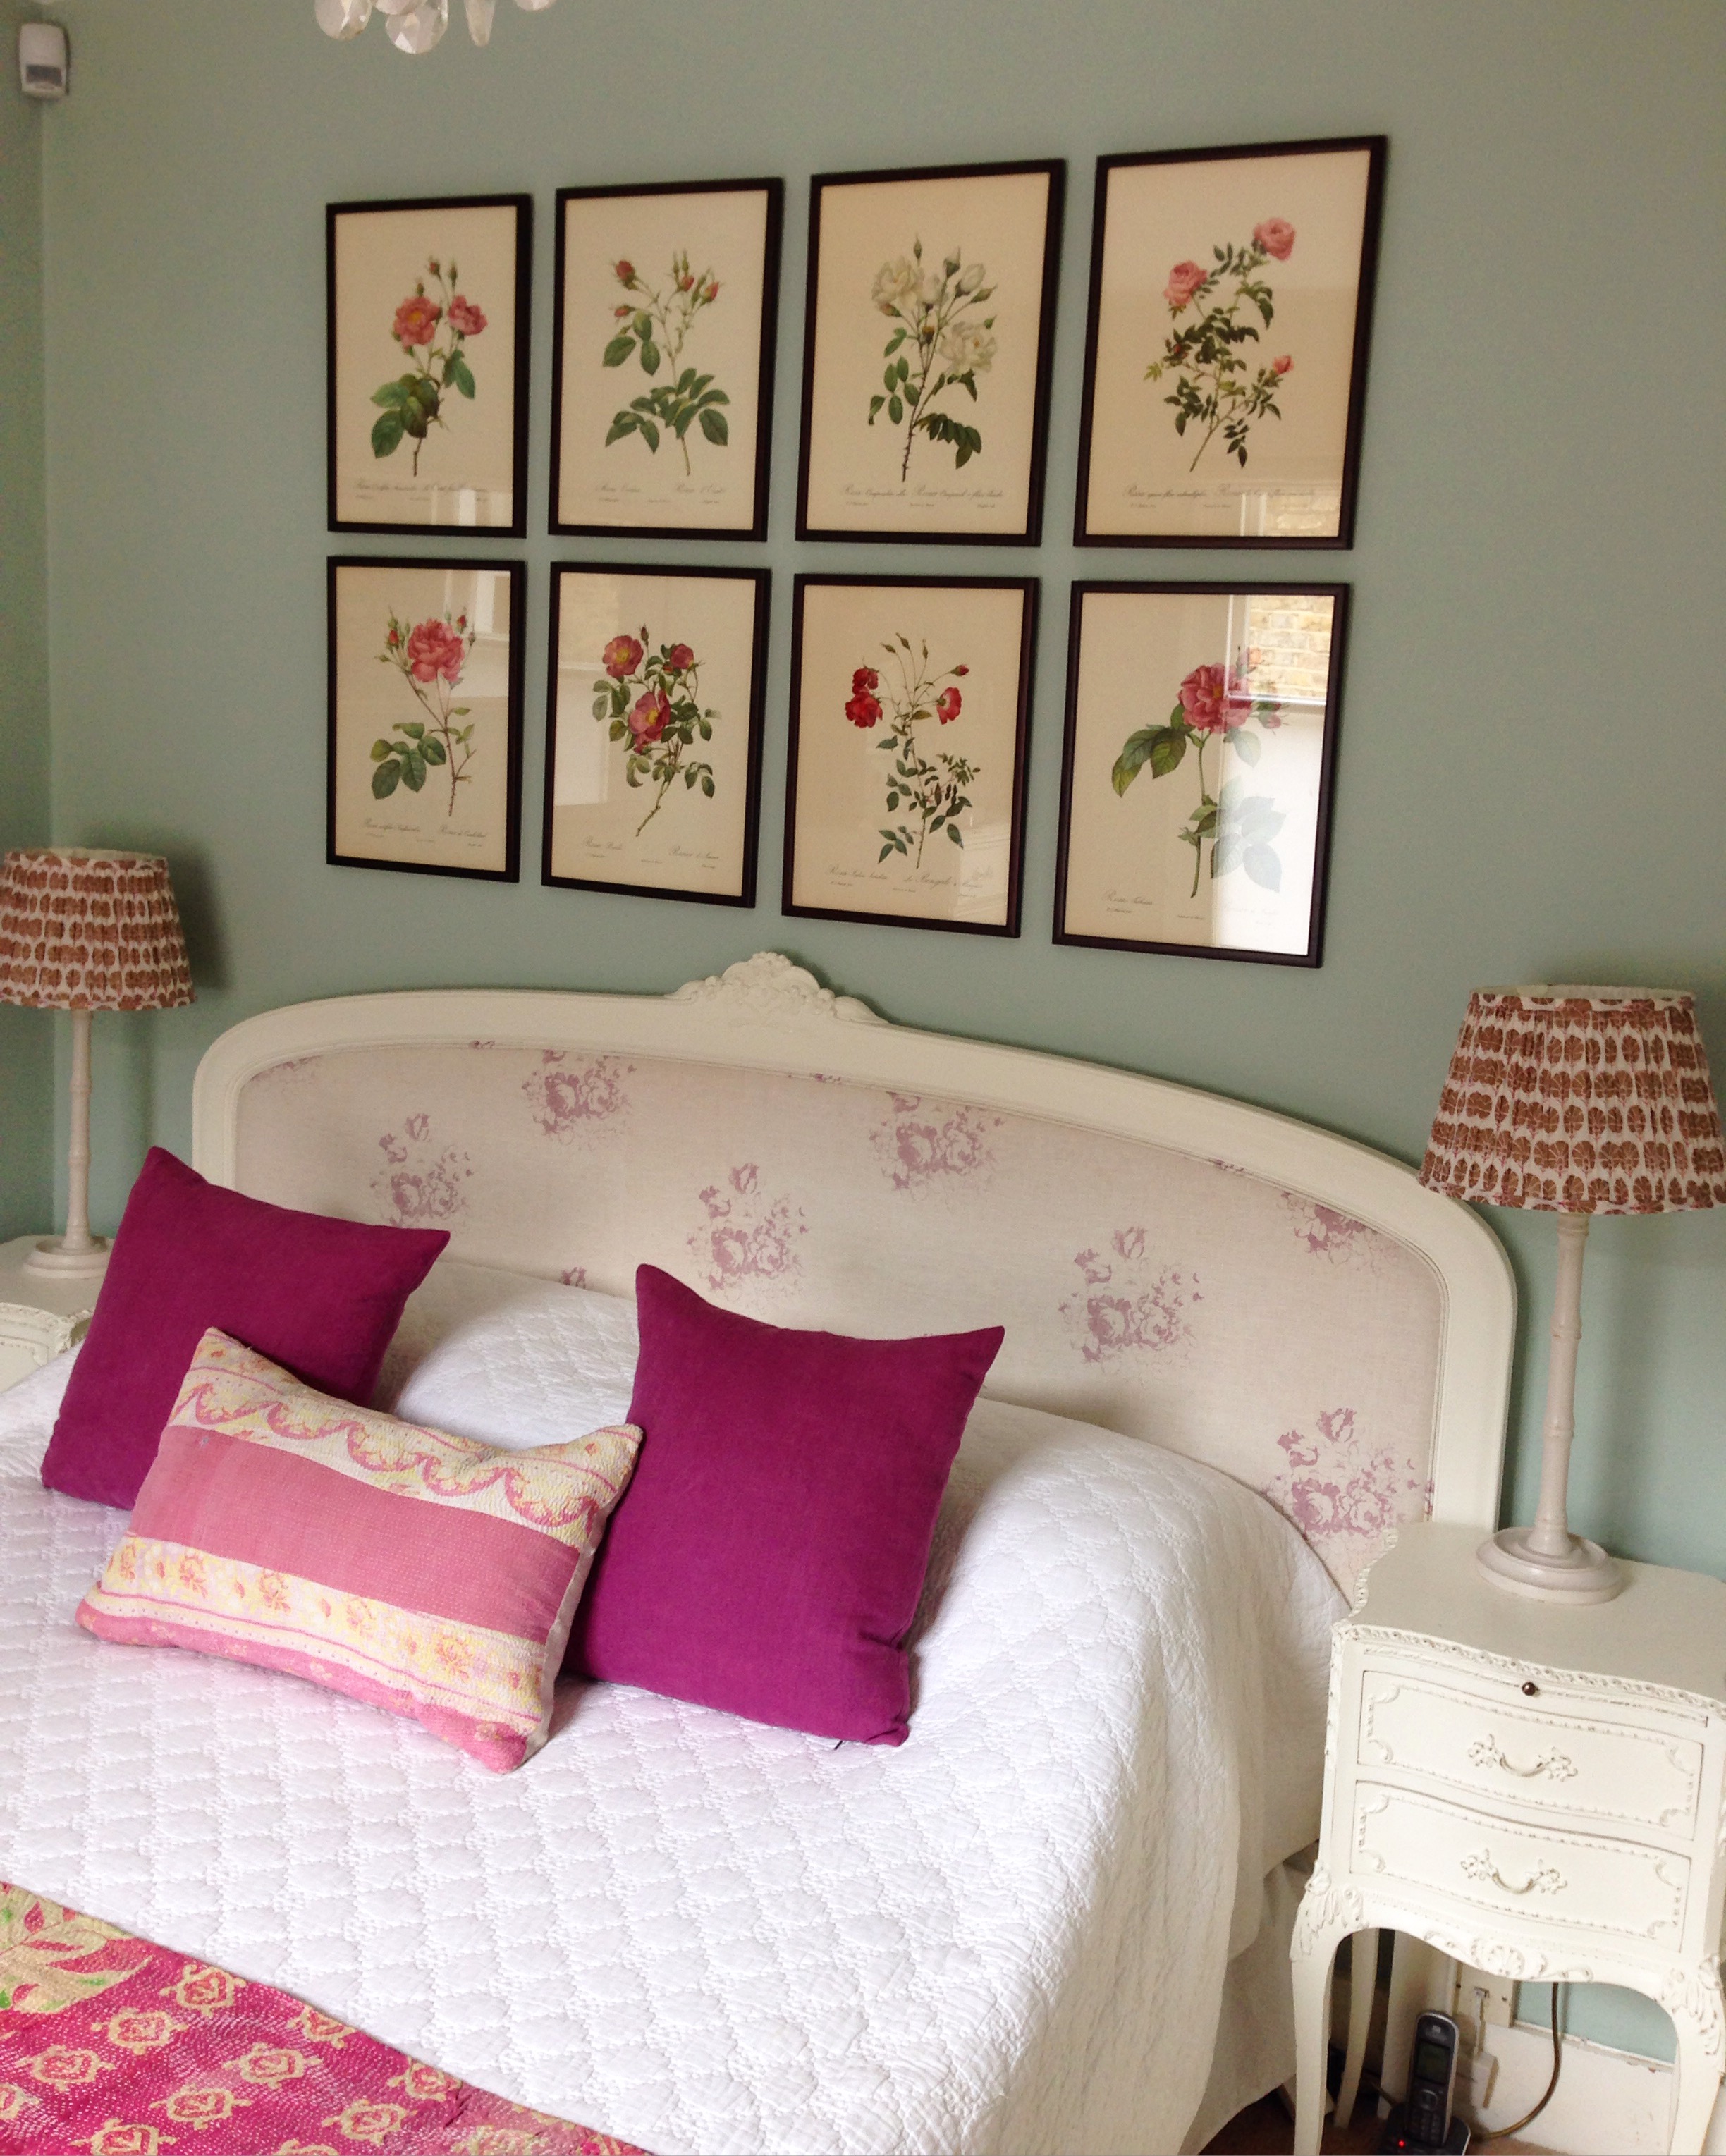
I had forgotten all about a very old book of Pierre-Joseph Redouté rose prints that was my grandmother's. Belgian born Redouté achieved success as a painter working for the French royal court as a tutor to Marie Antoinette and later from 1798 was appointed to paint the flowers of Malmaison by Josephine Bonaparte. His famous published works include 'Les Liliacées' and 'Les Roses'. This version of 'Les Roses' was published in 1954 and I had rescued it from my grandmother's house in New Zealand when she passed away over 40 years ago!! I had a light bulb moment and decided to create a group of framed rose prints above the bed as the colours would beautifully complement the headboard and the colours of the cushions and Kantha throw. Also, the wall colour, Farrow & Ball 'Teresa's Green' would provide the perfect colour to enhance their beauty. Once again my lovely framers, David and James from Read and Booth helped me select the eight prints from the book and a suitable frame. The frame is a reddish-brown wood which really works well with the background colour of the prints and the red/pink colours of the roses.
I hope I have inspired you to use art in a bedroom in place of a headboard or even to enhance a headboard. I would love to see what you have done with the wall above your bed(s) so do send me pics.
You may also like to read
Featured


Make your New Year's Resolutions enjoyable!
Happy New Year everyone. As you may have noticed, I took a couple of weeks' break from blog posting over the festive period. This was due a busy social calendar and also I was helping my older son pack up his life in London and move to Sydney to live, where my other son has been living for over two years. It's a weird feeling to have one's children all living on the other side of the world; now I know how my parents in New Zealand felt with all three of their children living 12,000 miles away. However technology has moved on from when we left home and communication was restricted to letters, faxes and (land line) phone calls. With Skype, Facetime and free calls via tools like Whatsapp and Viber, the distance feels much smaller especially when you can see your children on your phone or computer. Hey ho, at least I have a good reason to visit Sydney regularly!
I'm sure many of you have made serious lists of new year's resolutions. There are all the usual things that people have on their list of new year's resolutions, the self-flagellation things like no alcohol for January, joining a gym, losing weight, not spending any money and so on. I'm of the opinion that our new year's resolutions should be about doing things we enjoy especially creative things, stretching ourselves by getting out of our comfort zones. For example, I'm going to learn how to dance salsa even though I'm a lousy dancer. I know I'll enjoy it even if I don't master all those sexy hip movements!!
Below are five suggestions for some new year's resolutions that are both enjoyable and creative and will also develop you by making you push the boundaries:
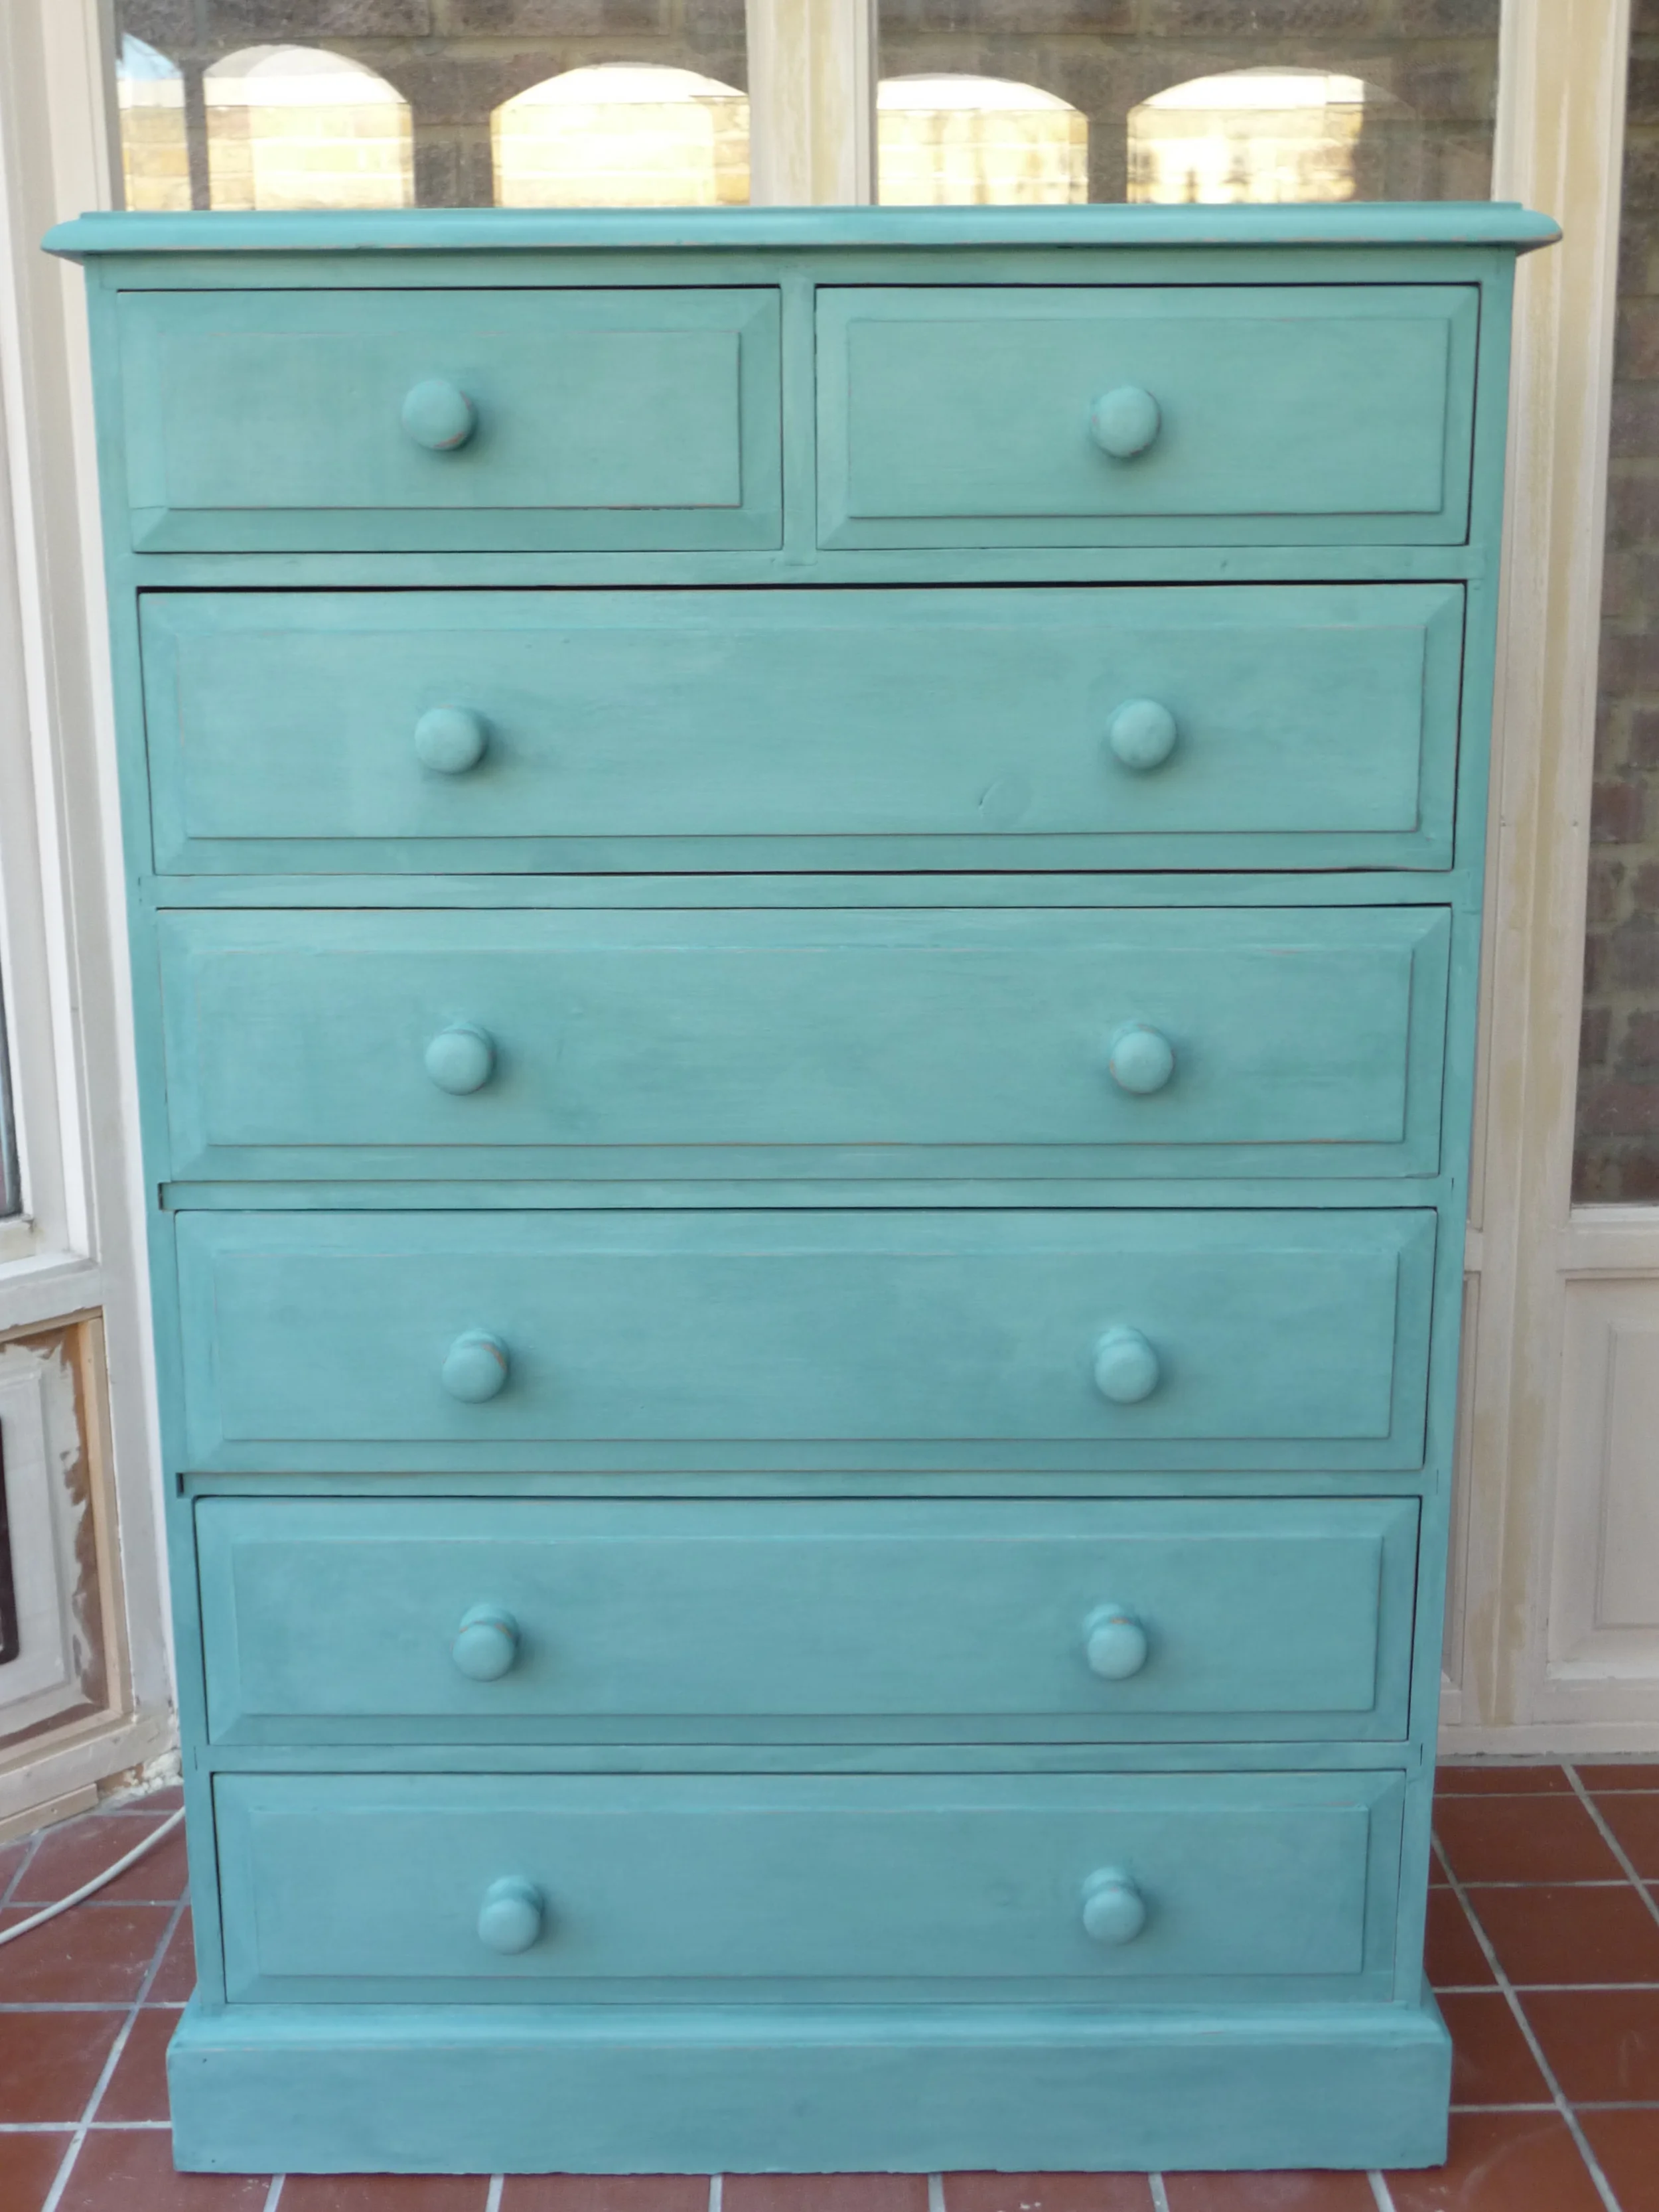
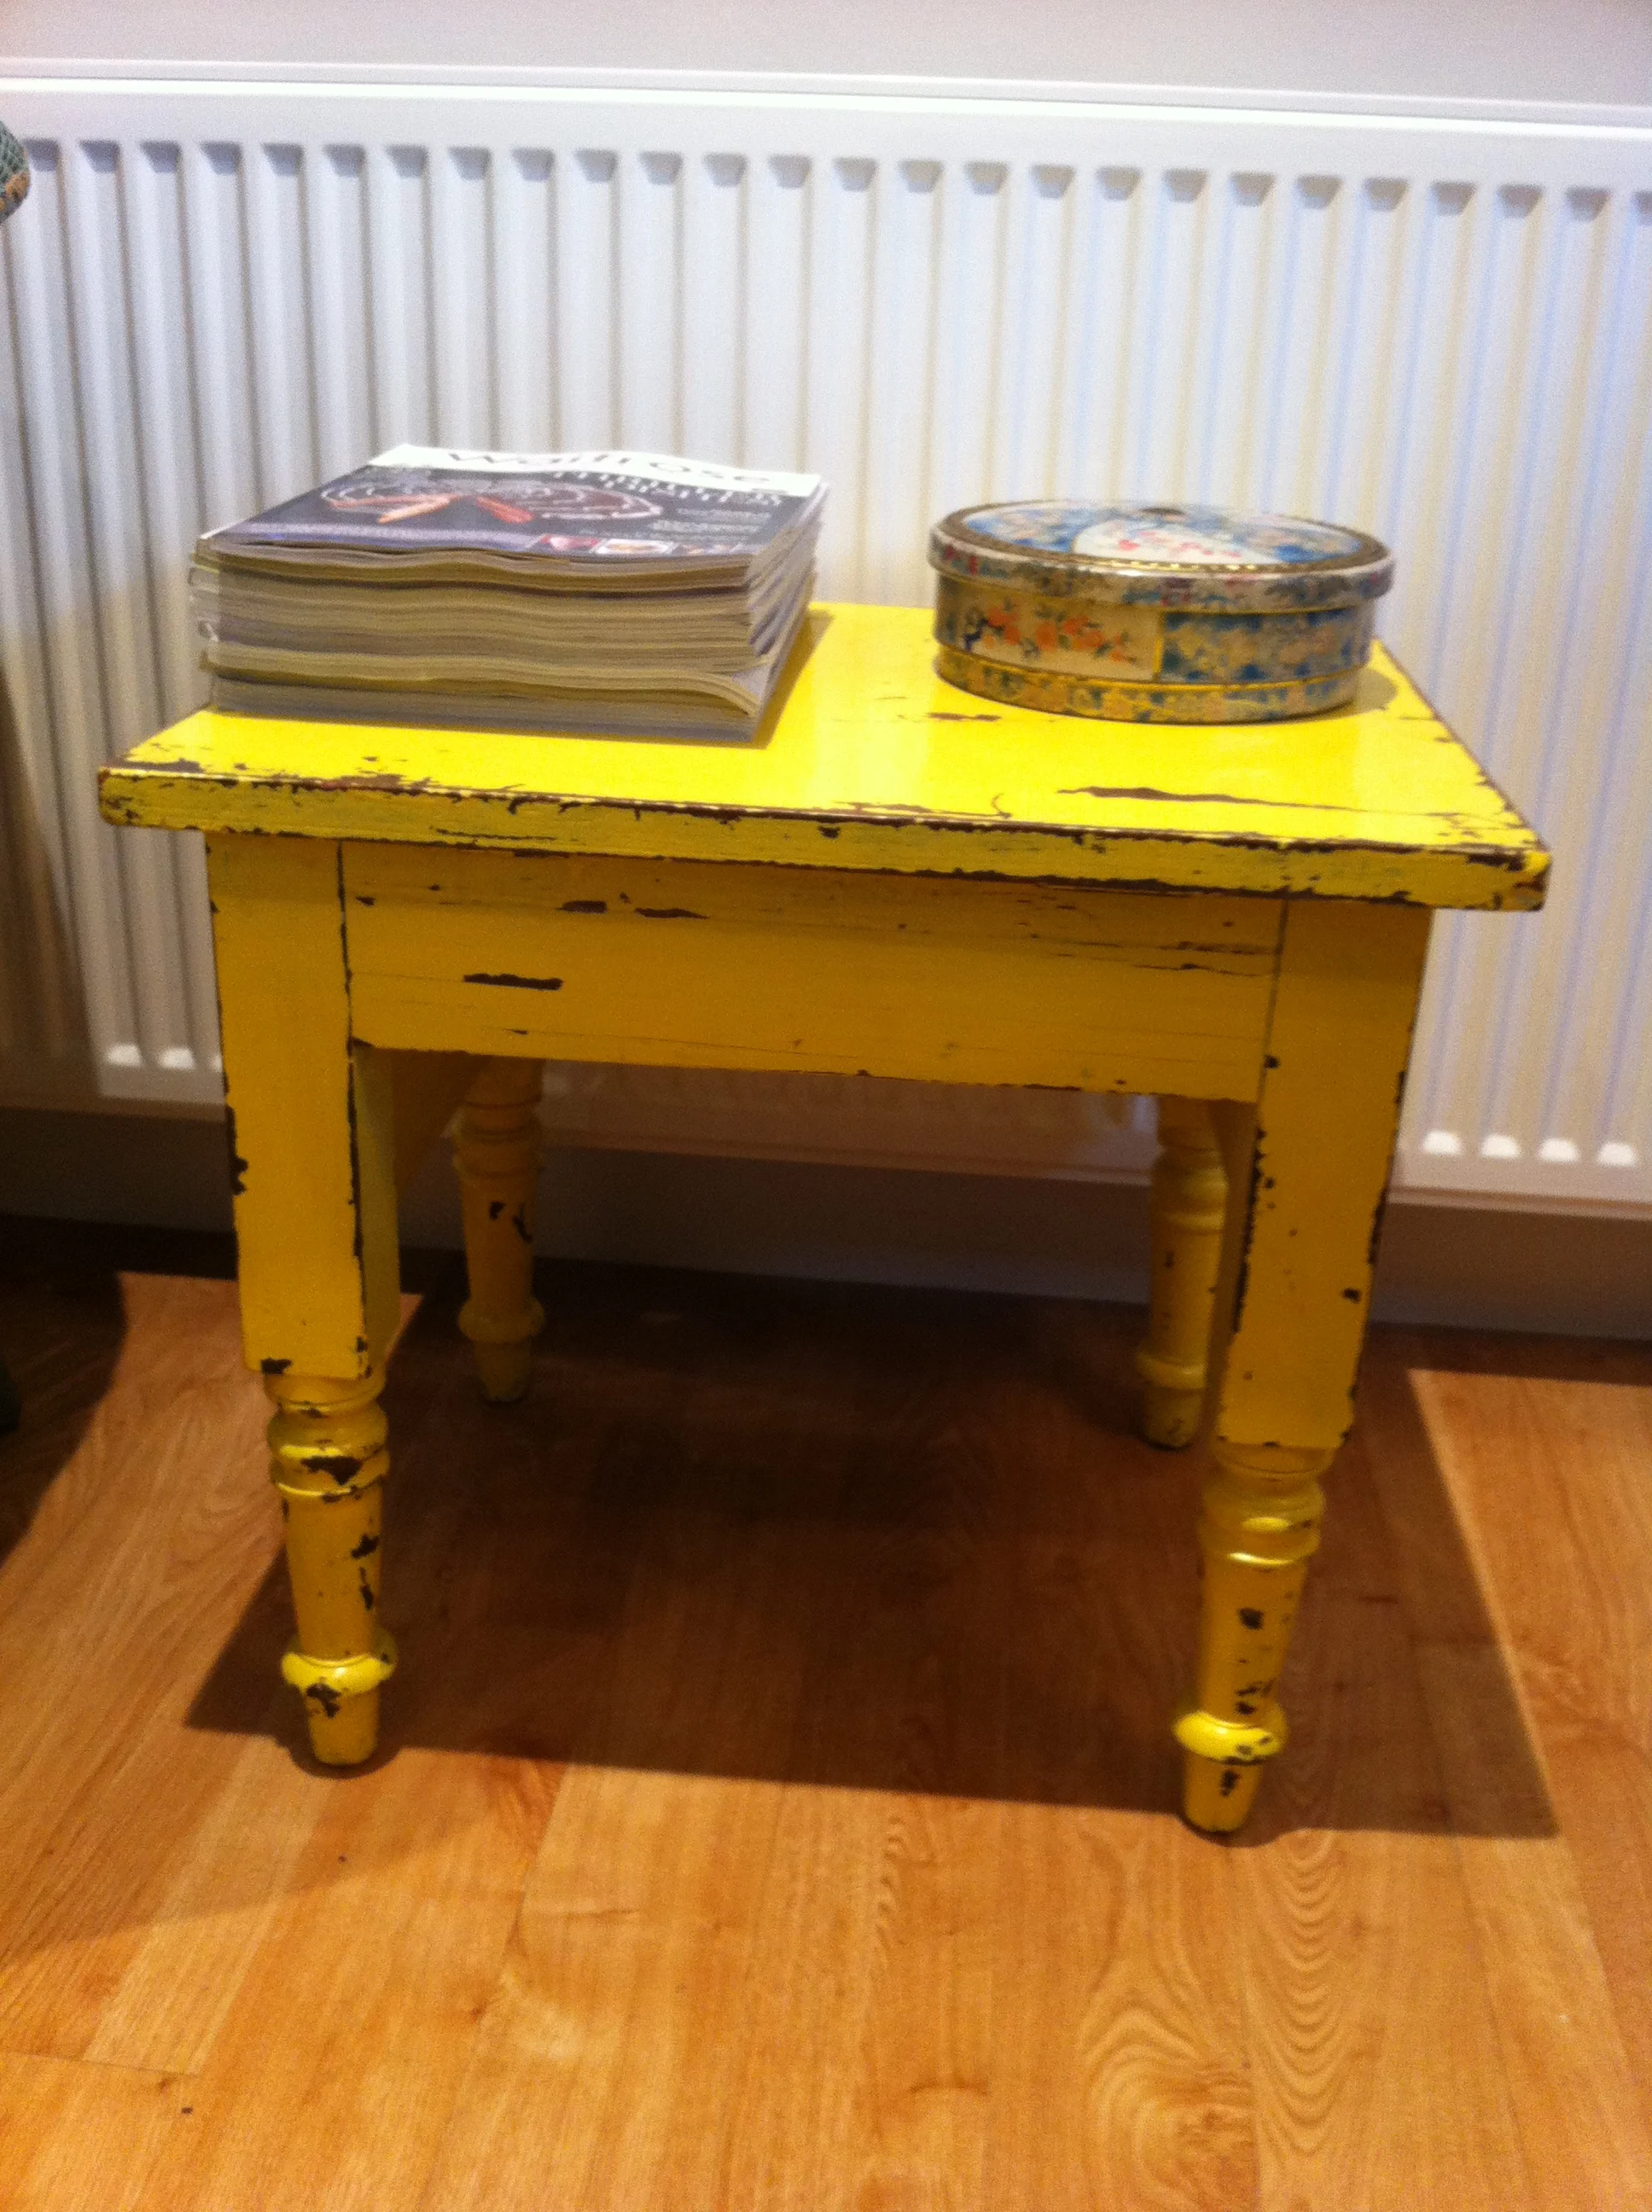
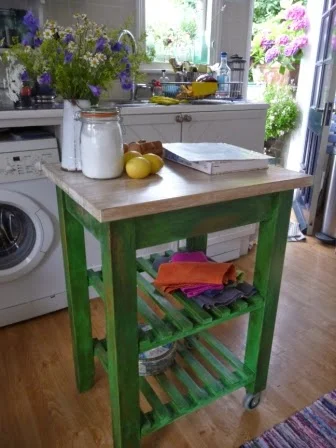
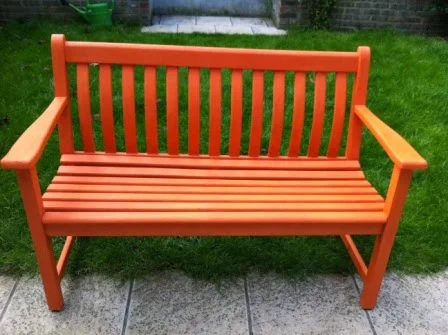
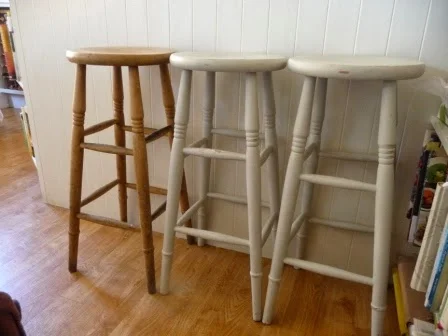
1. Learn how to paint furniture - up-cycle your own items, those already in your home or ones you find at junk shops, markets or auctions. Find your nearest Annie Sloan stockist and sign up to an Annie Sloan Workshop to learn how to paint furniture with confidence and to achieve a professional finish. I did the workshop three years ago at Phoenix on Golborne which is a fabulous shop and one of my regular haunts. I love the fact that you just slap on the paint - no sanding or undercoating - and eureka, you have transformed a piece of furniture! You can paint any surface including silver, ceramic, wood, metal, walls etc. The day after I did the workshop I was so inspired I painted my mahogany sideboard which I had actually planned to get rid of. I started with a coat of Aubusson Blue (my favourite colour) and then a coat of Florence - I adore both of these colours. Then distressed it with a coat of clear wax, then dark wax and finally another coat of clear wax. It was so much fun transforming the sideboard and gave me a warm fuzzy feeling when friends and family paid me a lot of compliments!! At the end of this blog you will find links to other items I've painted. Please sign up to an Annie Sloan workshop; you won't regret it.
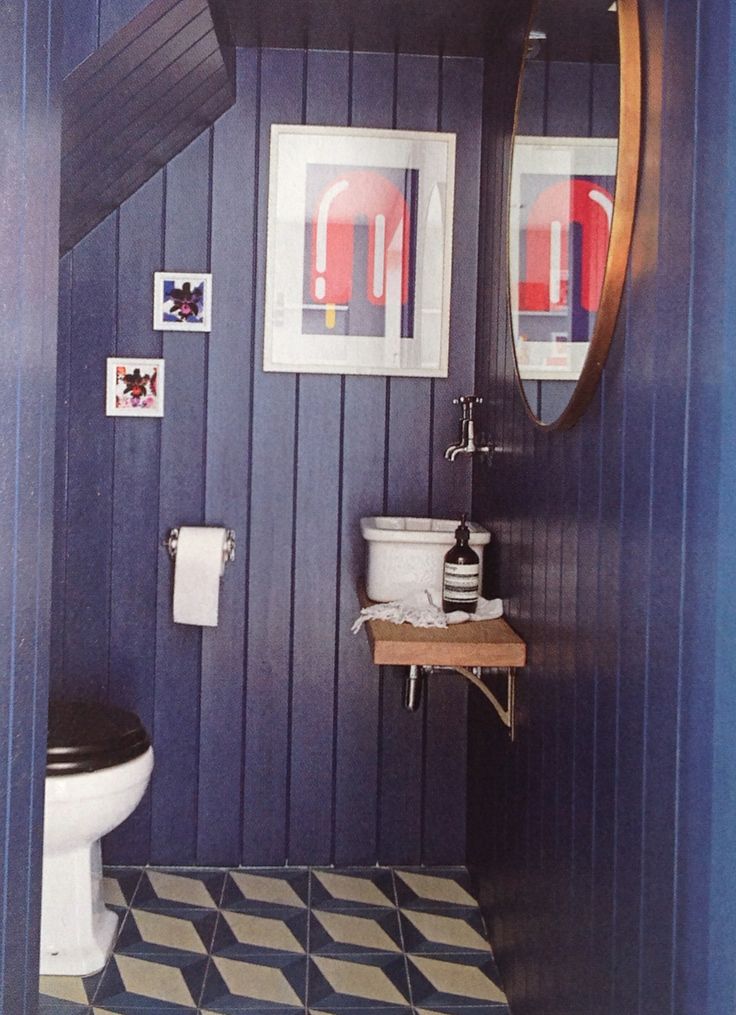
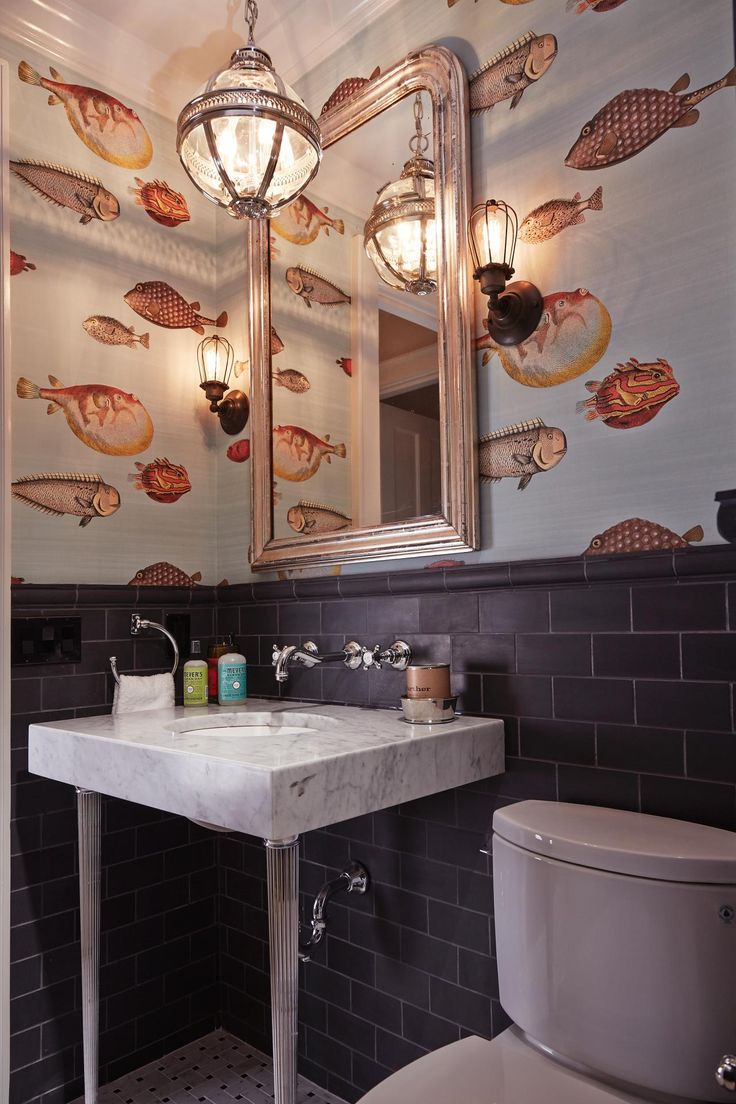
2. Transform a room in your home with a strong colour - most people are terrified of colour and stick to decorating rooms with neutrals. If you are one of these people, be brave and have some fun - transform a downstairs loo or walk in pantry or cupboard in a bold, strong paint colour or fabulous extravagant wallpaper. Loos are great places to have real fun with decorating. Here are a couple of ideas: Farrow and Ball 'Stiffkey Blue' is a stunning darkish blue paint and looks stunning on walls. You can also paint the ceiling and skirtings in the same colour or contrast these with white to complement the white loo and basin. Or paper the walls with one of the divine Cole and Son Fornasetti II Acquario wallpapers (several colourways though I'm partial to the black background one). Both these ideas can be seen in the two images below.
3. Take classes in something fun and creative - I've signed up salsa classes! I'm no dancer and I know this is right out of my comfort zone but I am sure it will be really enjoyable (eeek!!). I'm also going to learn how to play bridge. I've always thought bridge was for the "oldies" as I associated it with my grandma and mother but I'm constantly being proved wrong; it seems to be quite trendy these days and it is great for the brain!
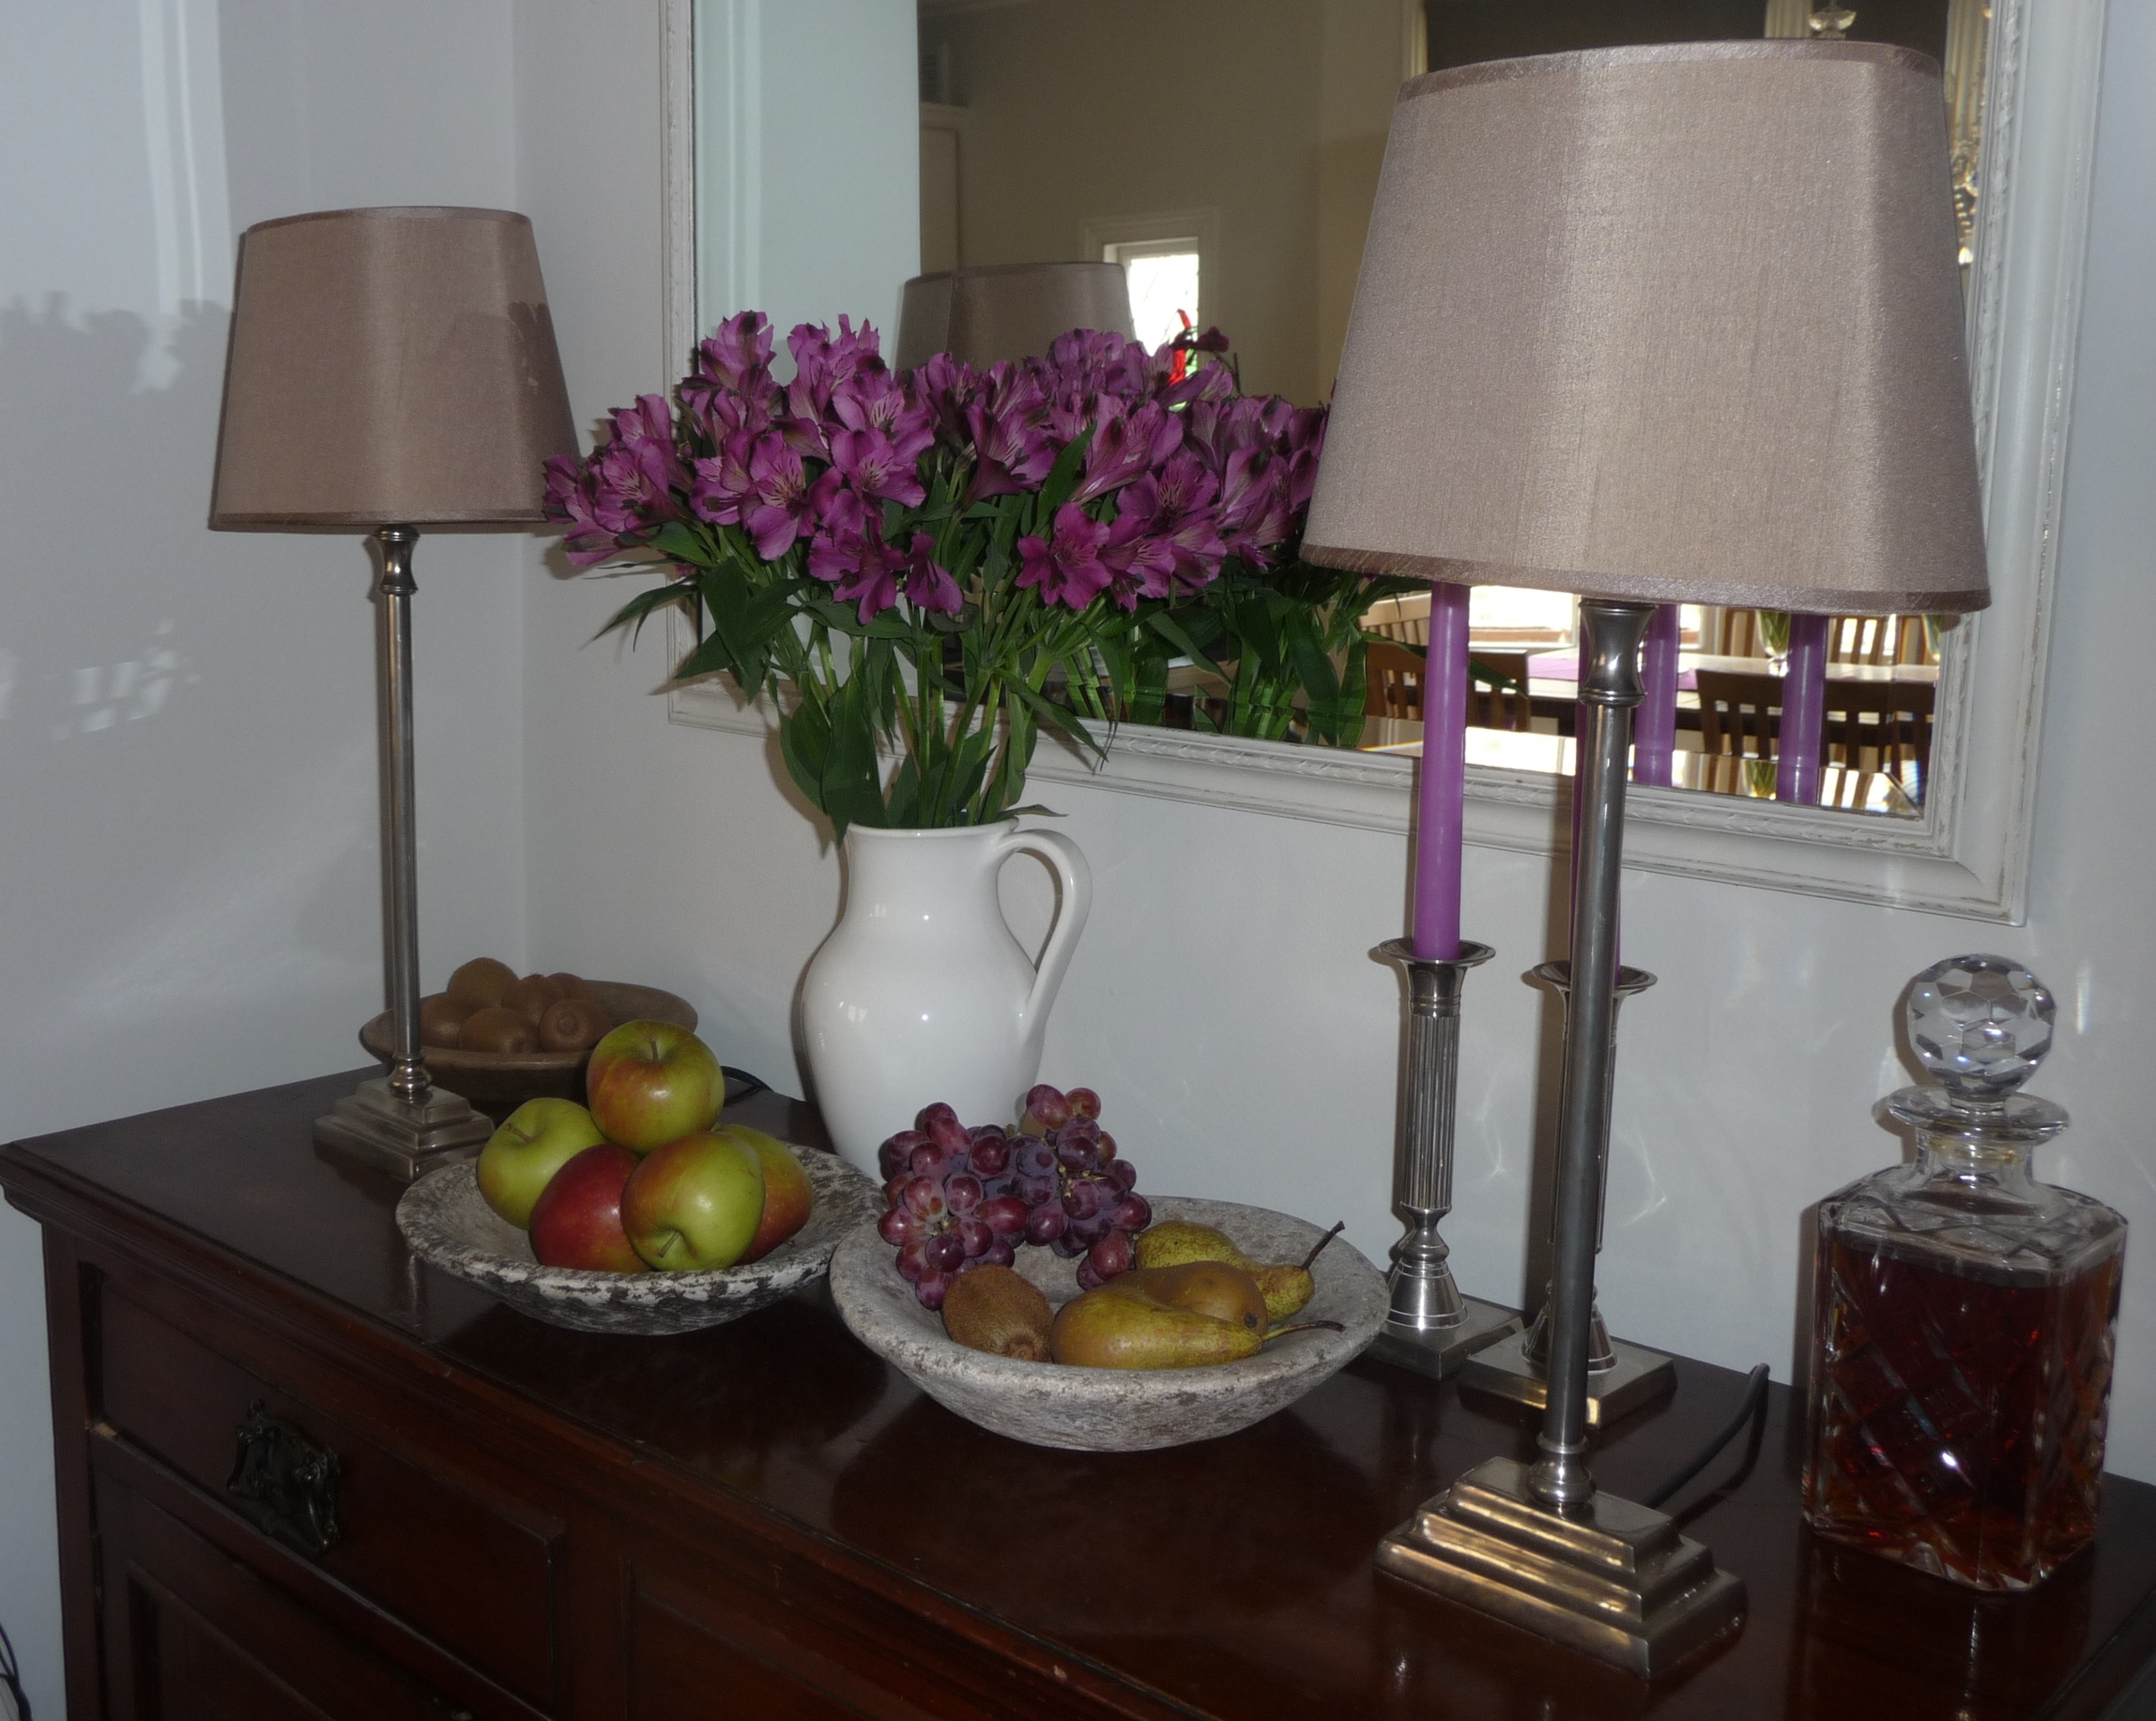
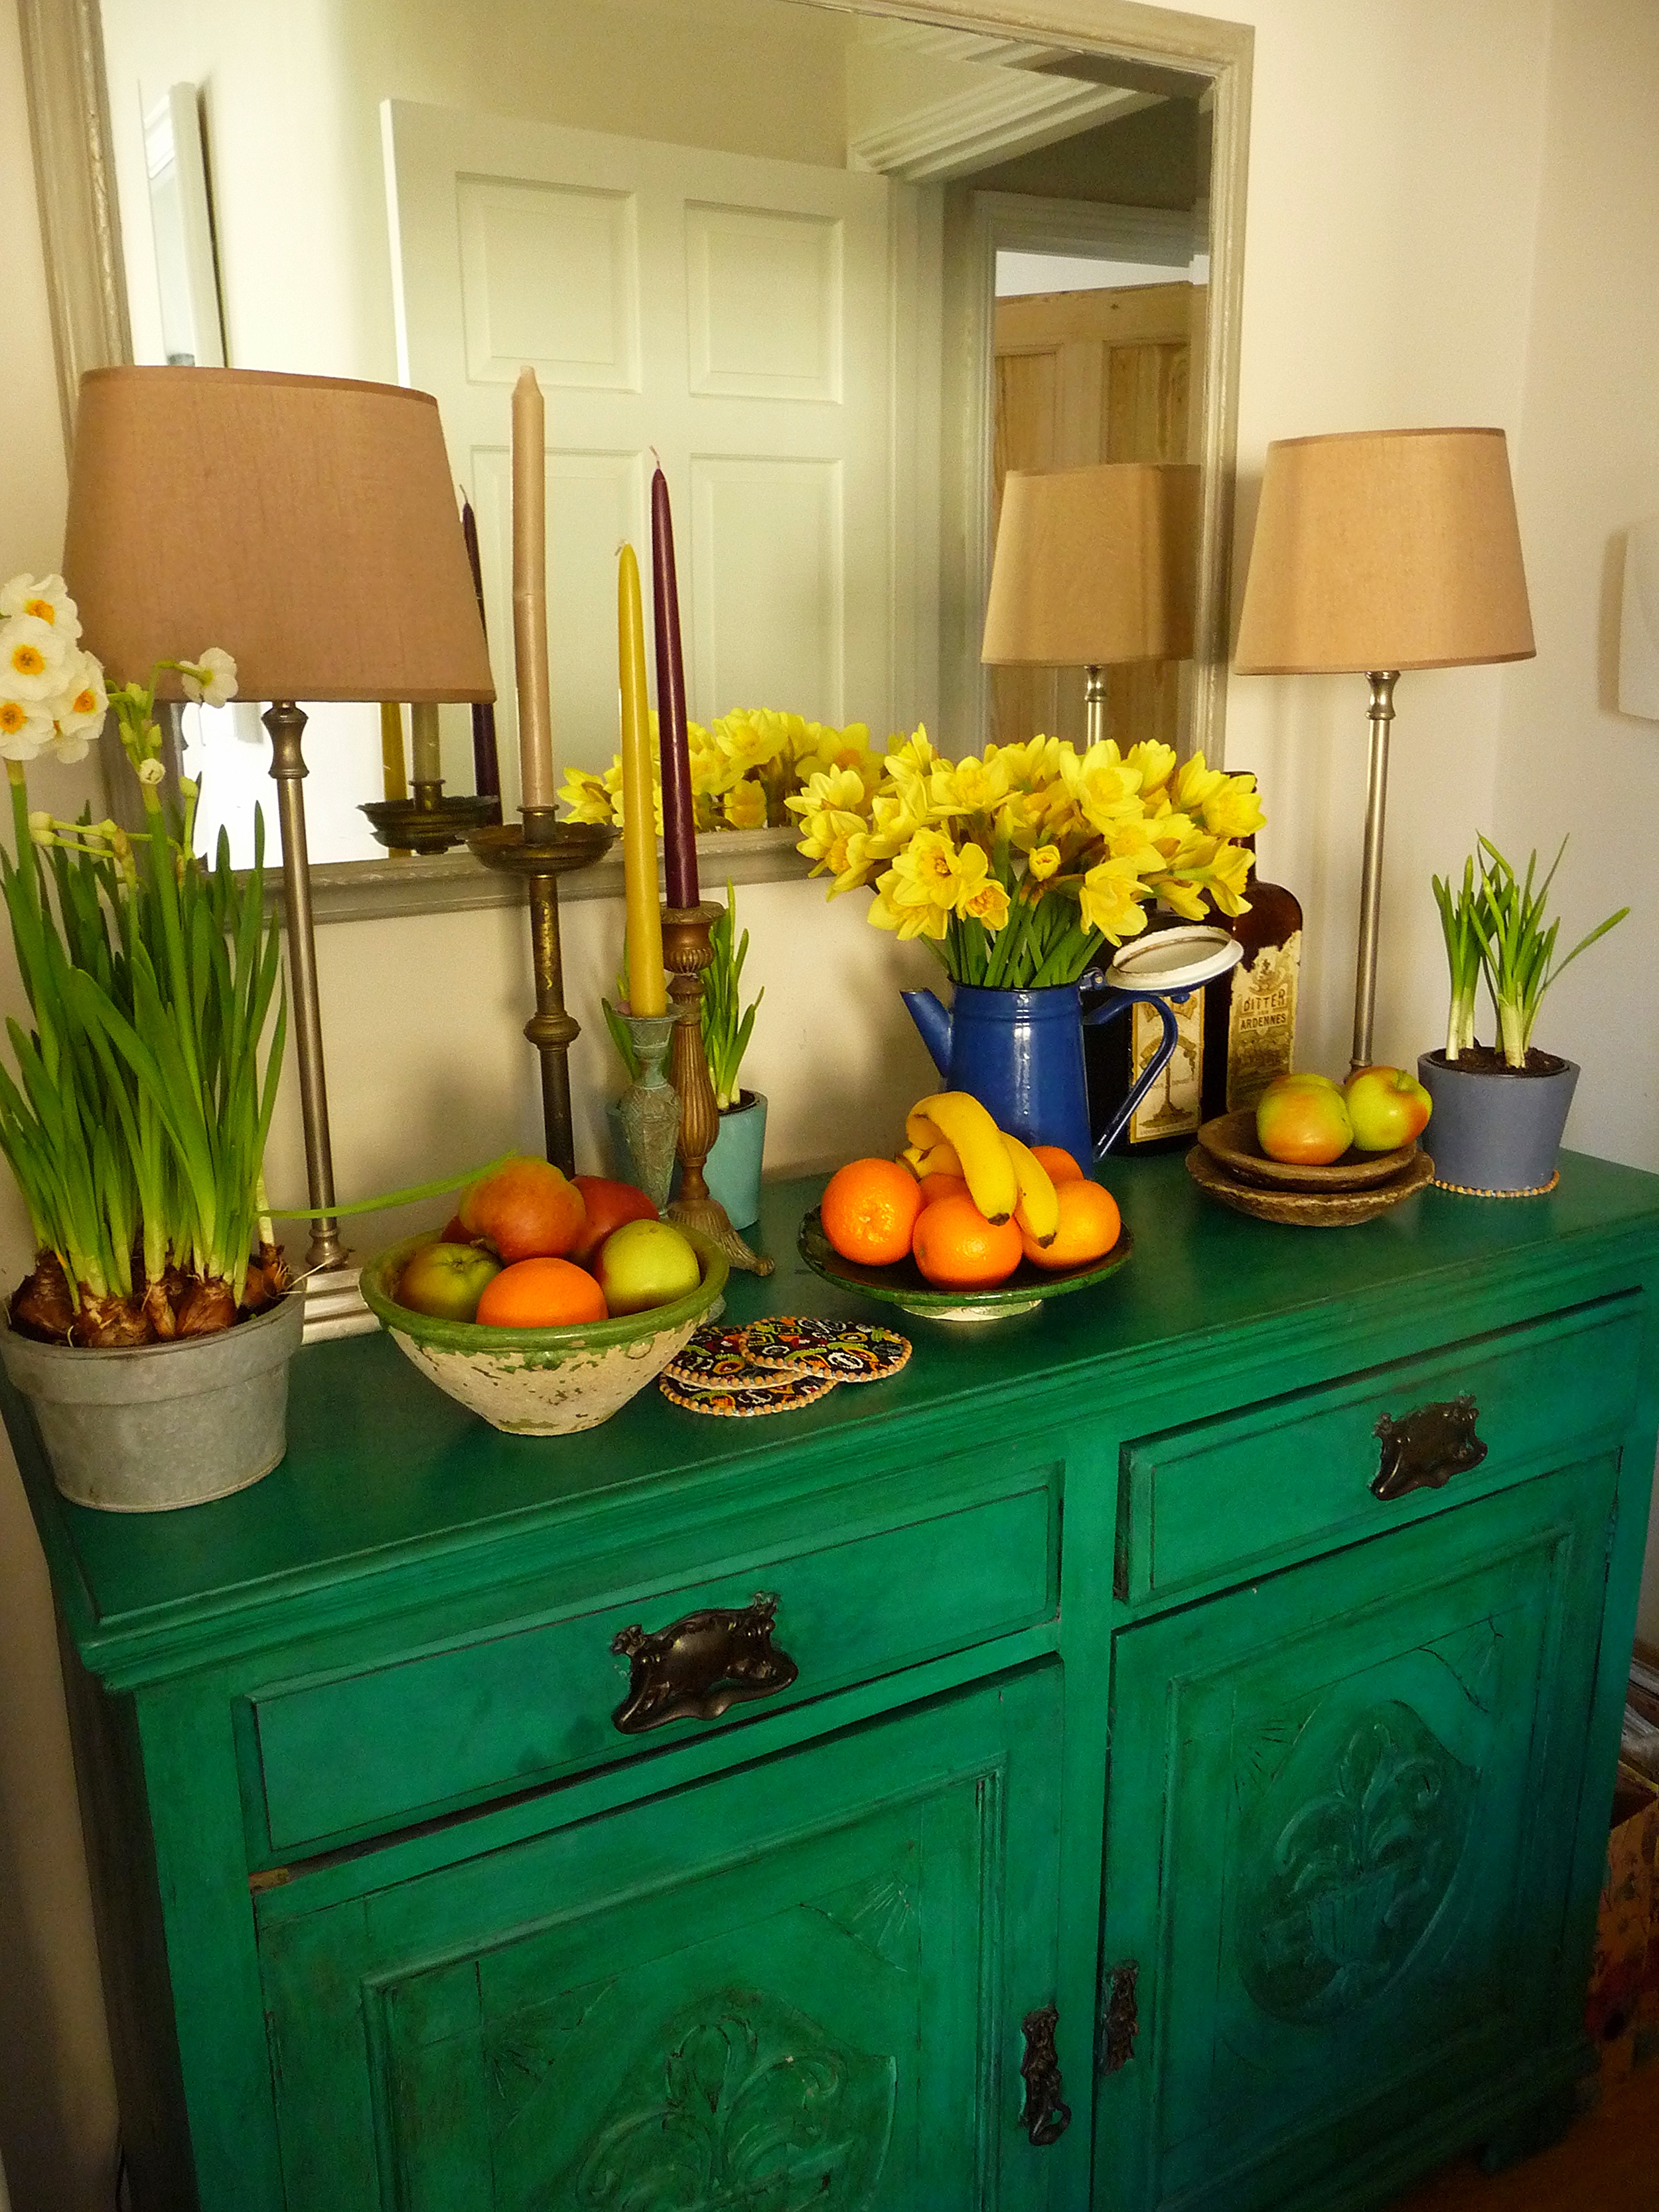
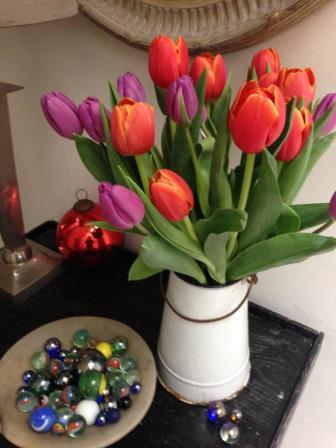
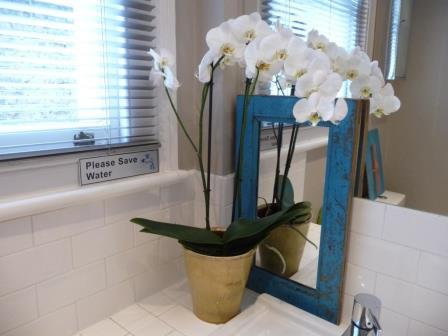
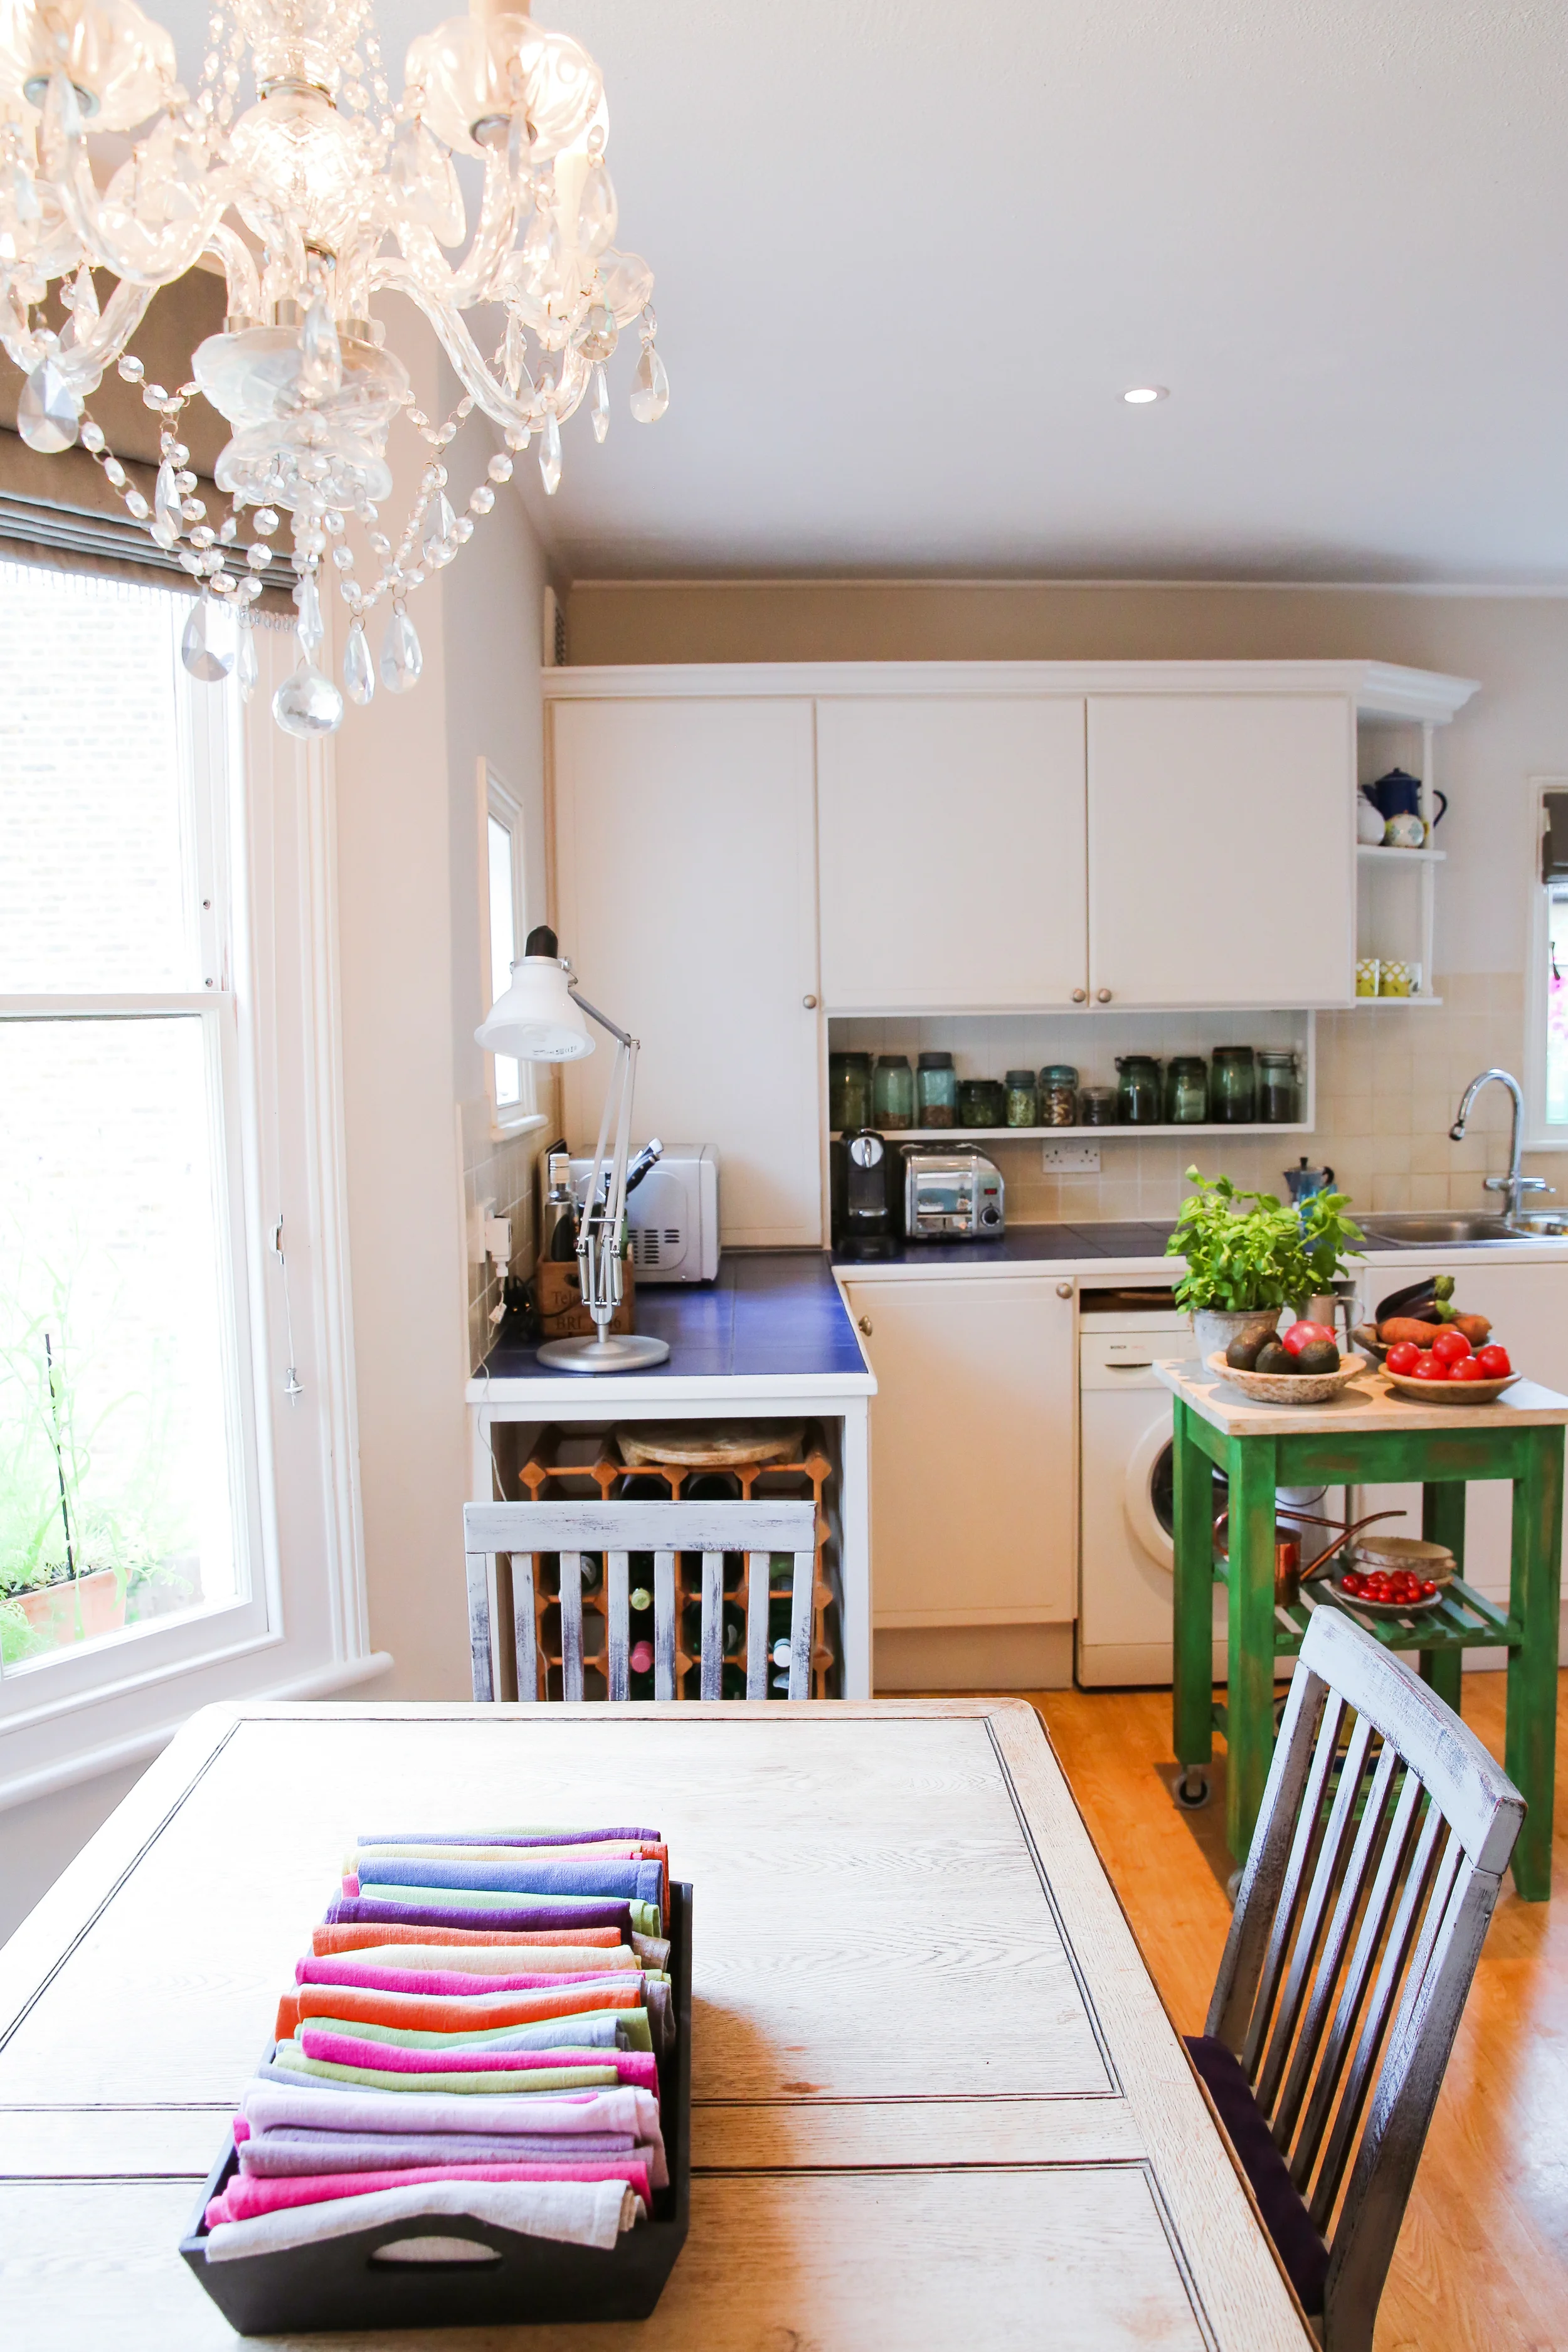
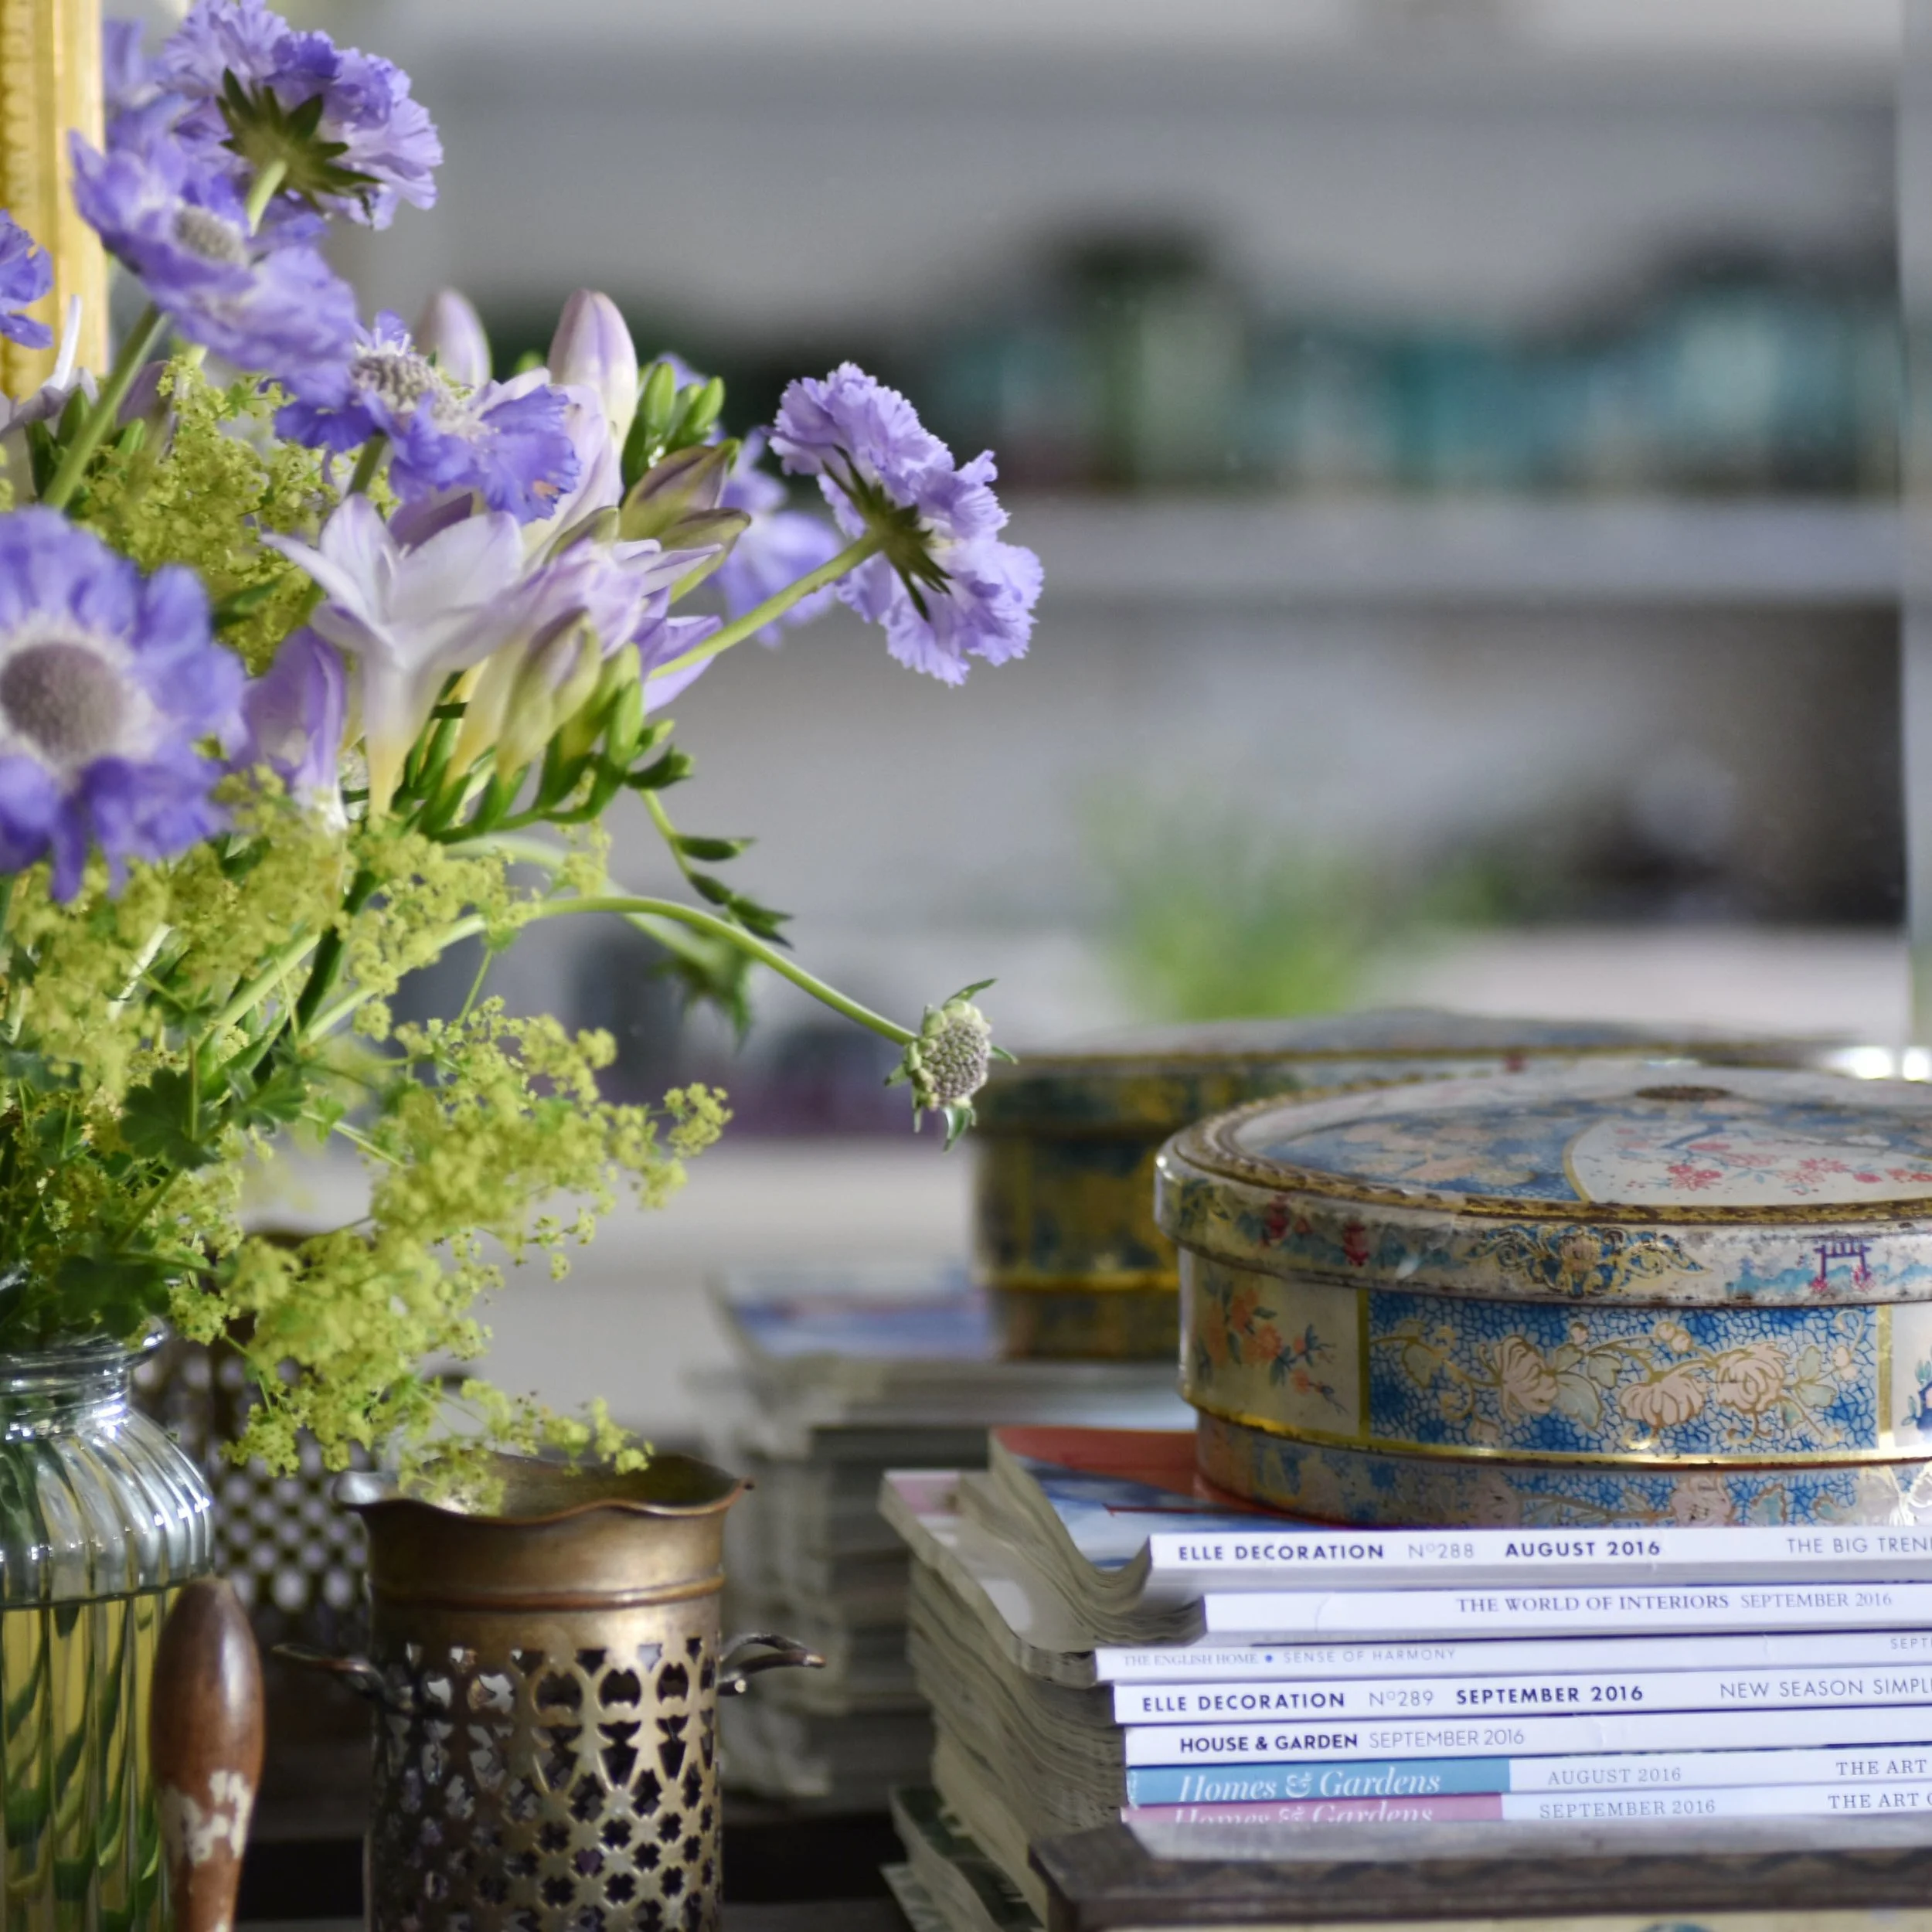
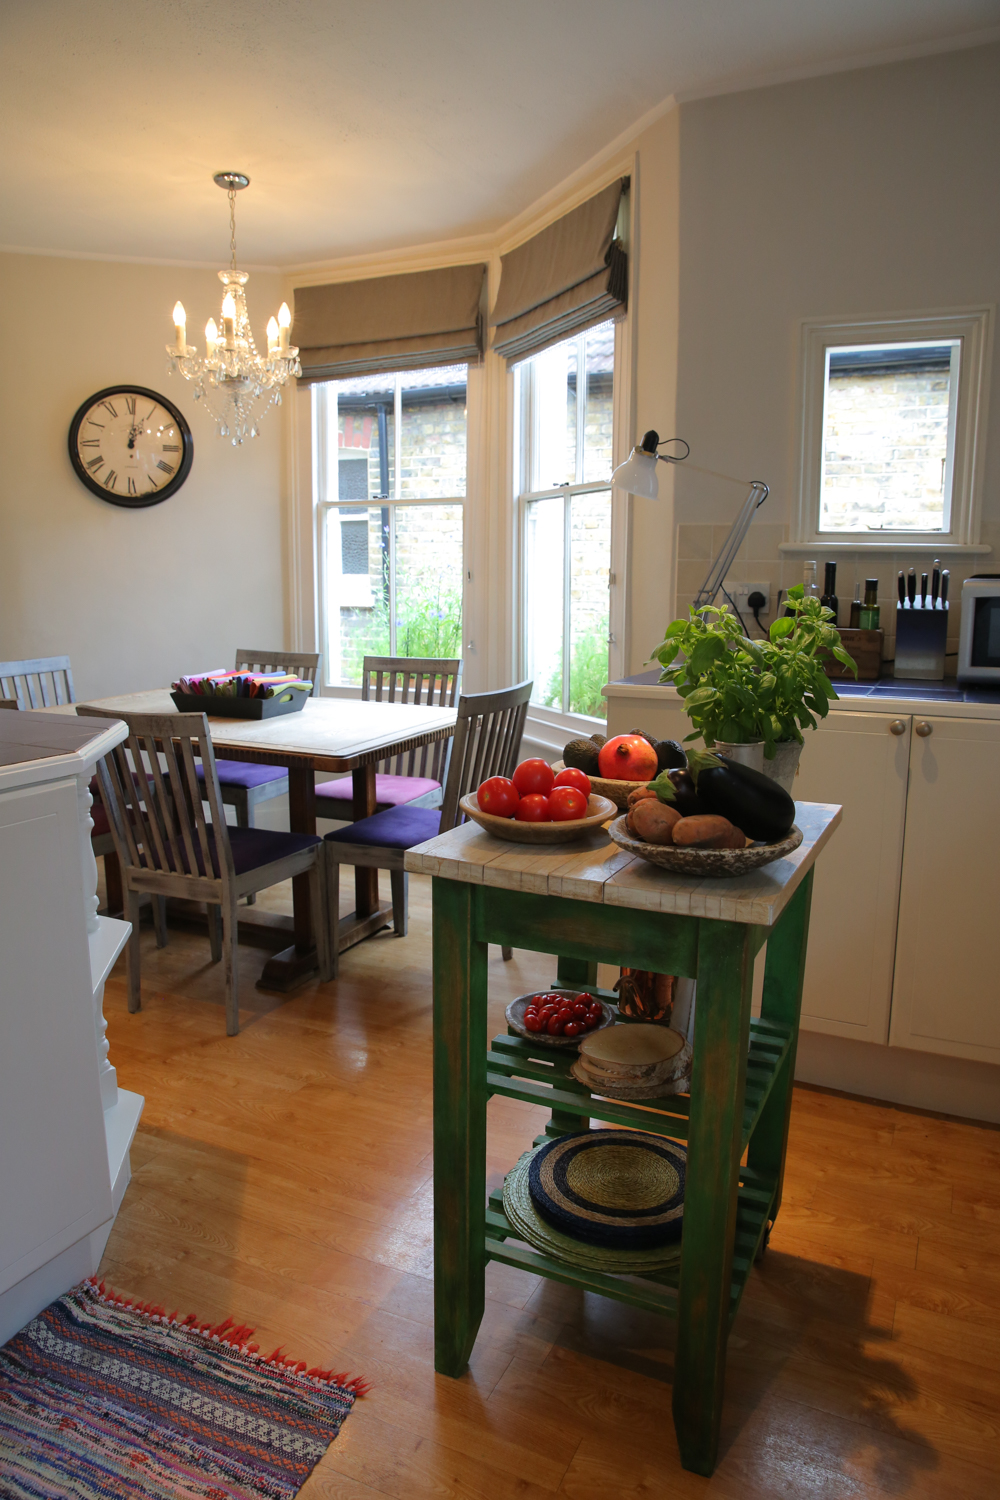
4. Buy more flowers and plants for the home - I bang on about having flowers in the home in many of my blog posts (it's the florist in me!). Flowers & plants are not only beautiful but they can be therapeutic to have around as they always make you feel happy. I have them in most rooms and often they actually make me smile when I enter a room and see a vase of beautiful blooms. They are also a great way to introduce colour into a neutral colour scheme. Be brave, be bold - buy purple and orange tulips and put them in the same vase as I love to do (my two favourite colours); pink and orange roses in the same vase; an orchid plant in the bathroom. Just three suggestions. I'm not a huge fan of green plants but I do love flowering spring plants like hyacinths and daffodils so buy some of these when they are in season and put them in pretty pots around the house.

5. Be kind to yourself - Have a regular beauty treatment - I have found a local spa that offers a half hour back & neck massage for only £20 and the girl who does the treatment is absolutely superb. I feel totally "filleted" after the massage and they always encourage me to chill out afterwards on their reclining sofas with a herbal tea for a half hour. I struggle to get up after that and go home!! I cannot stress enough how important it is to treat yourself - a manicure, pedicure, massage or other (just not a waxing as that's self-flaggation in my book !!!!!).
I hope you will consider some or all of the above five suggestions for your new year's resolutions. Just remember to love yourself and you deserve to enjoy life a bit more. So less of the self-flaggation and more of the above tips!!
I'd love to hear of any resolutions that you have on your list that involve enjoyment and creativity as well as pushing you out of your comfort zone.
You may also like to read
Featured


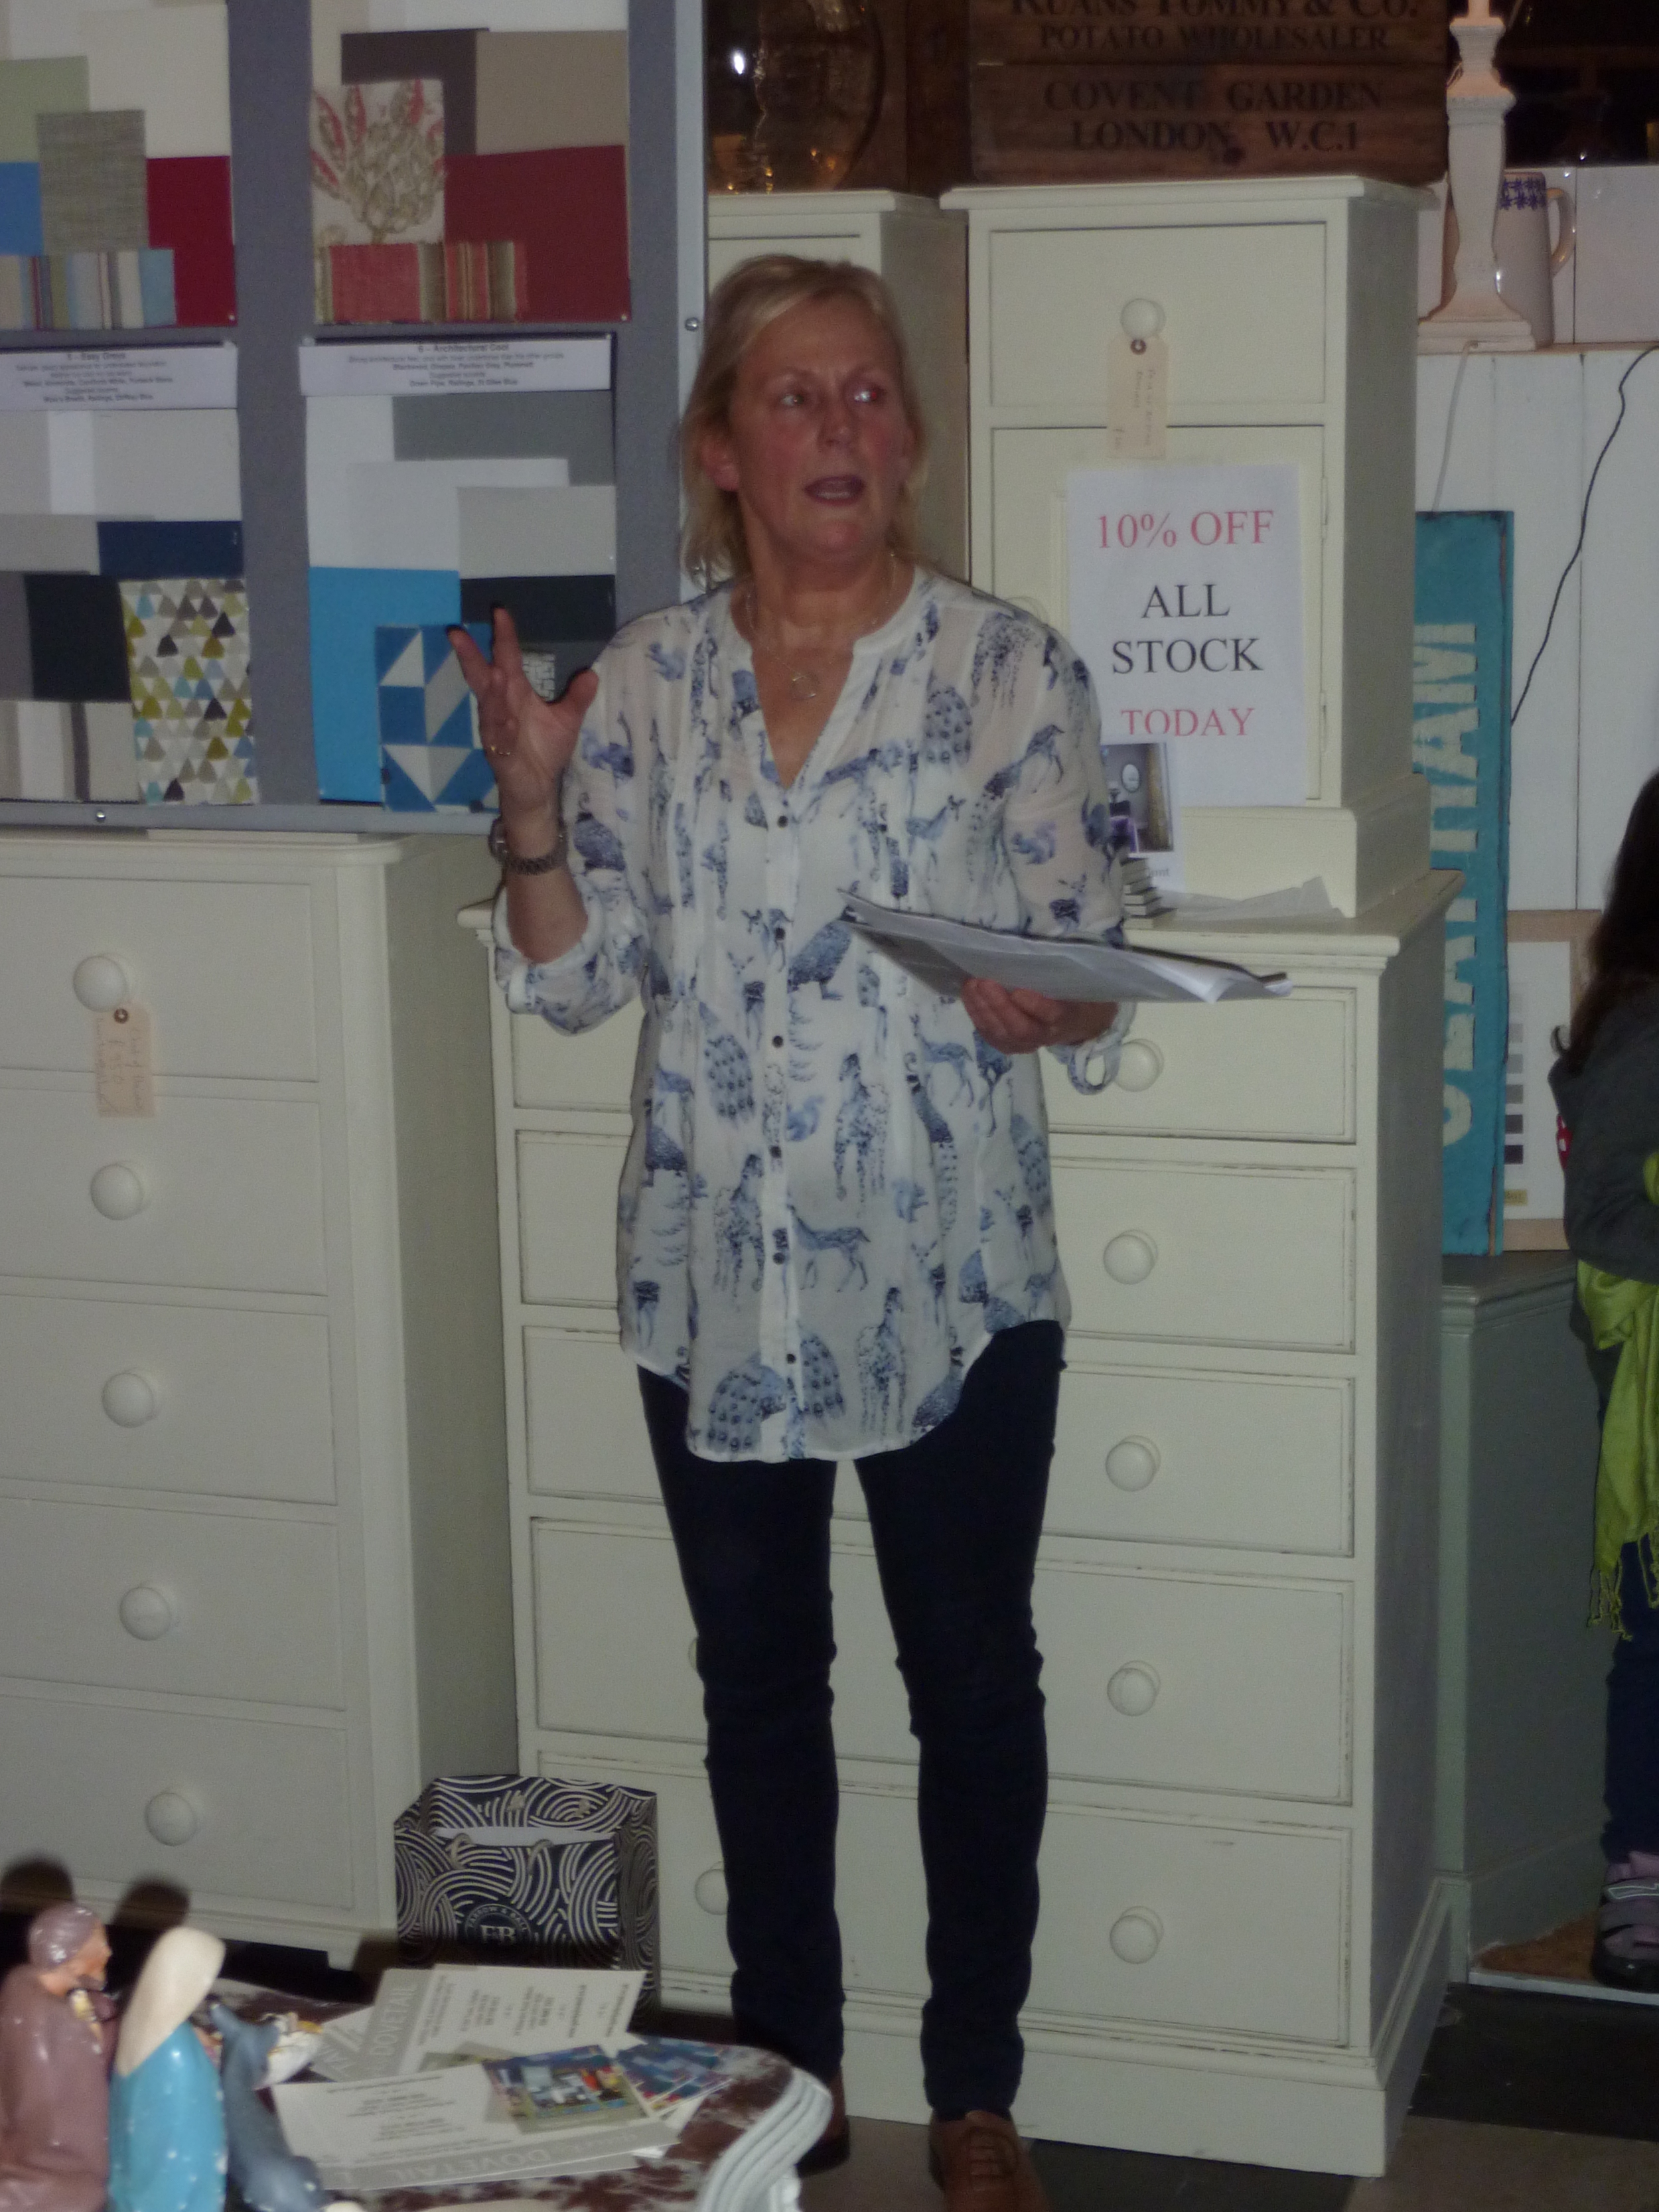
Inspiring locals with my 'Colour in the Home' talk
Hi Everyone, I guess you are in the throws of starting to decorate your homes for Christmas and furiously buying presents. It's a lovely time of year; I love all that anticipation.
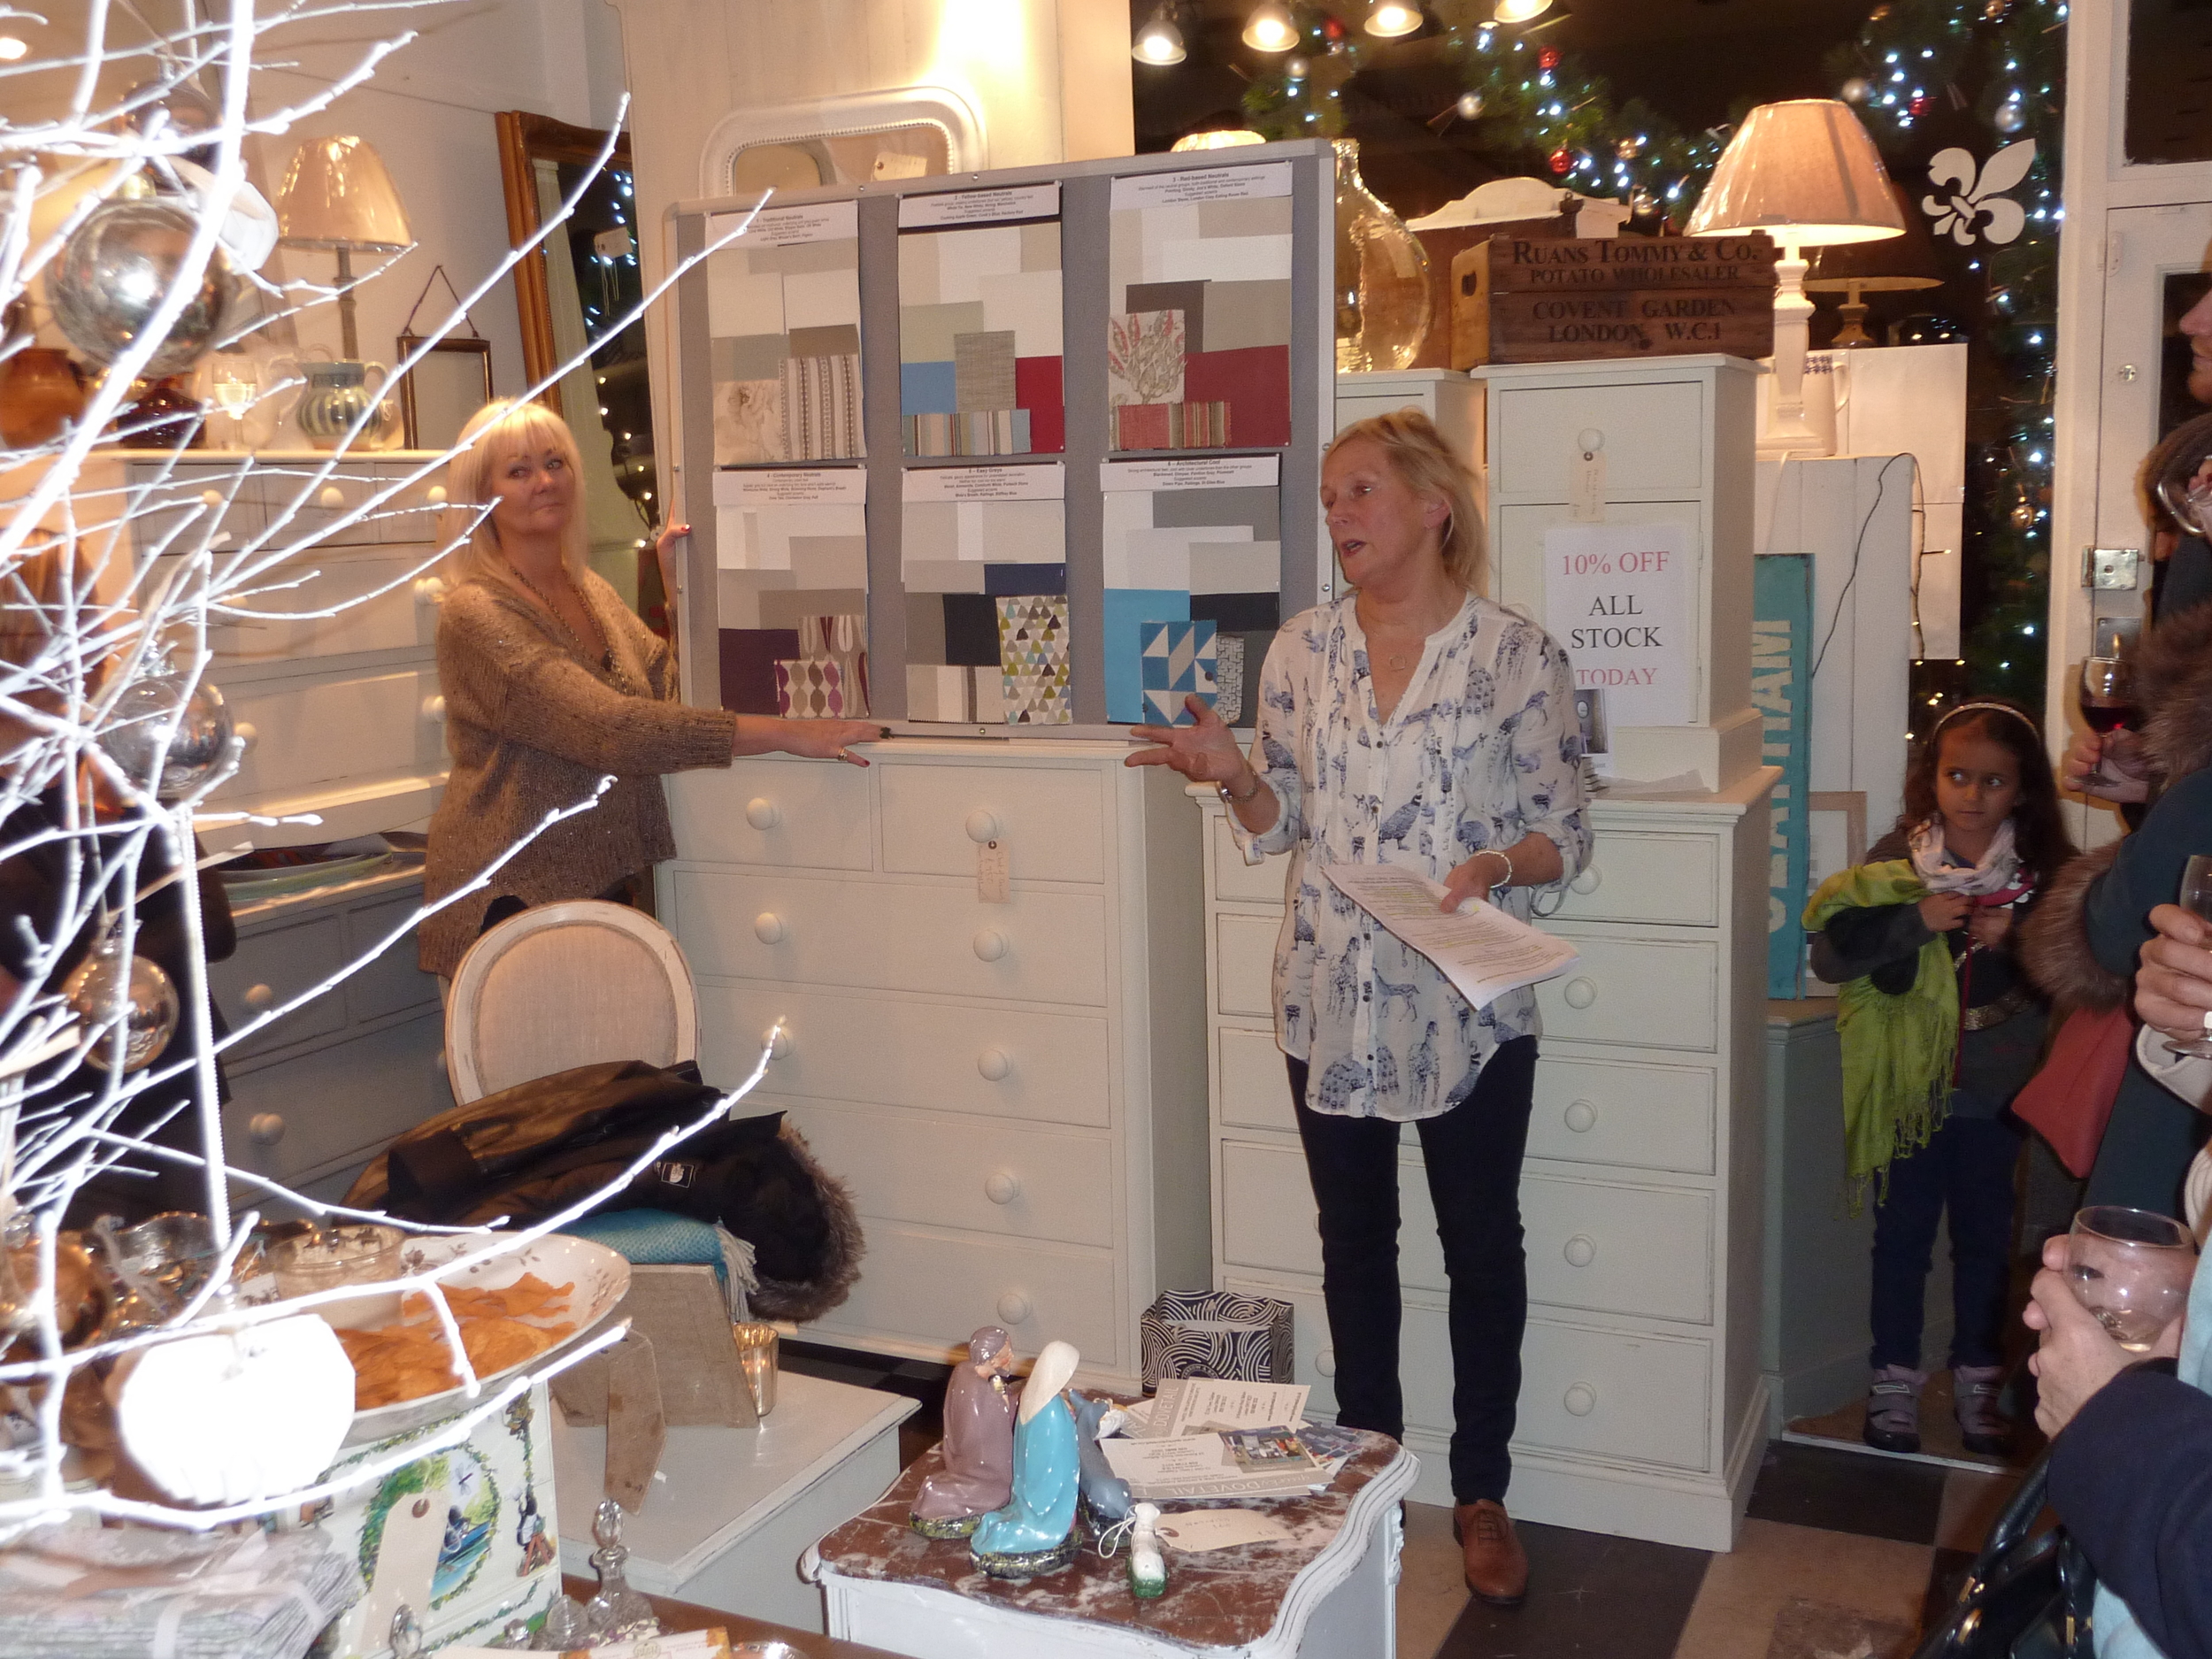
Last week I gave a talk on 'Colour in the Home' at the local interiors shop where I work two days a week, Quirky Dovetail. This is a lovely local interiors shop where I've been working (running the shop) part-time for the last three years. We specialise in up-cycling old furniture and painting it in Farrow and Ball neutral paint colours as well as selling antique and vintage items and homewares. The event at which I spoke was our annual Christmas shopping evening which is always well attended by regular clients, new clients and friends. Given that I am an interior decorator and colour consultations are a crucial part of my services, and also I'm absolutely passionate about colour, I decided to give a half hour talk on how to use colour in the home. The majority of our clients are afraid of colour so I wanted to show them how they could inject some colour into a neutral colour scheme. Grey is definitely the trend currently and many people paint rooms grey, add grey flooring and furniture but then wonder why the room looks bland and insipid. I hope I inspired them enough to introduce some colour; the feedback after my talk certainly gave that impression!
Given that Quirky Dovetail paint furniture in Farrow and Ball paint, I used the six Farrow and Ball neutral families as the basis for my talk. There are so many colour brands and each paint chart has way too many colours but I like the fact that Farrow and Ball have created these six neutral families to make our lives easier when selecting a colour scheme. And Farrow and Ball paint is particularly lovely with such high levels of pigment and such depth of colour.
I know the word 'neutral' can sound really dully and boring, even a bit of a cop-out to some of you, however neutrals are easy to live with, elegant and un-demanding if they are used correctly. It's all about how you put the neutral shades together as to whether the effect is sophisticated or insipid.
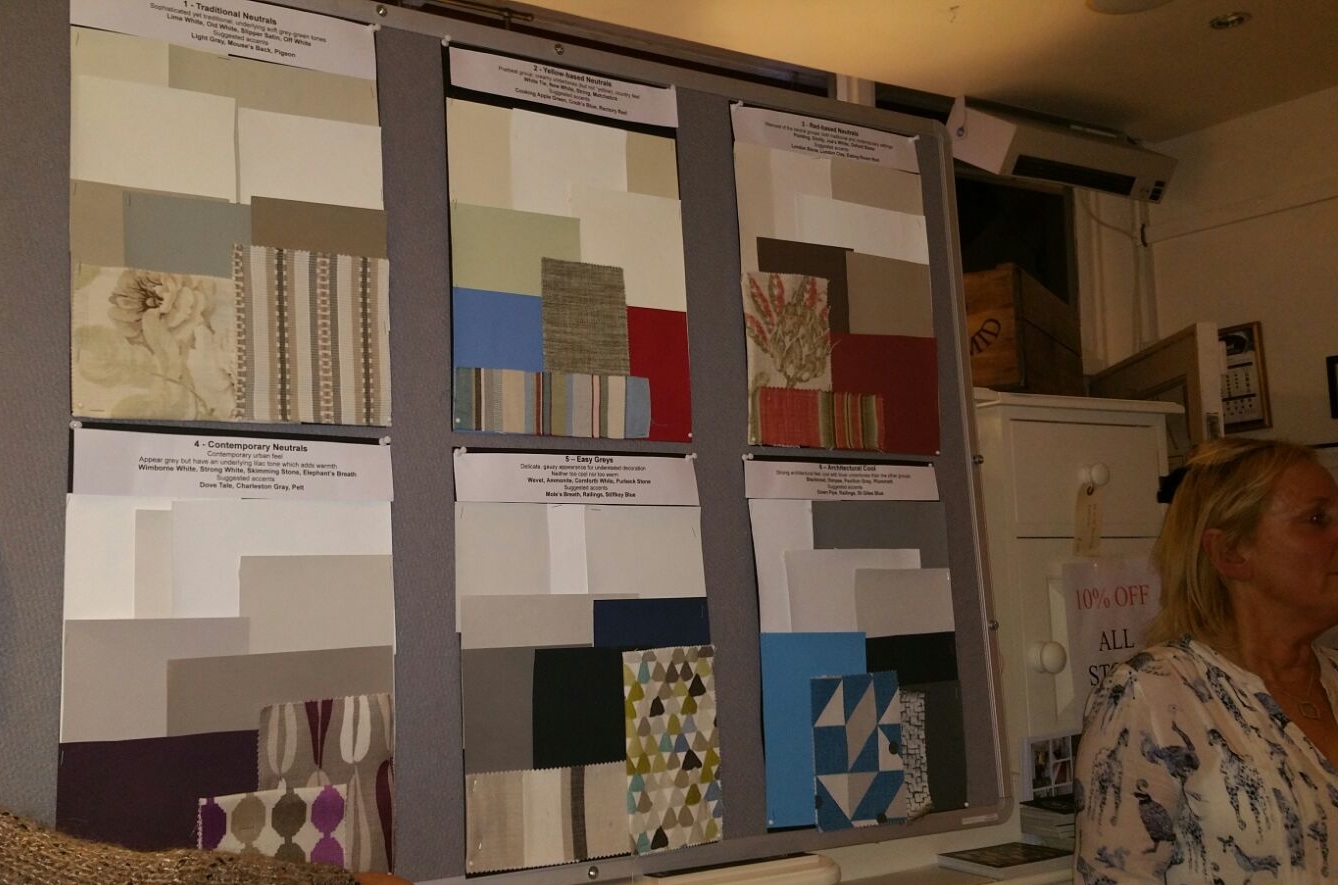
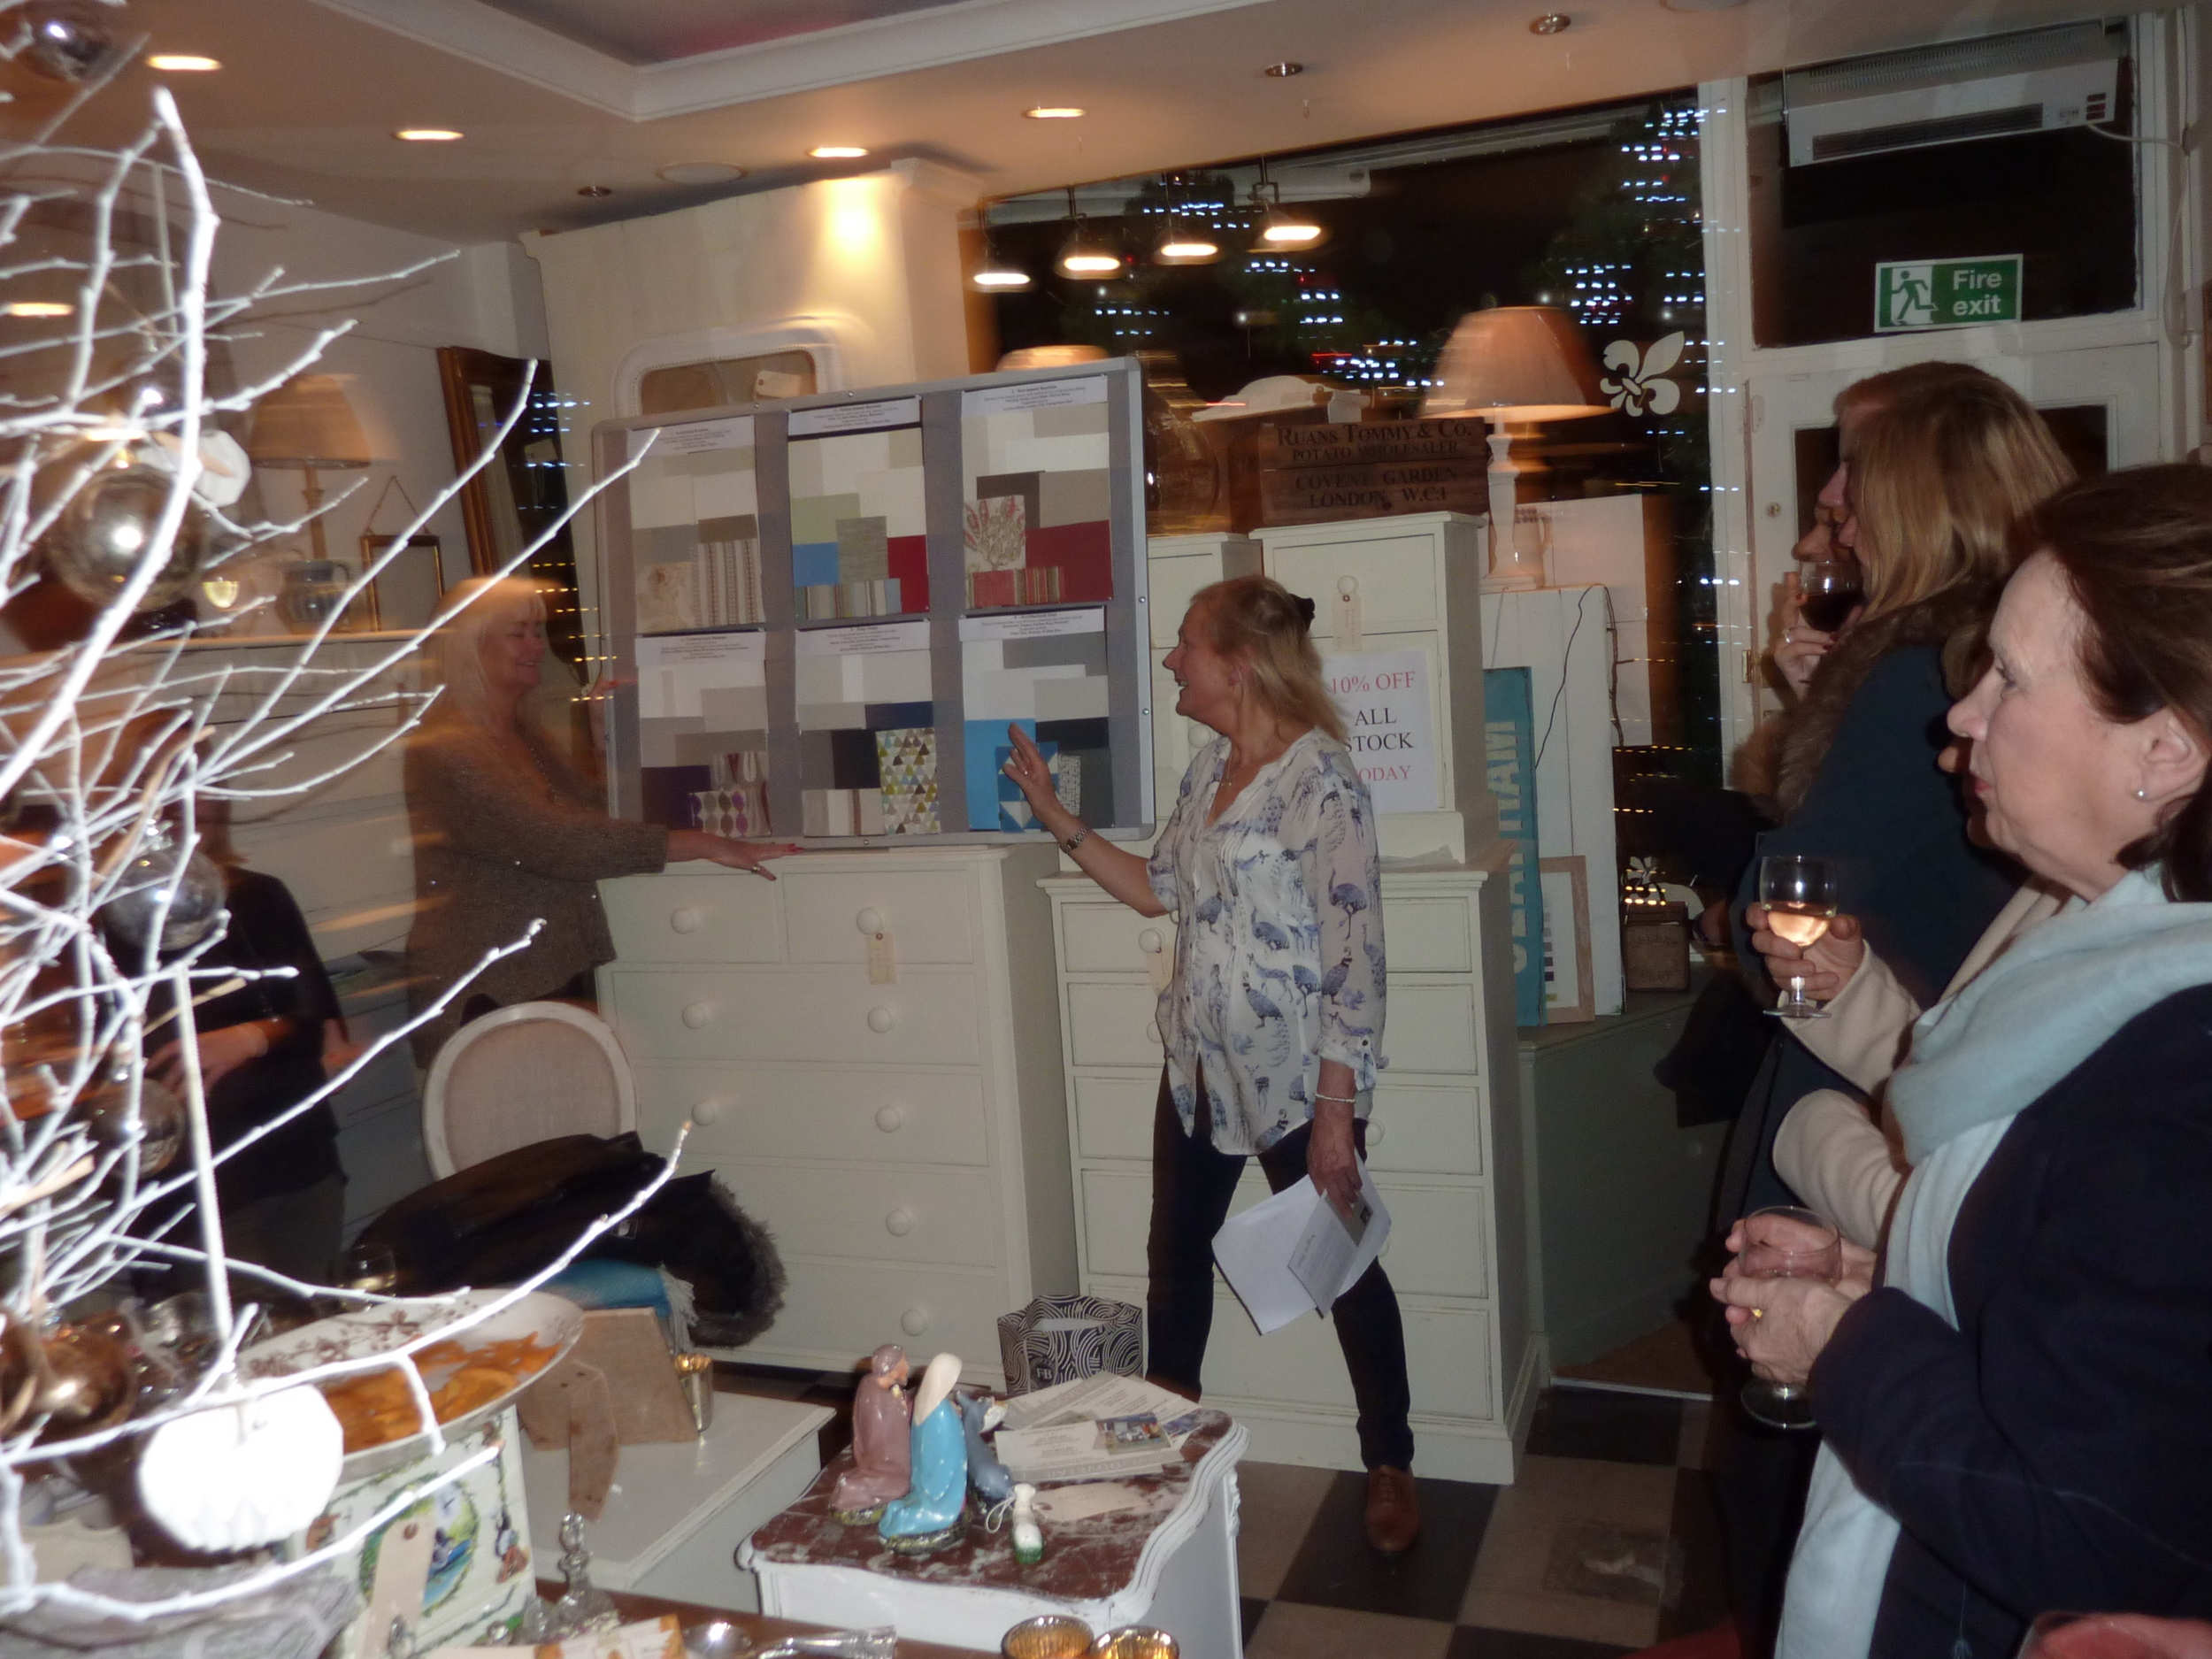
I prepared a board for each of the Farrow and Ball neutral families and I included some accent colours and also a couple of fabrics to create a sort of mood board so that the audience could imagine how these could work in a room.
For those of you are not familiar with the Farrow and Ball neutral families, they are:
Traditional Neutrals - Soft grey-green tones, sophisticated - Lime White, Old White, Slipper Satin, Off White. Suggested accents: Light Gray, Mouse's Back, Pigeon
Yellow-based Neutrals - Creamy undertones, prettiest group, country feel - White Tie, New White, String, Matchstick. Suggested accents: Cord, Cat's Paw, Tanner's Brown, Mouse's Back or for a country scheme try Cooking Apple Green, Cook's Blue and Rectory Red
Red-based Neutrals - Red undertones, warmest group - Pointing, Dimity, Joa's White, Oxford Stone. Suggested accents: London Stone, London Clay, Eating Room Red
Contemporary Neutrals - Lilac undertones, appear grey, add edge but retain warmth - Wimborne White, Strong White, Skimming Stone, Elephant's Breath. Suggested accents: Dovetail, Charleston Gray, Pelt
Easy Greys - Neither too warm nor too cool, delicate gauzy appearance - Wevet, Ammonite, Cornforth White, Purbeck Stone. Suggested accents: Mole's Breath, Railings, Stiffkey Blue
Architectural Cool - Cool with blue undertones, have architectural edge - Blackened, Dimpse, Pavilion Gray, Plummett Suggested accents: Down Pipe, Railings, Stiffkey Blue
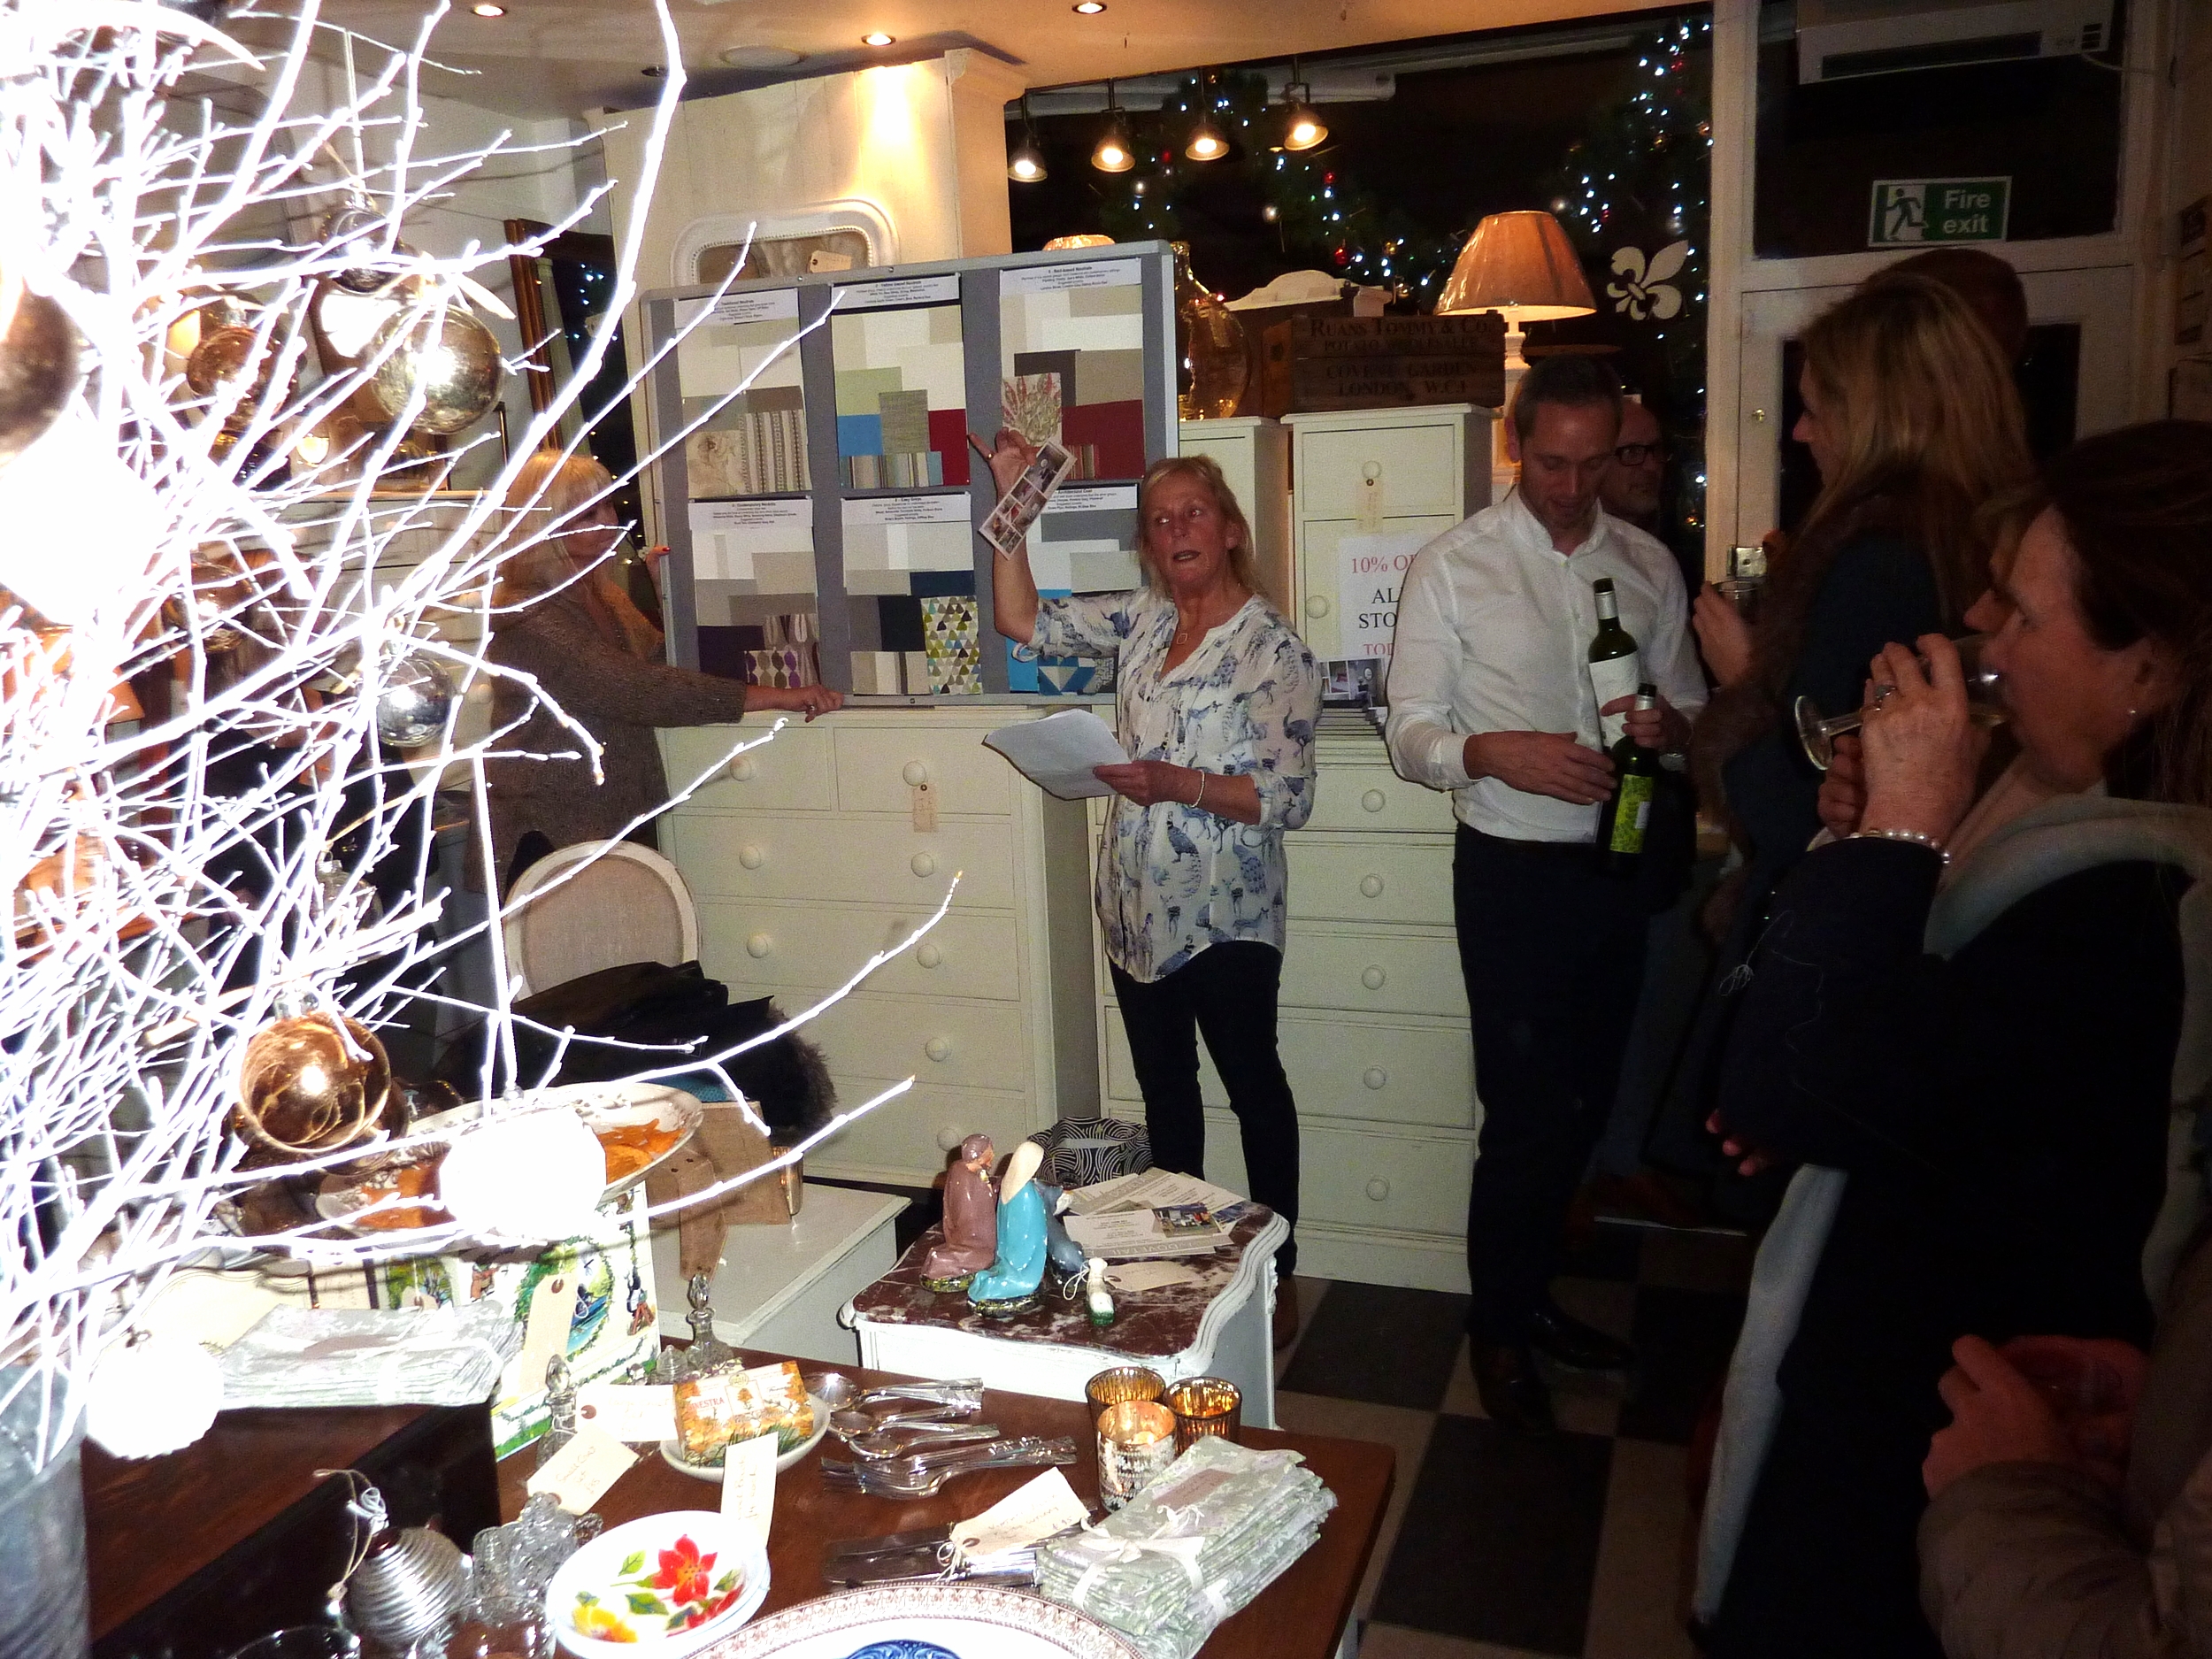
Here are my boards of the six neutral families and accents:
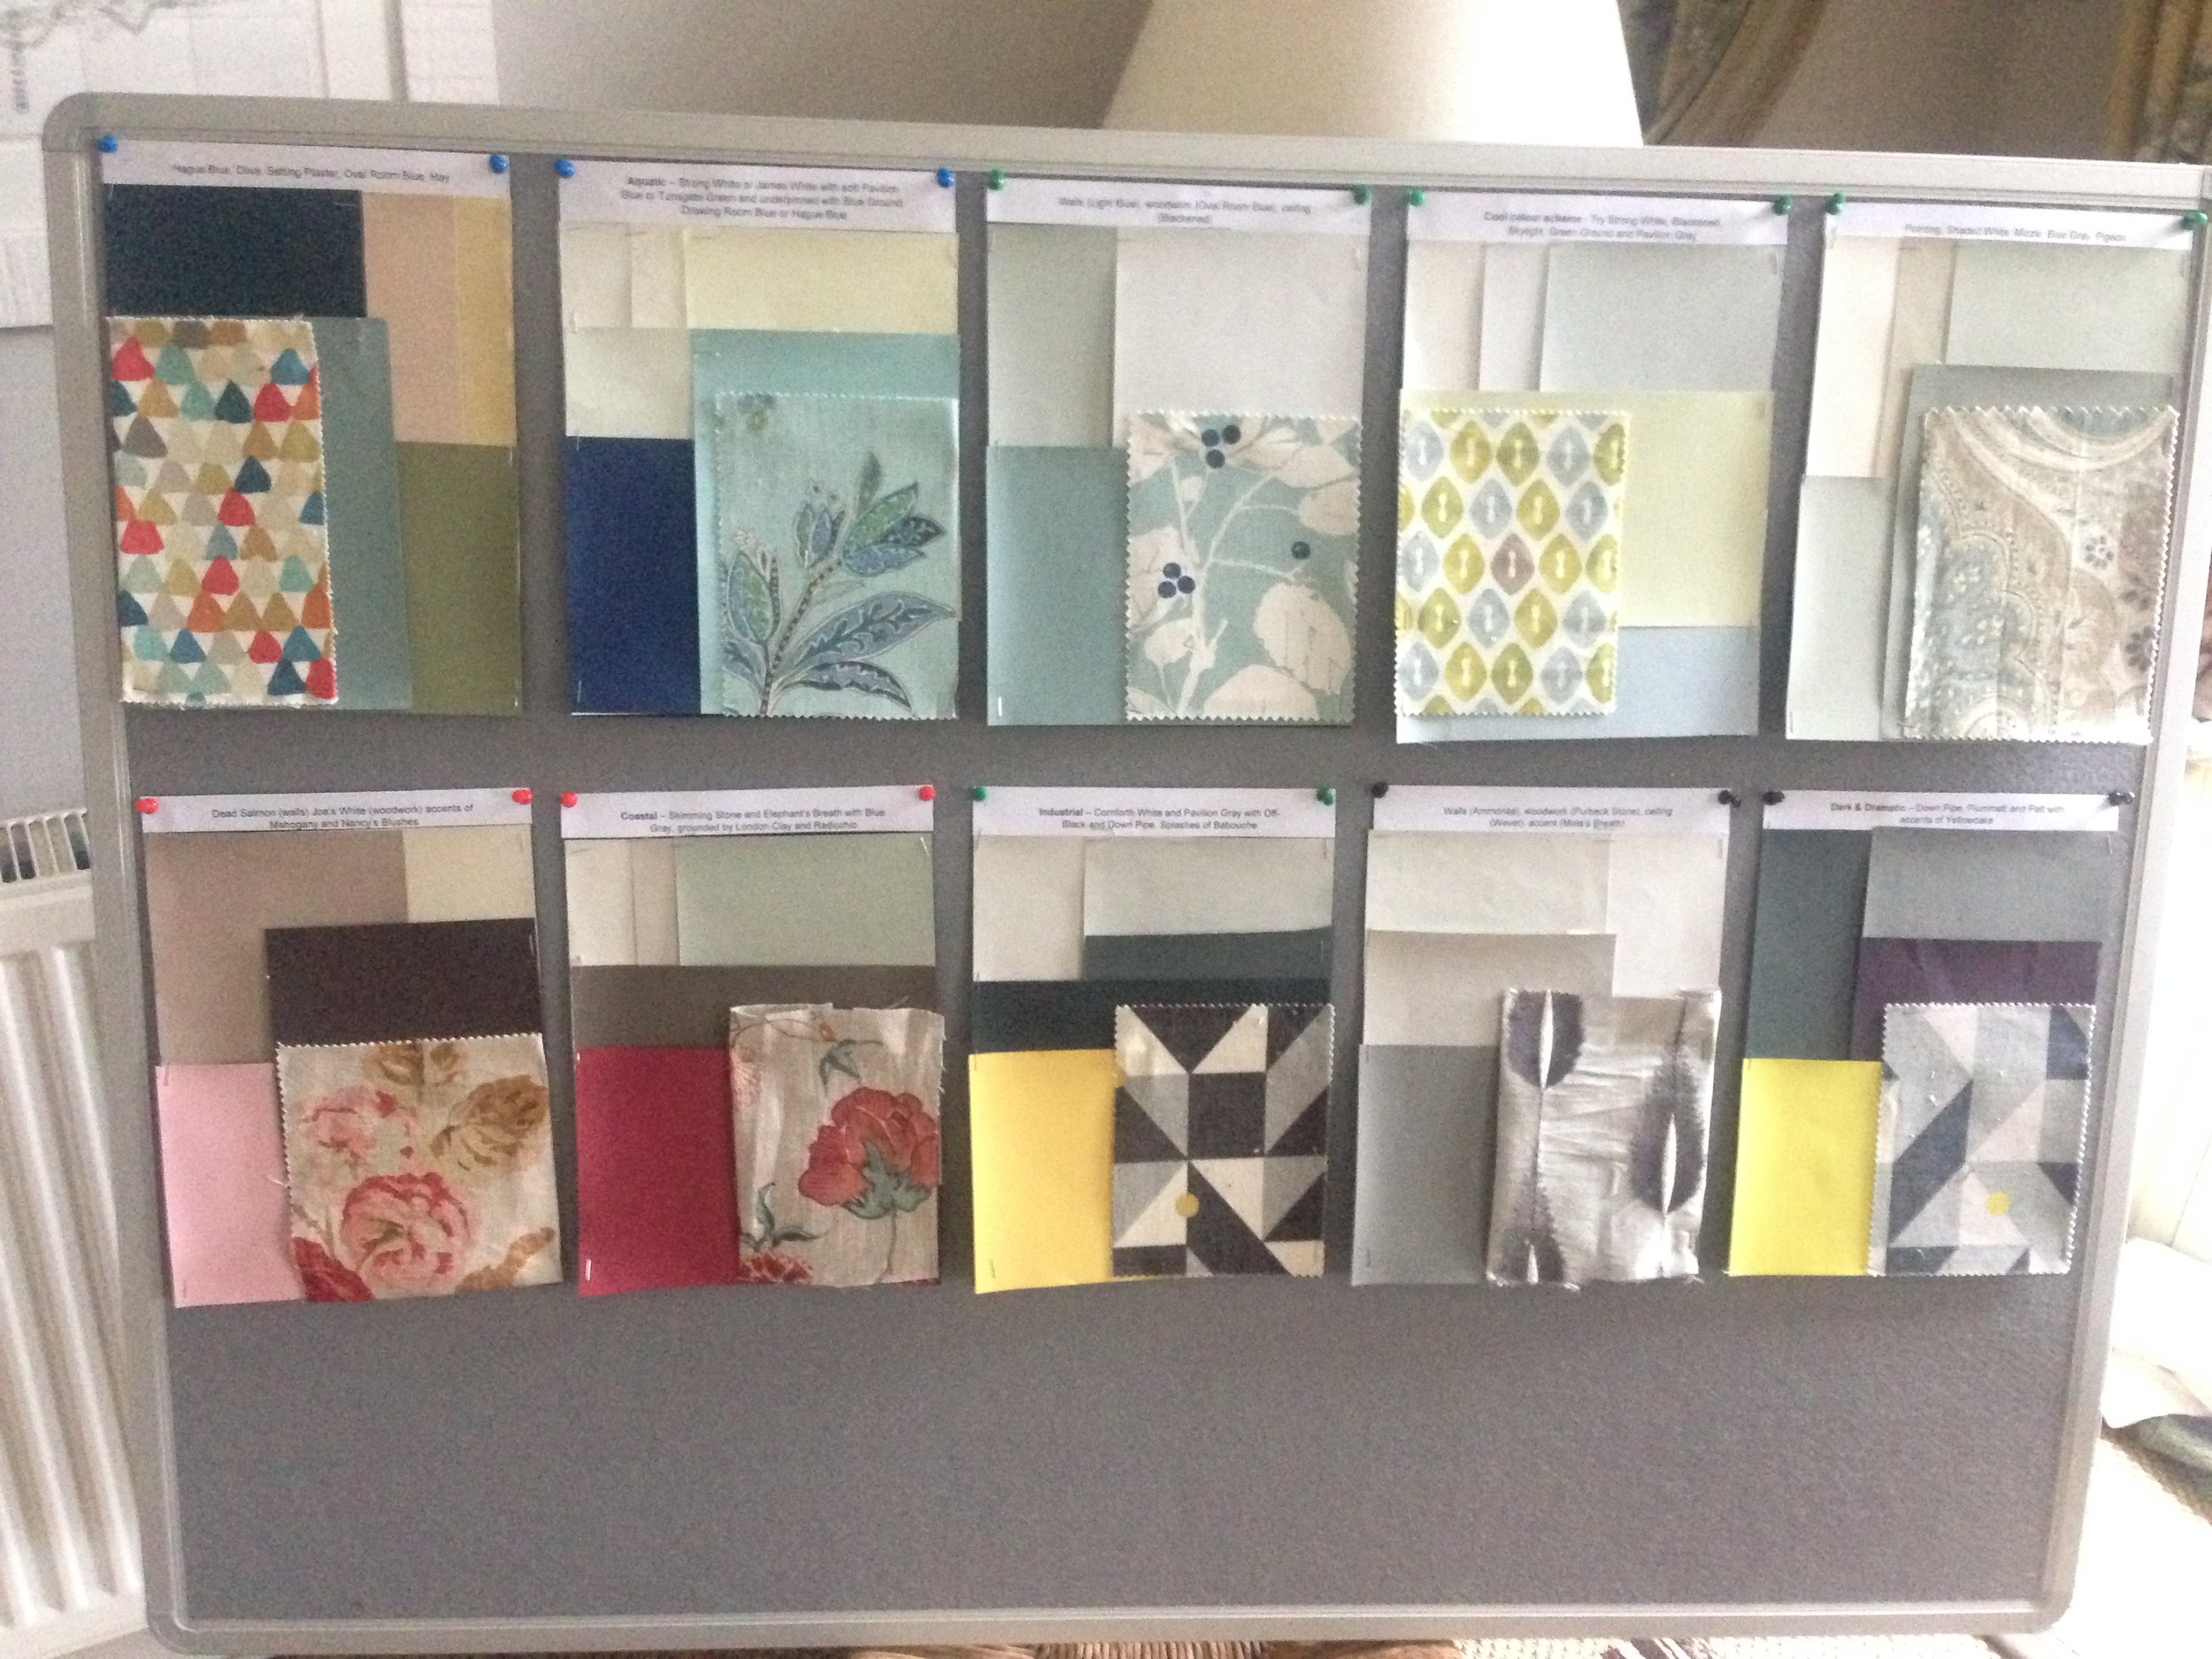
I also created some separate colour schemes on smaller boards again with a complementing fabric and these were pinned to the reverse of the presentation board for viewing after my talk.
We had a full house for my talk and the evening was animated and sociable fuelled by plenty wine and food and lots of shopping! Never the most flattering when you are being photographed talking animatedly and passionately and waving your arms around but here goes .......... !1


I would love to hear how you have introduced colour into your home and what paint brand and colours you have used. Or if you have any questions you would like to ask me, don't hesitate to get in contact.
You may also like to read
Featured


Hot tips for cleaning chandeliers
Happy Monday everyone! Sorry for the lack of blog posts; I was working all day every day last week and was out most evenings. Back to normal this week so I have more time to devote to writing on my blog.
Much as we all love a chandelier or two in our homes they are an absolute nightmare to clean. I'm not sure which I enjoy less, cleaning silver or cleaning chandeliers, probably the latter. I have a chandelier in every room of my home except the bathroom so cleaning them is the bain of my life.
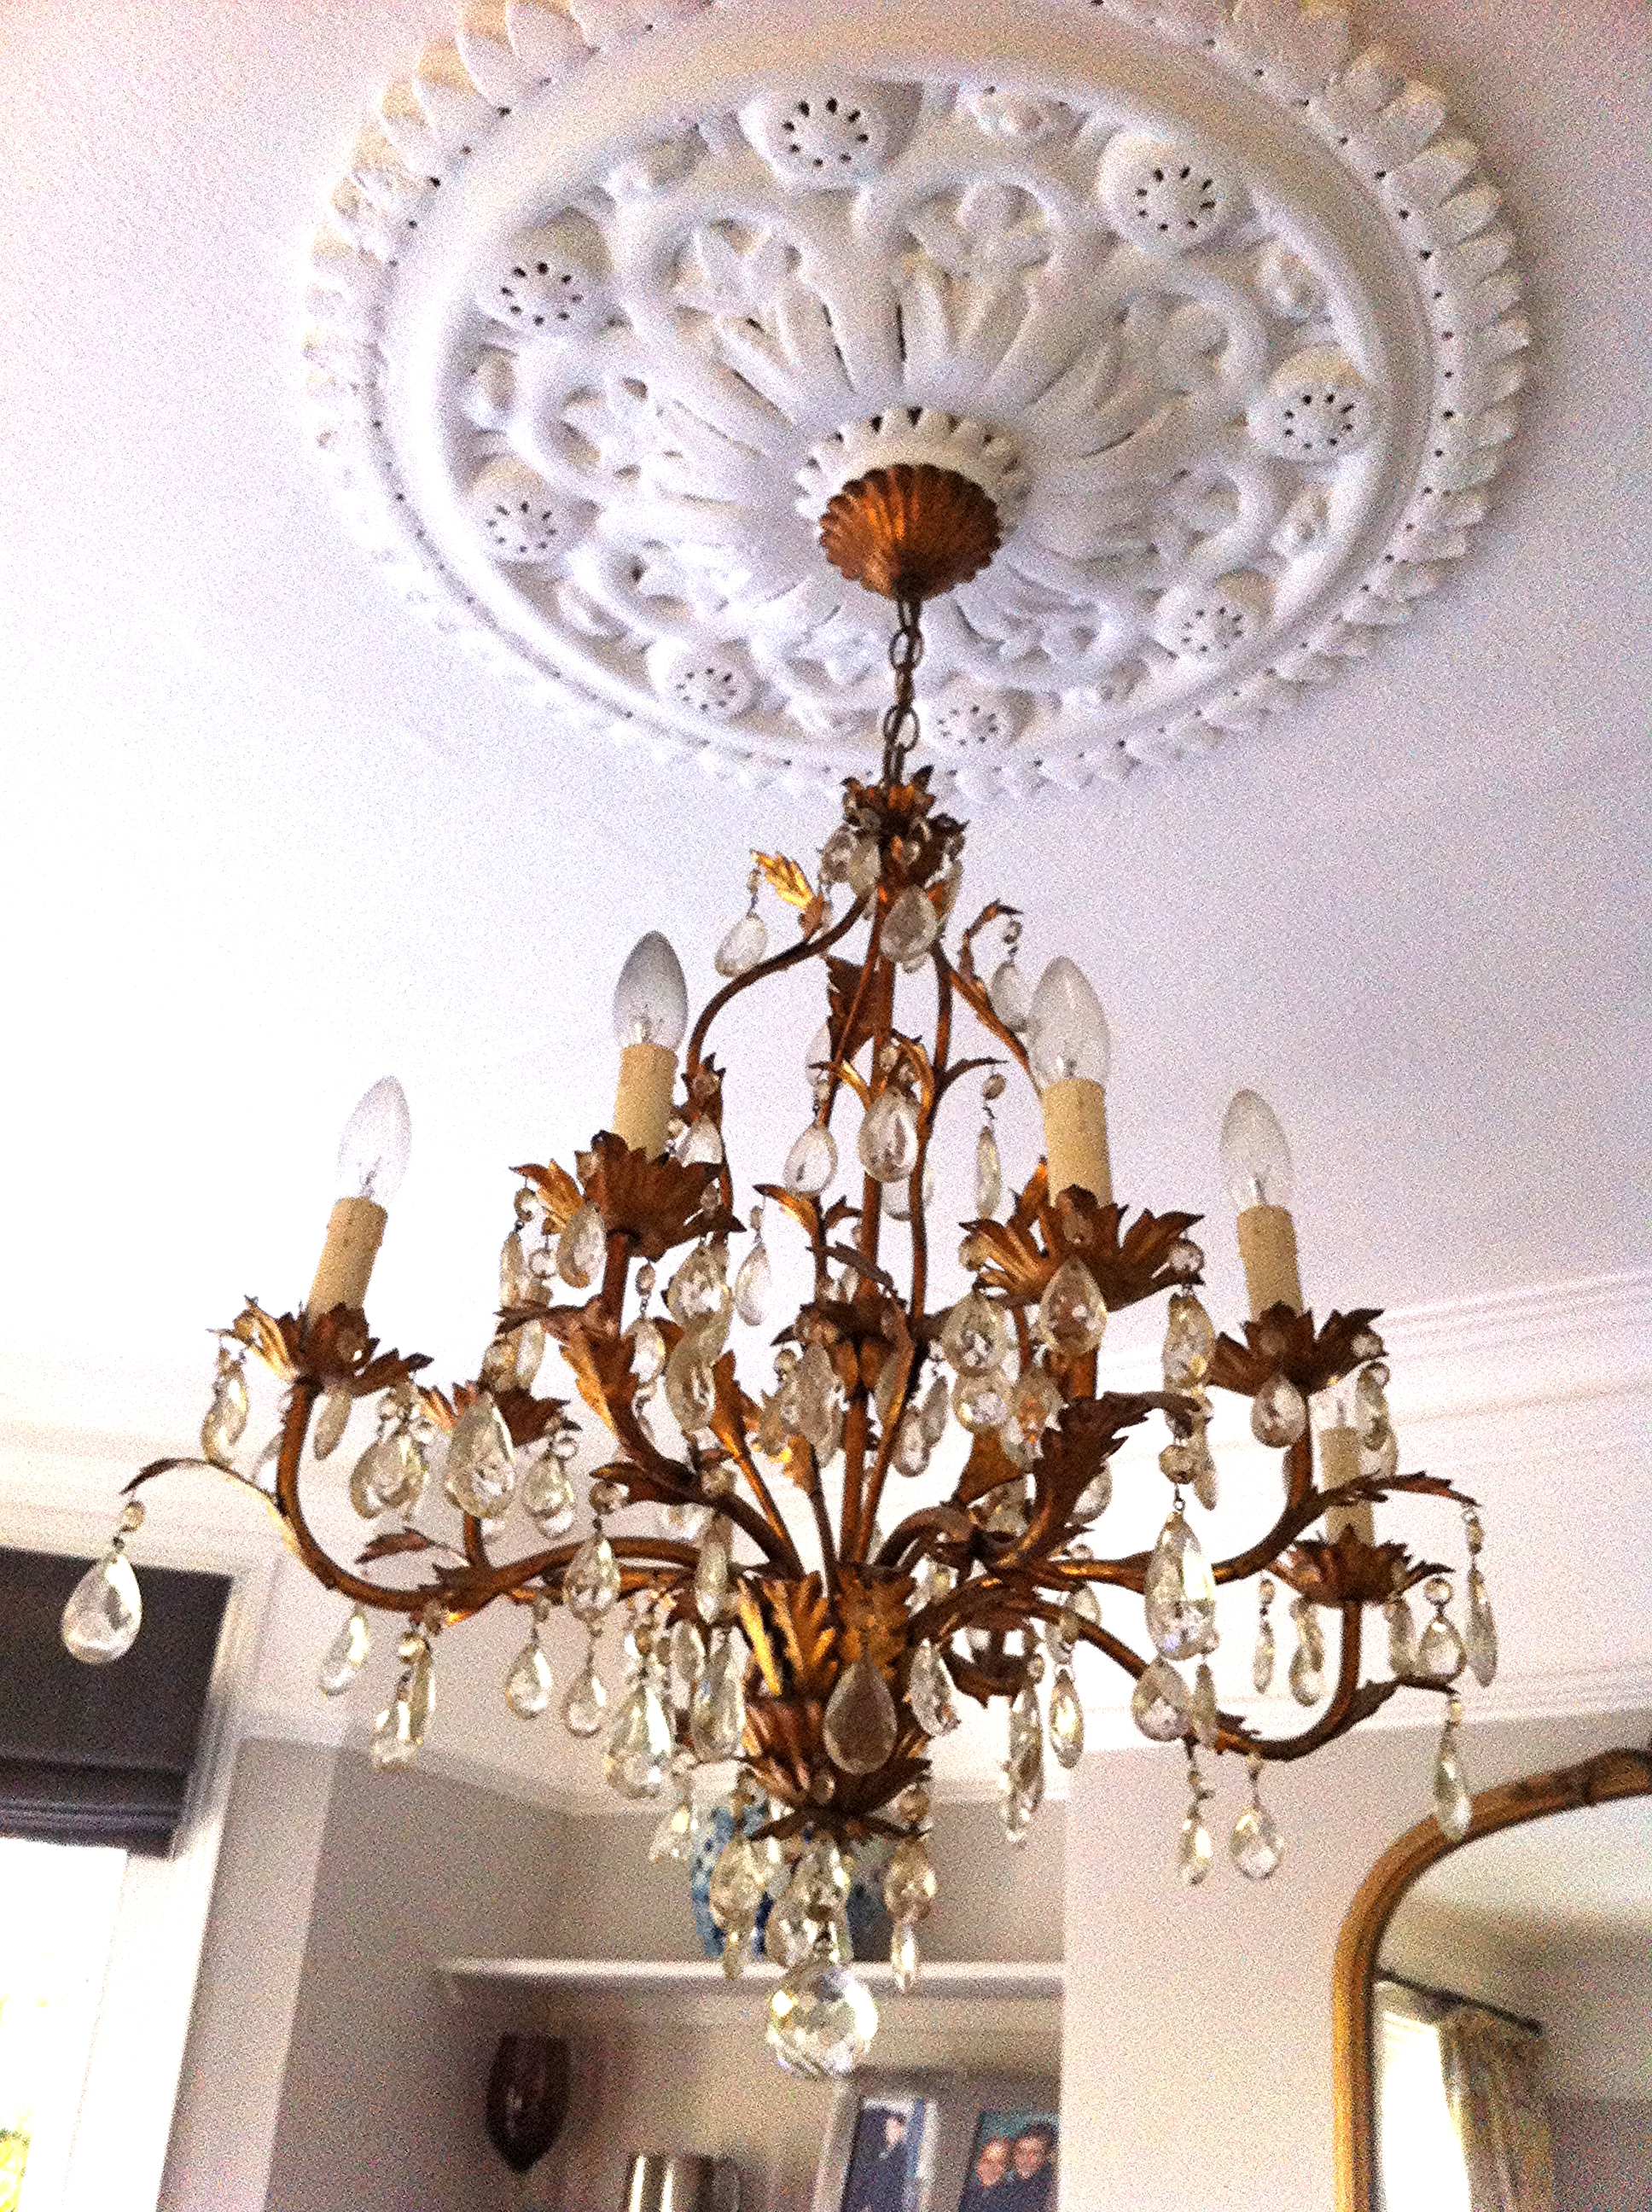
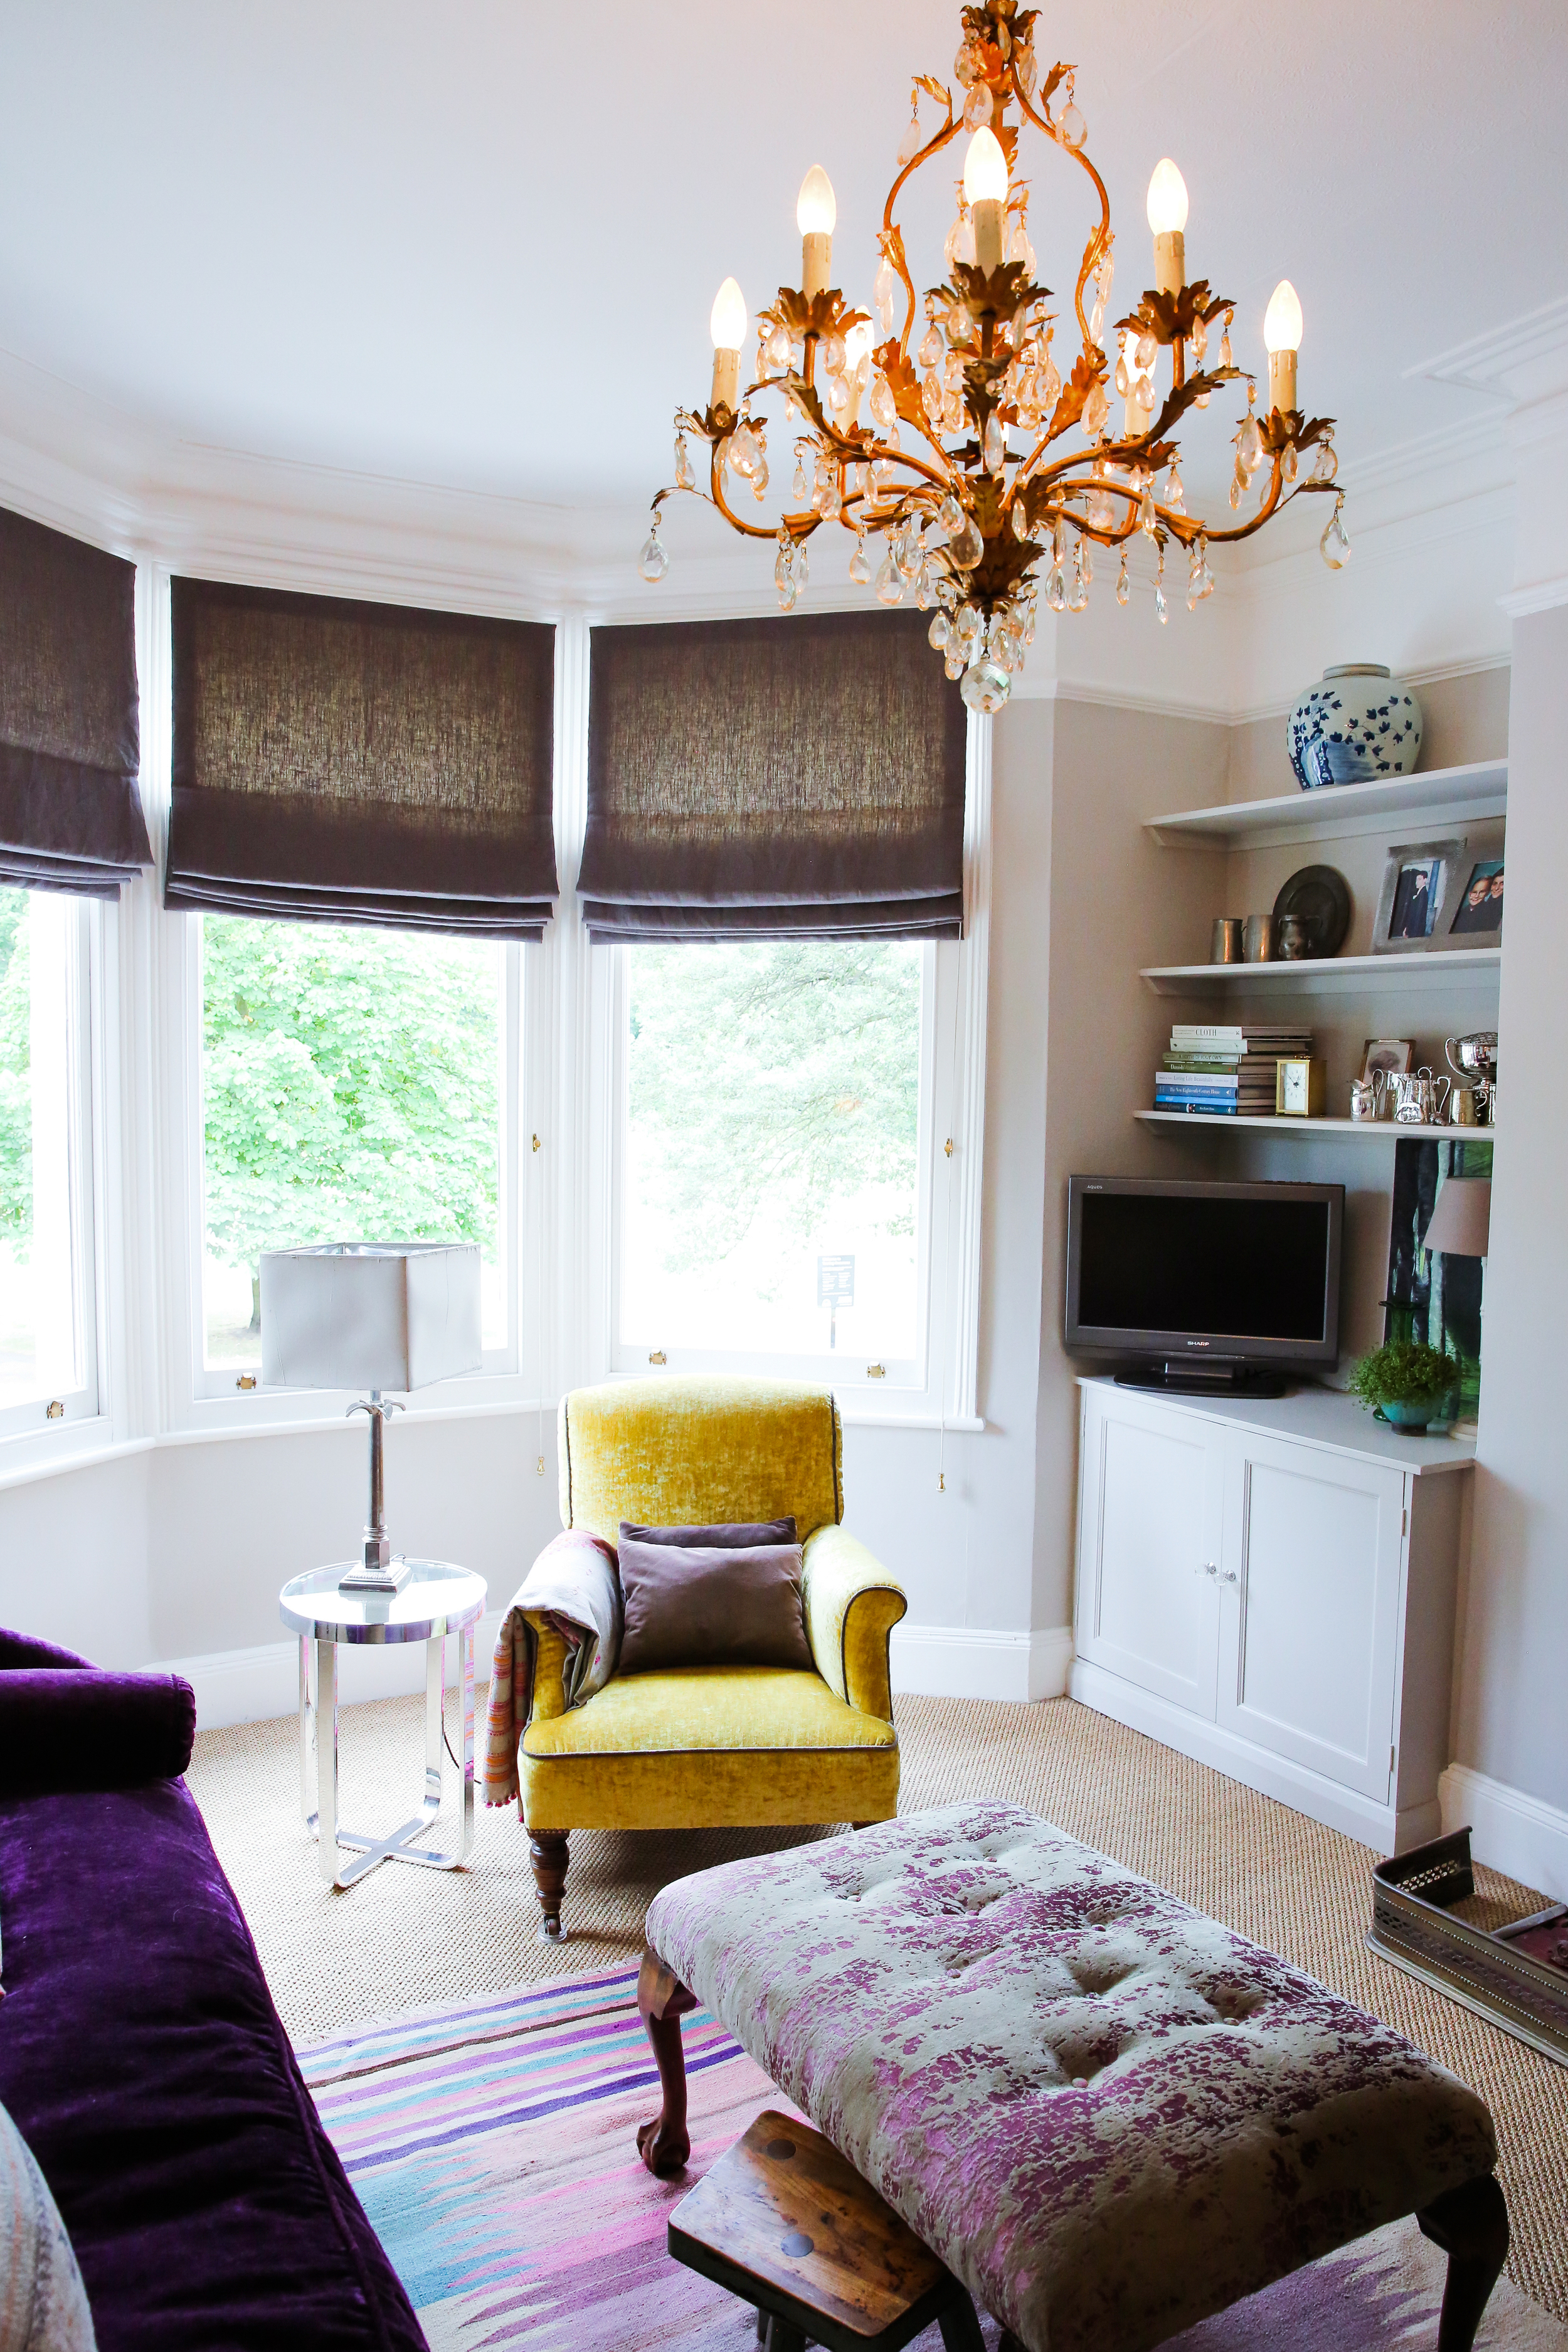
Chandeliers seem to attract dust and spider webs or is that just an illusion?! I have tried all sorts of quick and easy methods of cleaning them e.g. blowing on them (!!), feather duster and even the vacuum cleaner but to no avail. There is no quick and easy fix.
However, there are some things you can do regularly to stop dust clouding the crystal drops. Give the chandelier the once over, lightly, with a feather duster every couple of weeks as it really does help to minimise the the accumulation of dust which then solidifies on the drops and bulbs.
When the chandelier really does need a good clean here are a couple of methods (remember to turn off the chandelier first!!!):
1. Drip dry method is the easiest method. It involves using the best glass cleaner you can buy. Remove the bulbs (give them a good clean) and plug the sockets with paper so they don't get wet. Cover the floor underneath the chandelier to catch the liquid. Spray the chandelier generously with the cleaner and let it fall from the chandelier. It should take the dust and dirt with it when it falls! Then just leave the chandelier to dry, remove the paper from the sockets and replace the bulbs.
2. Cotton glove method - More involved but less messy than the drip dry method. Using white cotton gloves and a small bowl of glass or chandelier cleaner, dip your finger tips in the solution and clean each crystal drop very gently all over. You will have to change the solution if it starts to get dirty.
3. Removing all the crystal method - If your chandelier has been neglected for several years and either or both of the above methods don't work, you will need to use this method. First and most crucial piece of advice, make a note of where the drops go or you may not be able to reconstruct it afterwards! Dismantle the chandelier and wash every crystal droplet and strand by hand in warm water with a little mild detergent. If you want to use vinegar instead of detergent, make sure it doesn't come in contact with metal or brass pieces as it will corrode them. This method is a nightmare job but the reward of seeing a beautiful sparkling chandelier makes it worthwhile. Hot tip: when you put the chandelier back together work from the inside out starting with the centre pieces.
I'd love to hear what method you use to clean your chandeliers. I'm sure there are some tried and tested methods handed down the generations so do let me know.
I'd also love to get some feedback from you as to what topics you'd like me to cover in my blog.

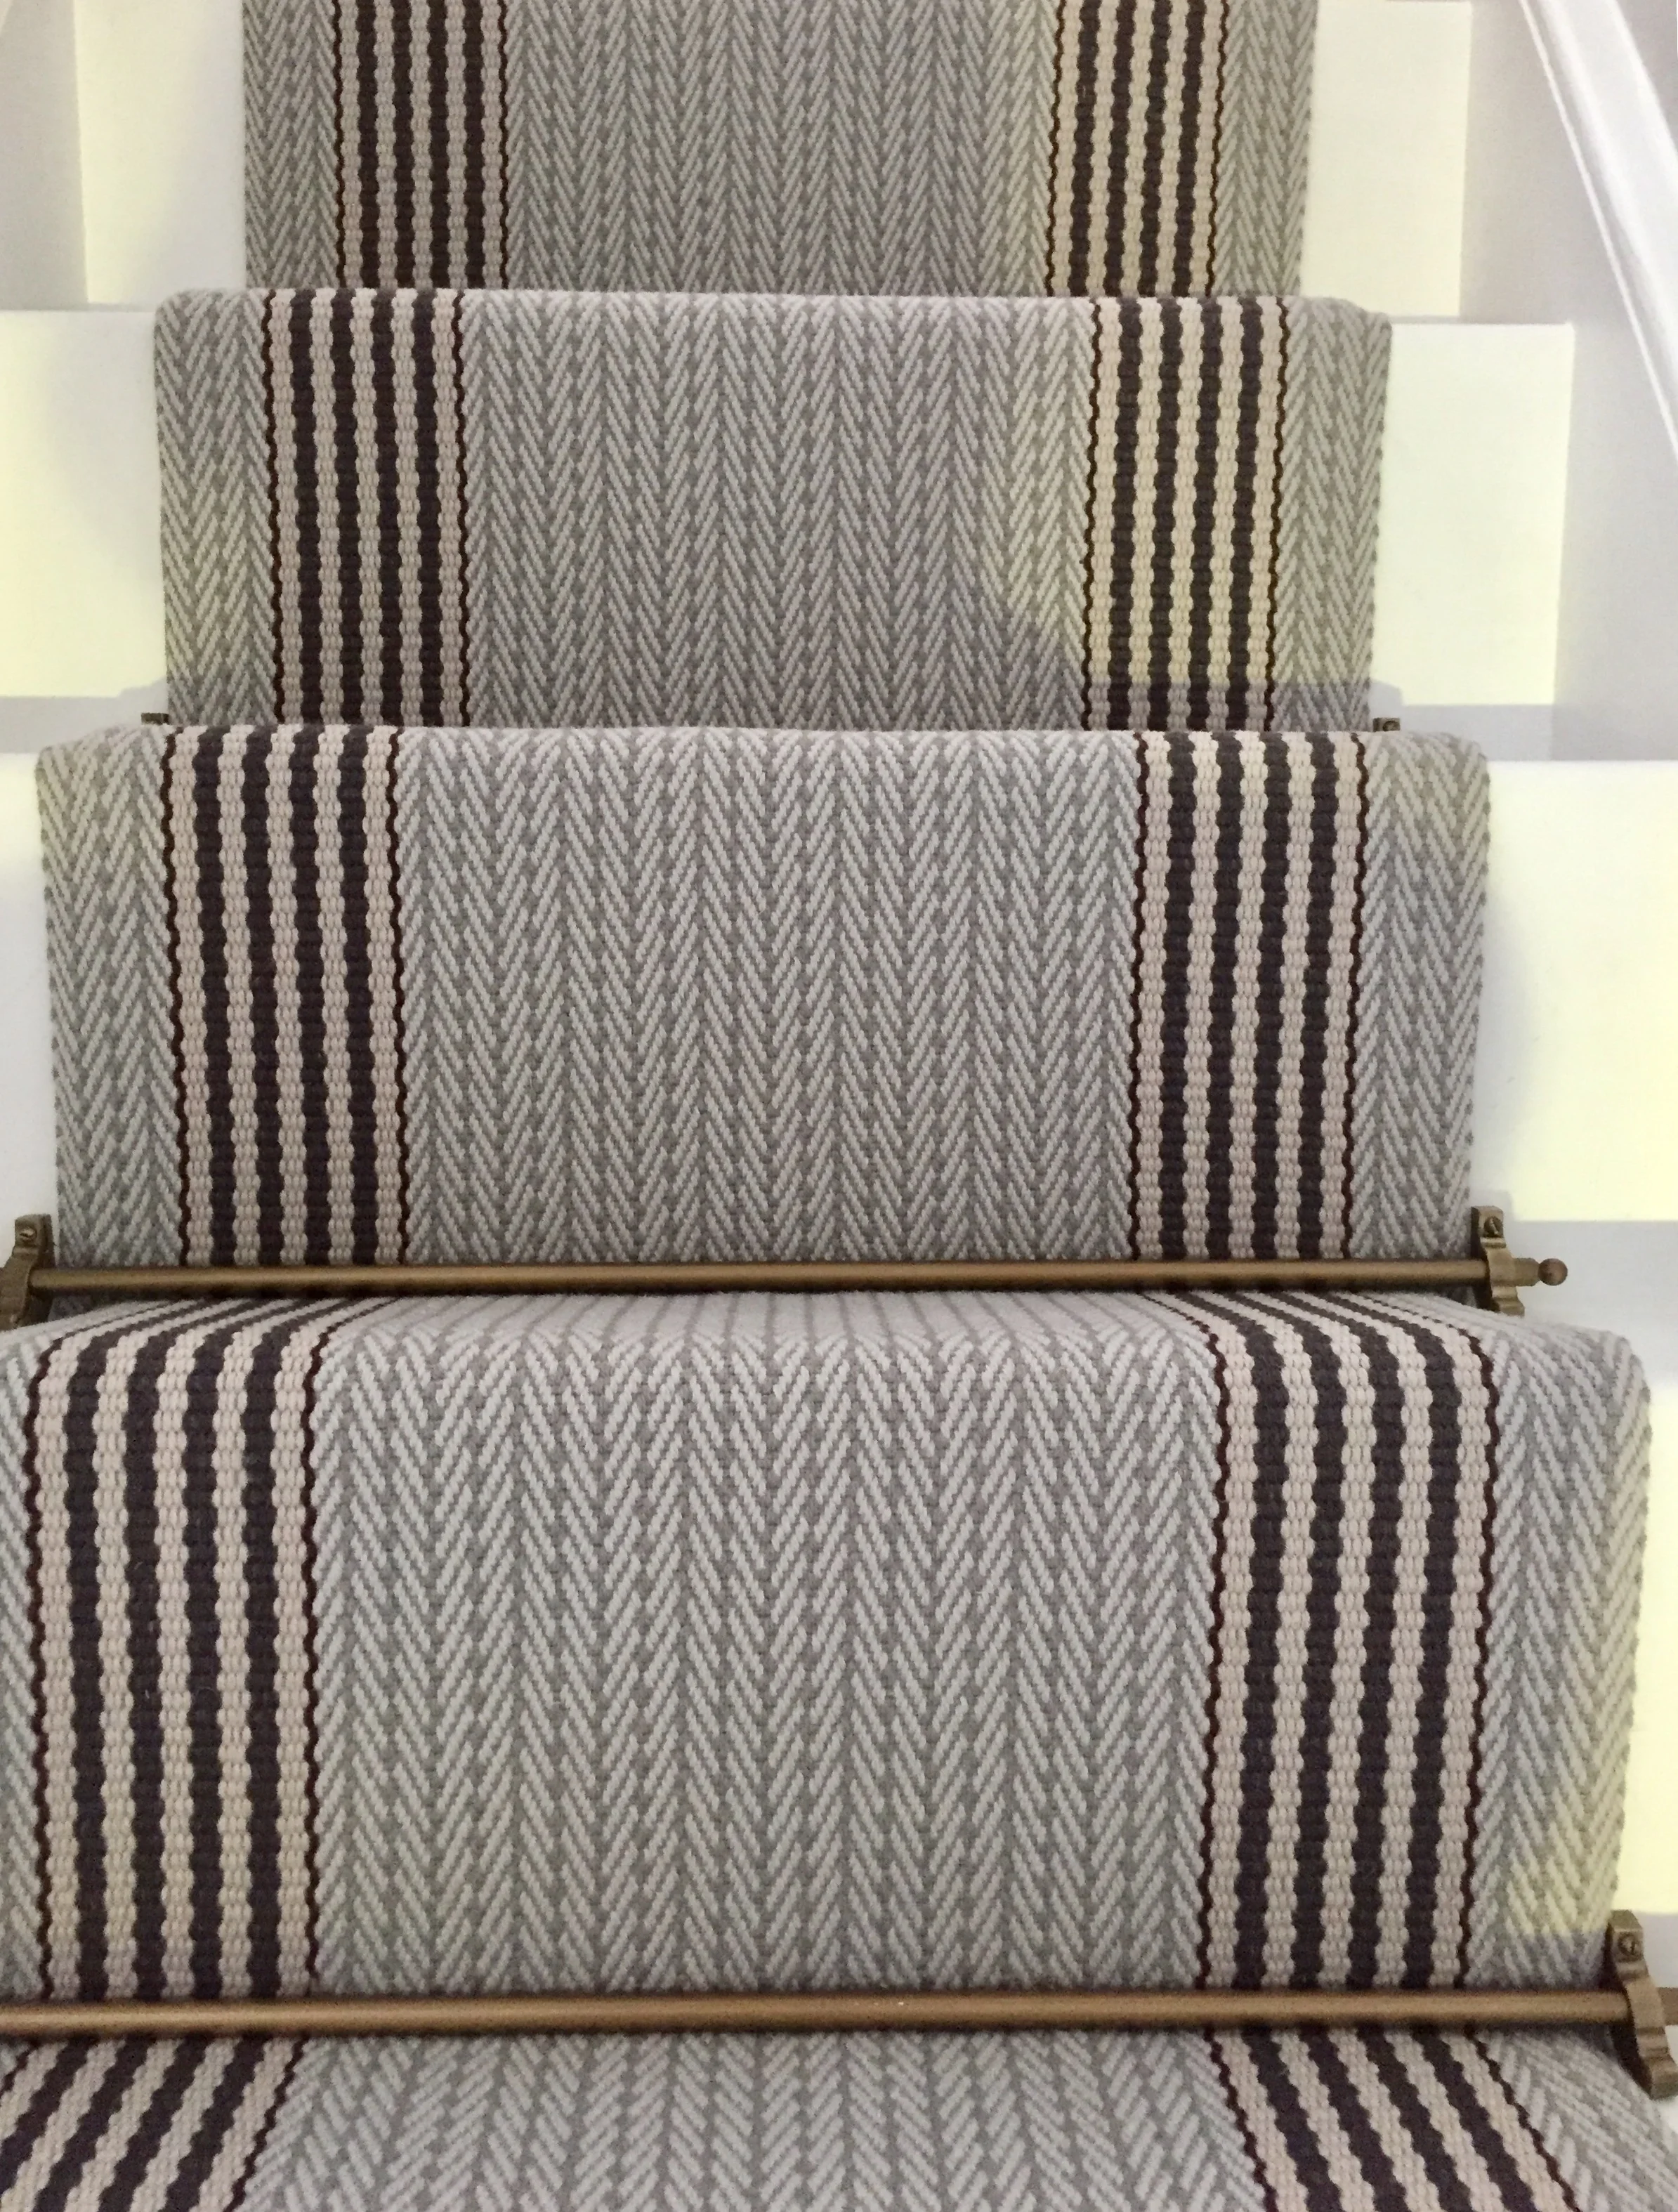
It's so important to create an instant visual impact because people form an opinion of your home within the first 20 seconds of entering. Here's another beautiful stair runner I created.