Hi everyone. Sorry for the lack of blog posts recently; I’ve been manically busy with client work. Can’t complain, quite the contrary but something has to give and it’s usually my blog. I am continually asked by friends and clients to write a blog post about how to arrange flowers in the home so here goes.
There are so many places to buy flowers – florists, markets, outdoor stalls, petrol station forecourts, local shops etc – but it’s the supermarkets that have usurped most of these outlets. How many of you are regularly tempted to buy flowers when you are in your local supermarket? I for one am guilty of it – the flowers are so reasonably priced and always fresh so it’s hard to resist the temptation. However the selection is limited and there are always so many awful mixed bunches of flowers (even worse in petrol station forecourts) where they mix one of every colour and every variety. Avoid these like the plague and NEVER give them as gifts to someone who loves flowers!
But what do you do with the flowers when you get them home? So many people just jam a bunch into a vase with some water and hope for the best. No wonder they never look good and don’t last as long as they should.
Here are my top tips for flowers in the home:
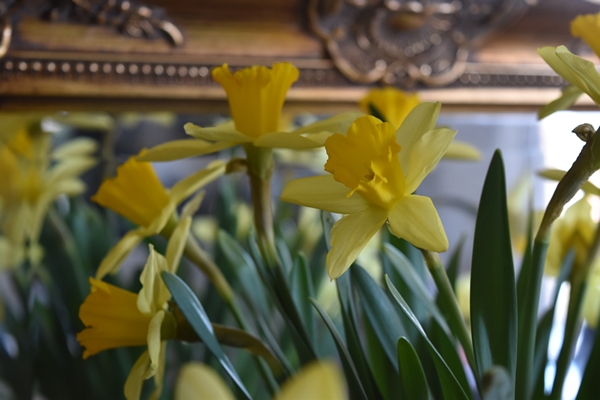
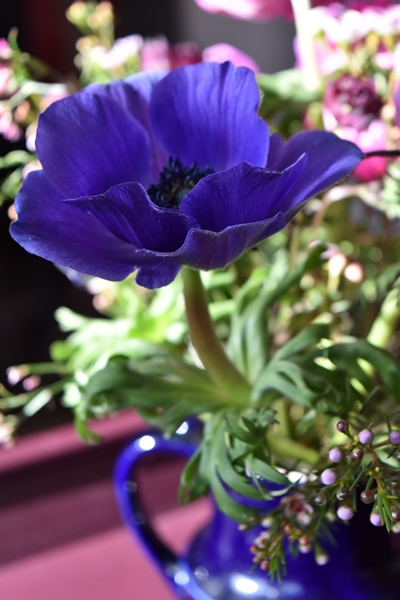
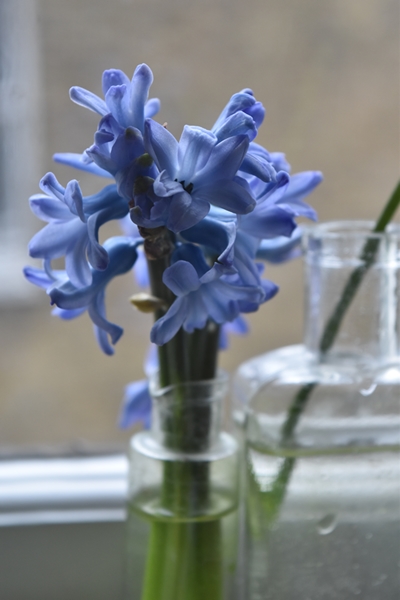
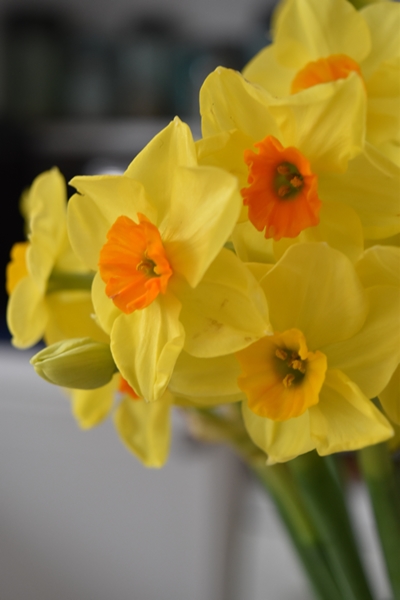
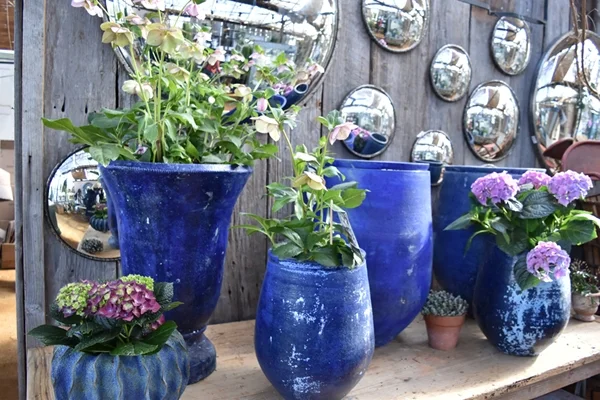
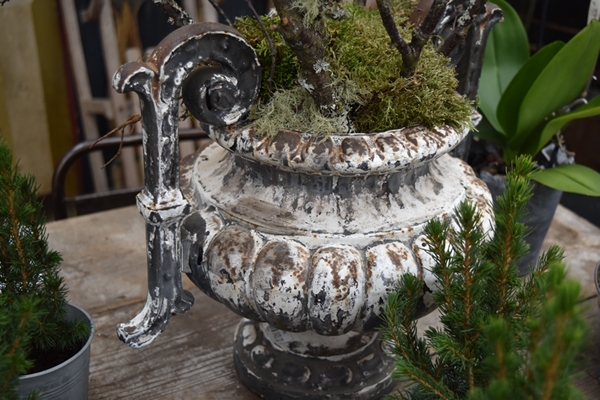
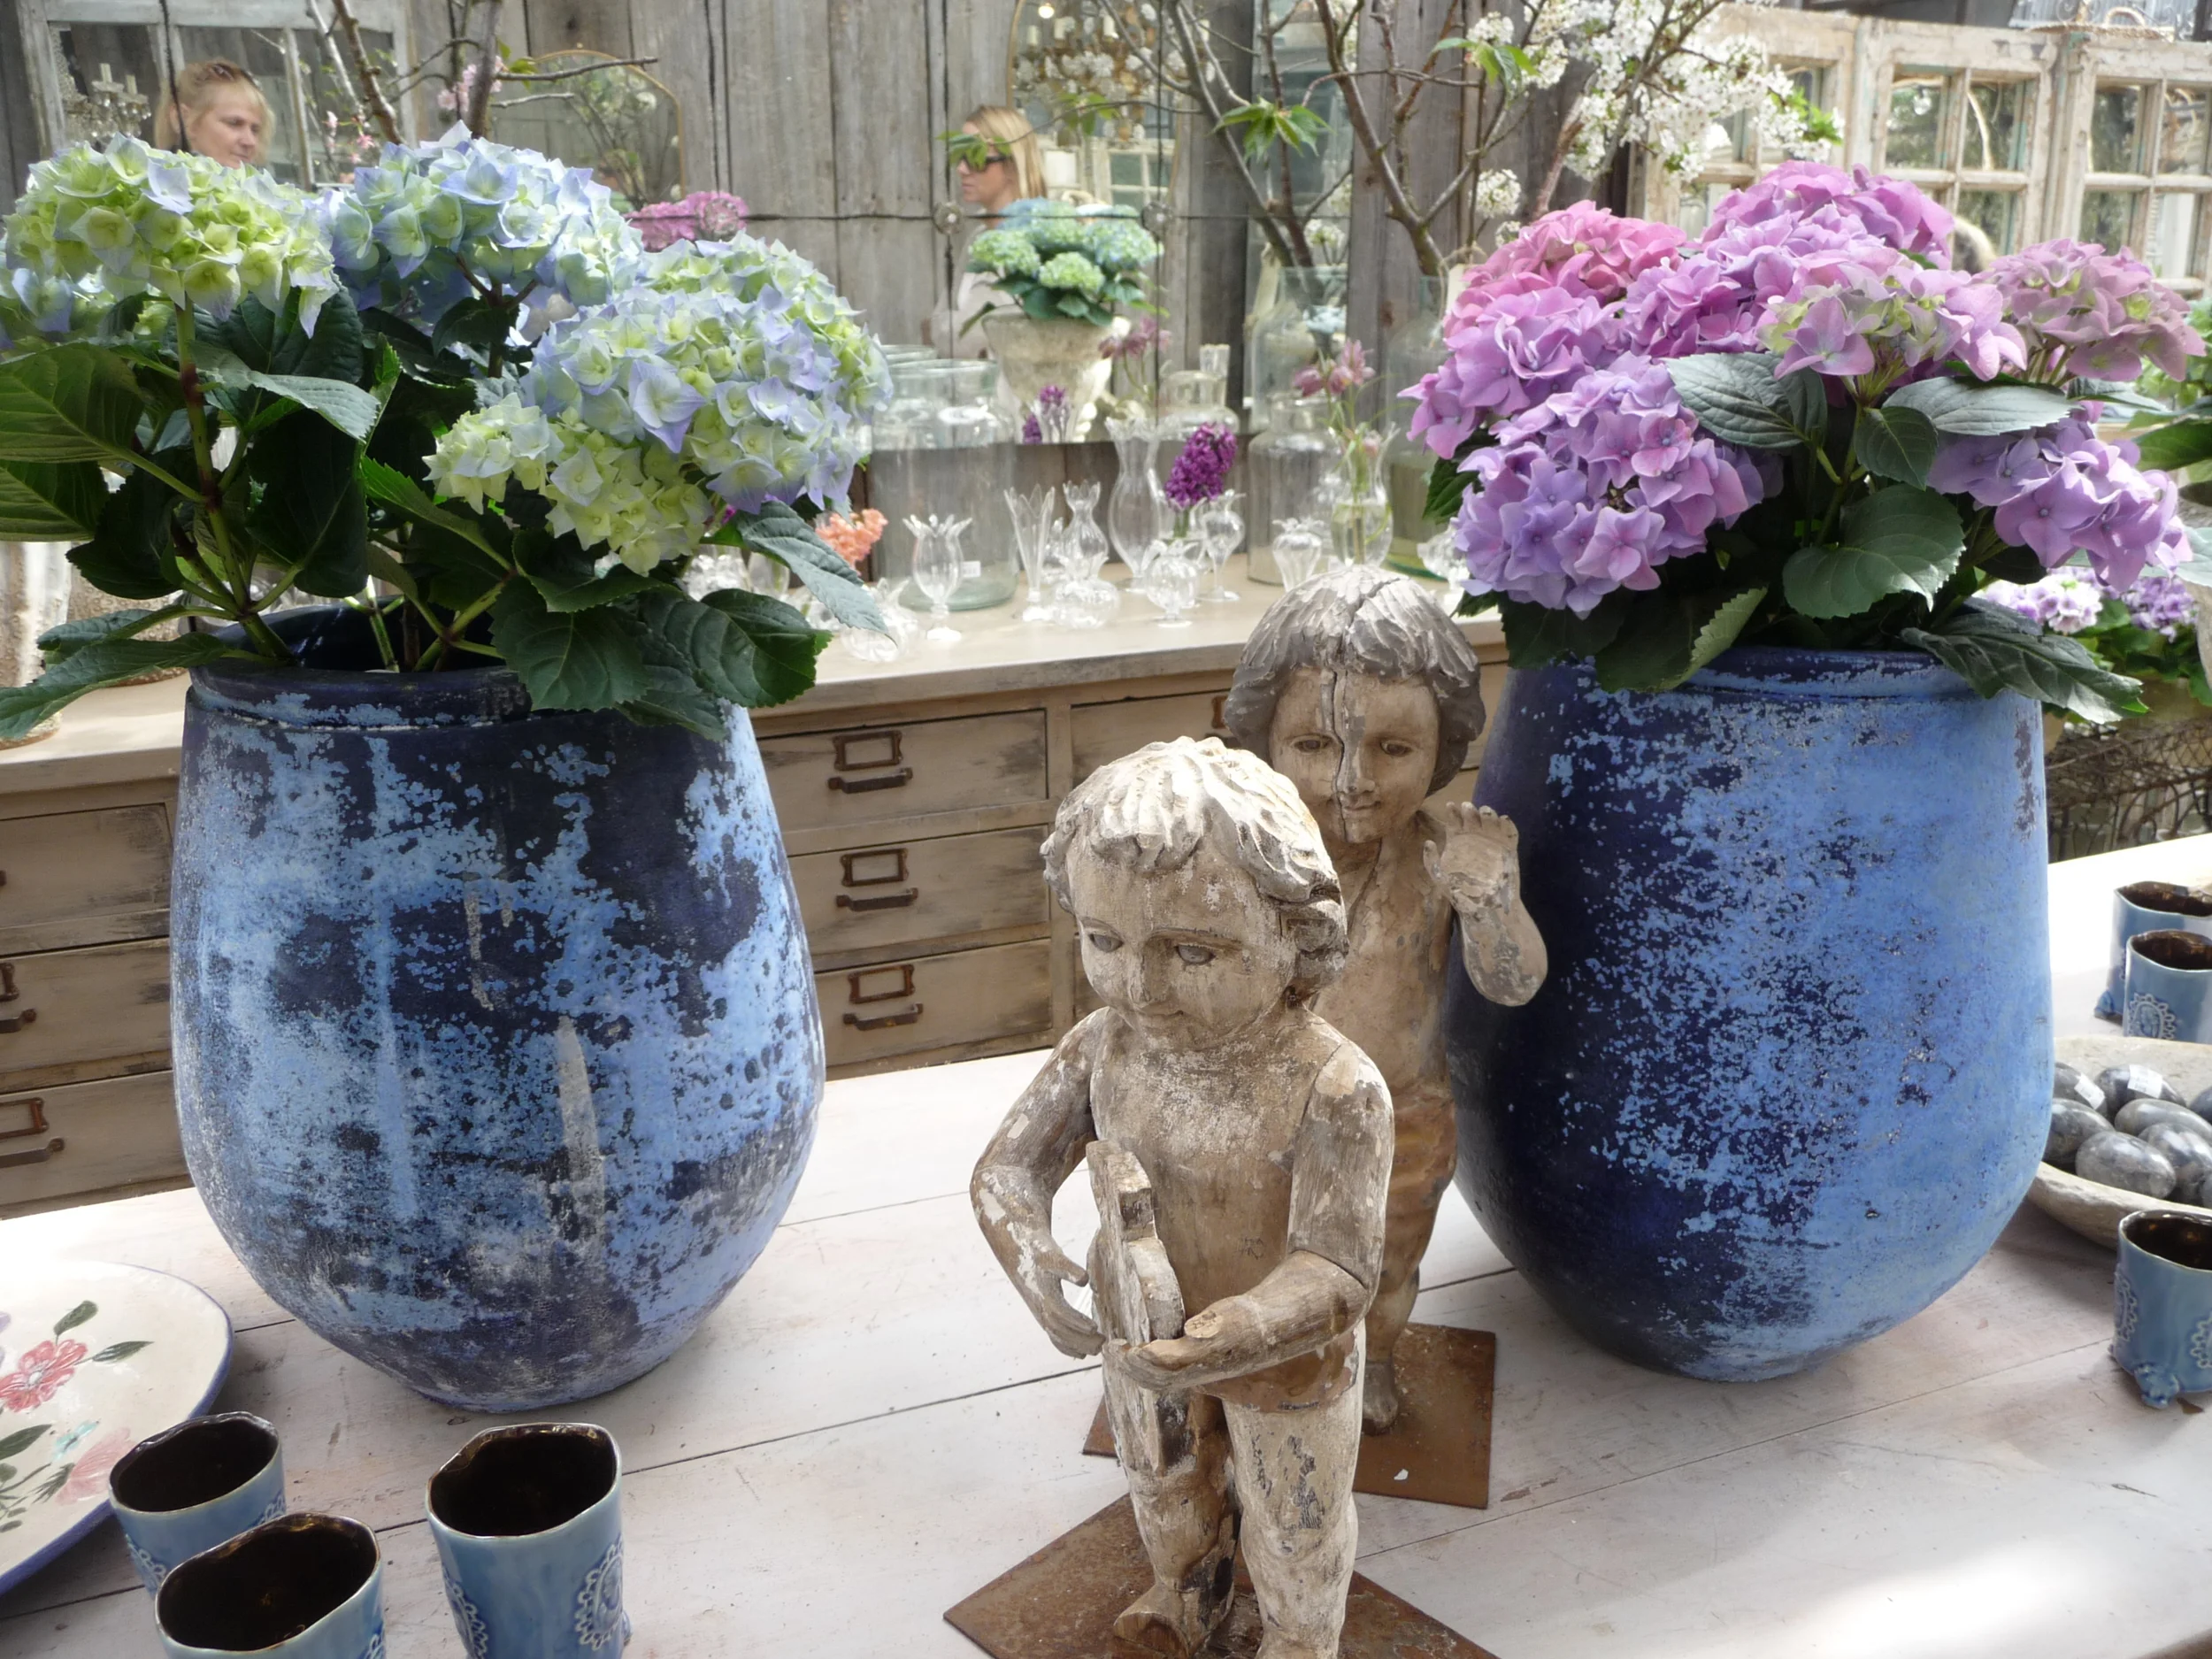
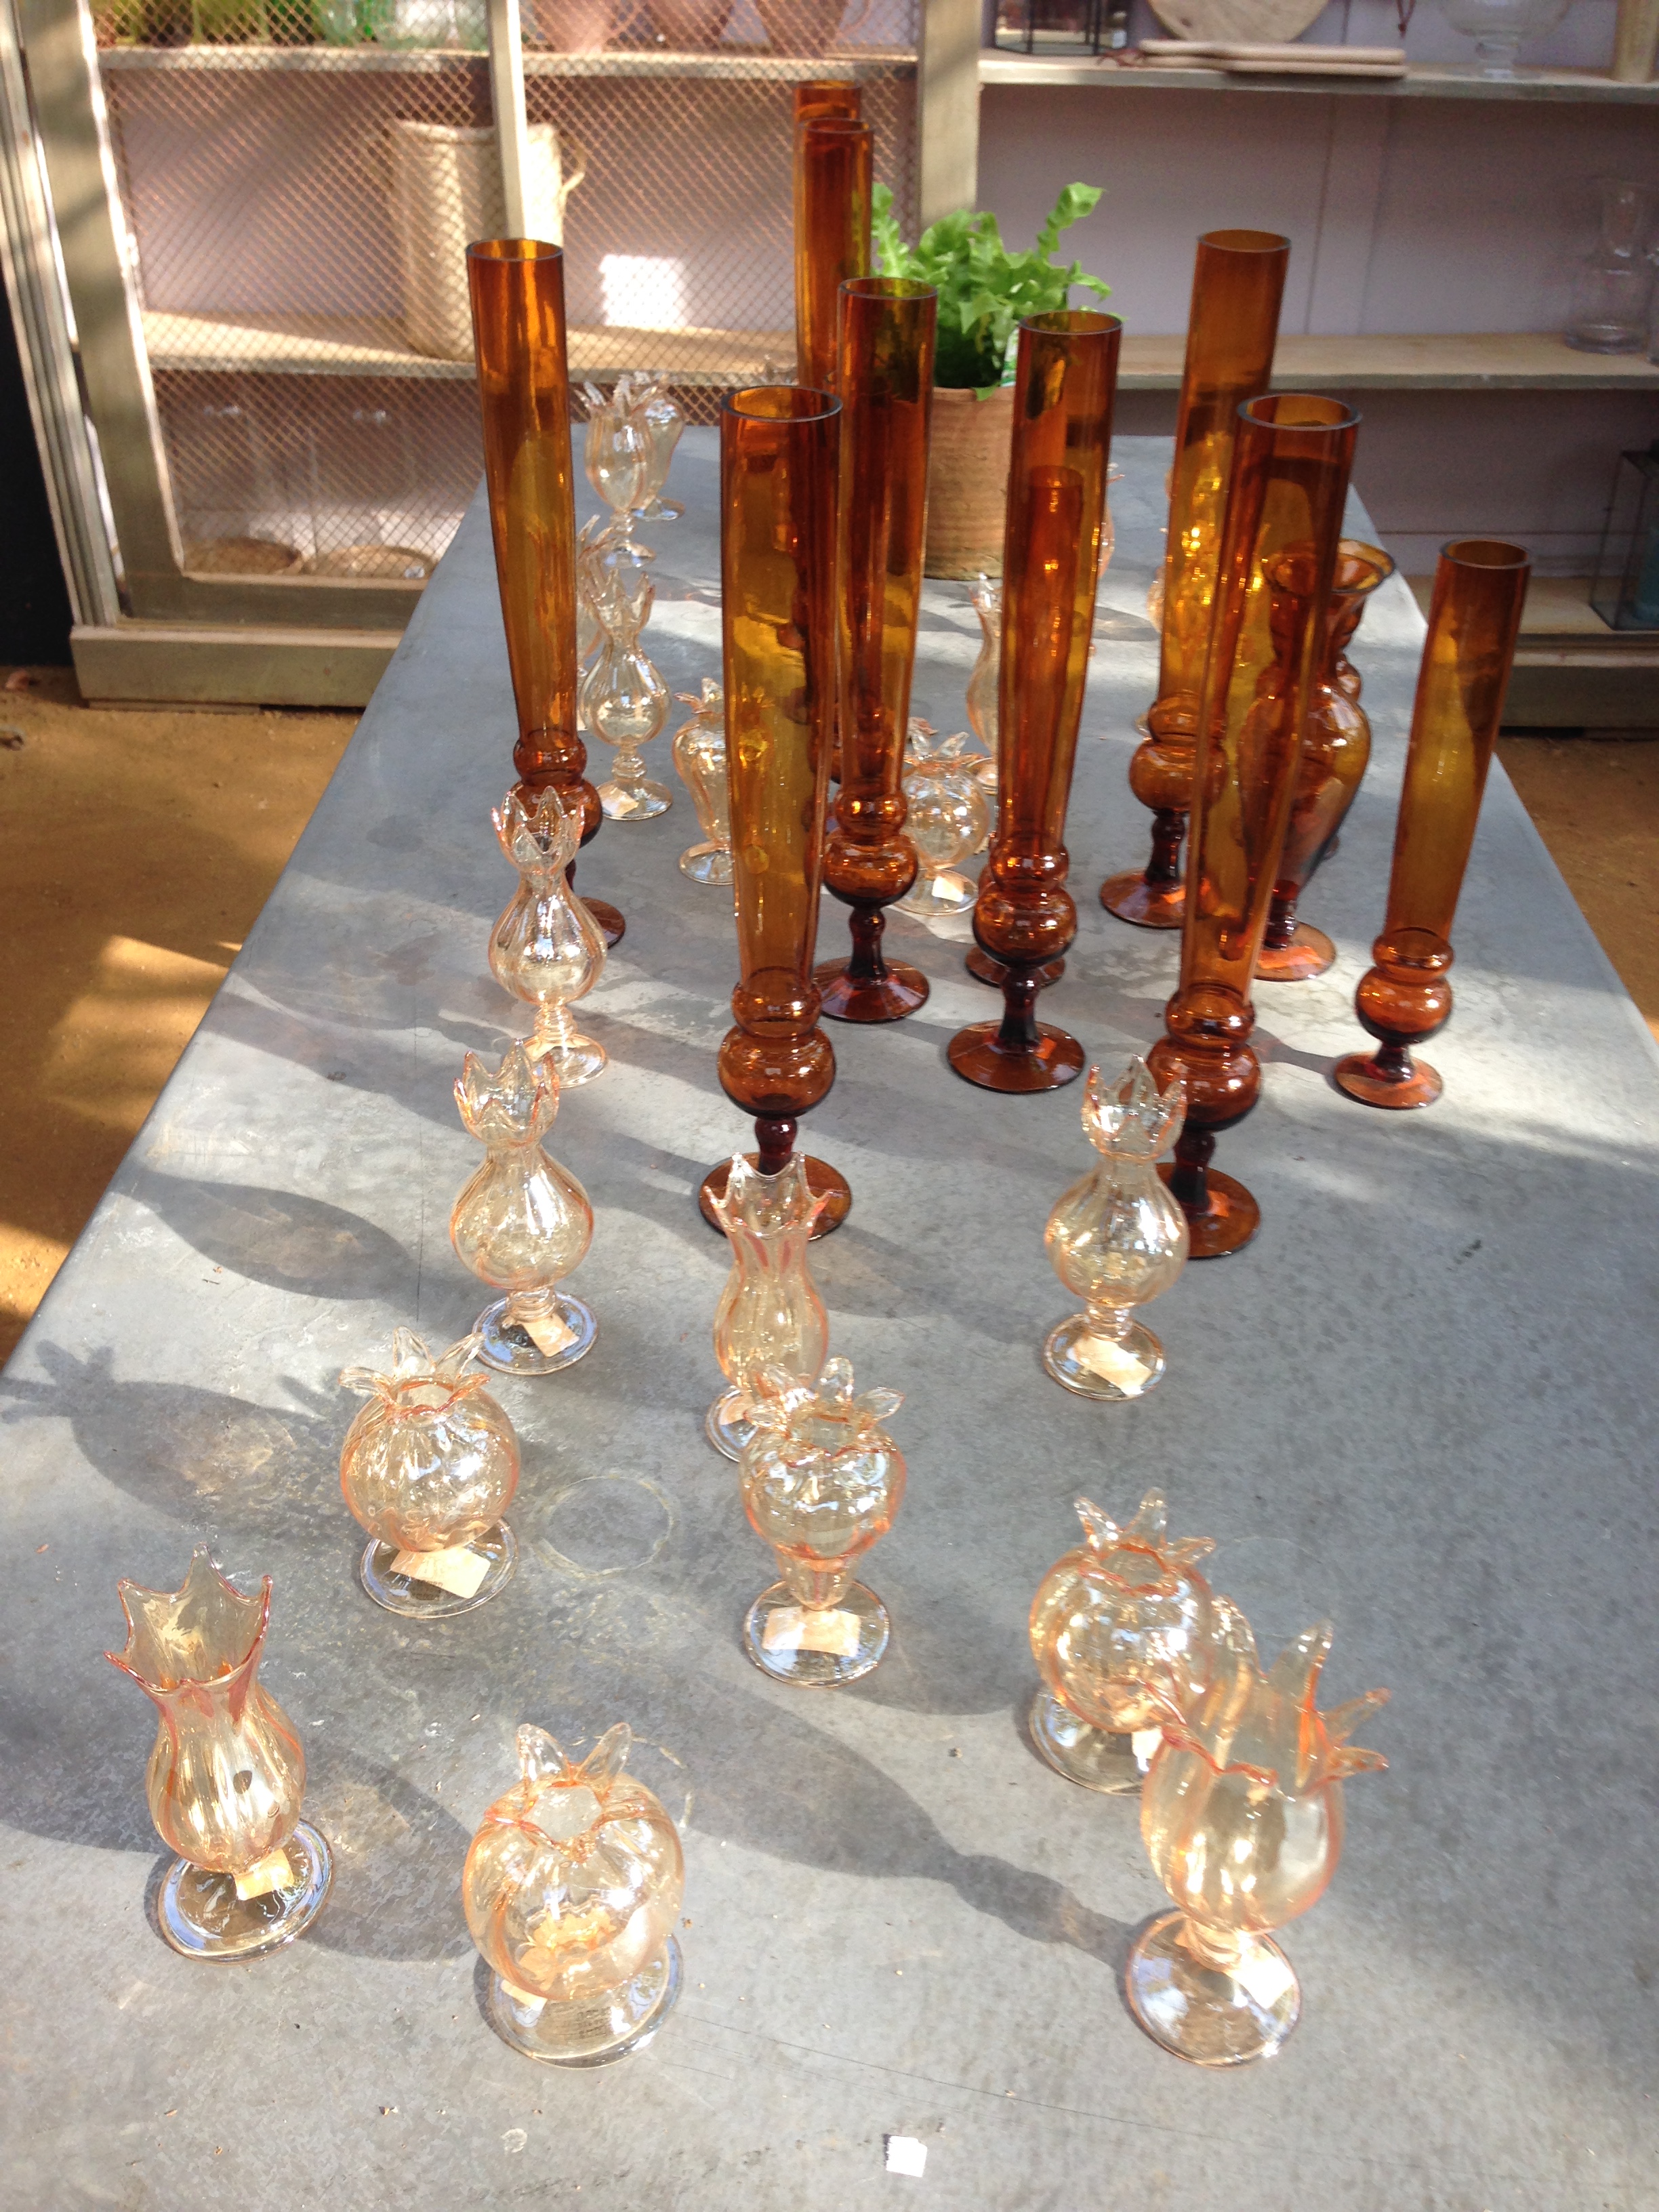
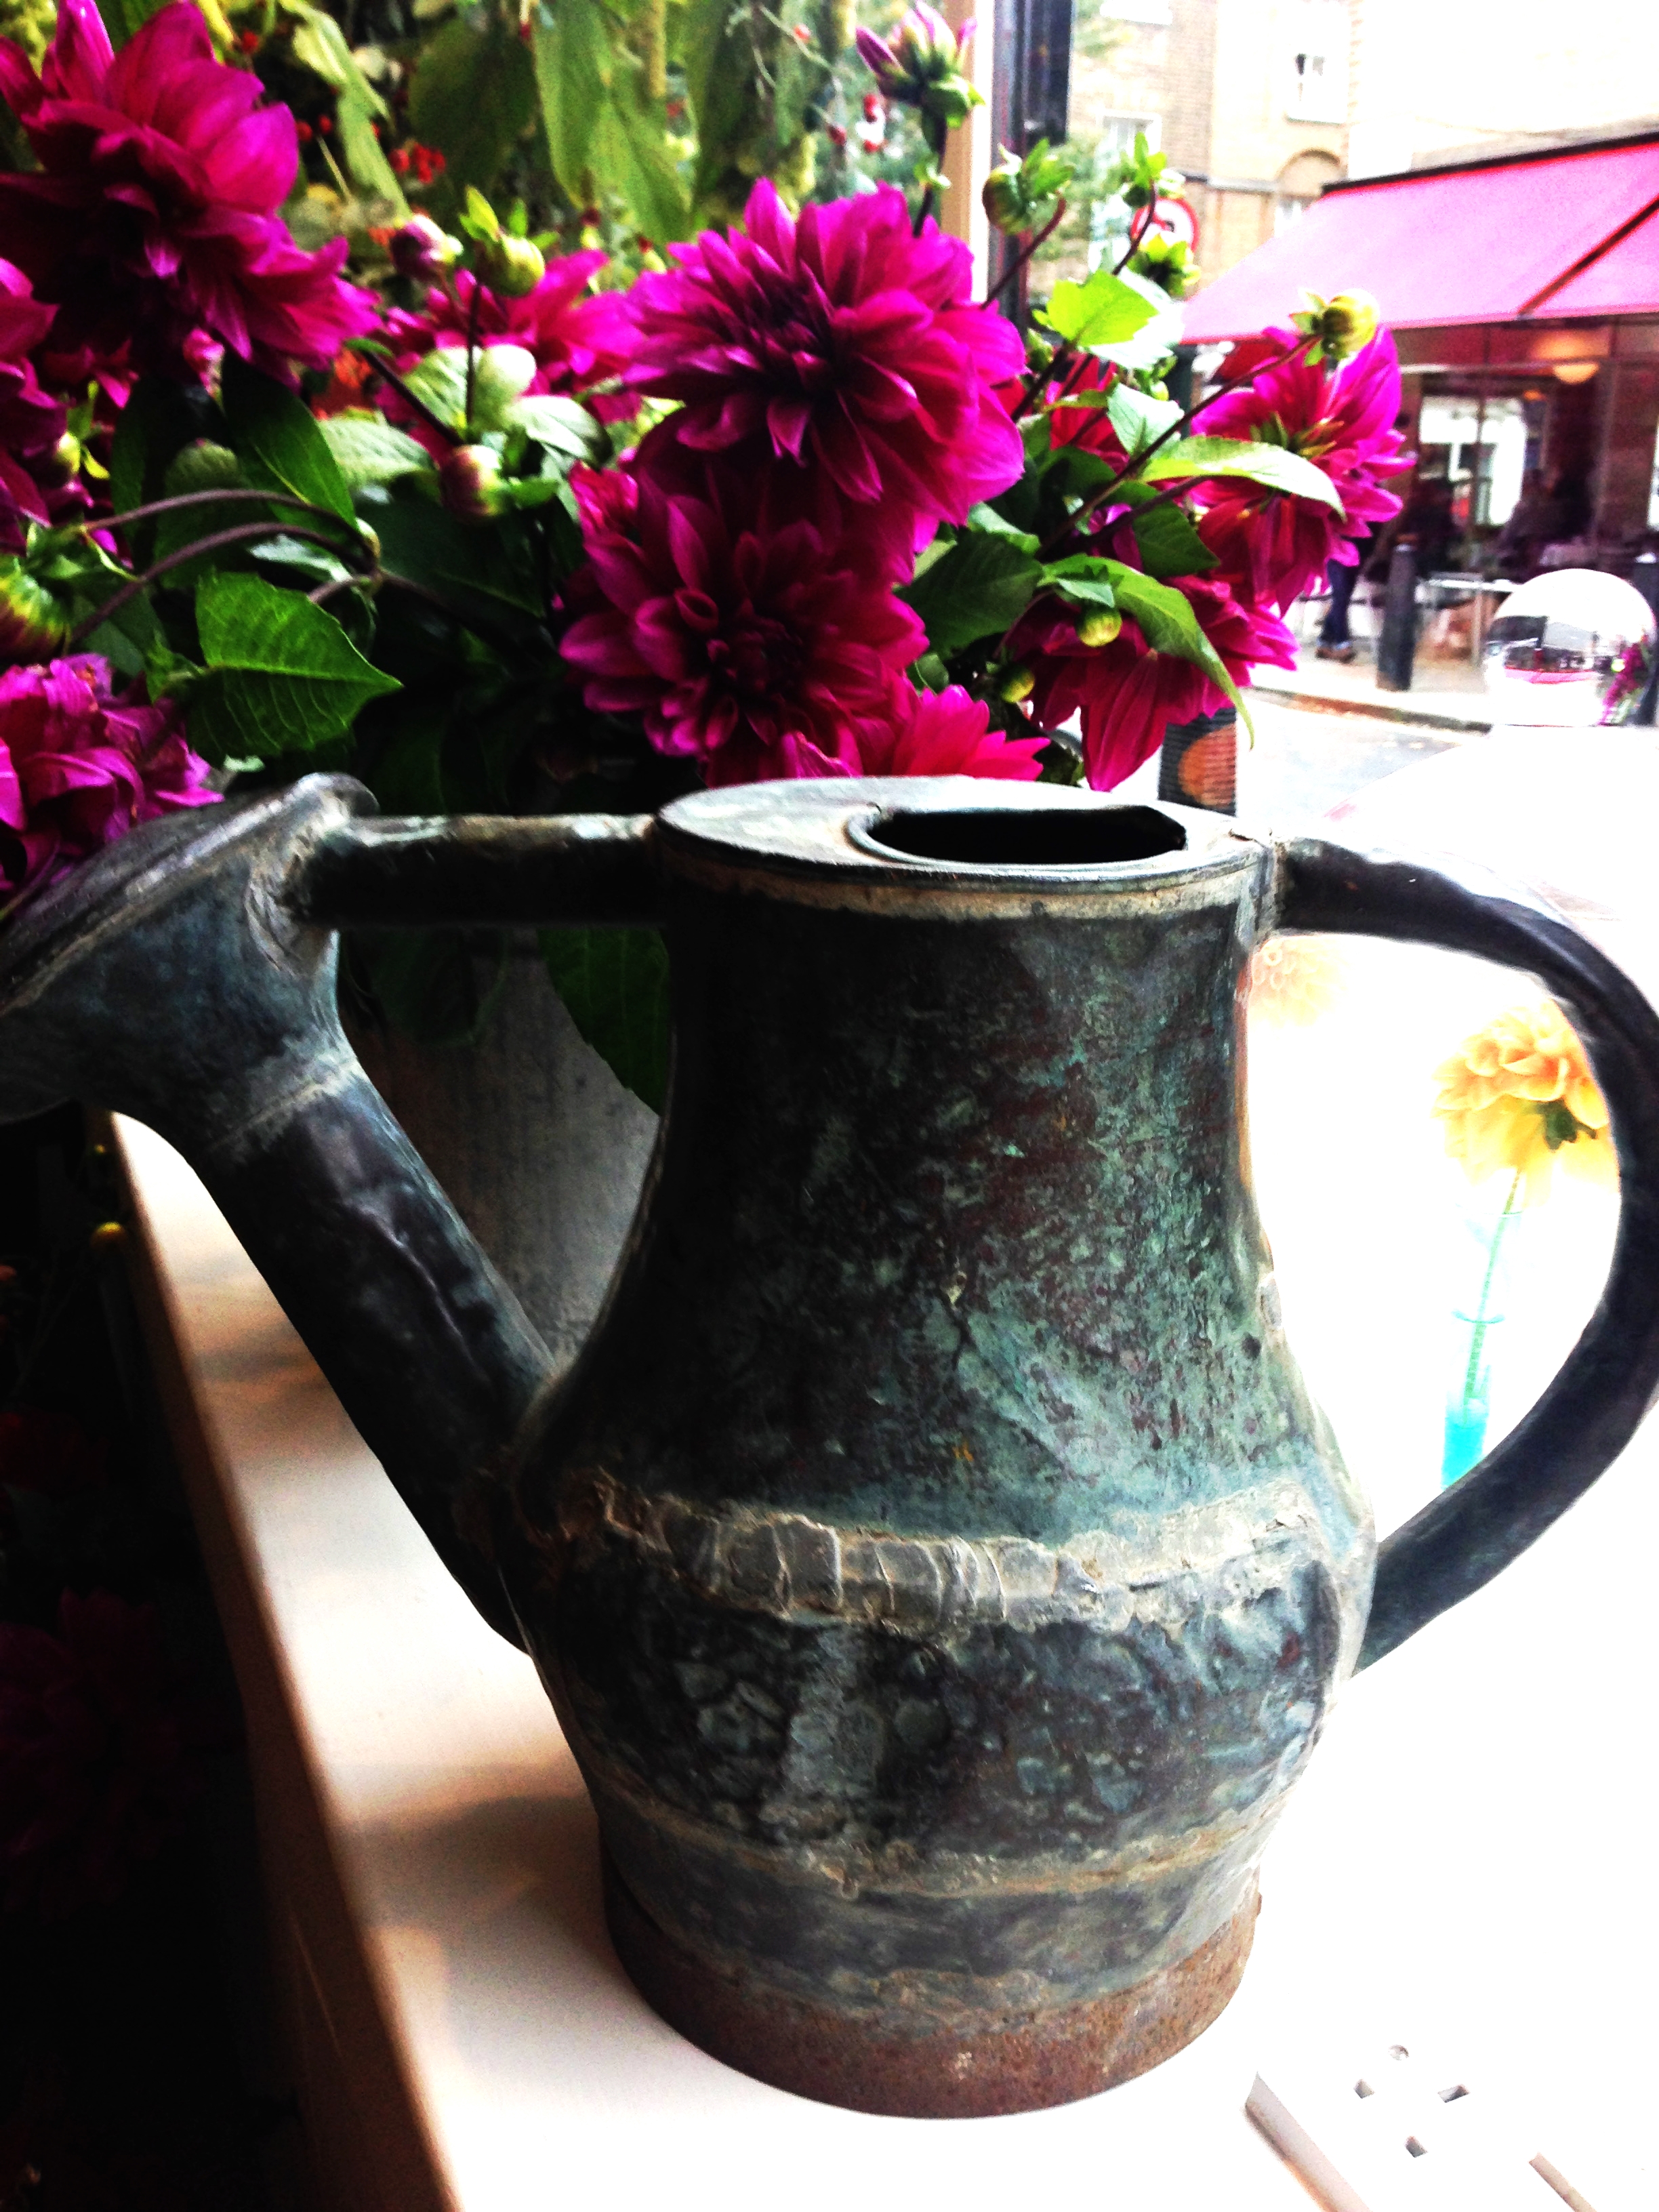
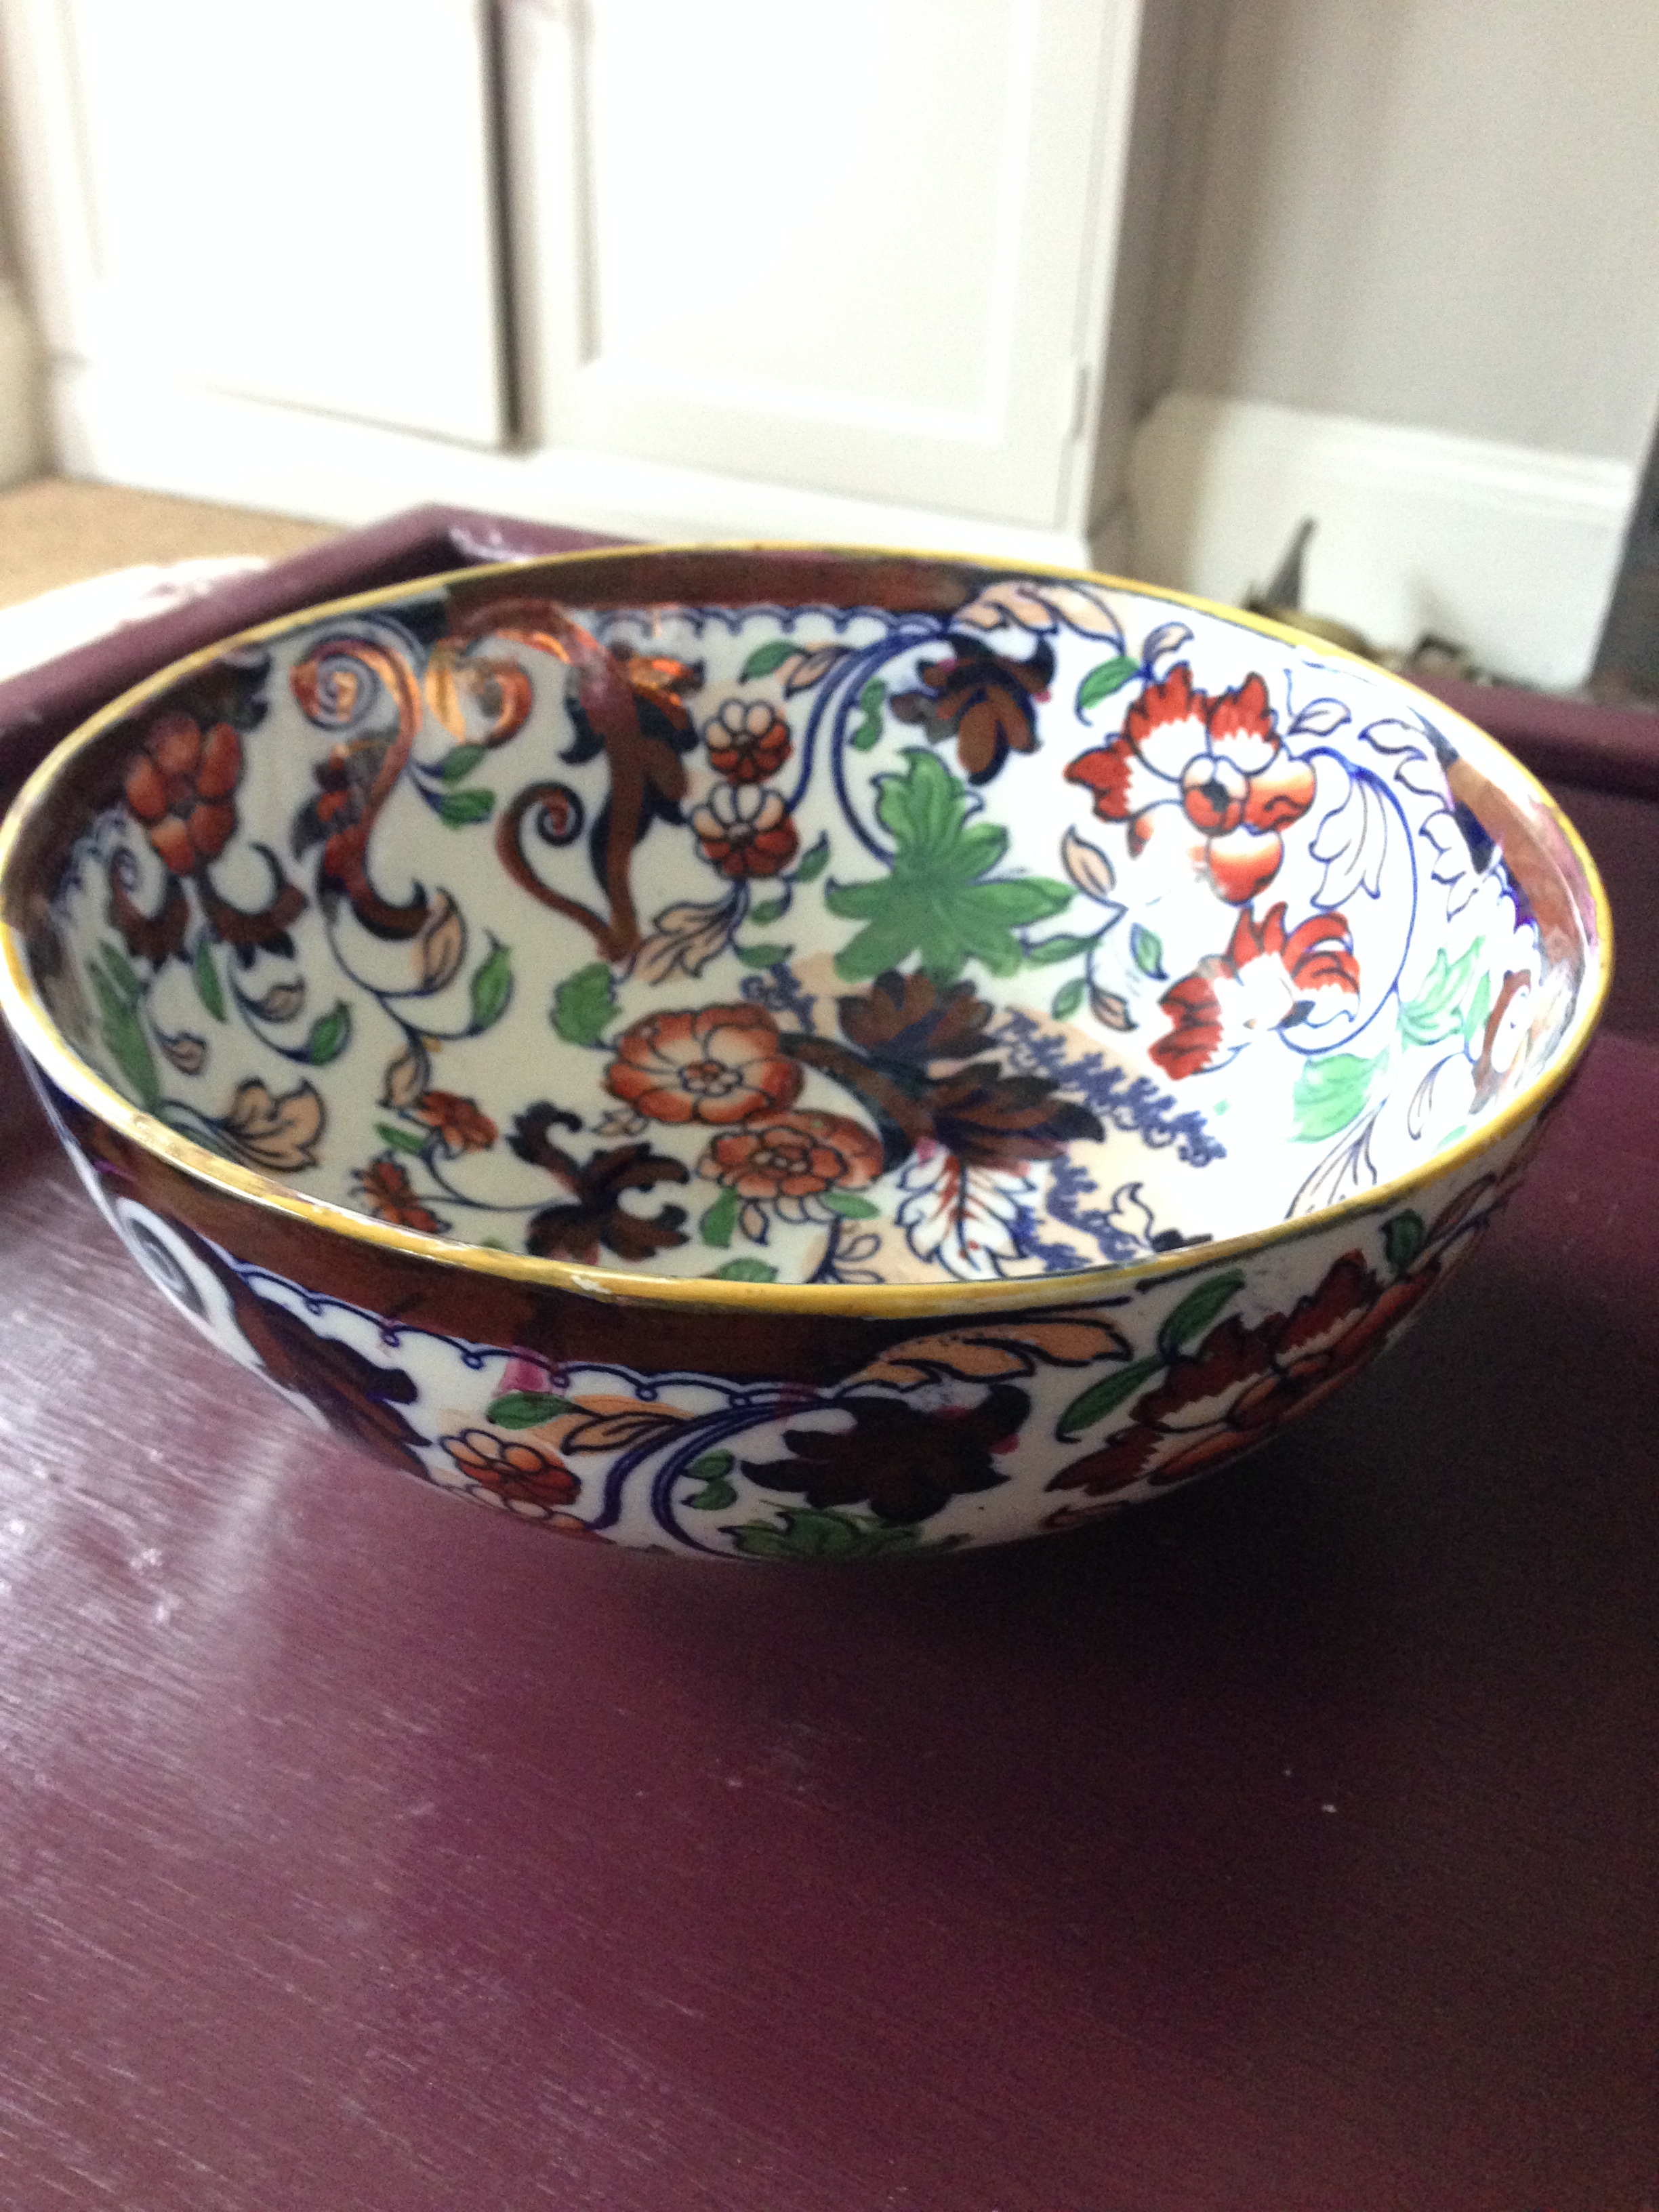
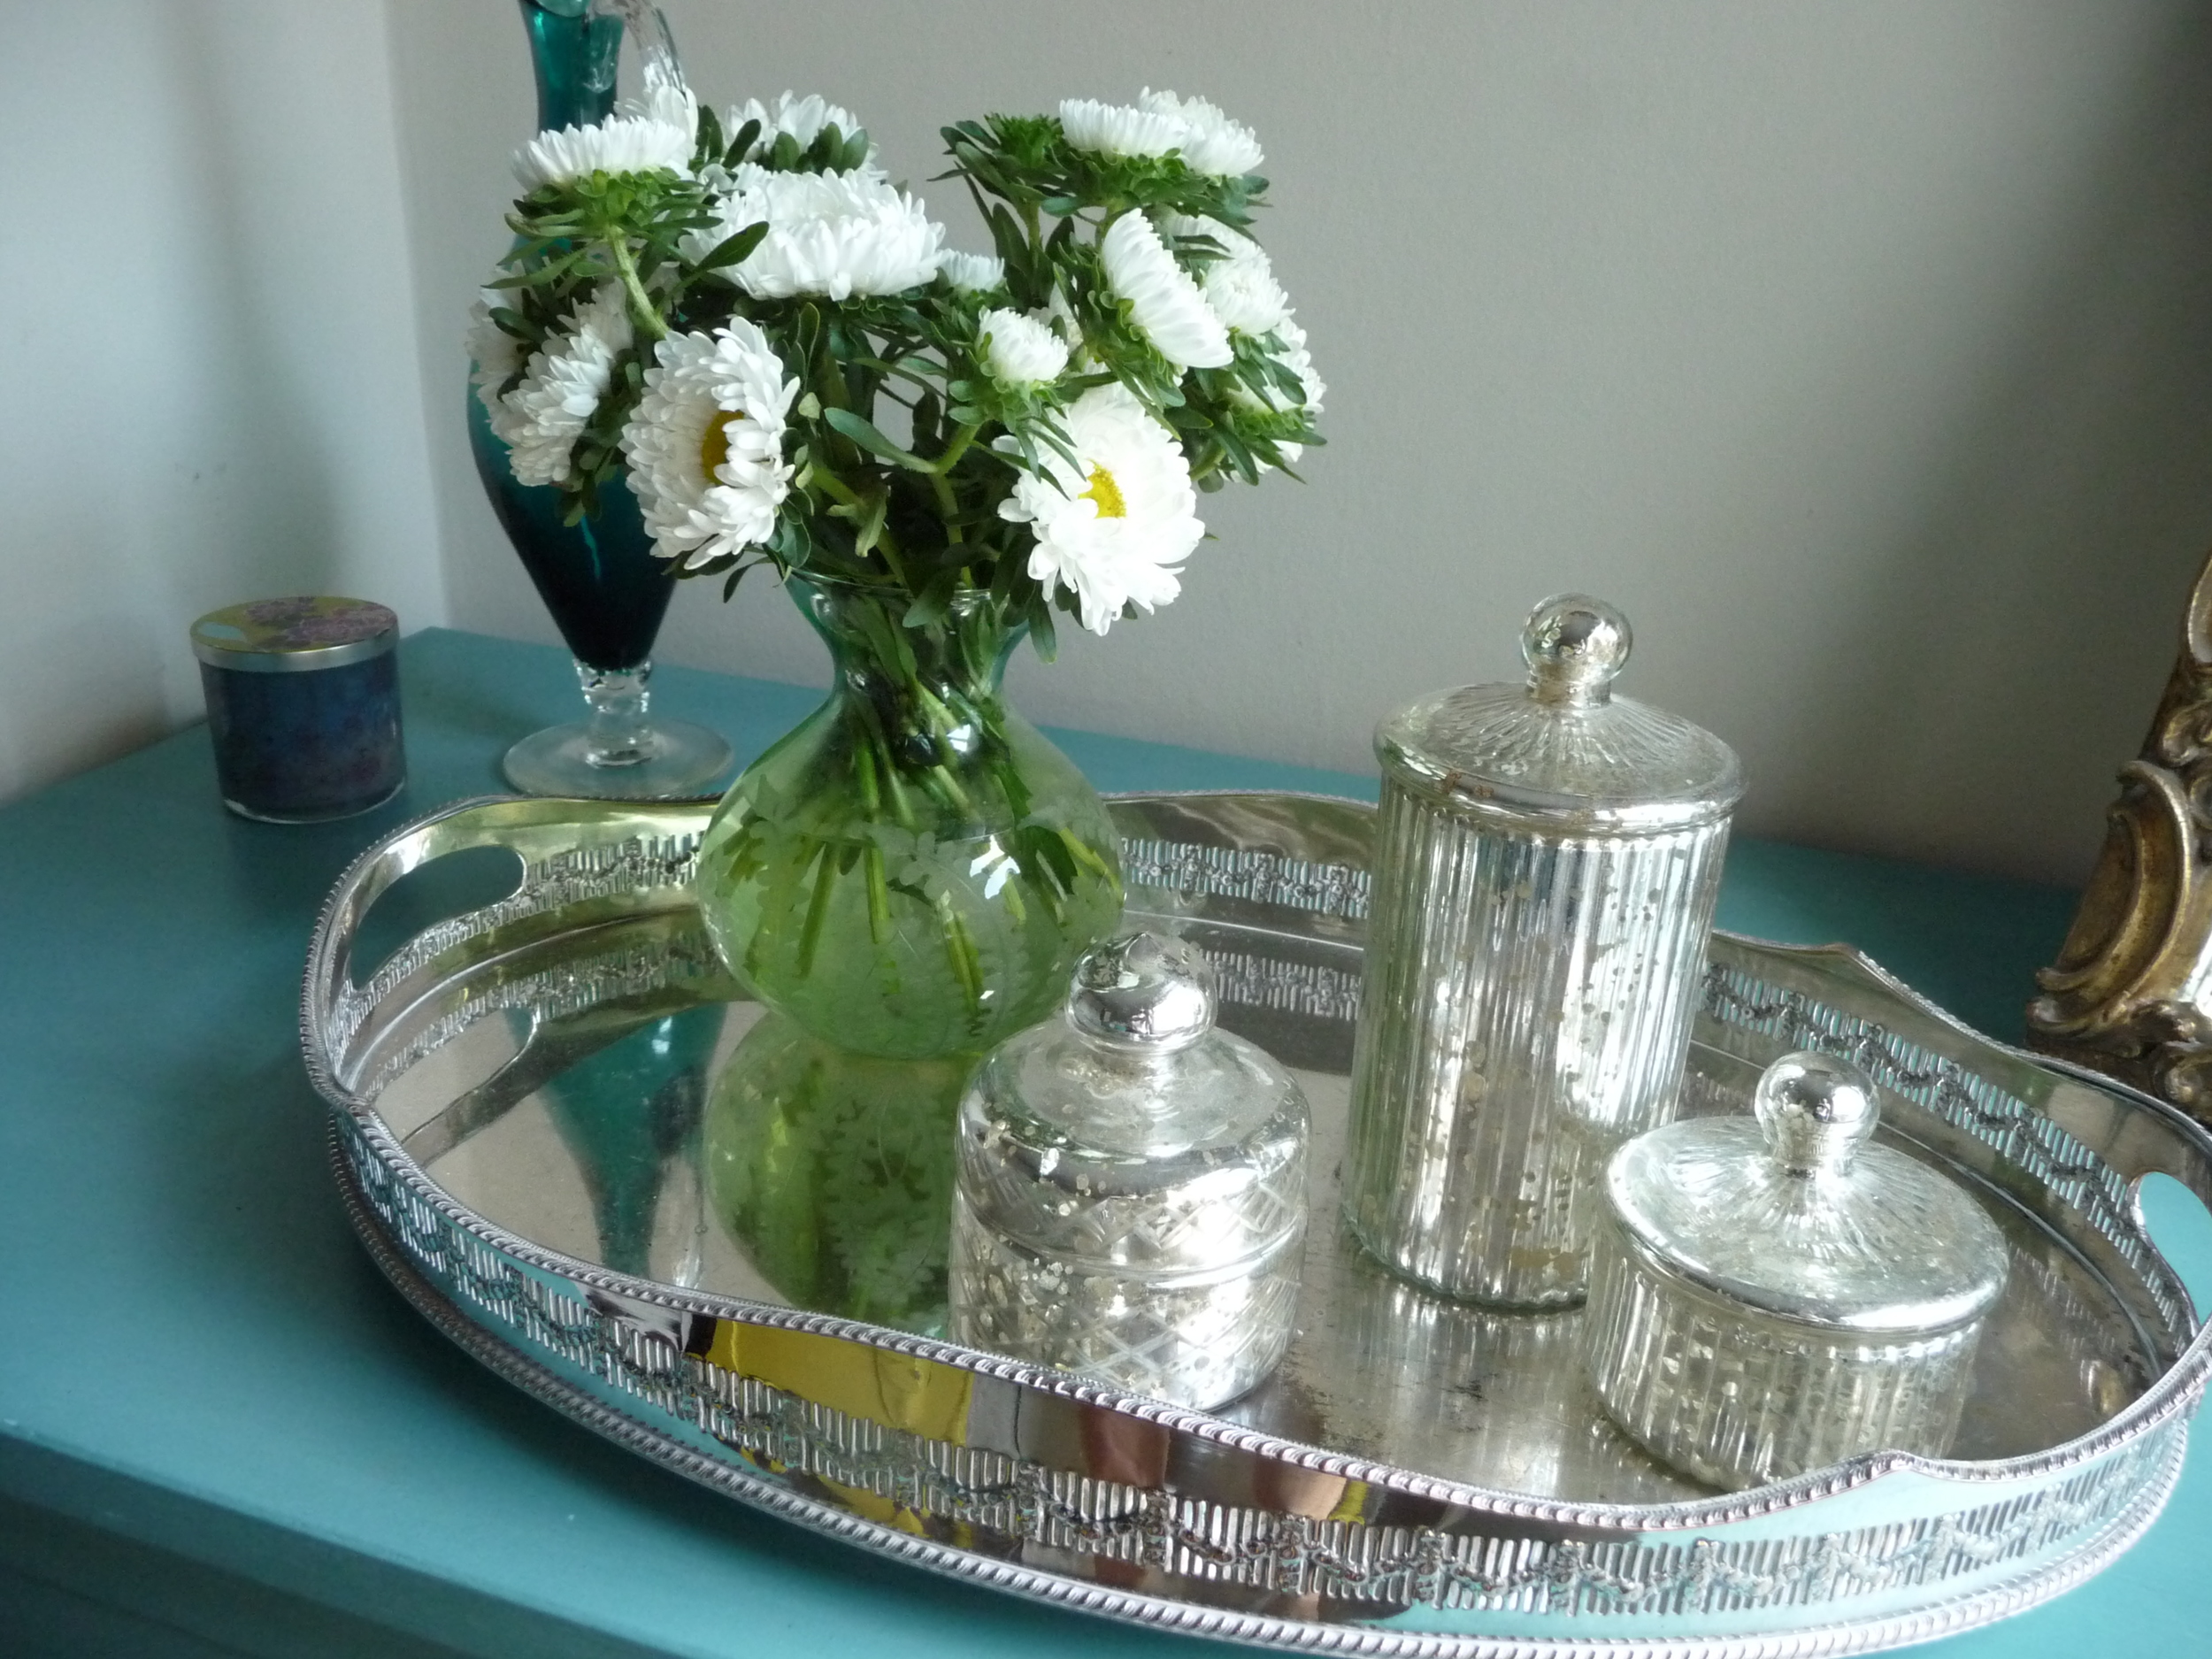
1. Best shaped containers have a narrower opening than the base - try to buy containers like this as they allow the flowers to fan out better. However for flowers like daffodils, narcissi and tulips a straight sided container works well as it will emulate how they grow, straight!
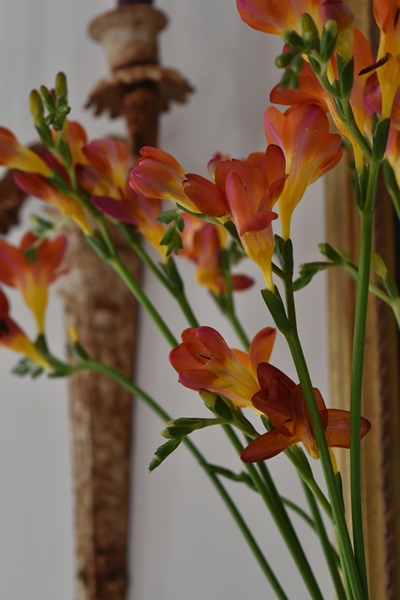
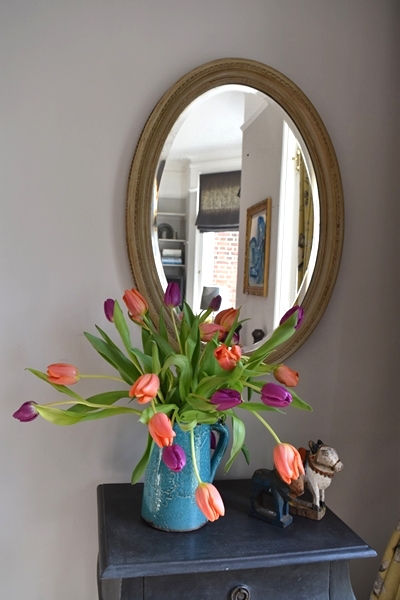
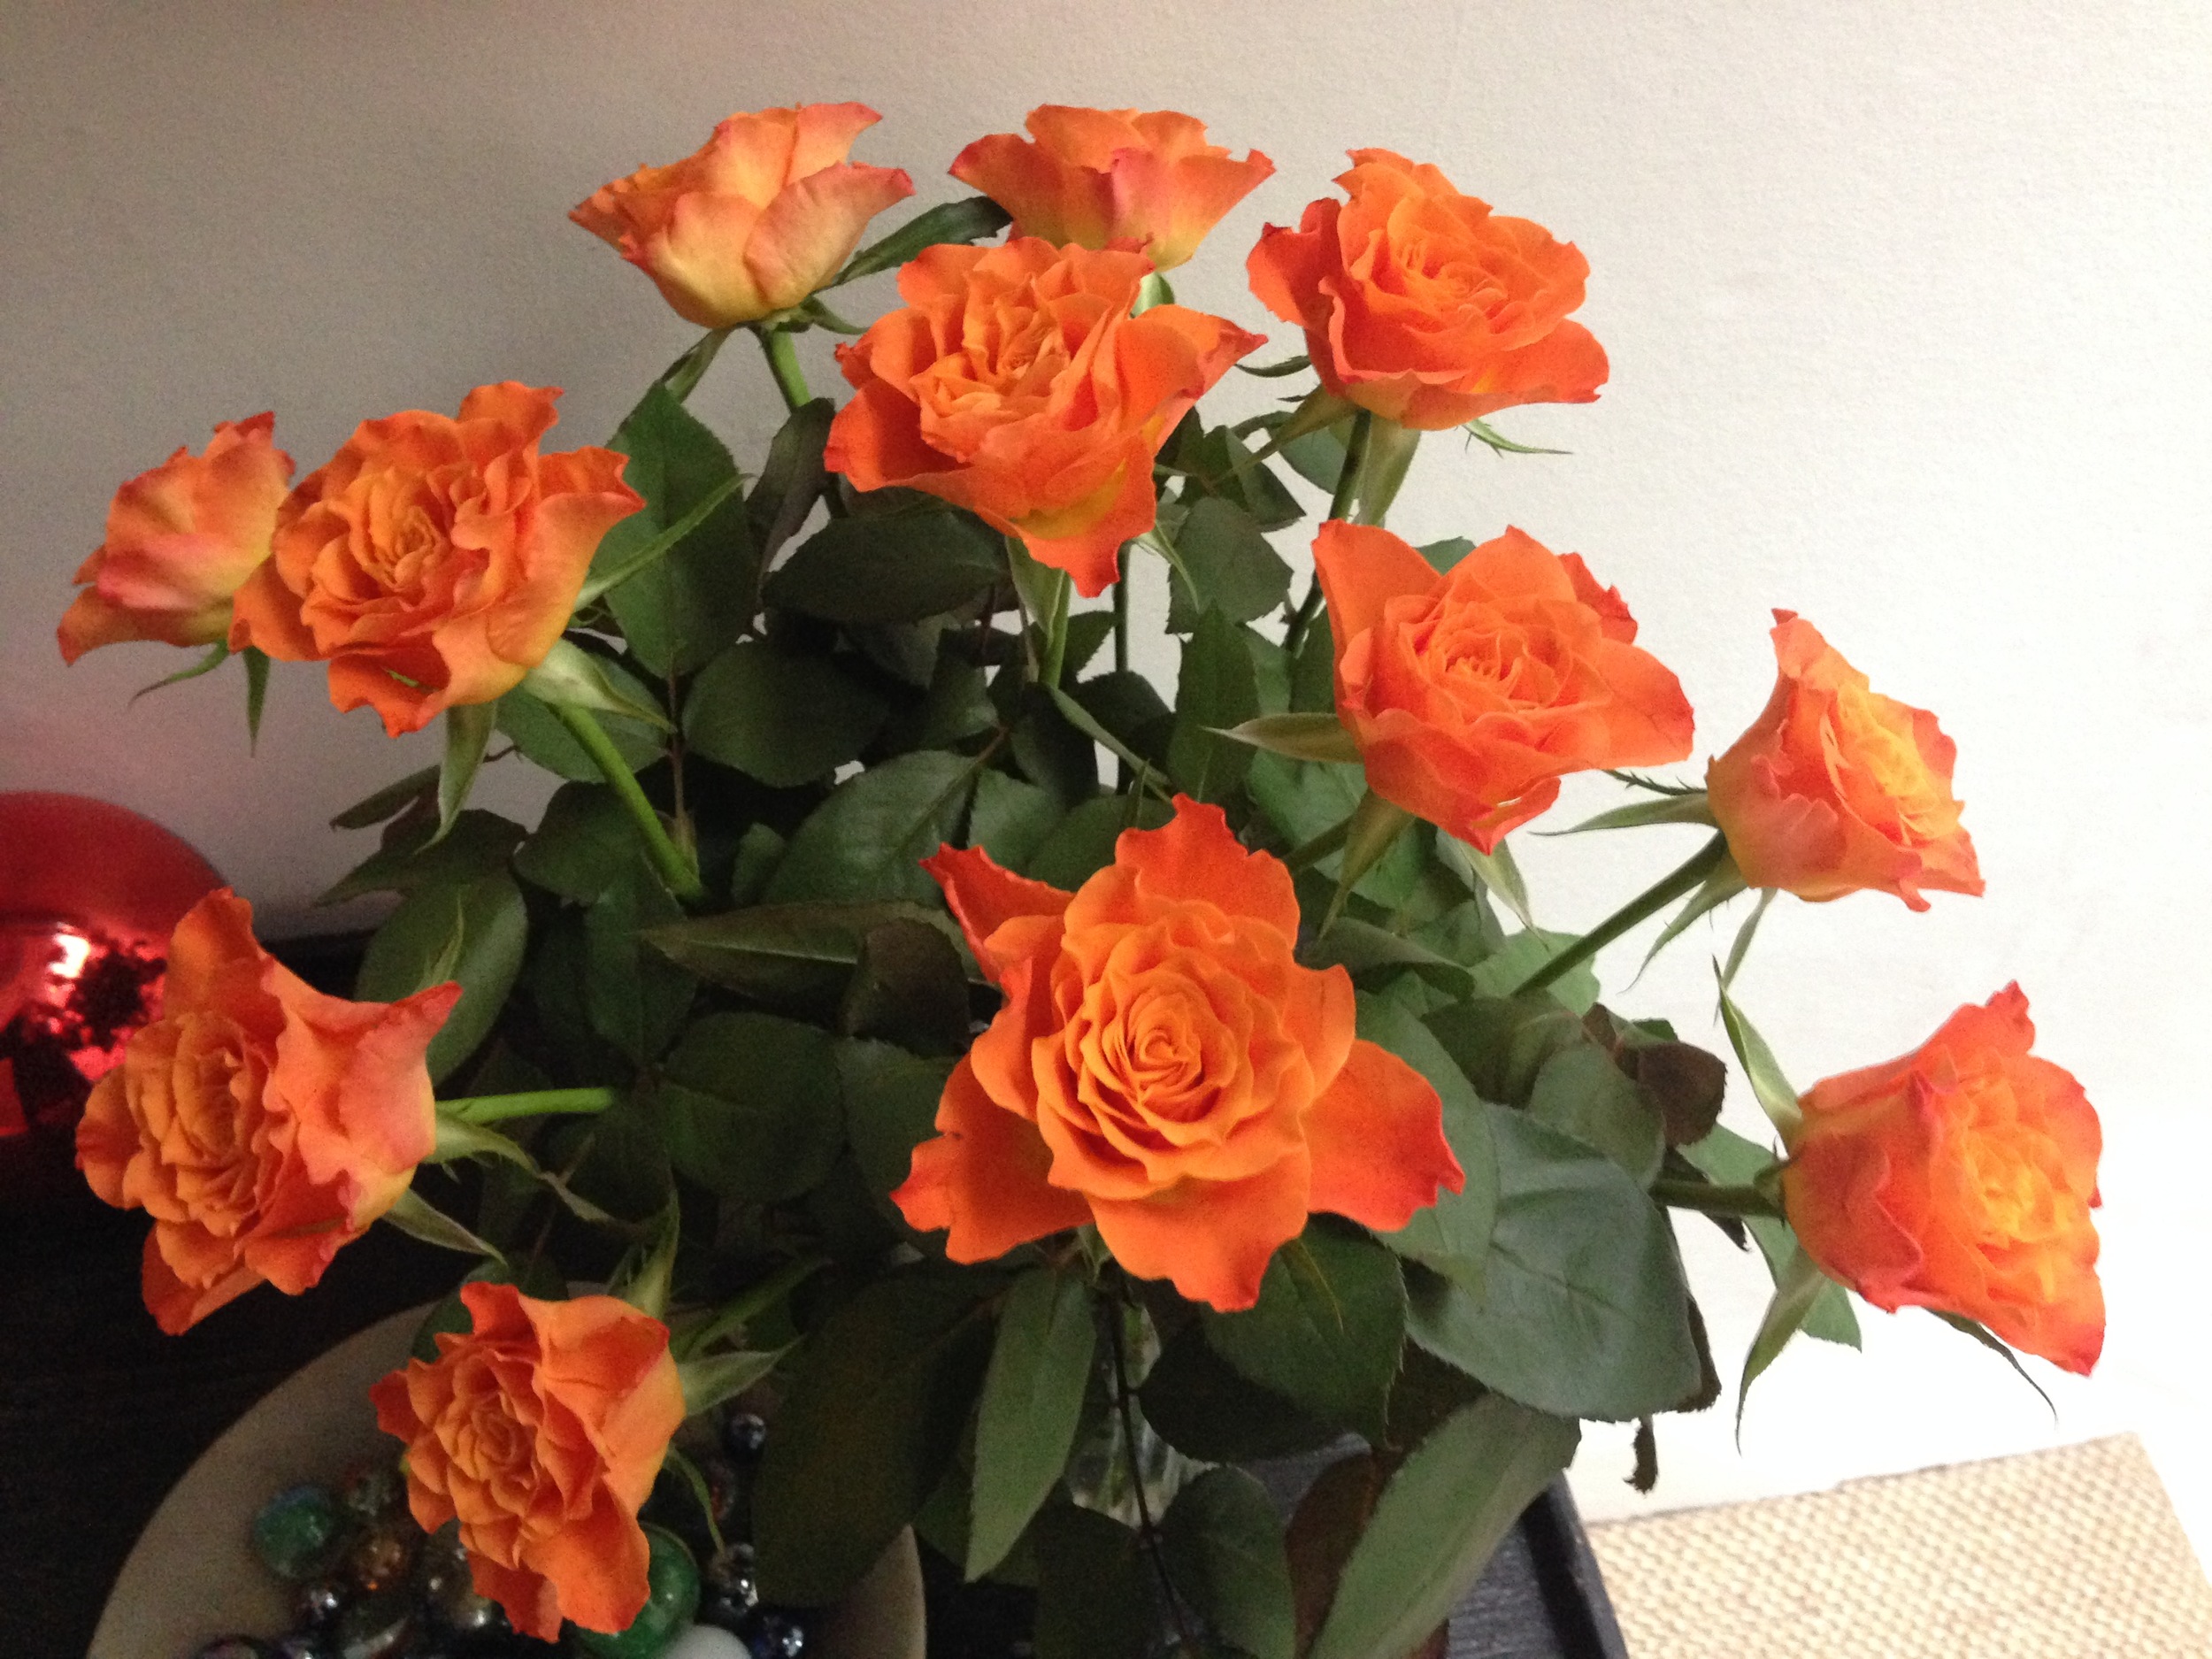
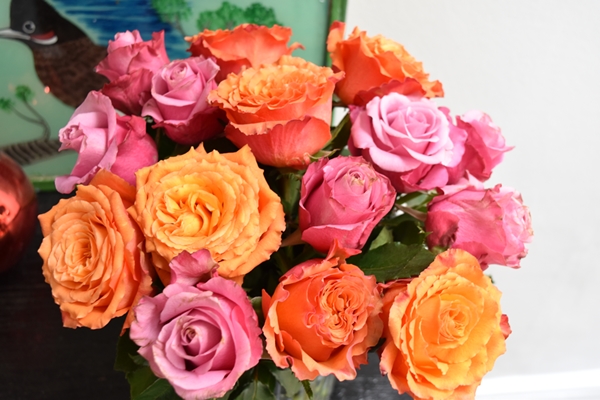
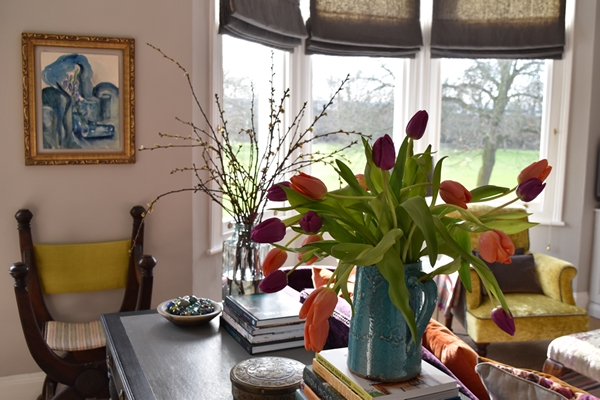
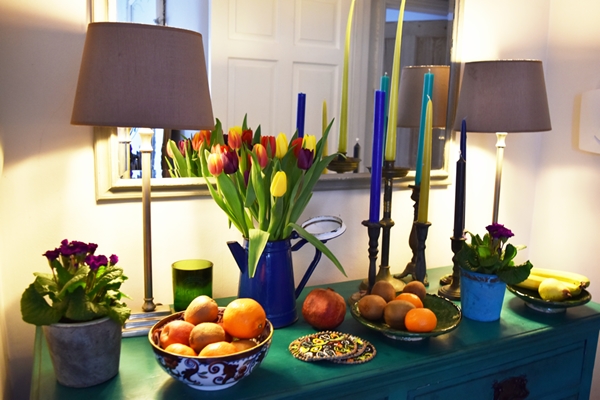
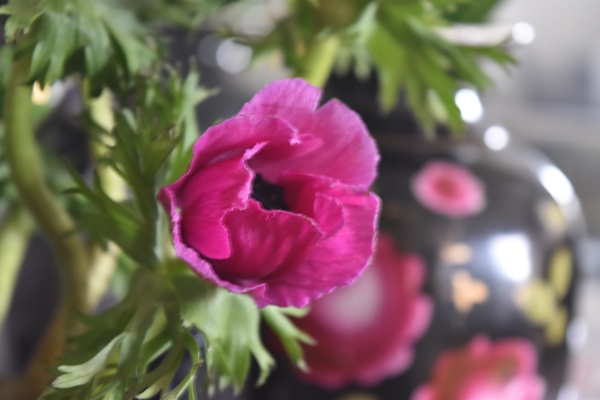
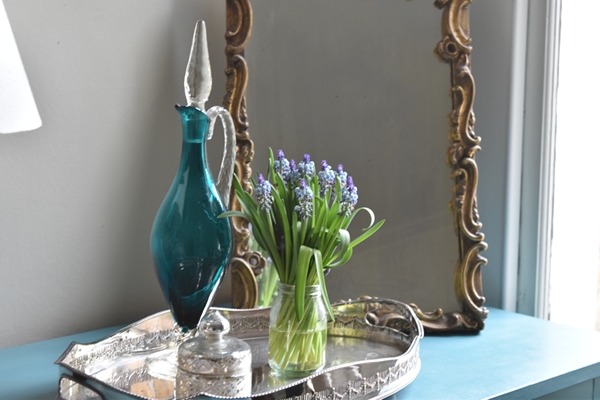
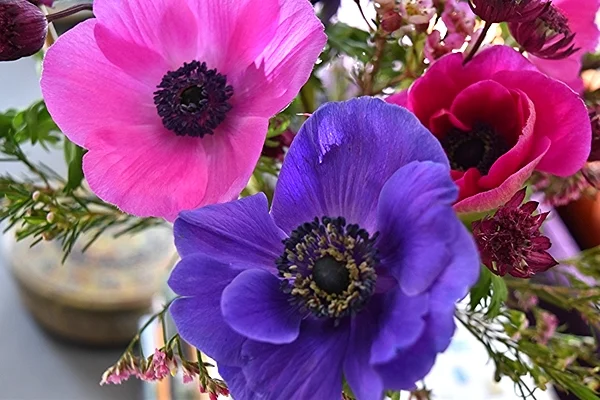
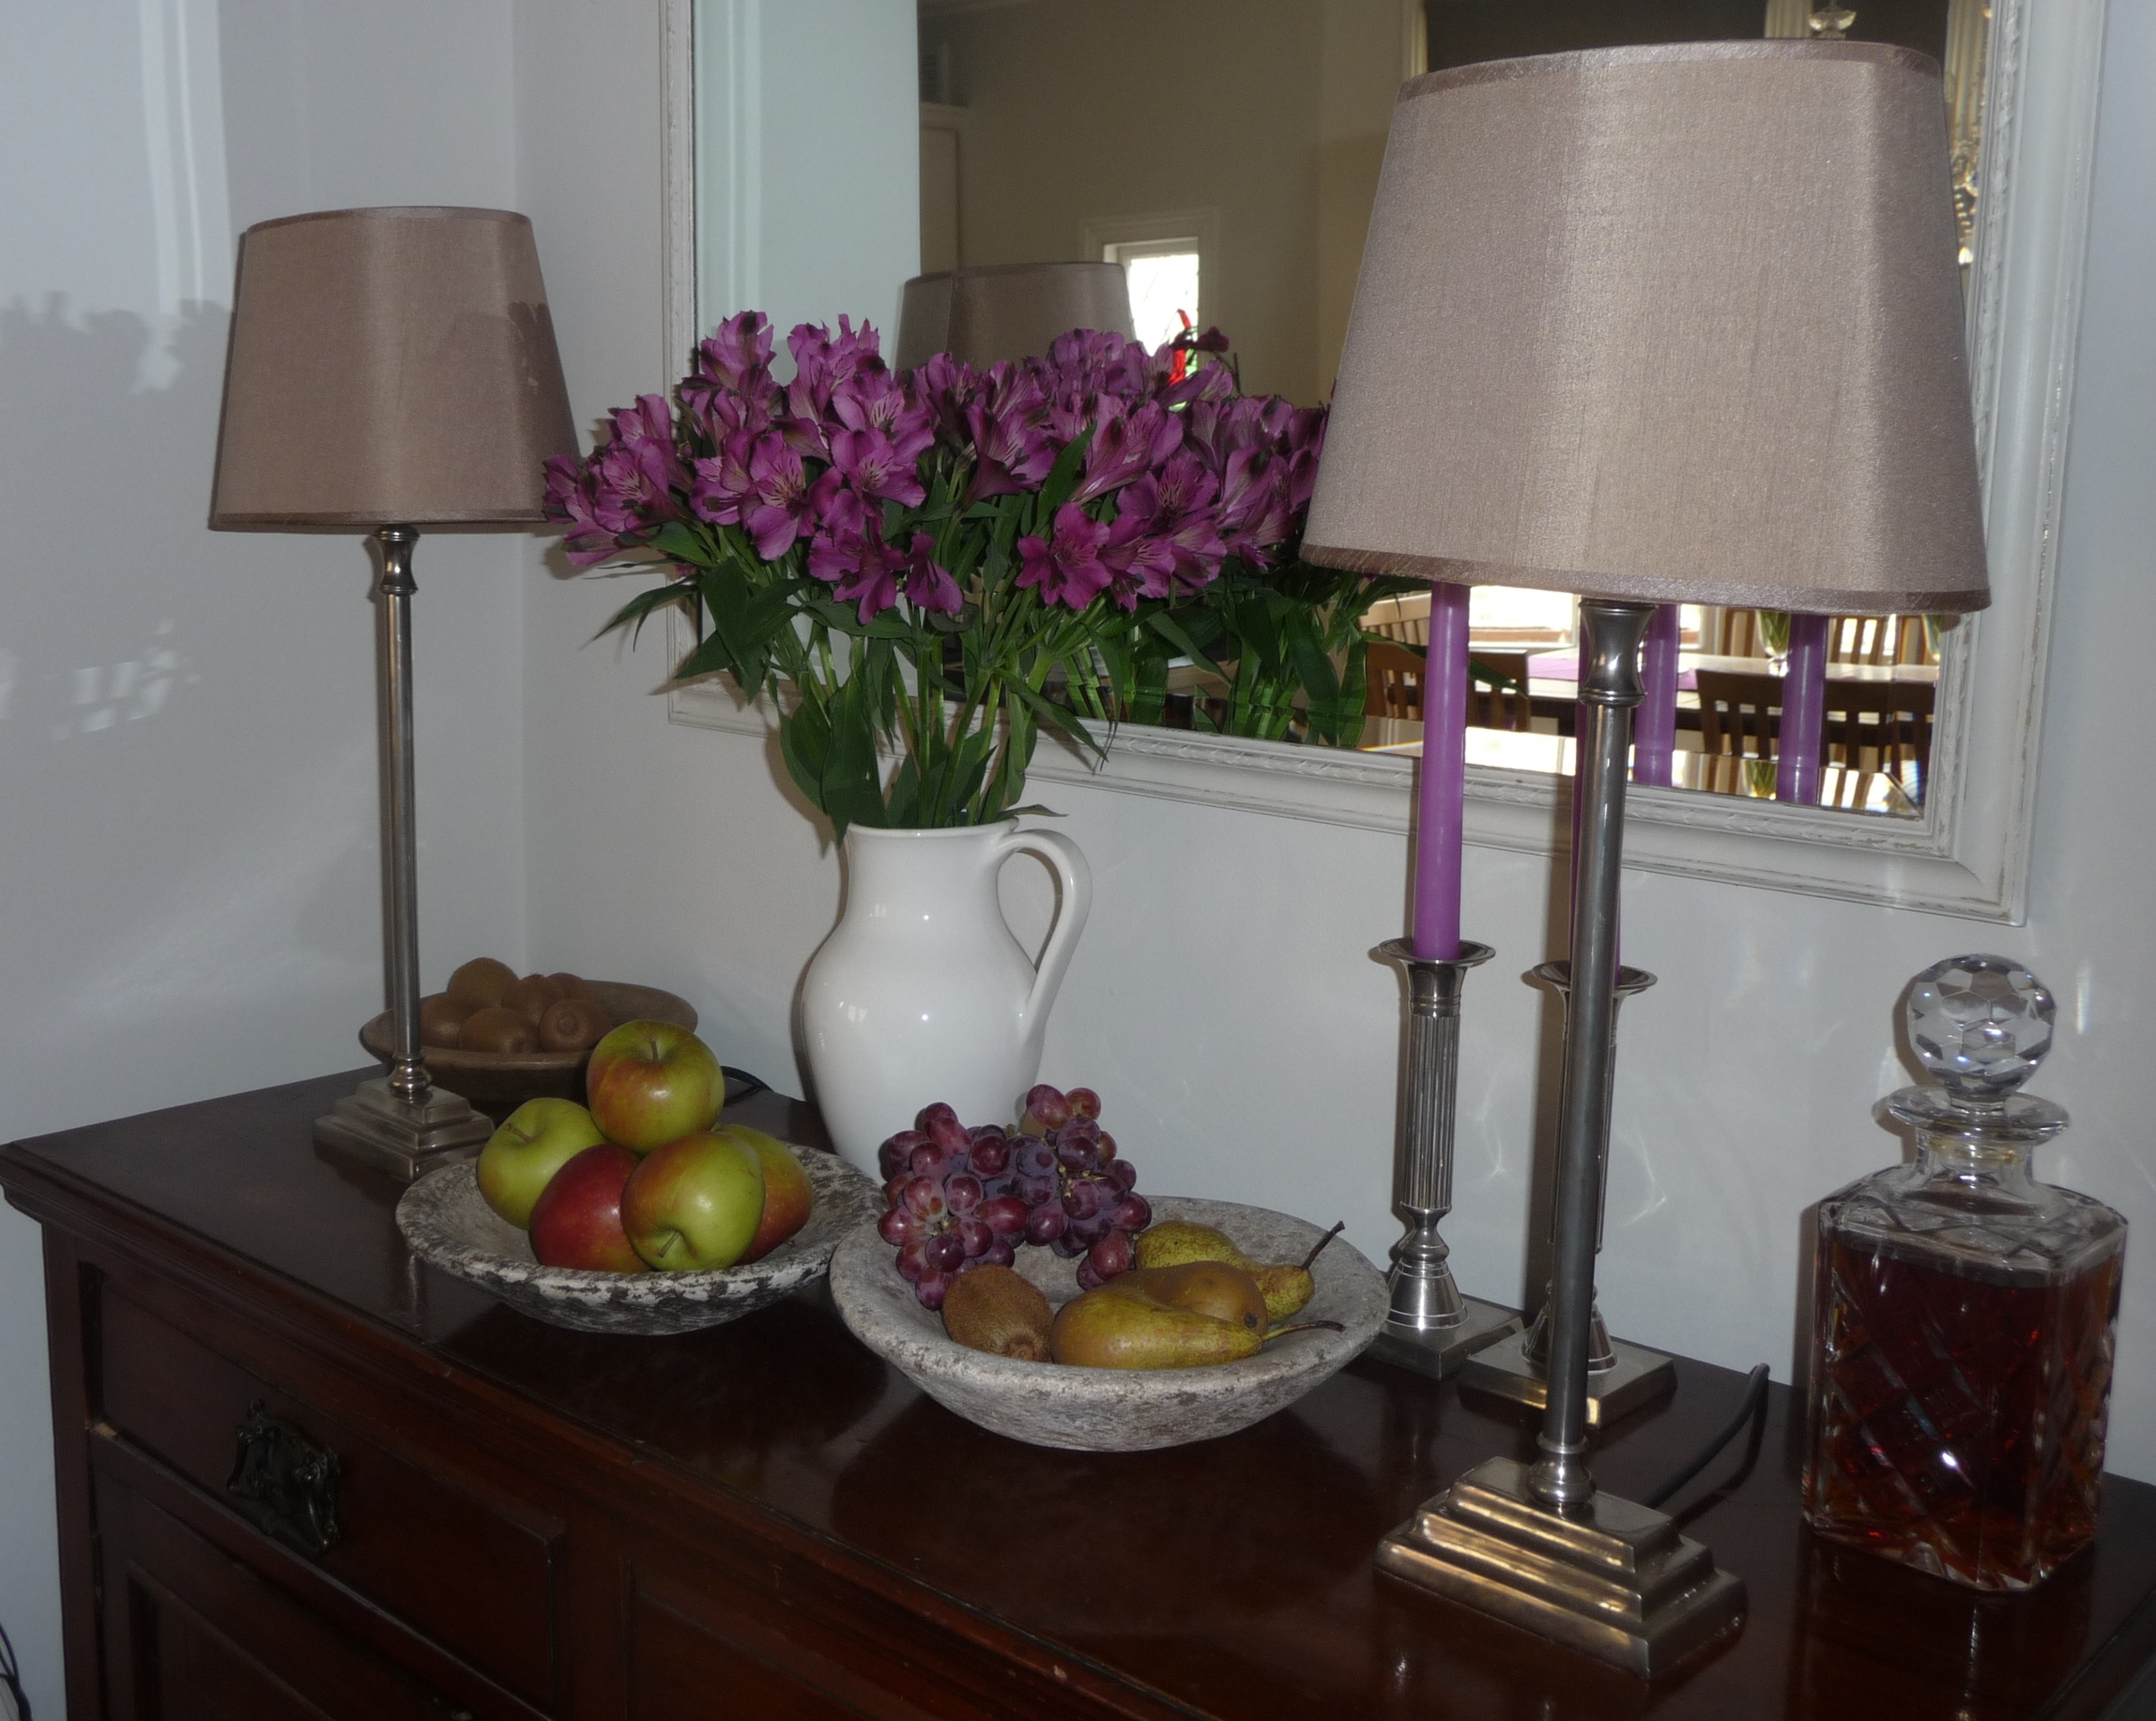
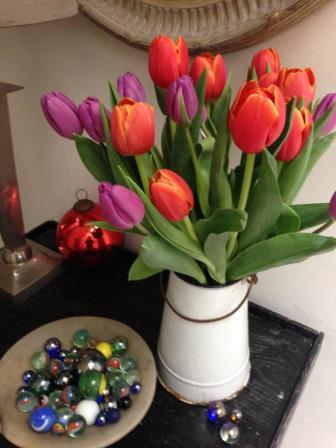
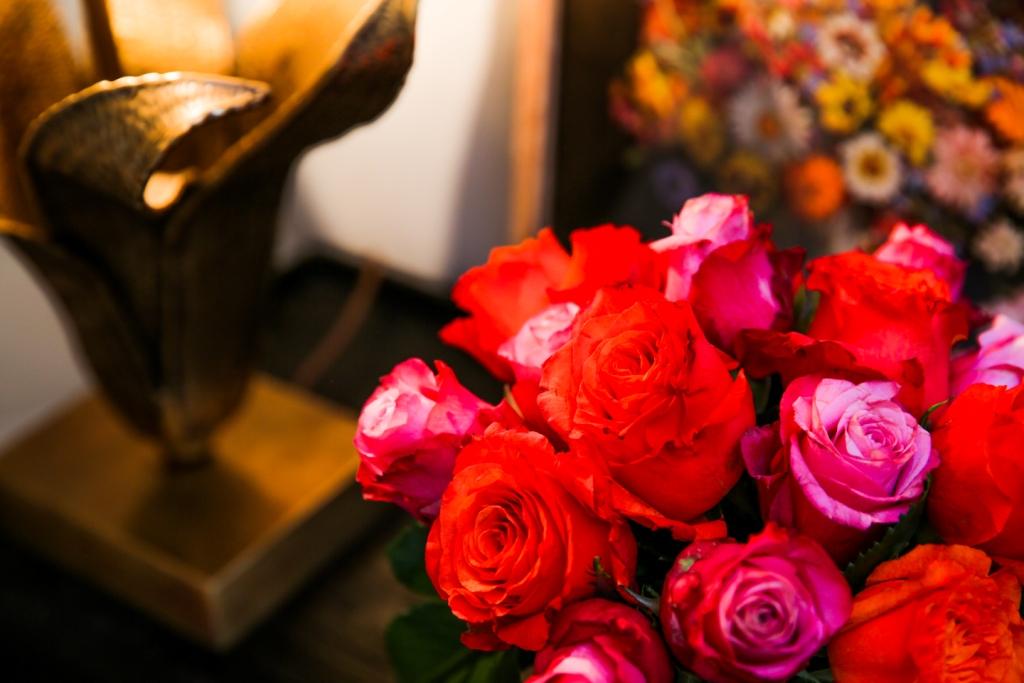
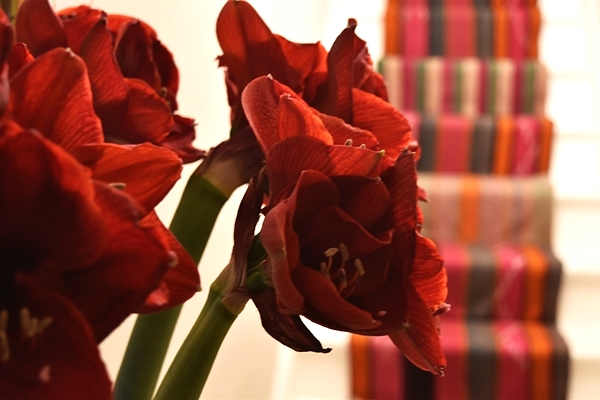
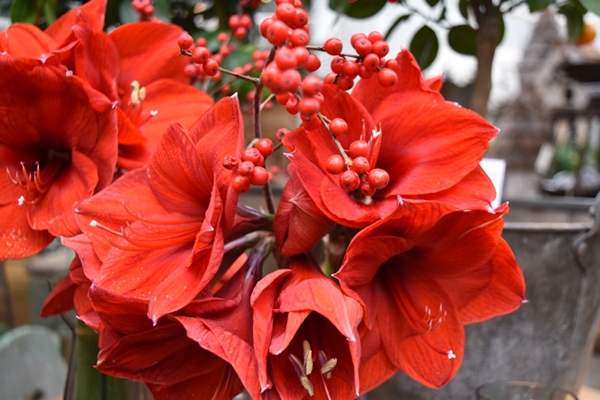
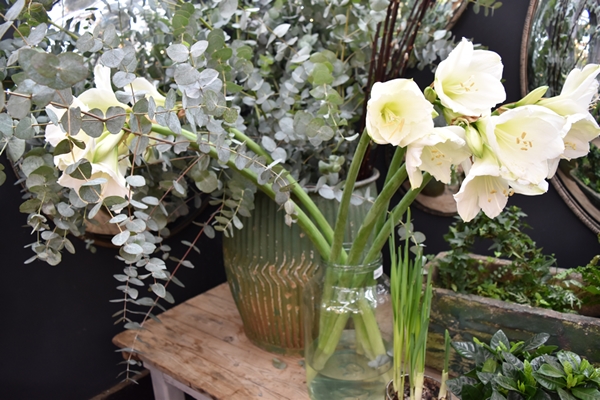
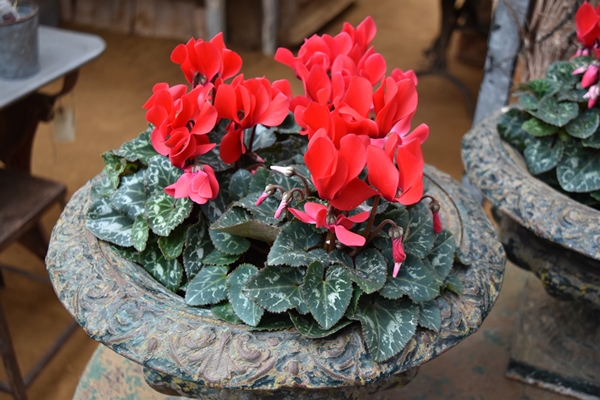
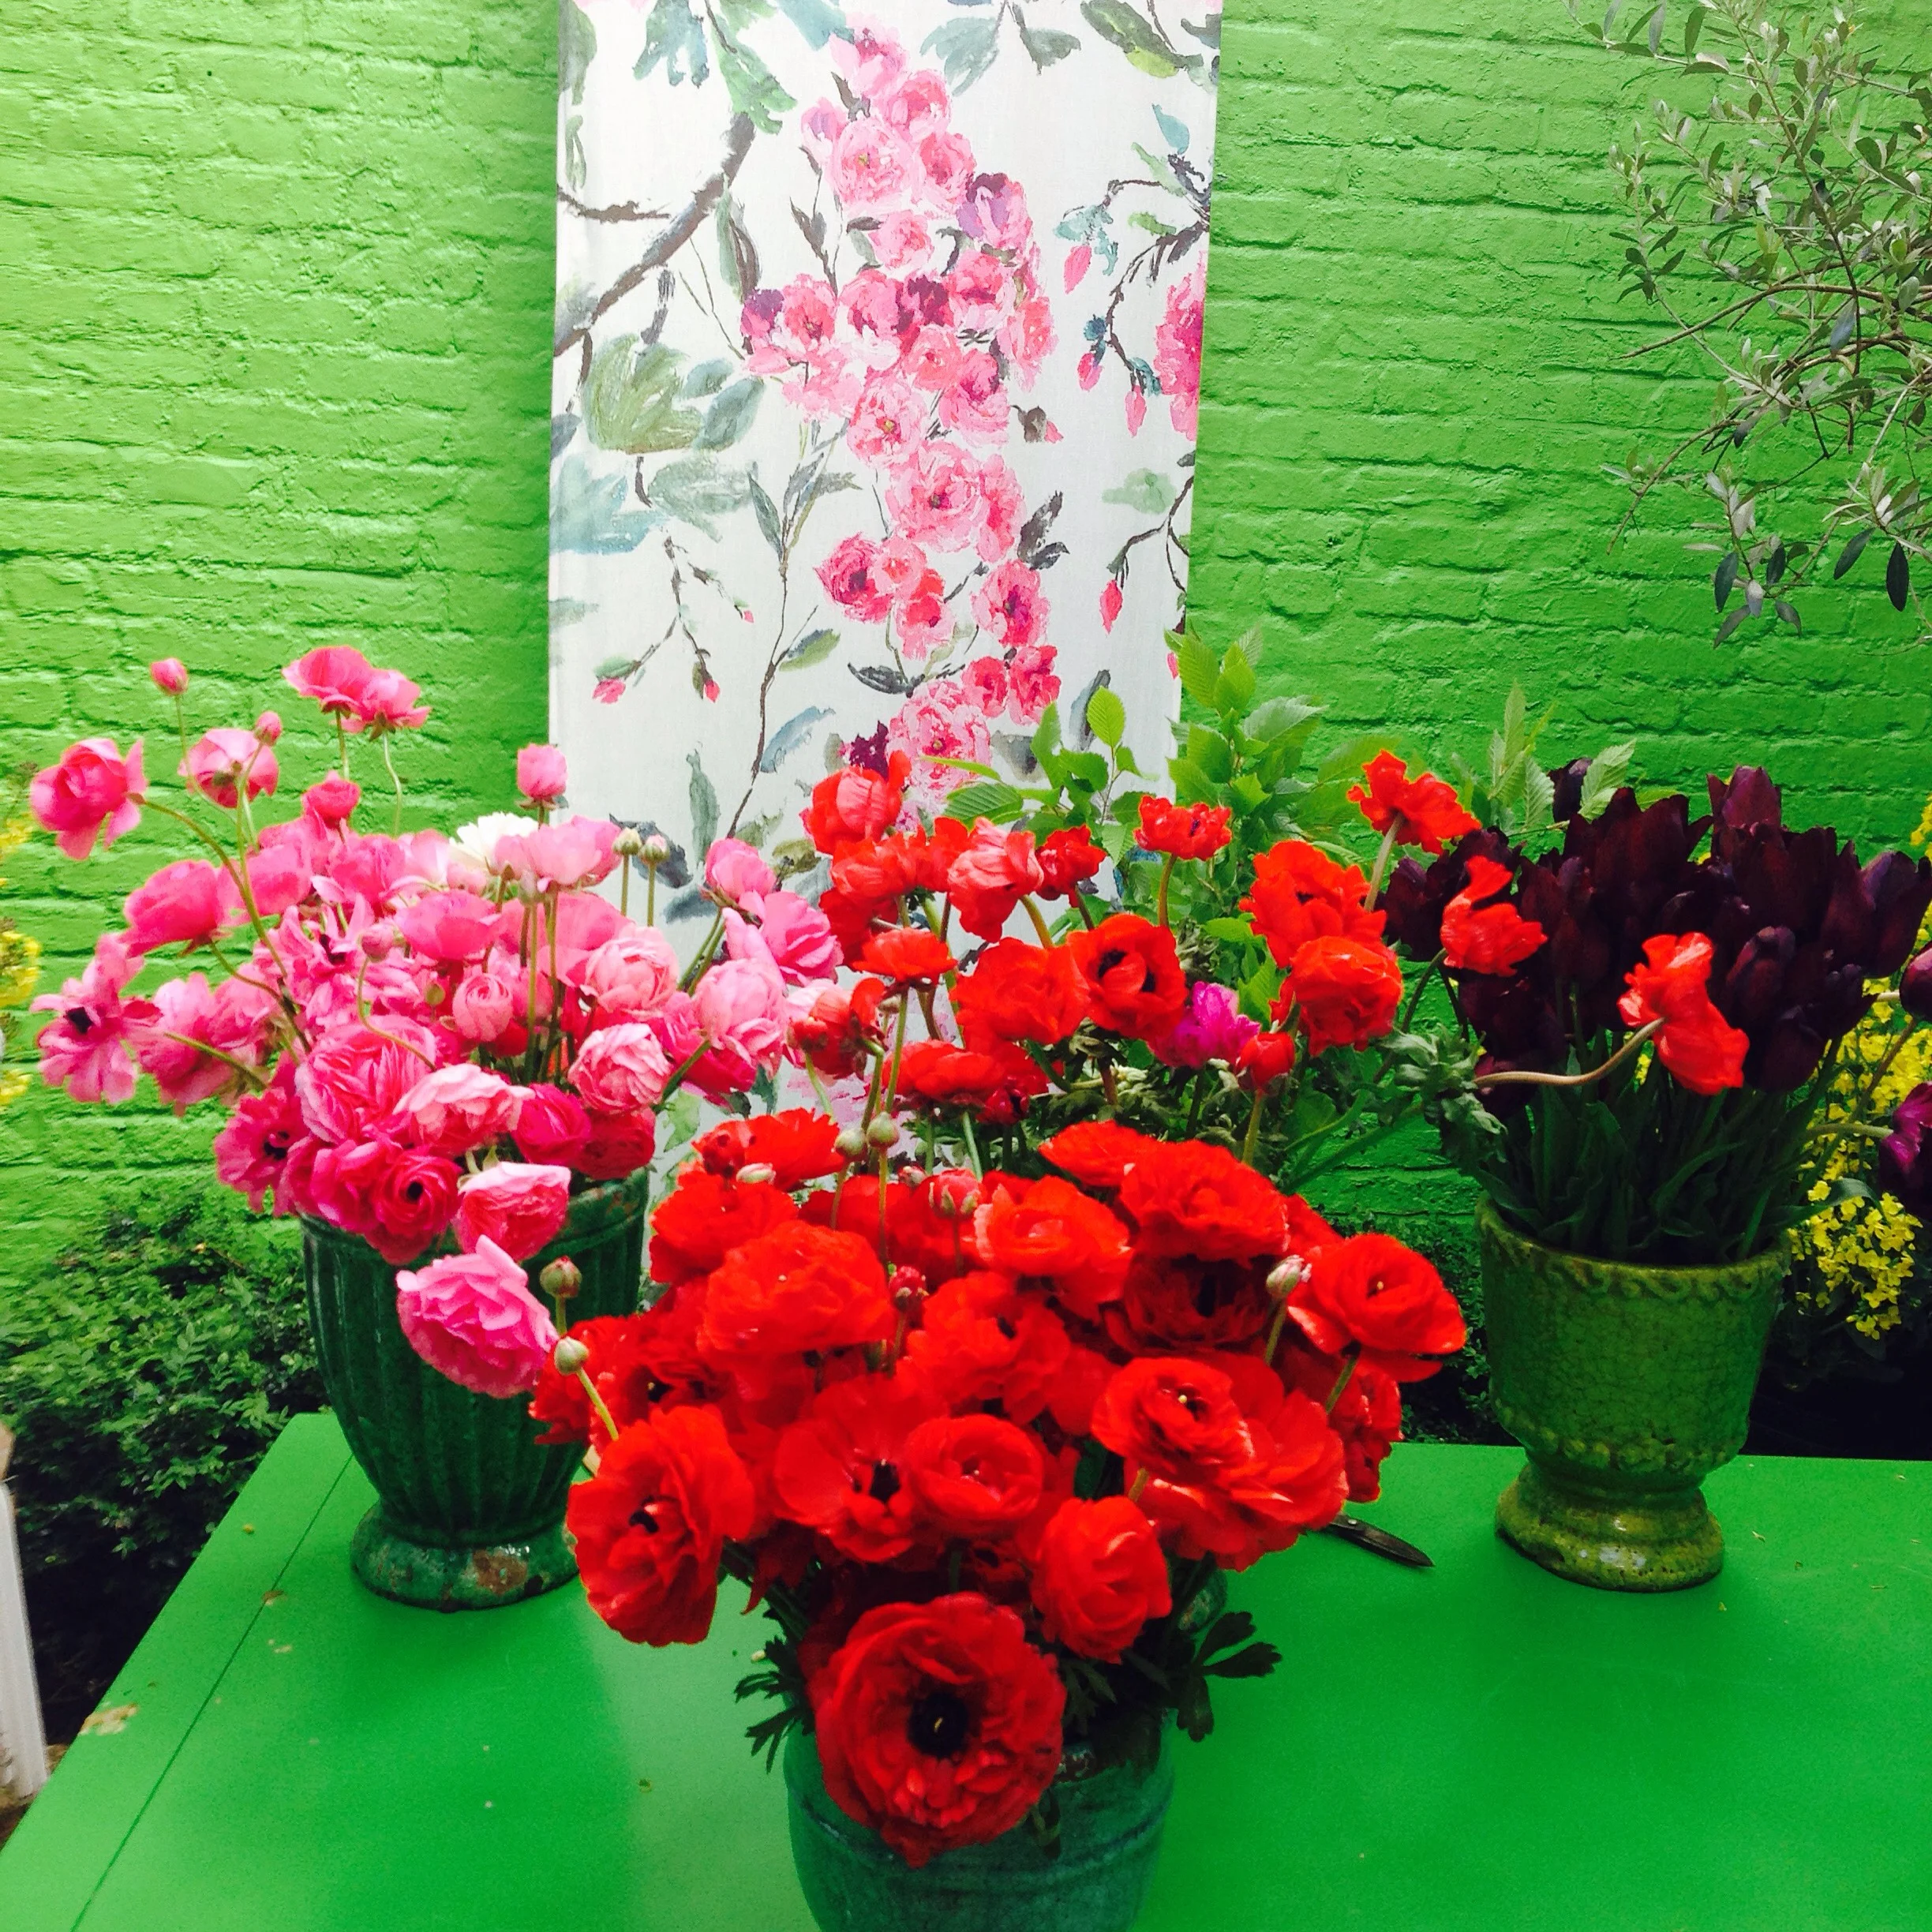
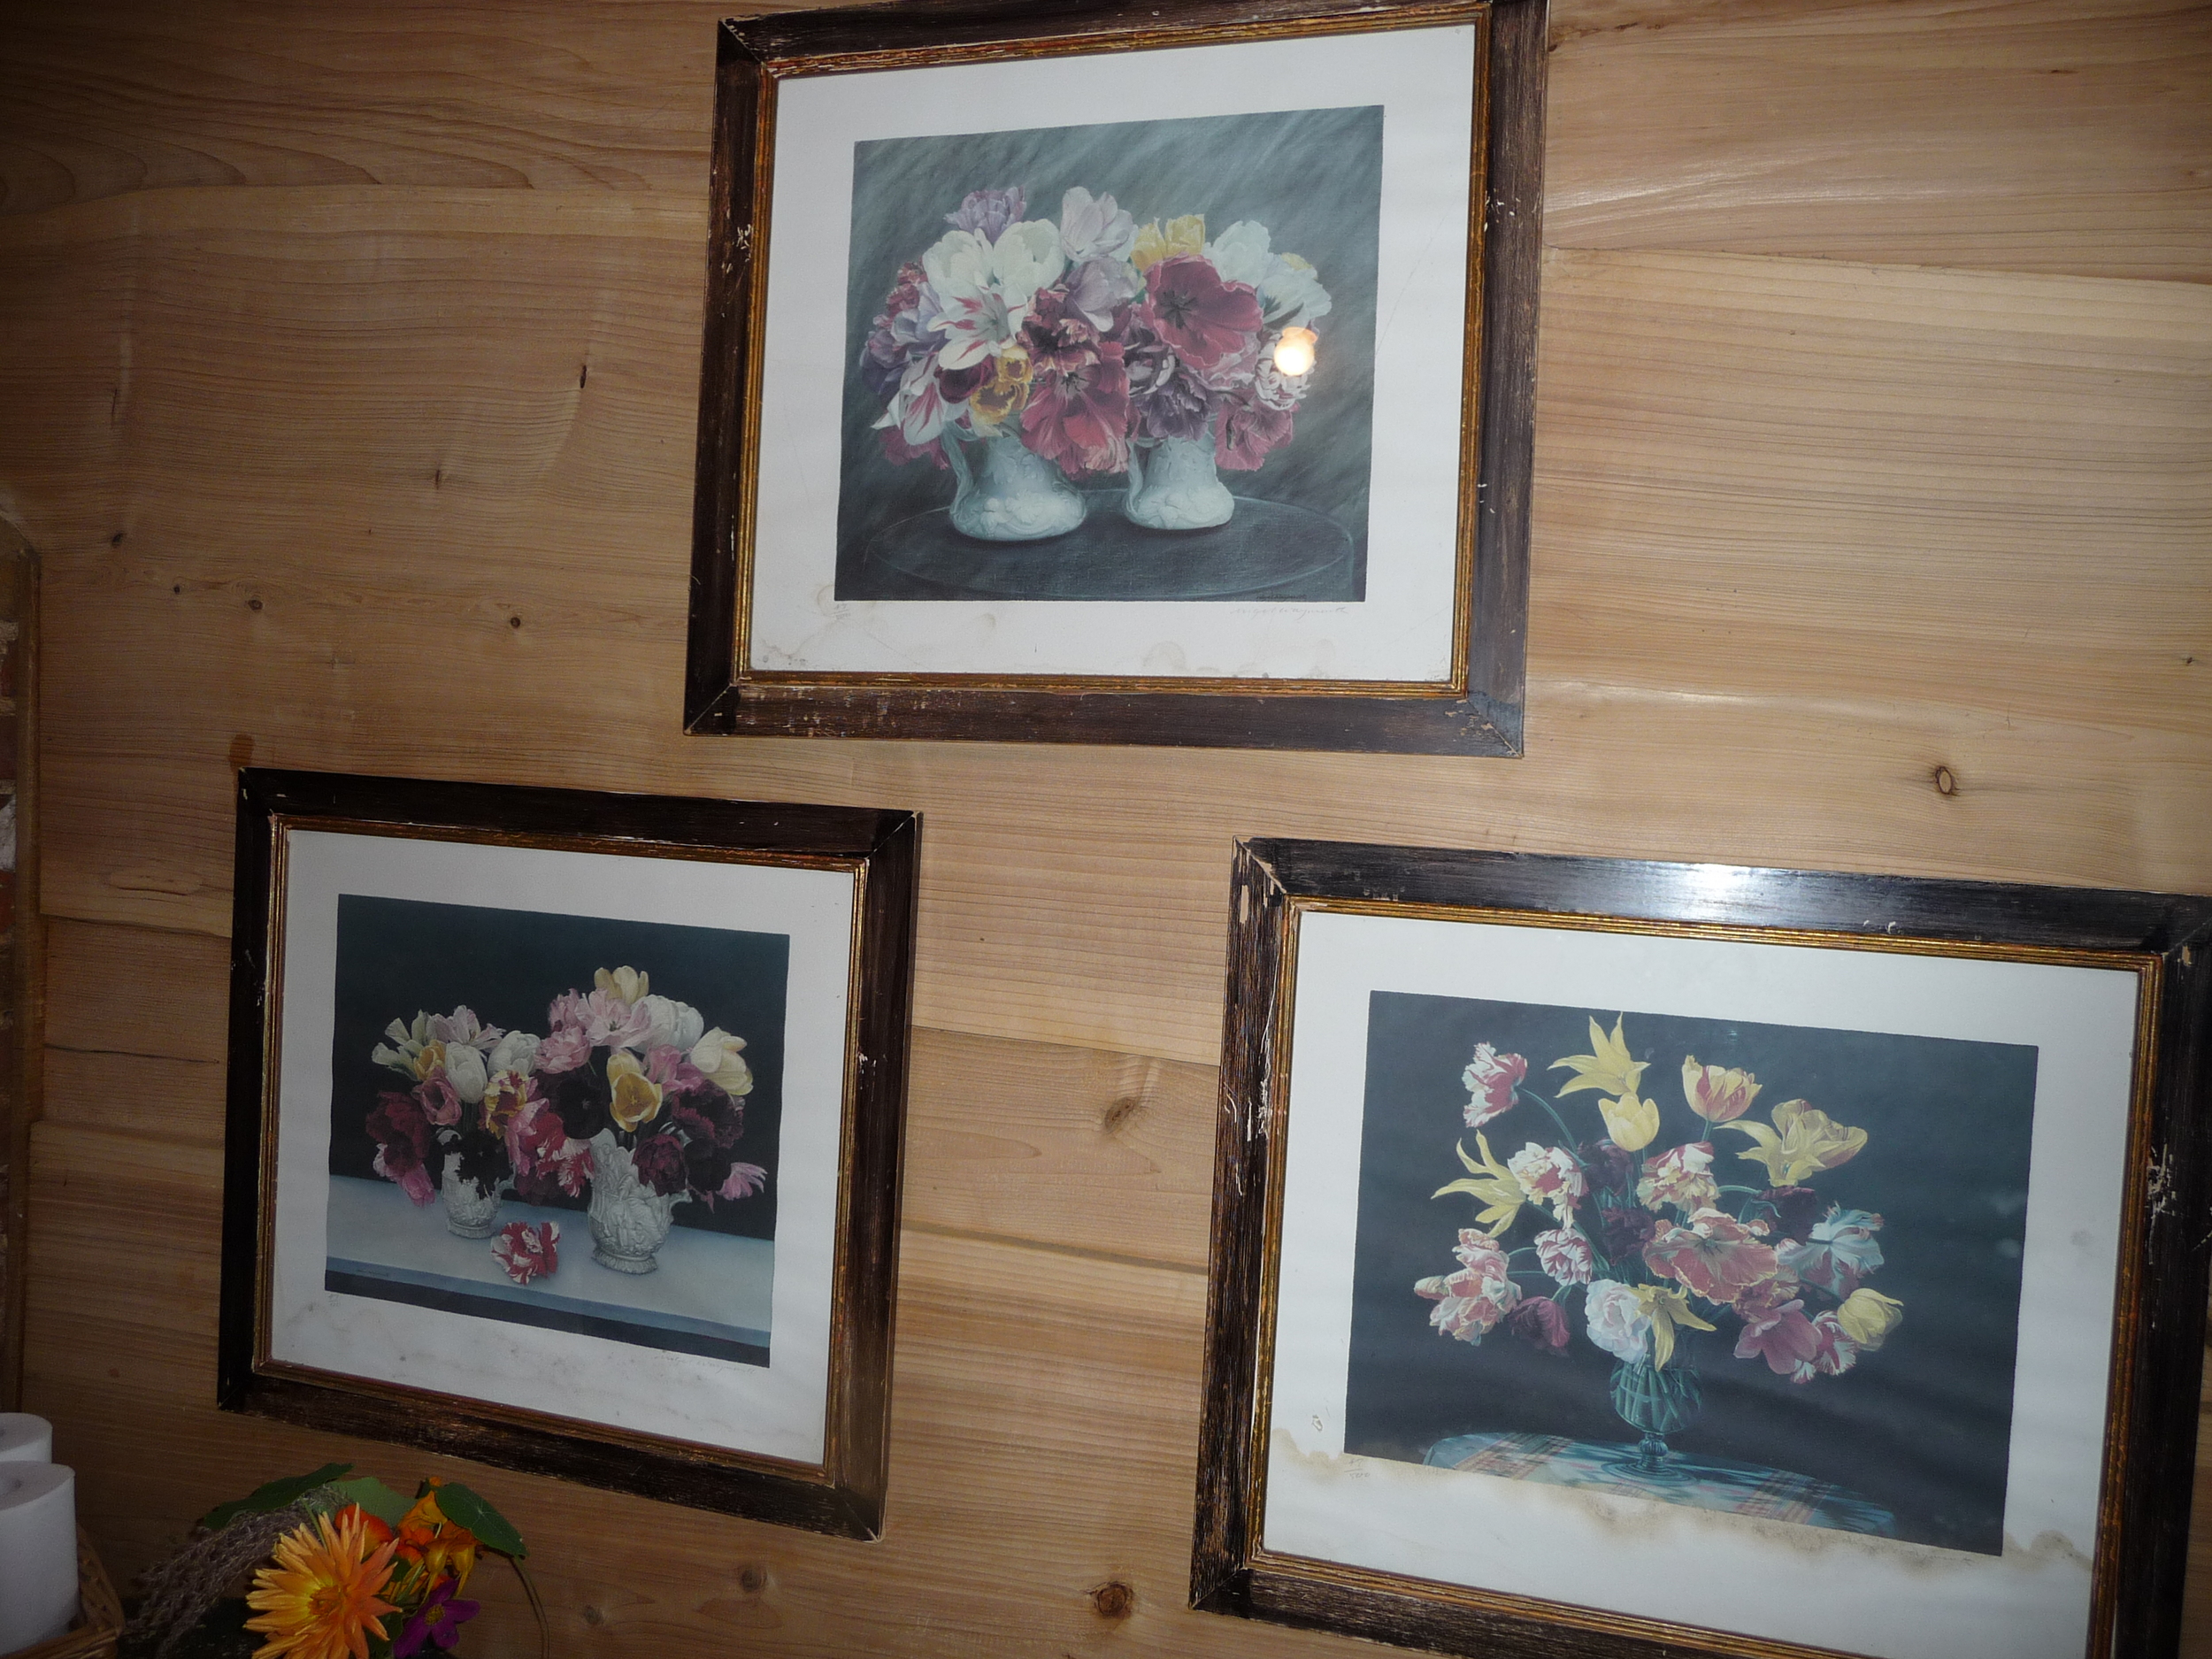
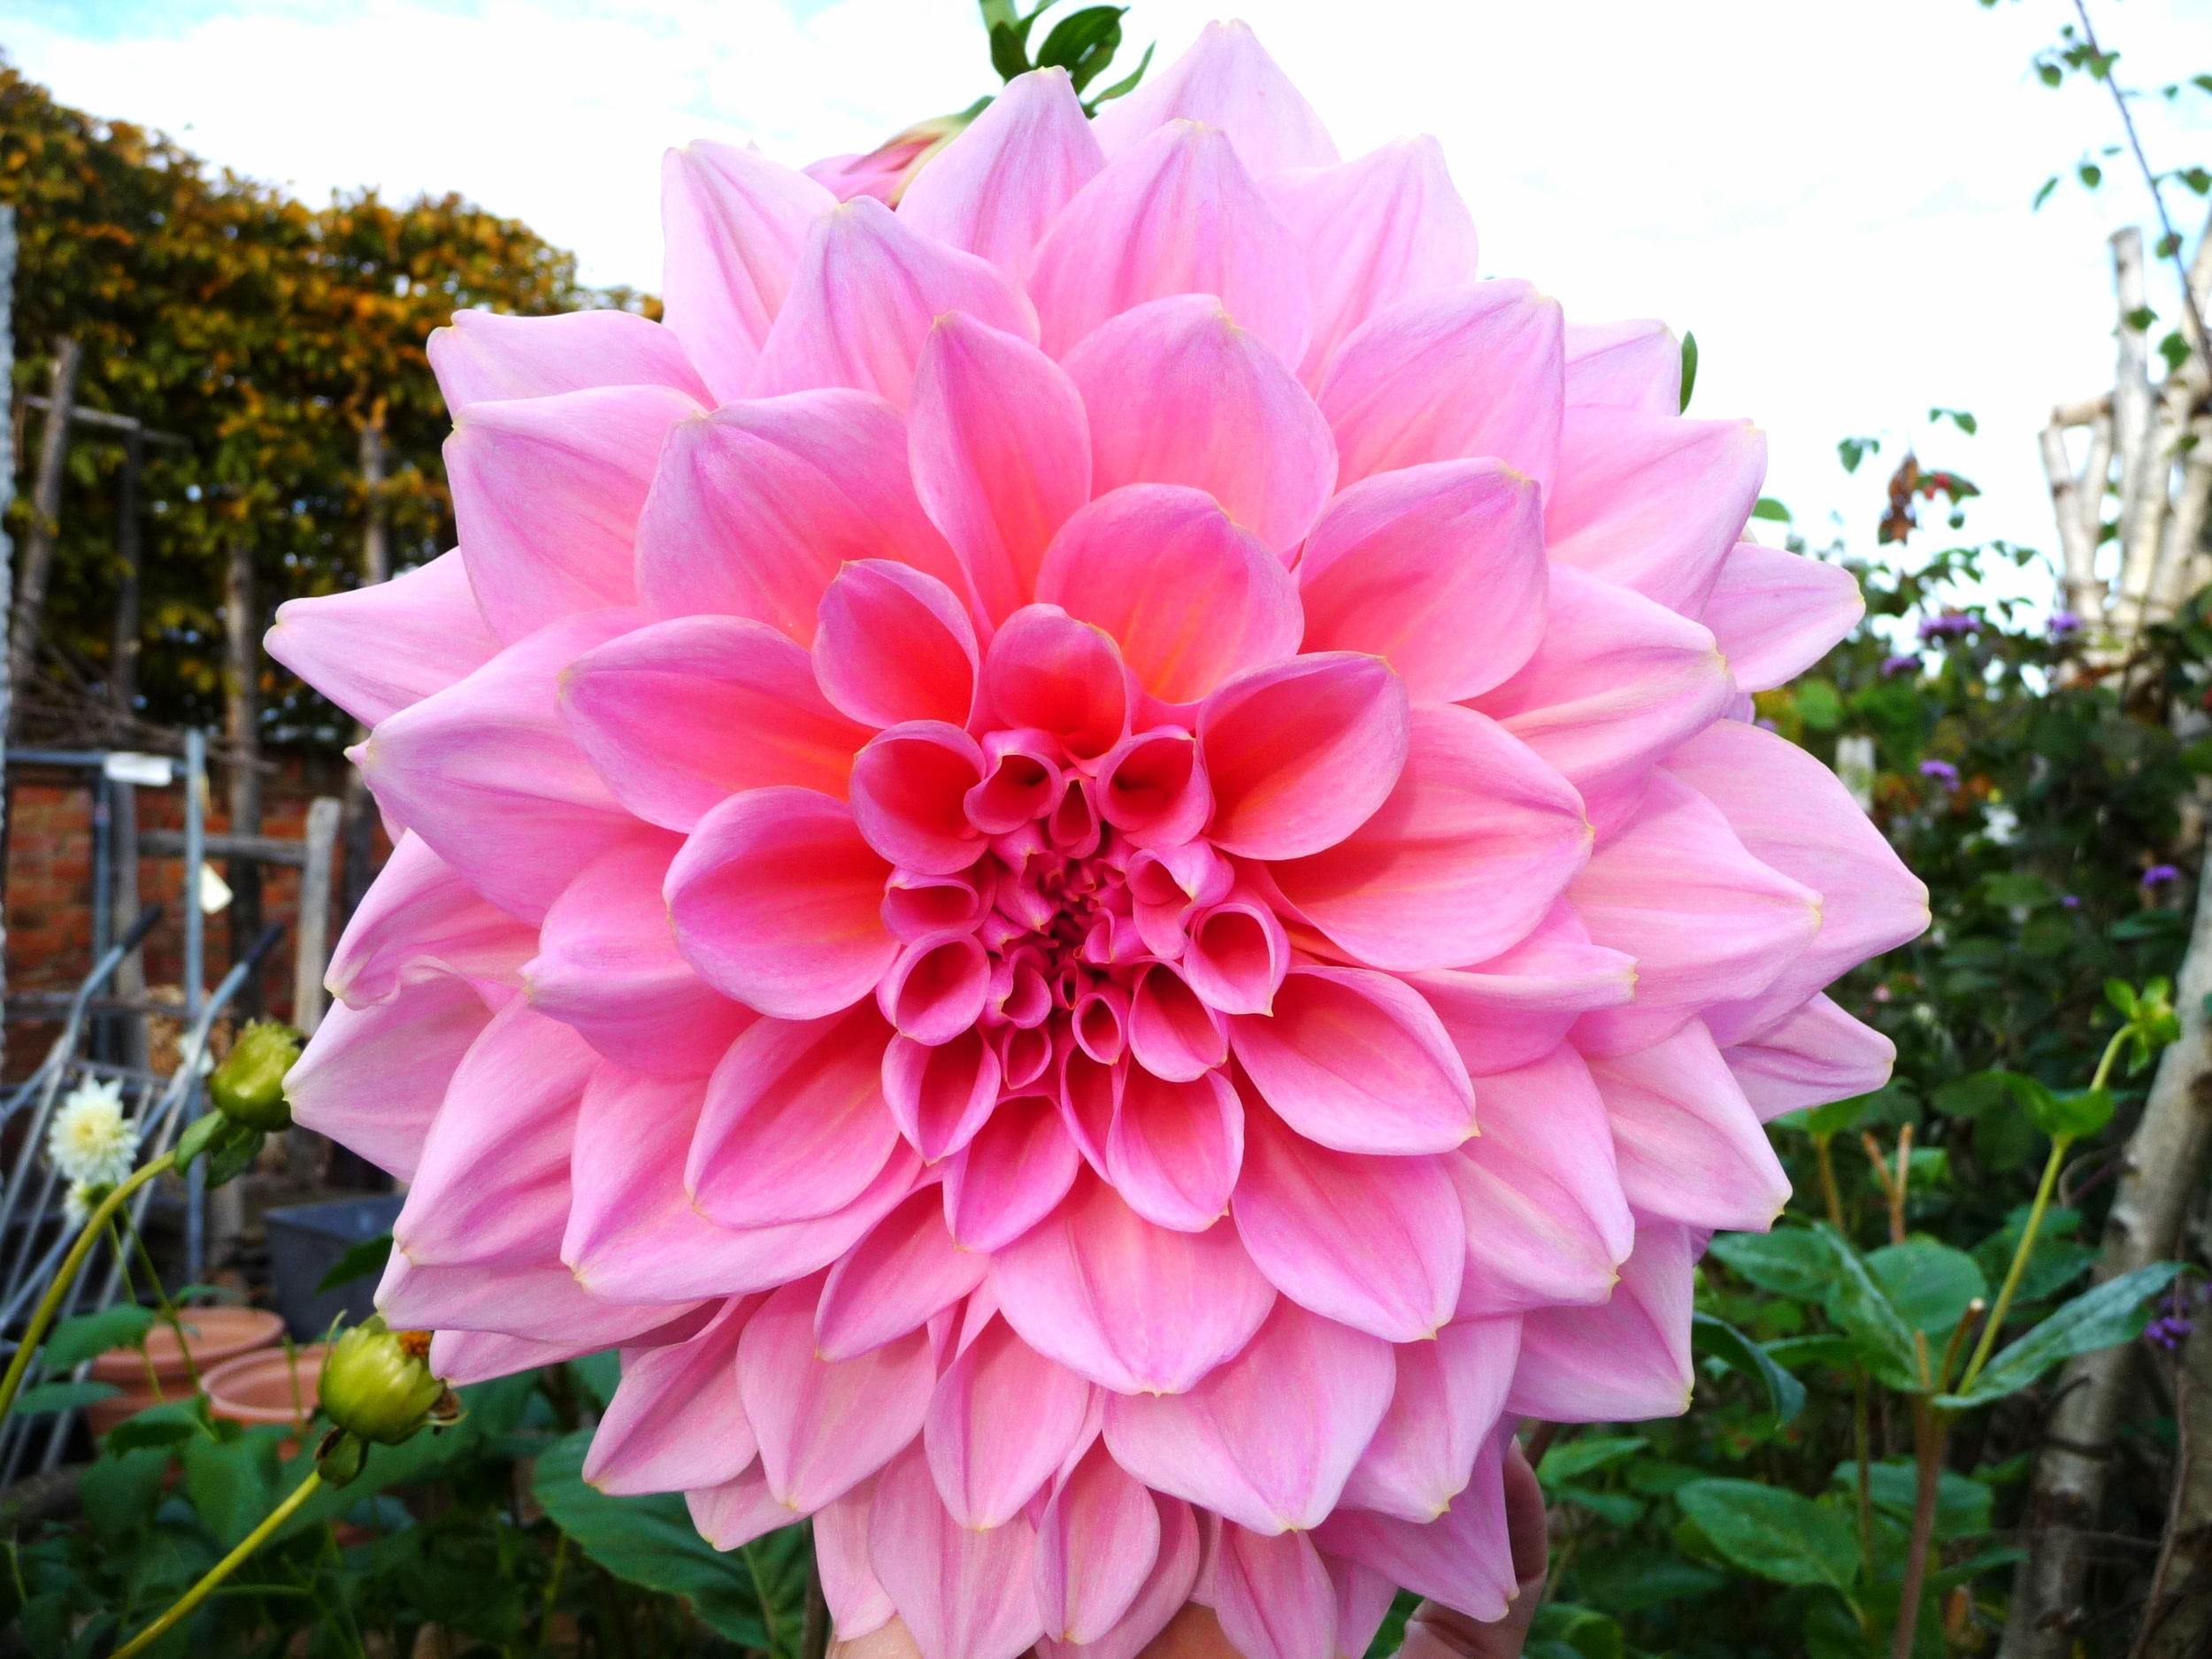
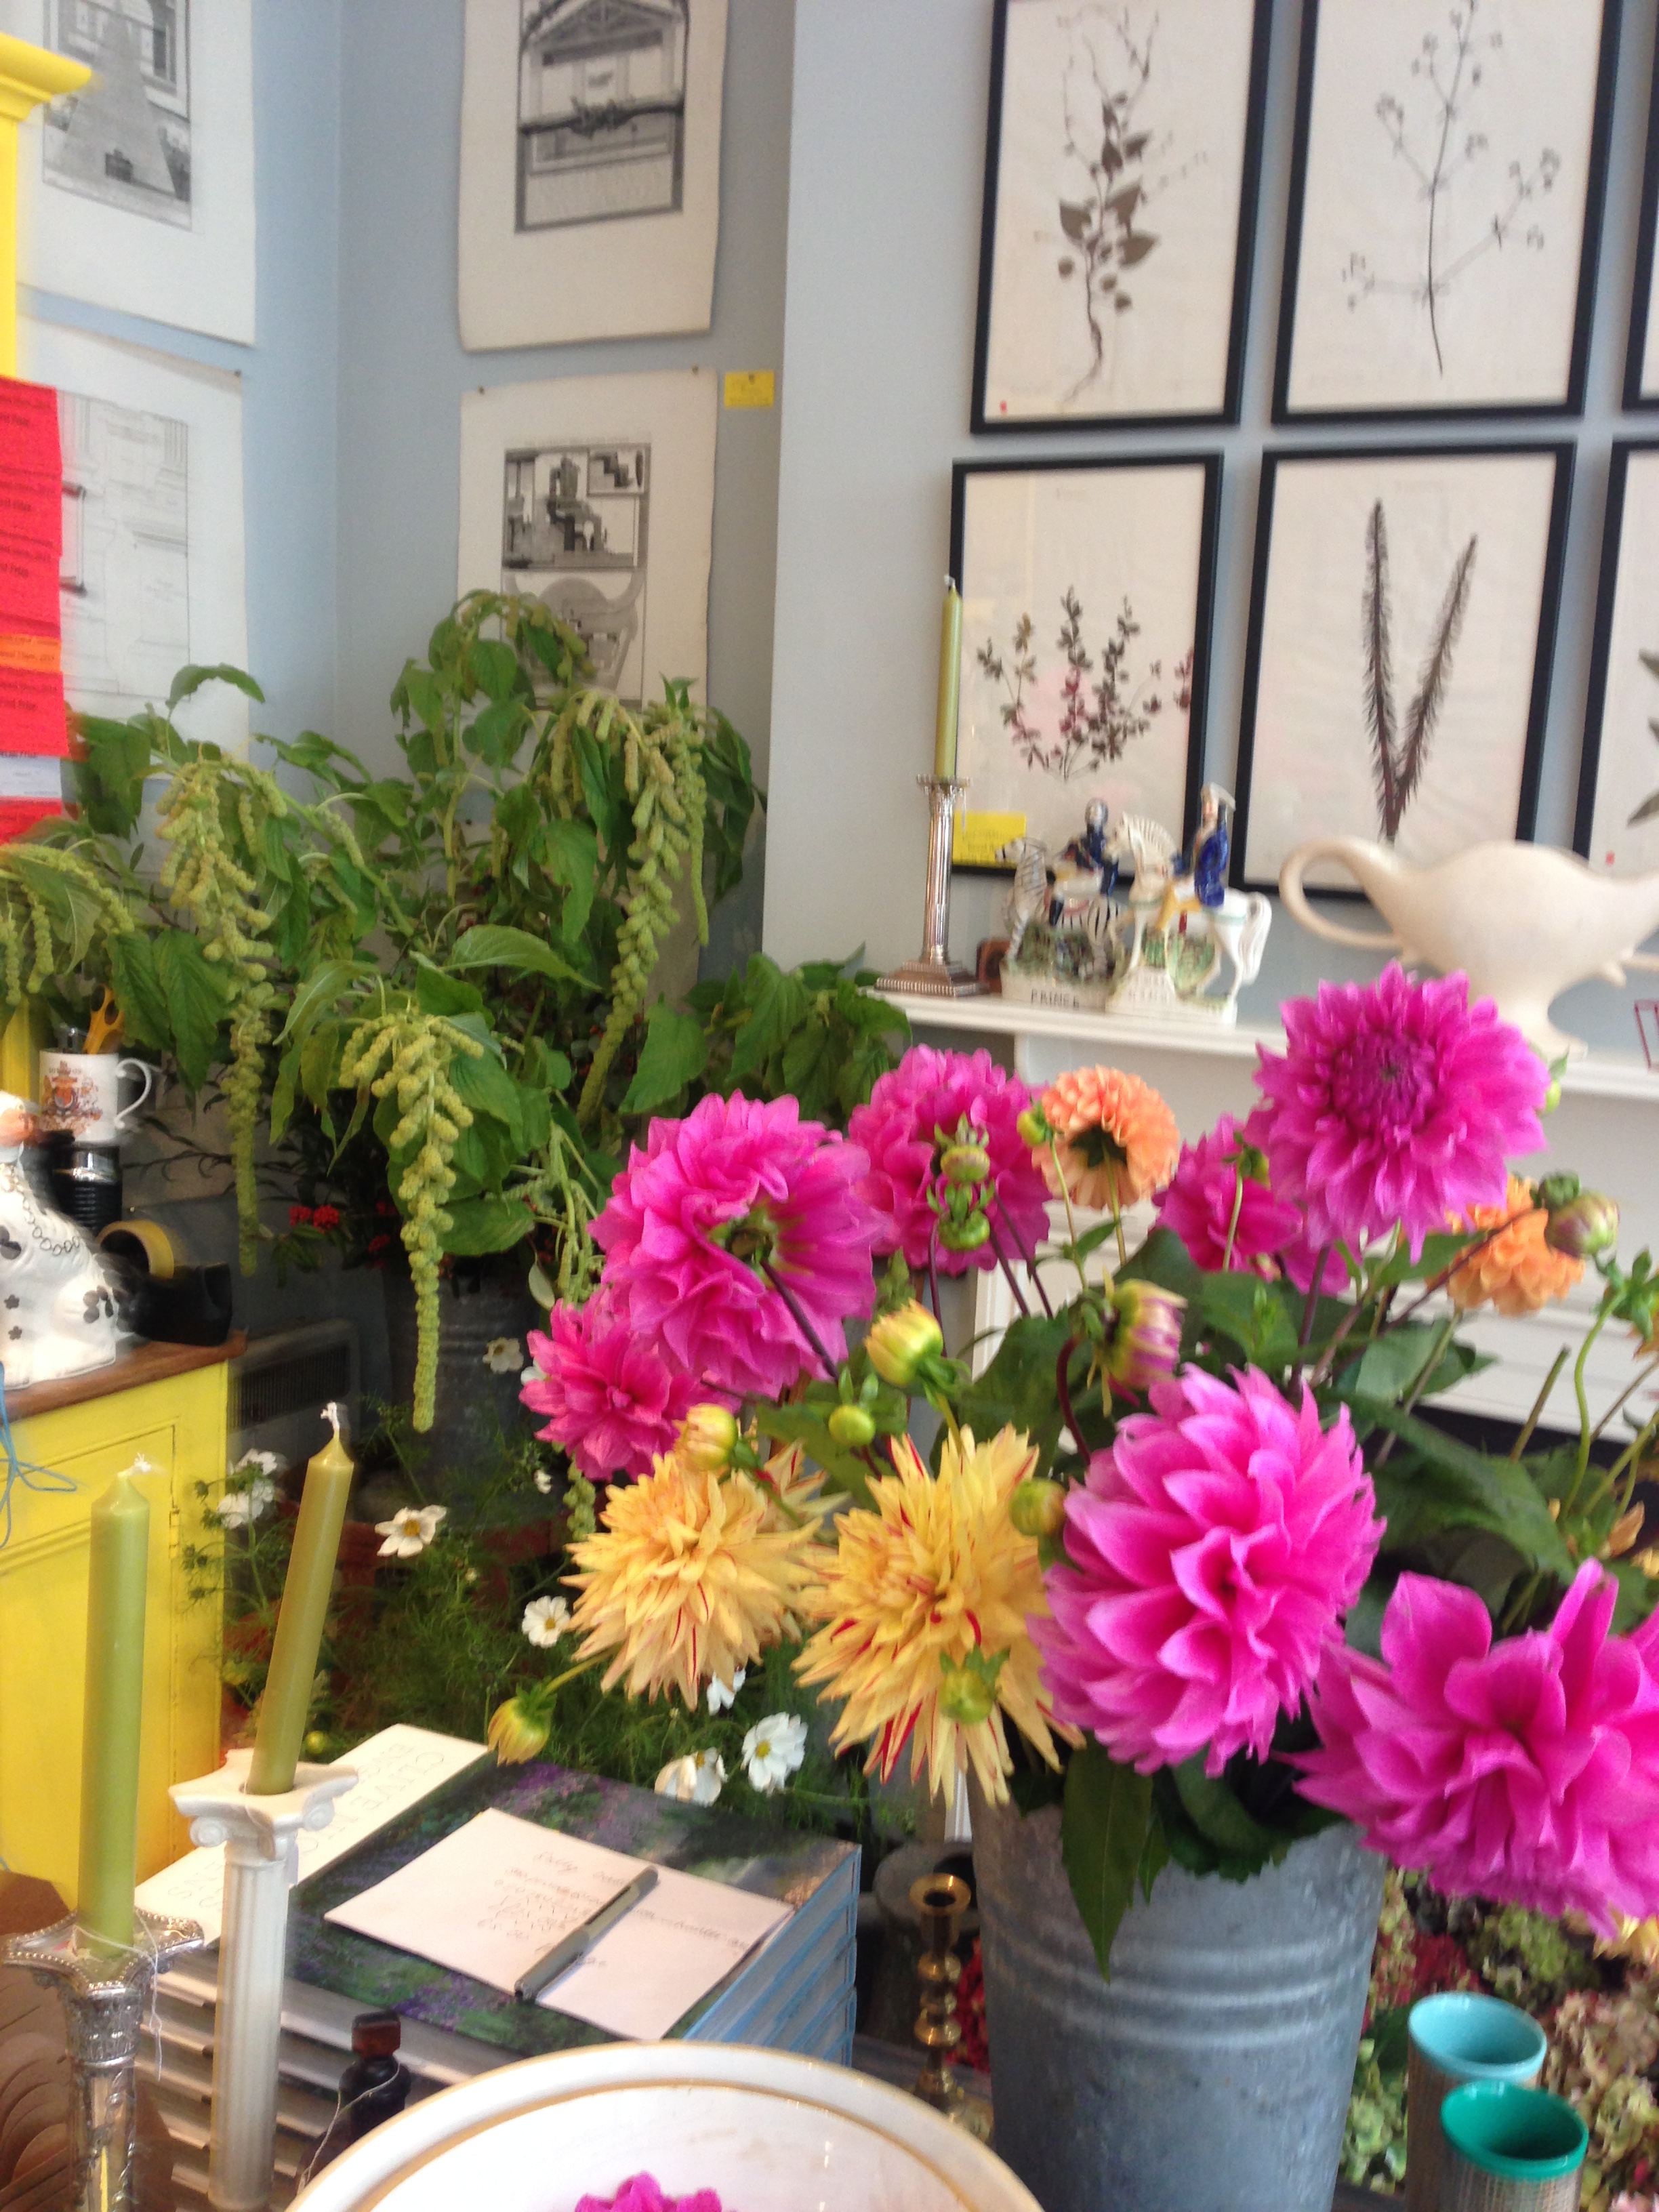
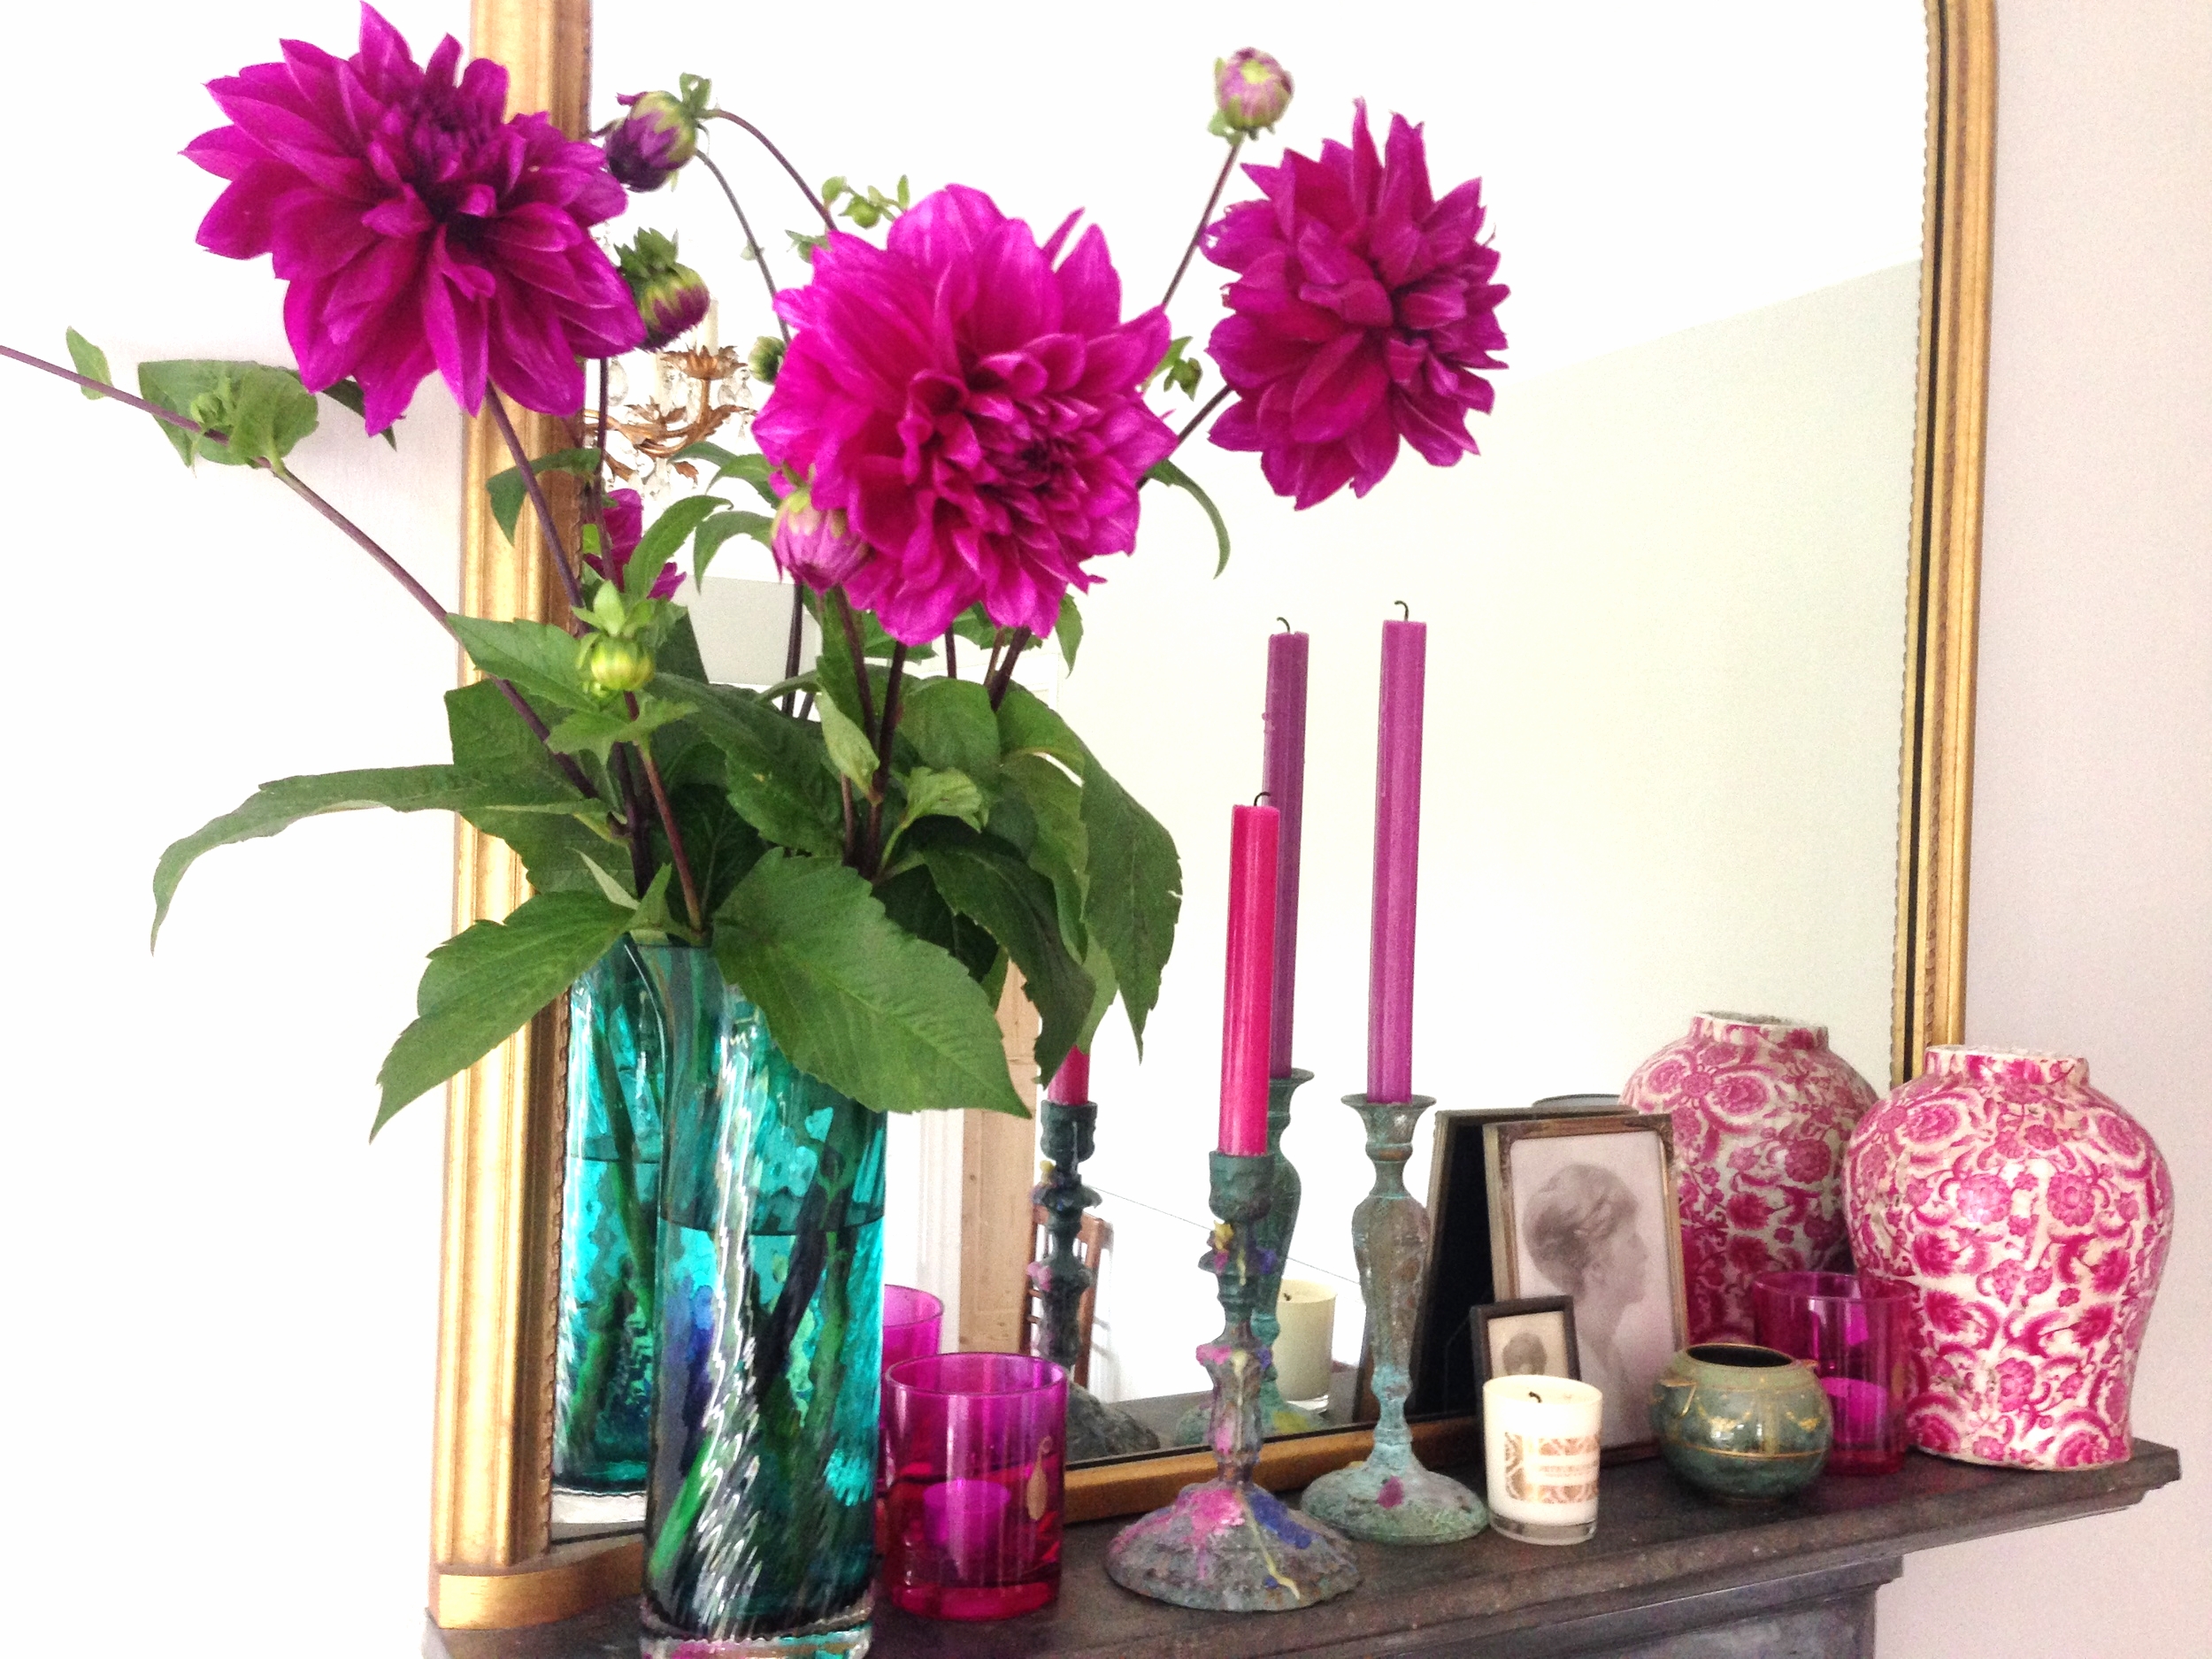
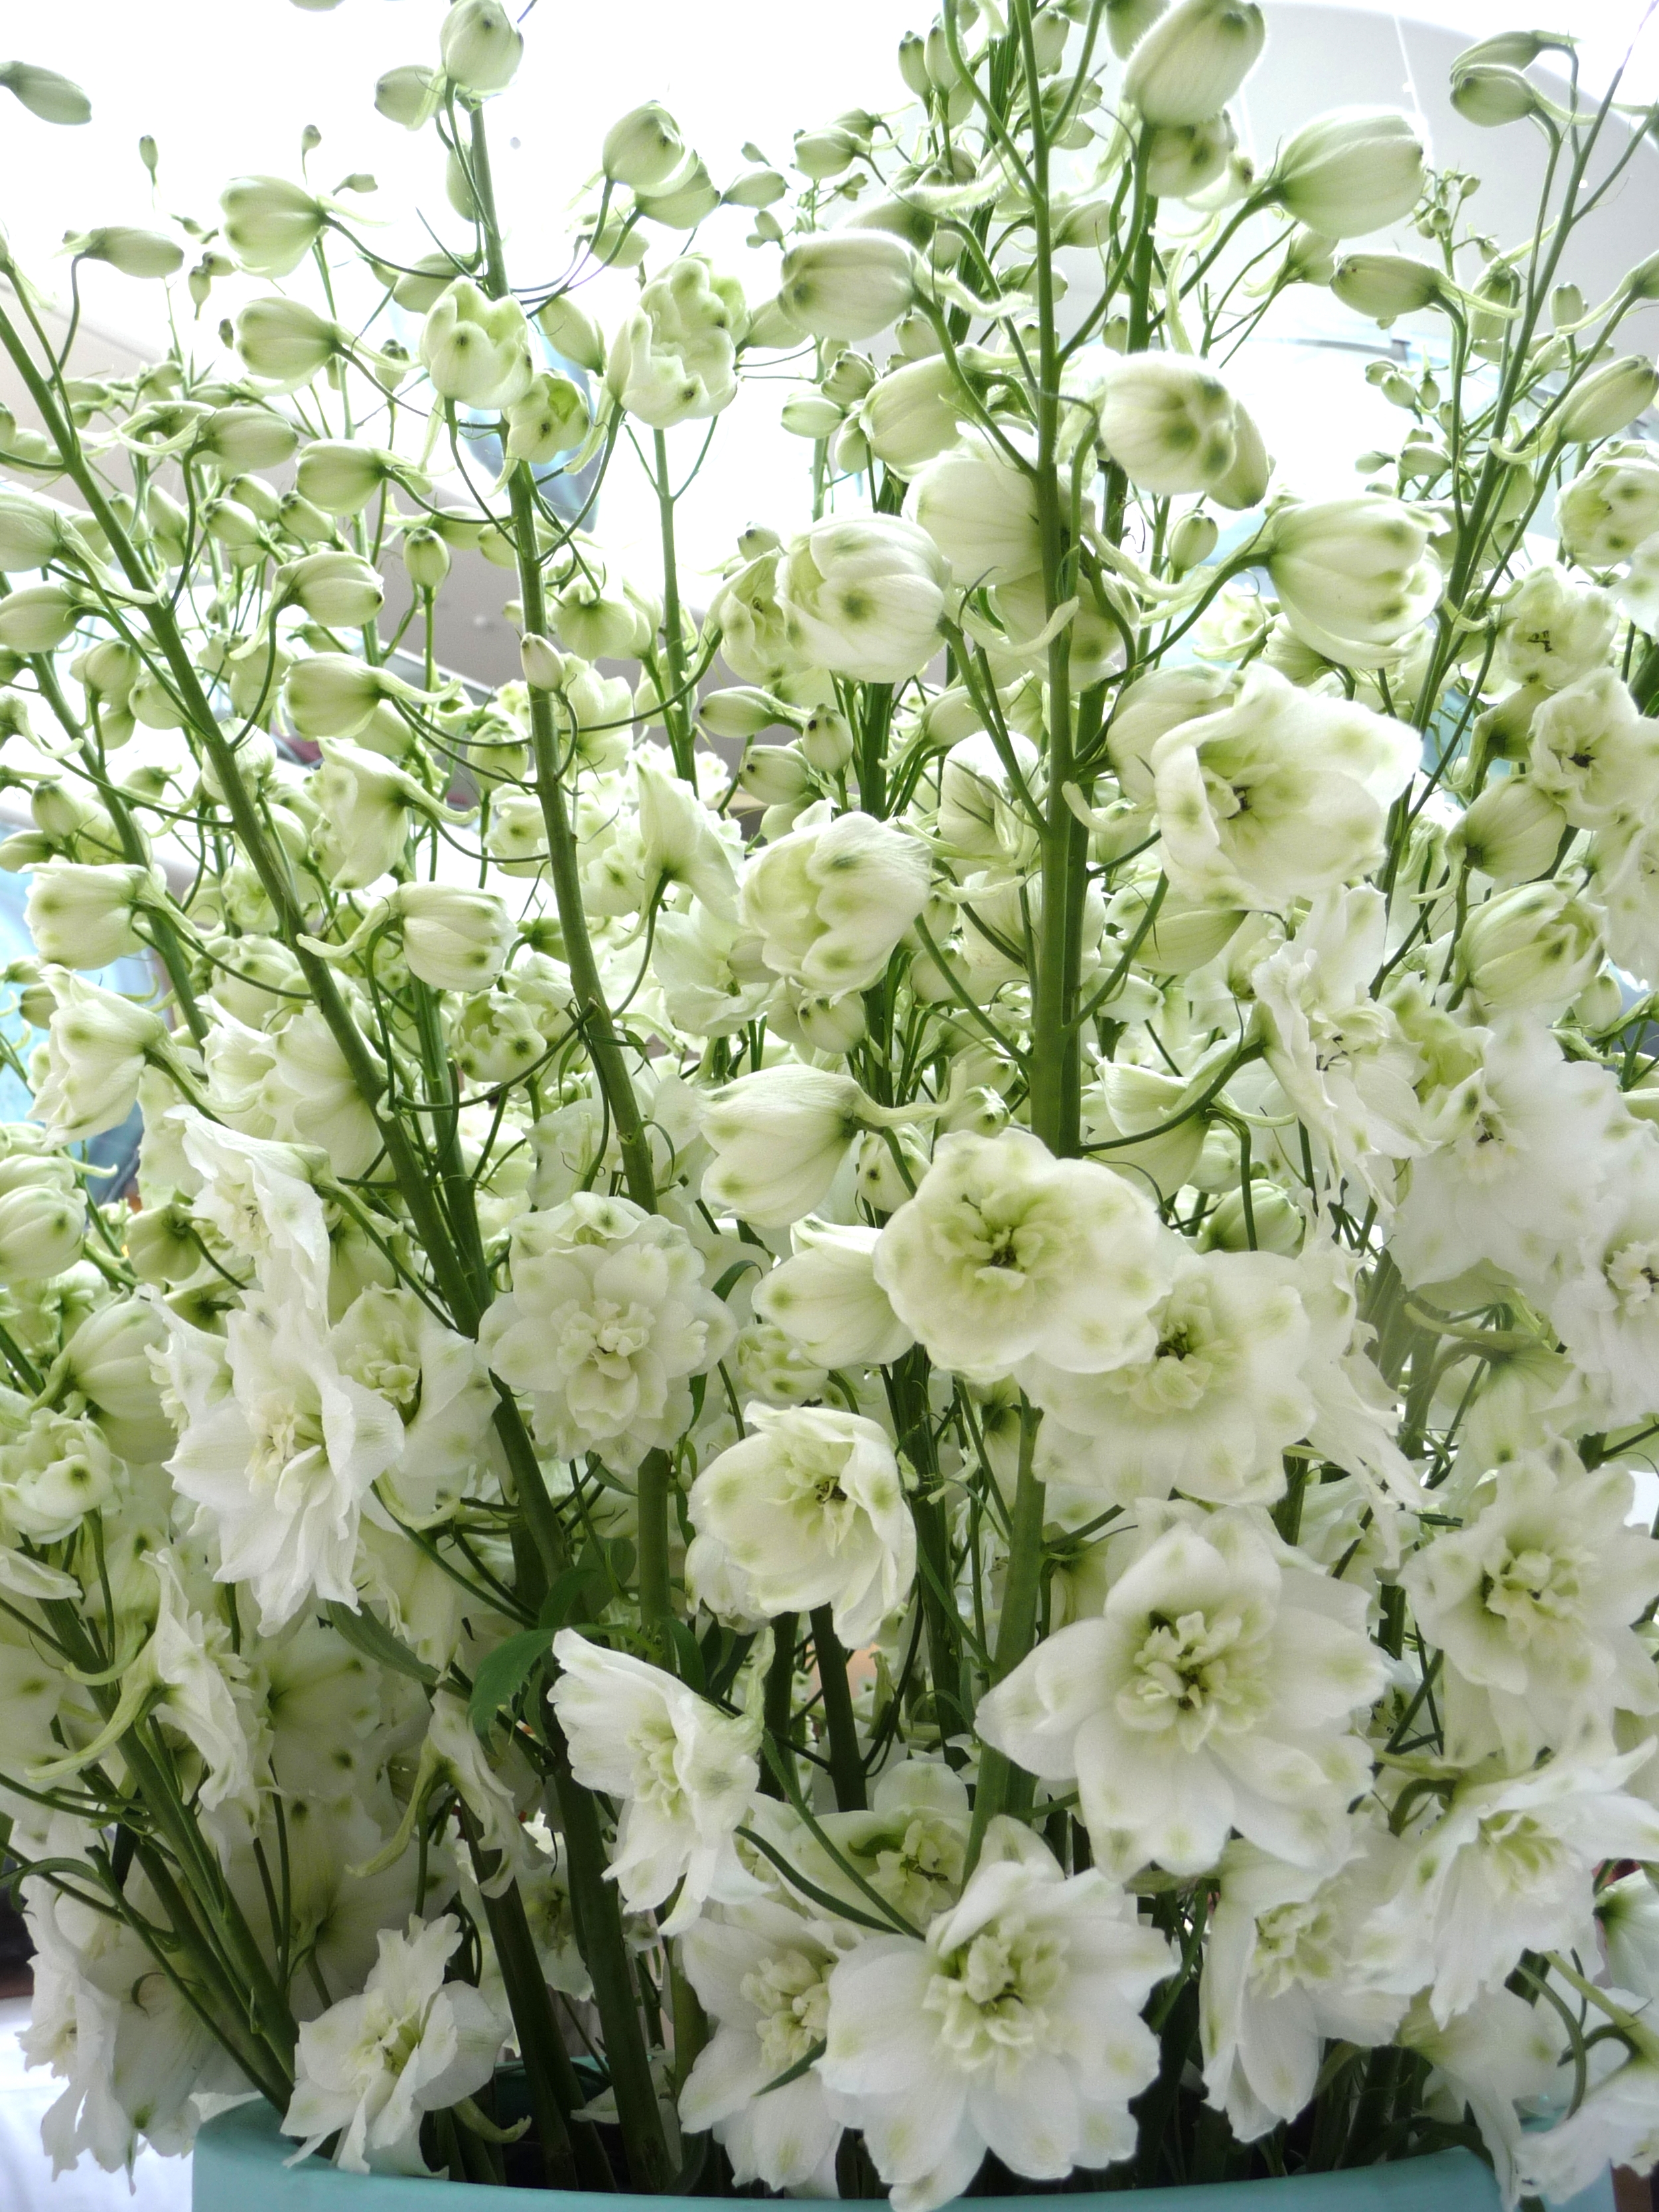
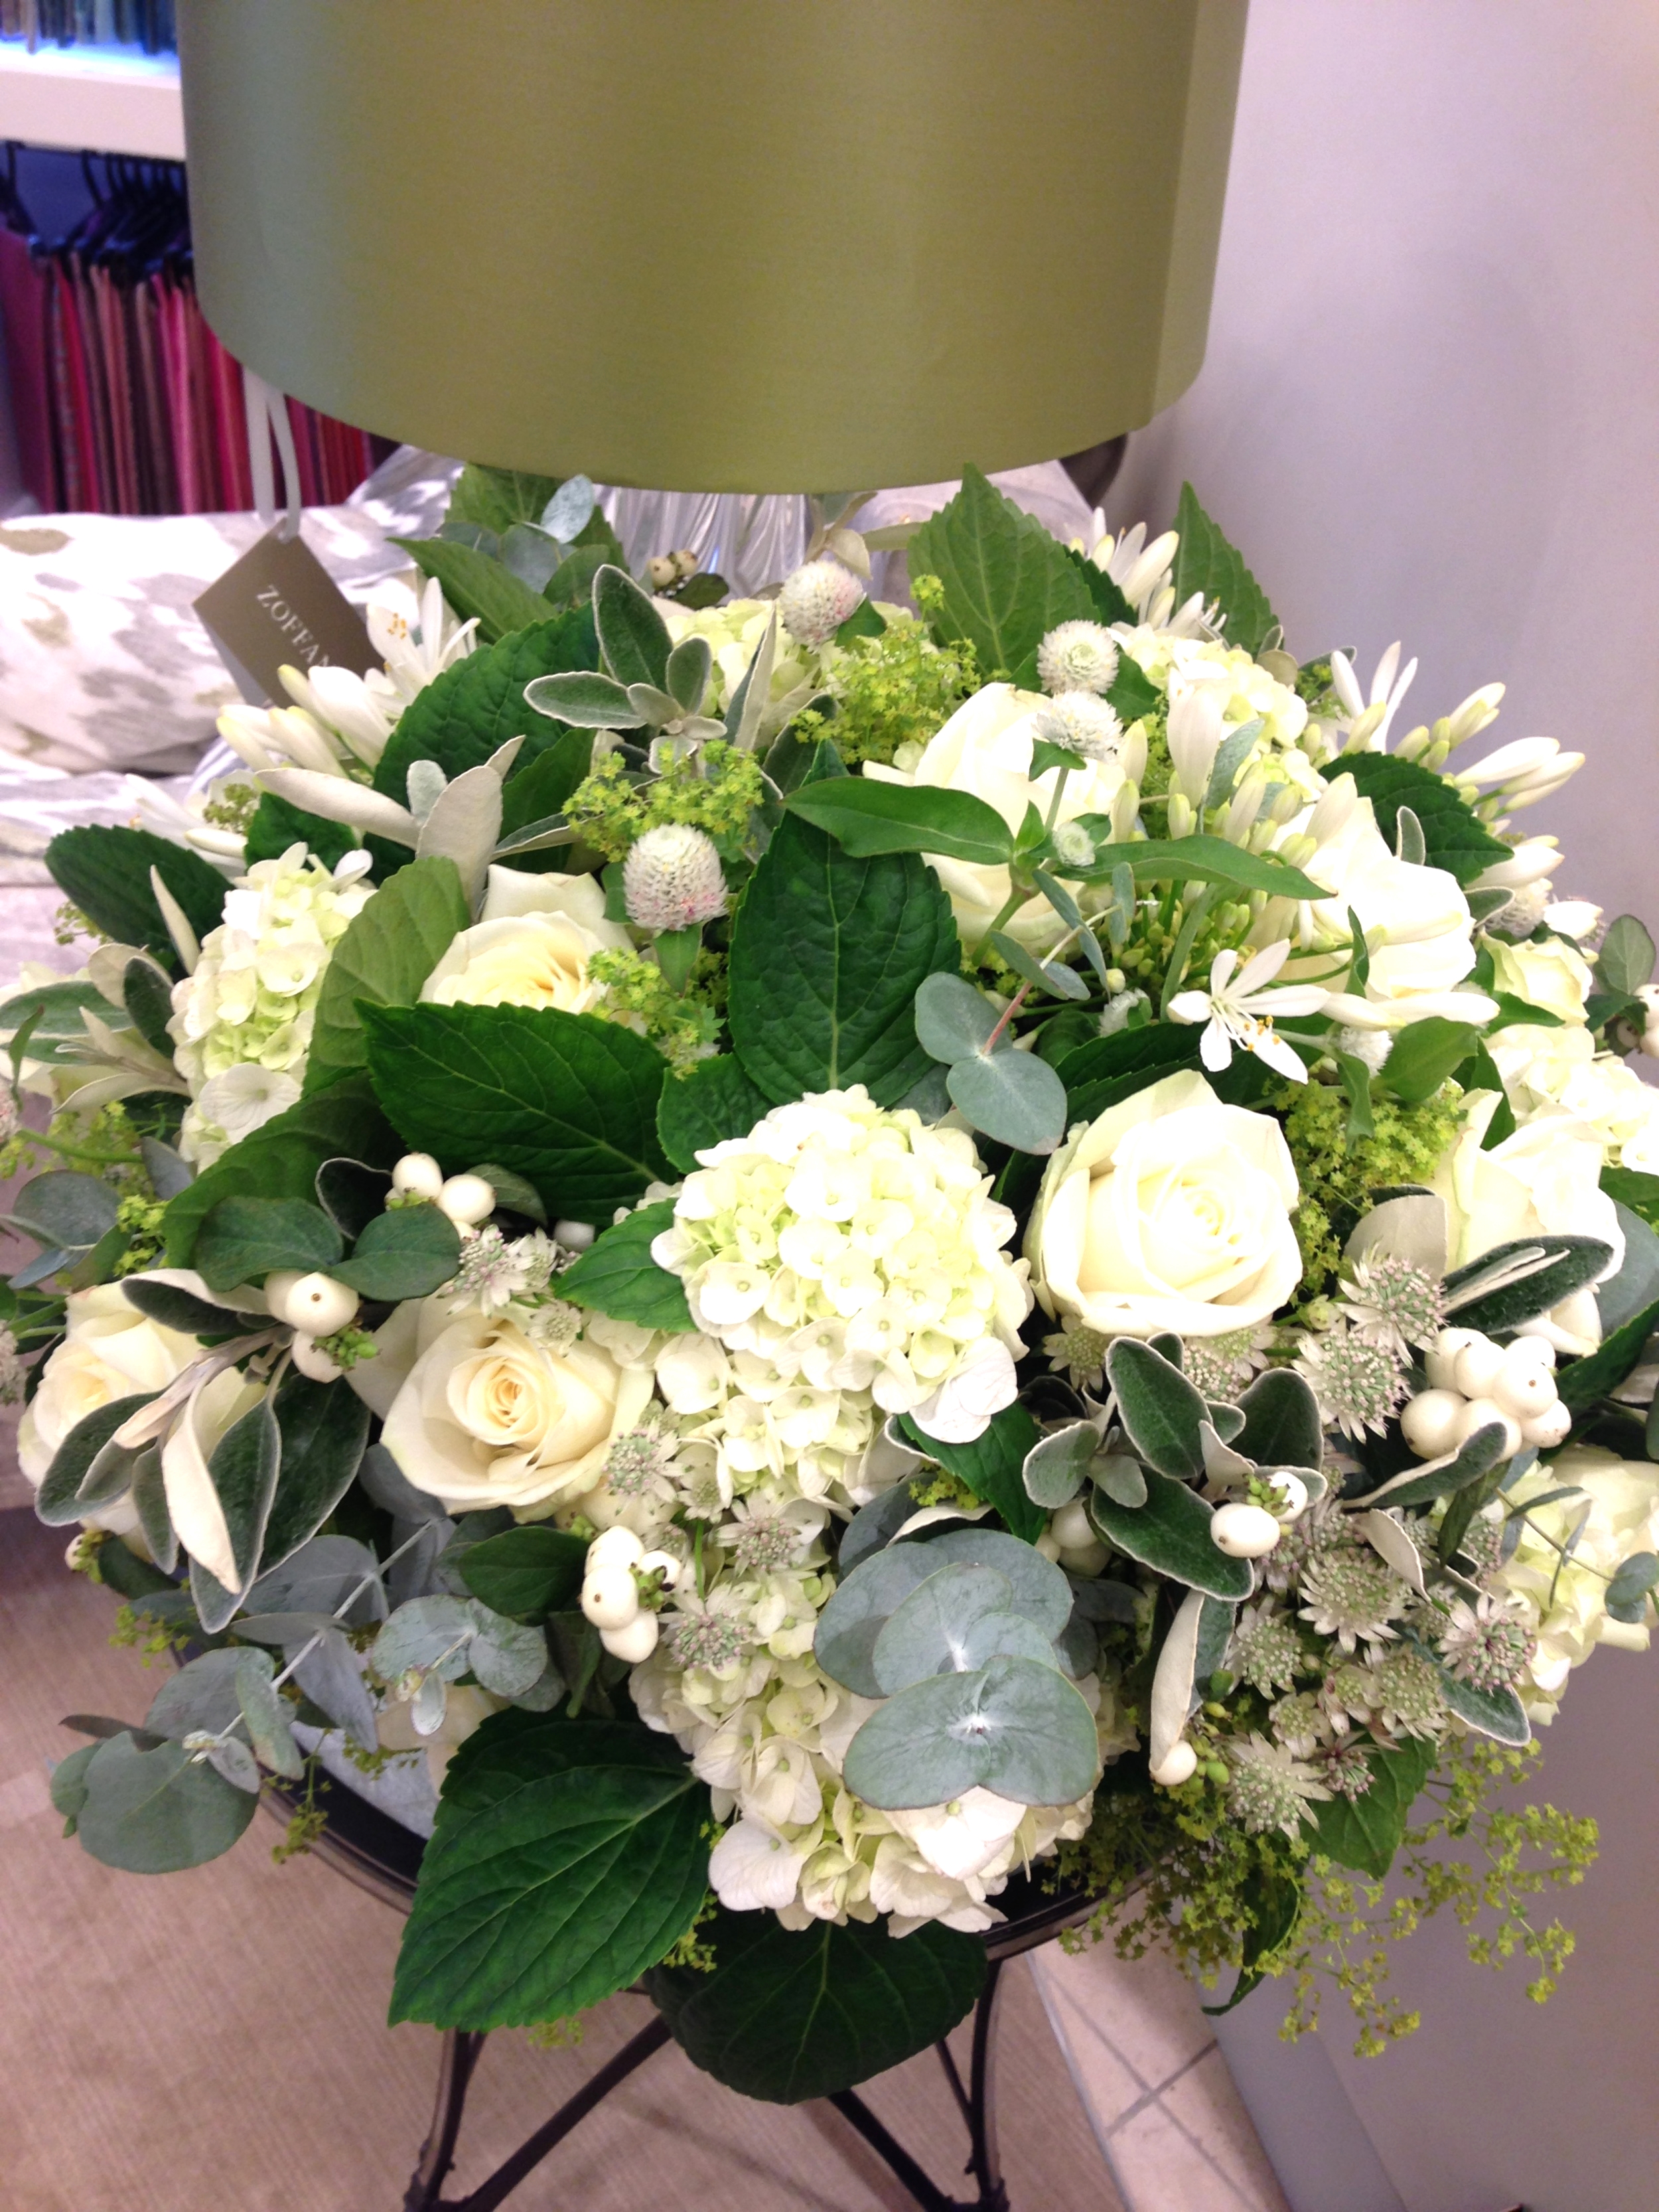
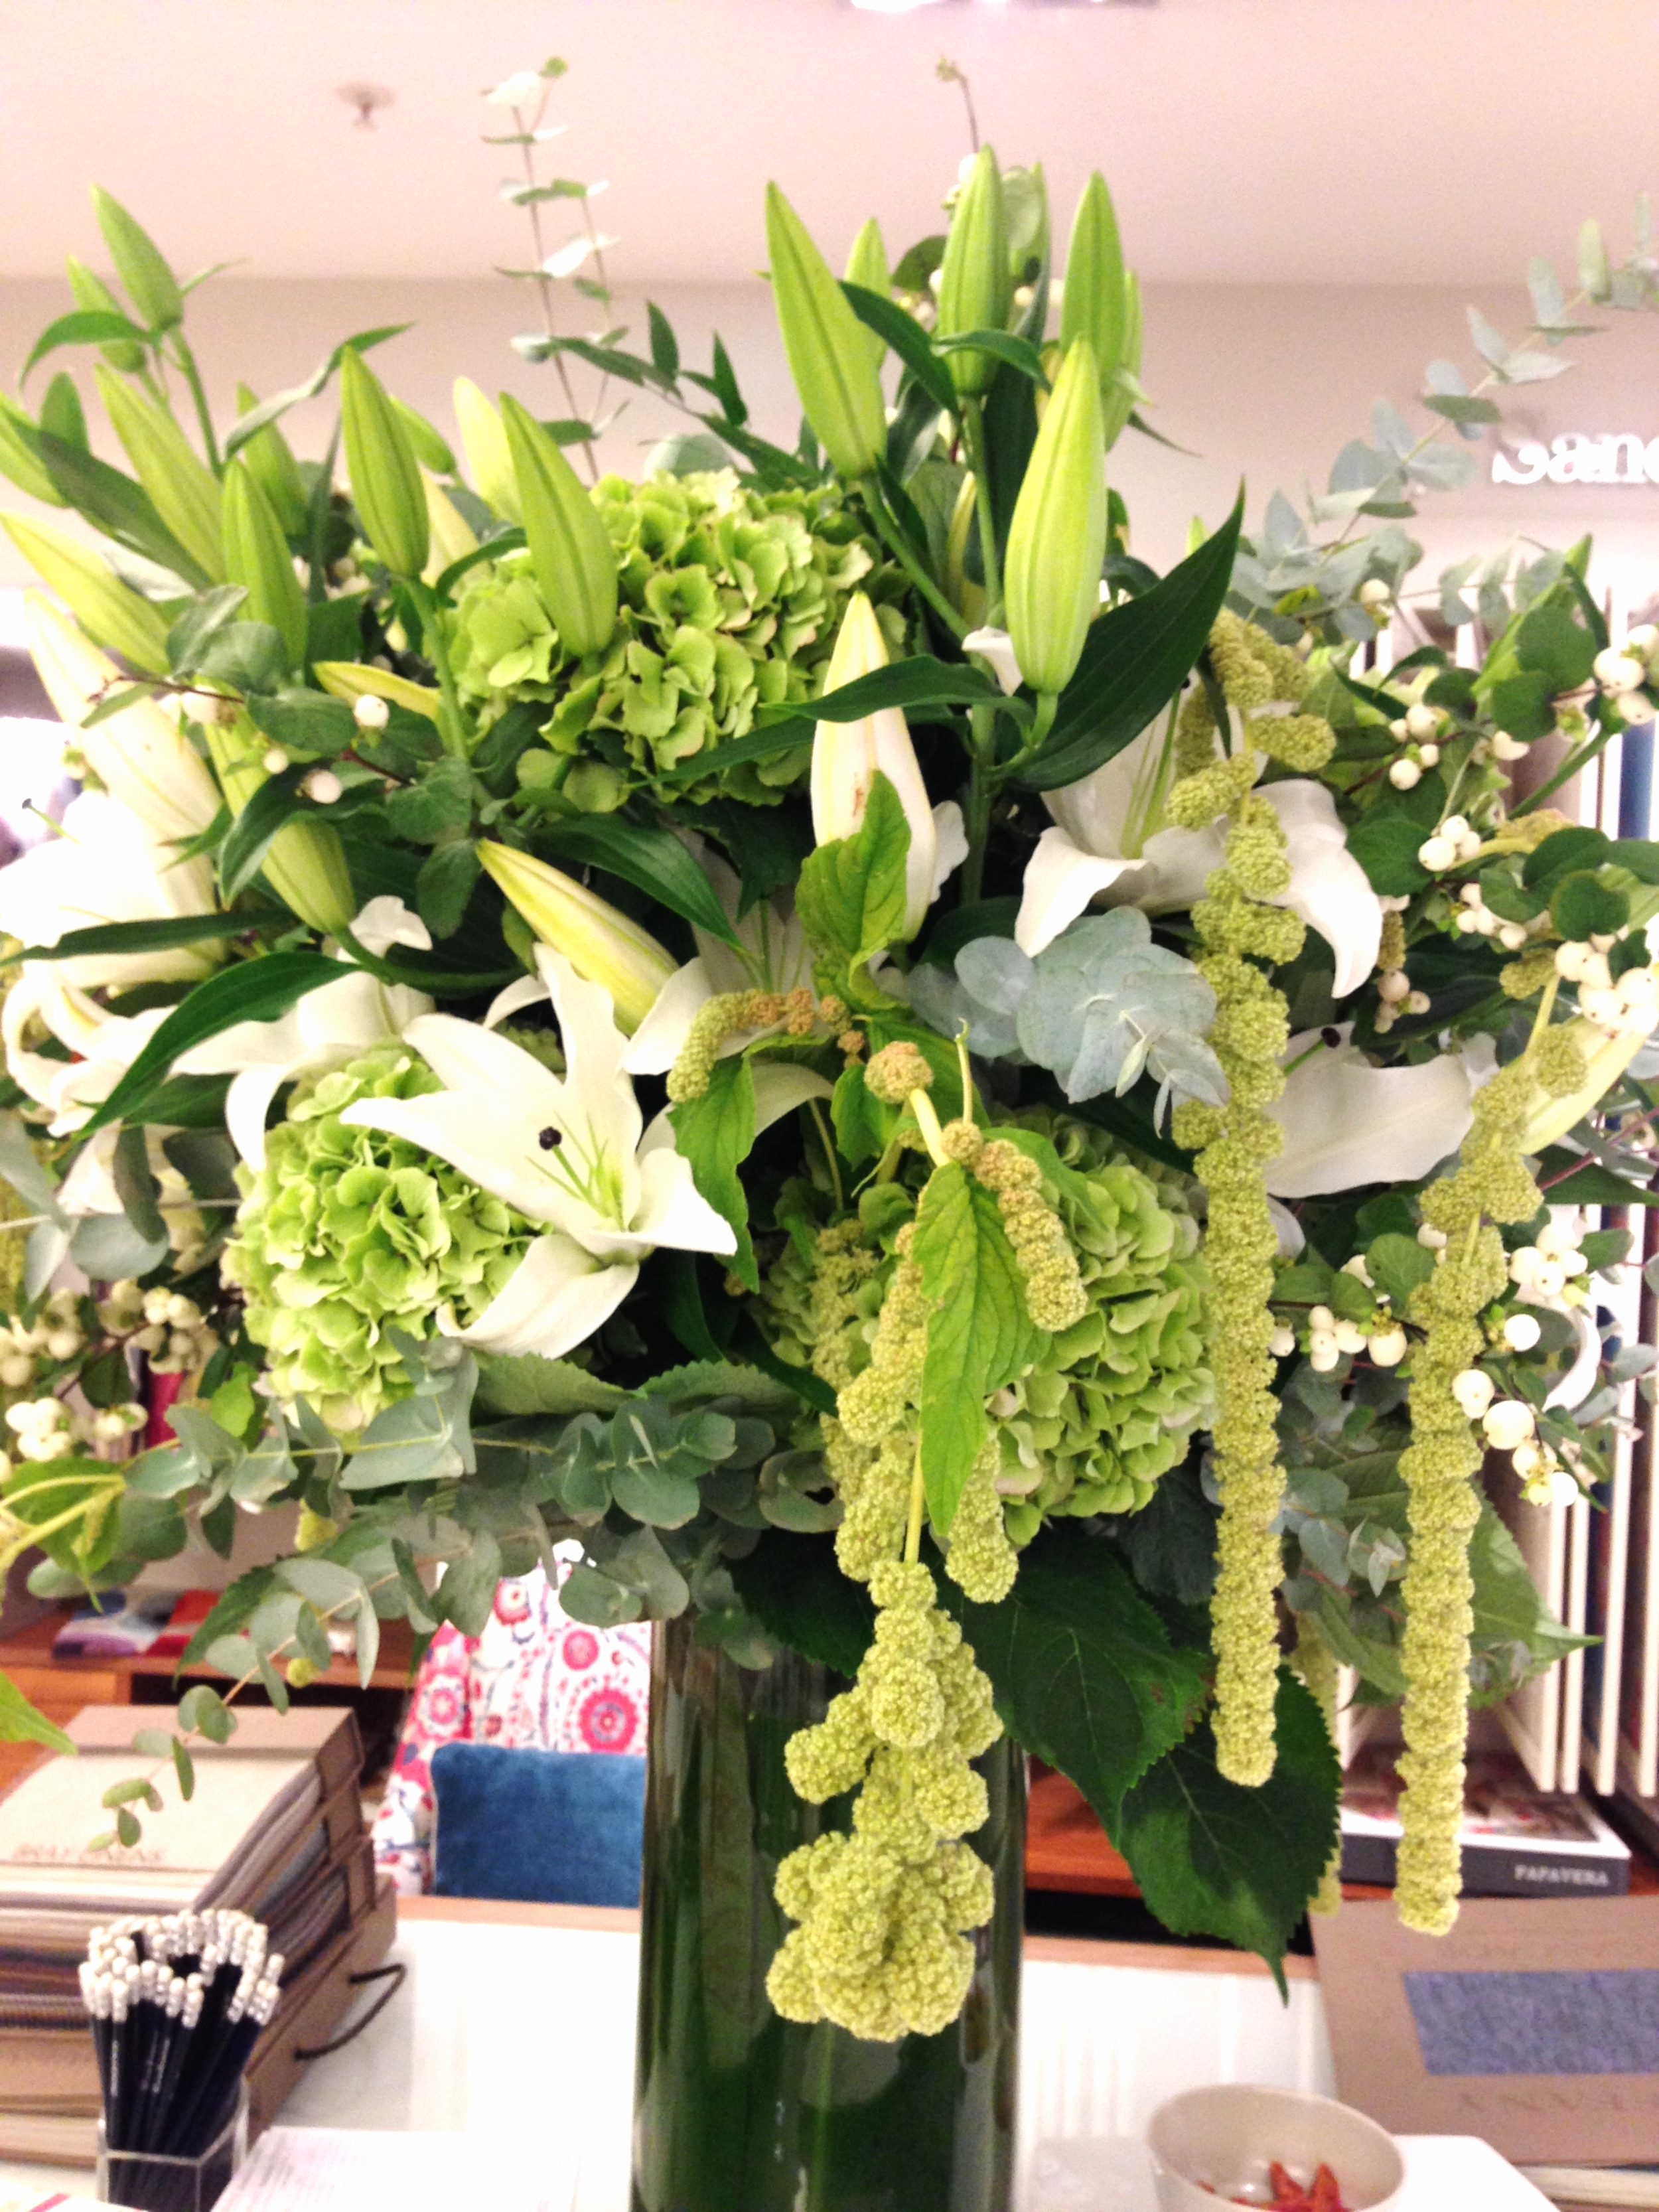
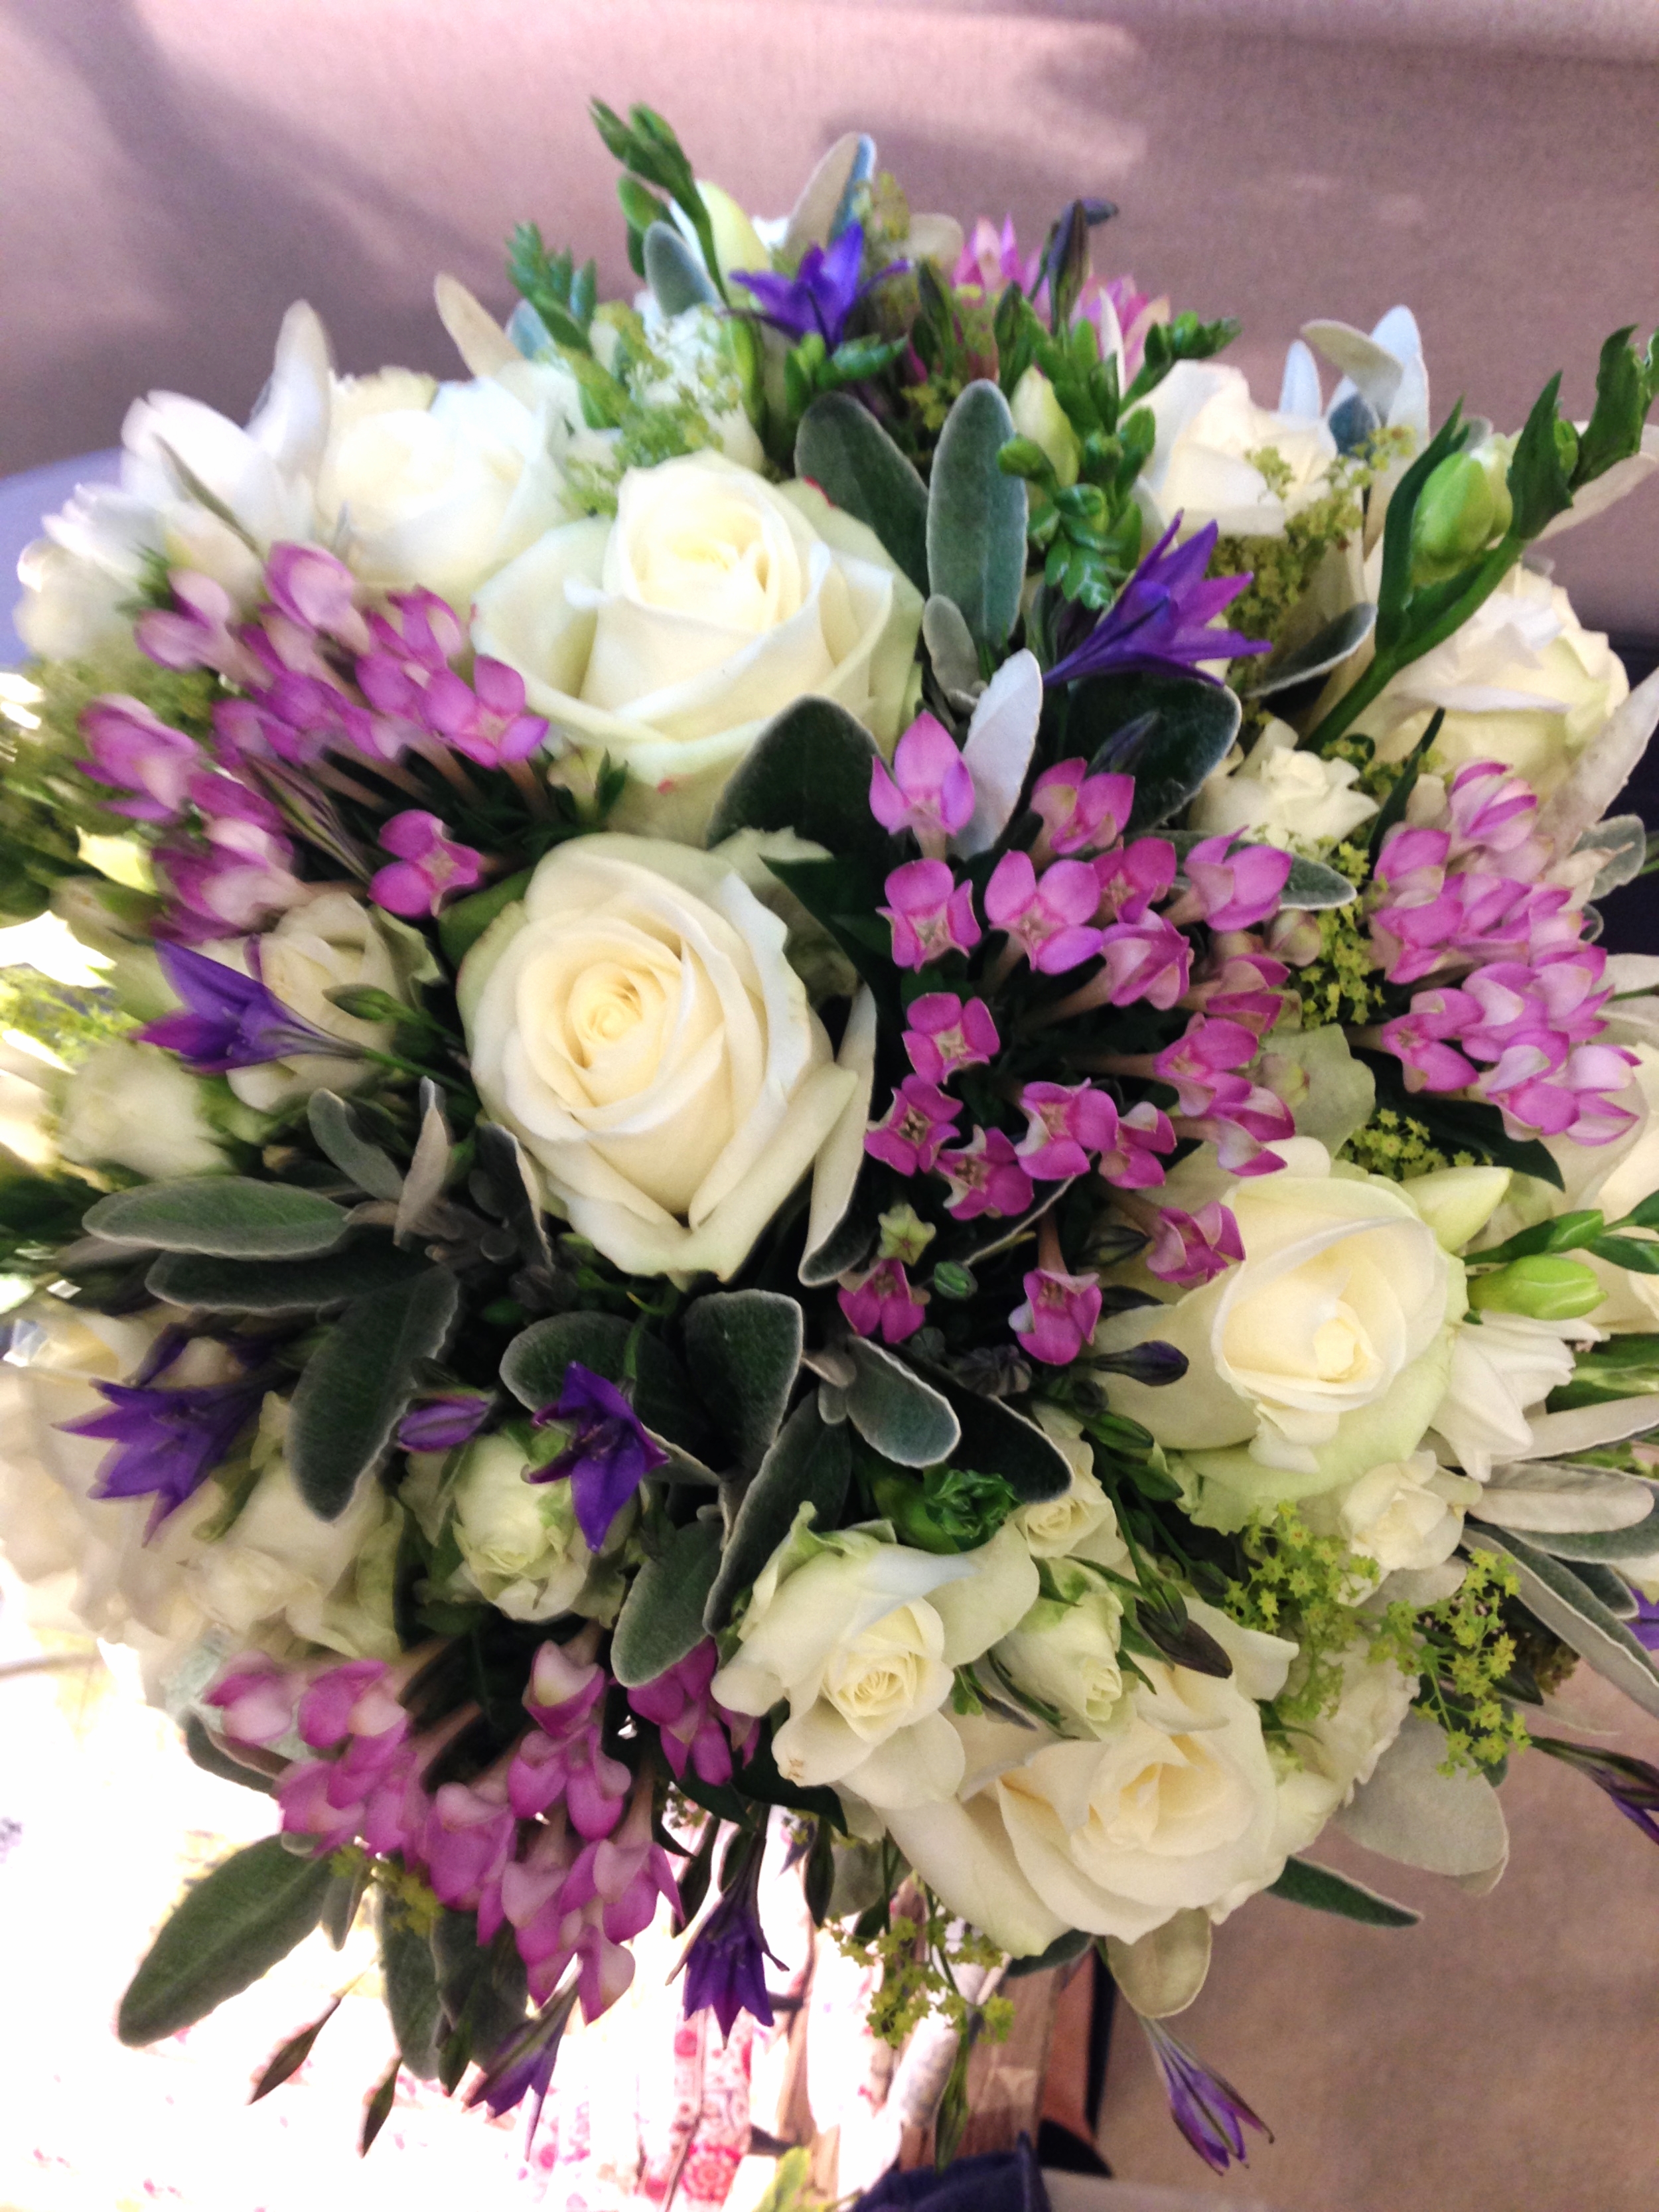
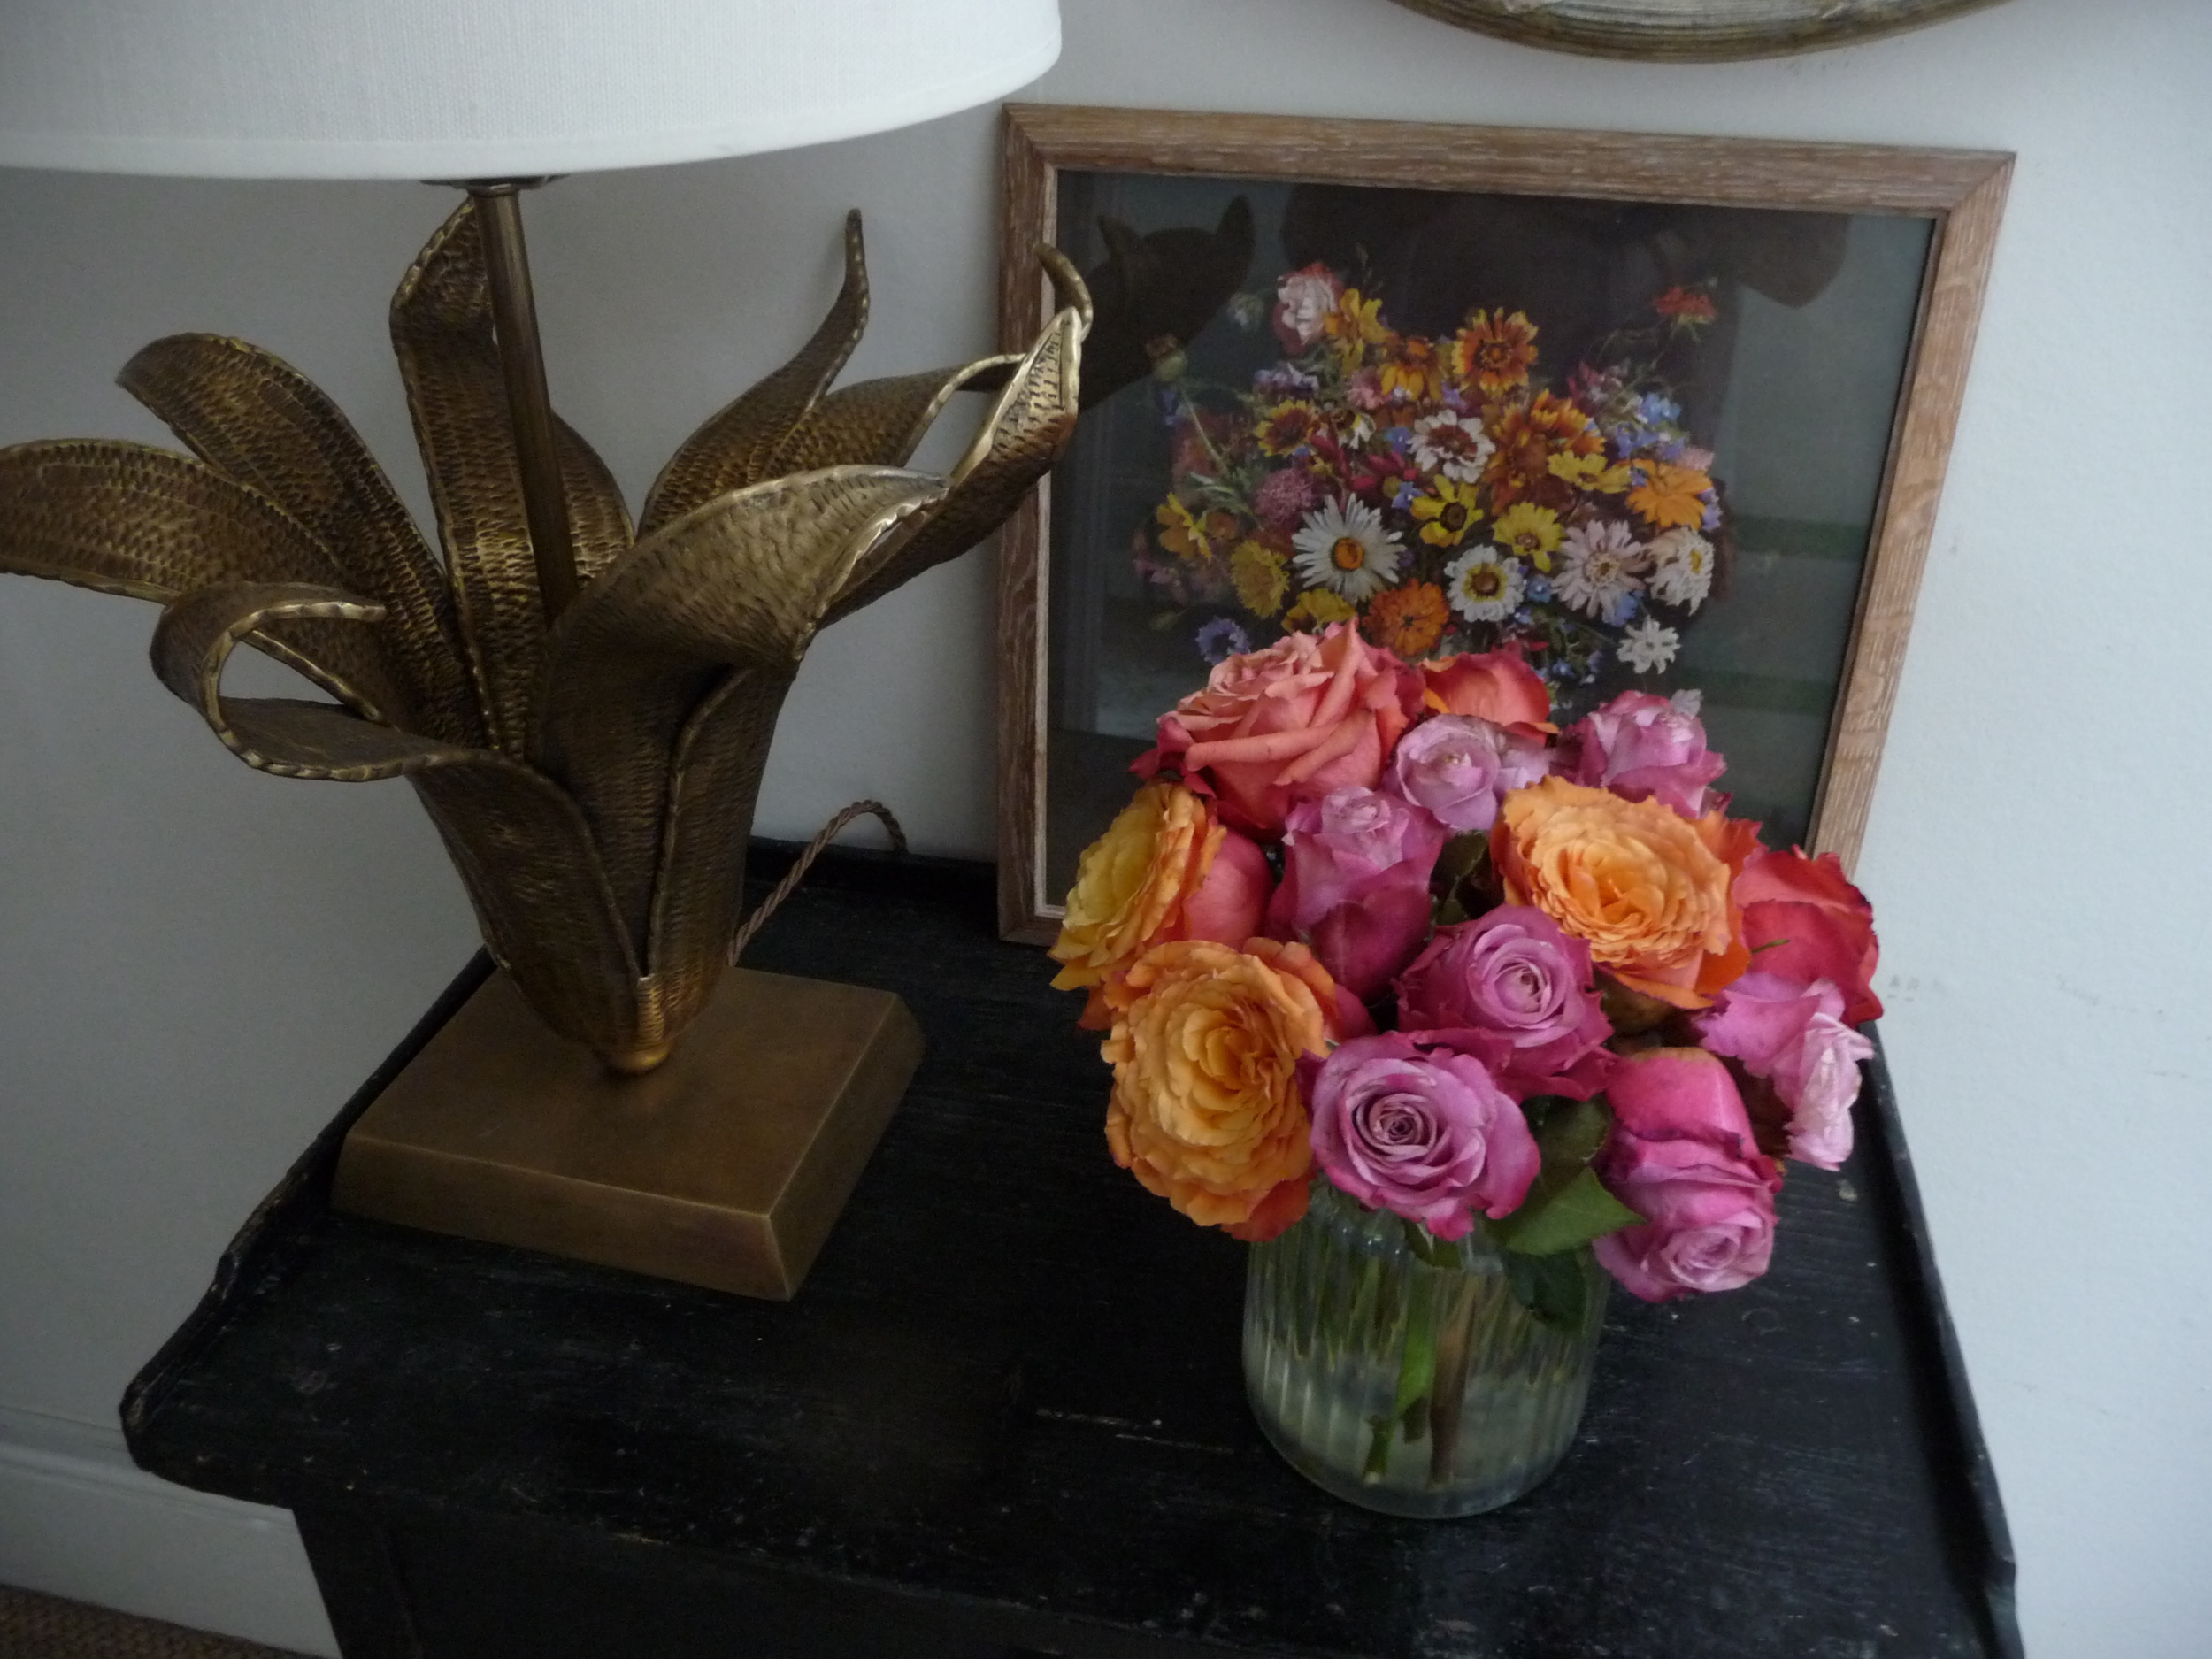
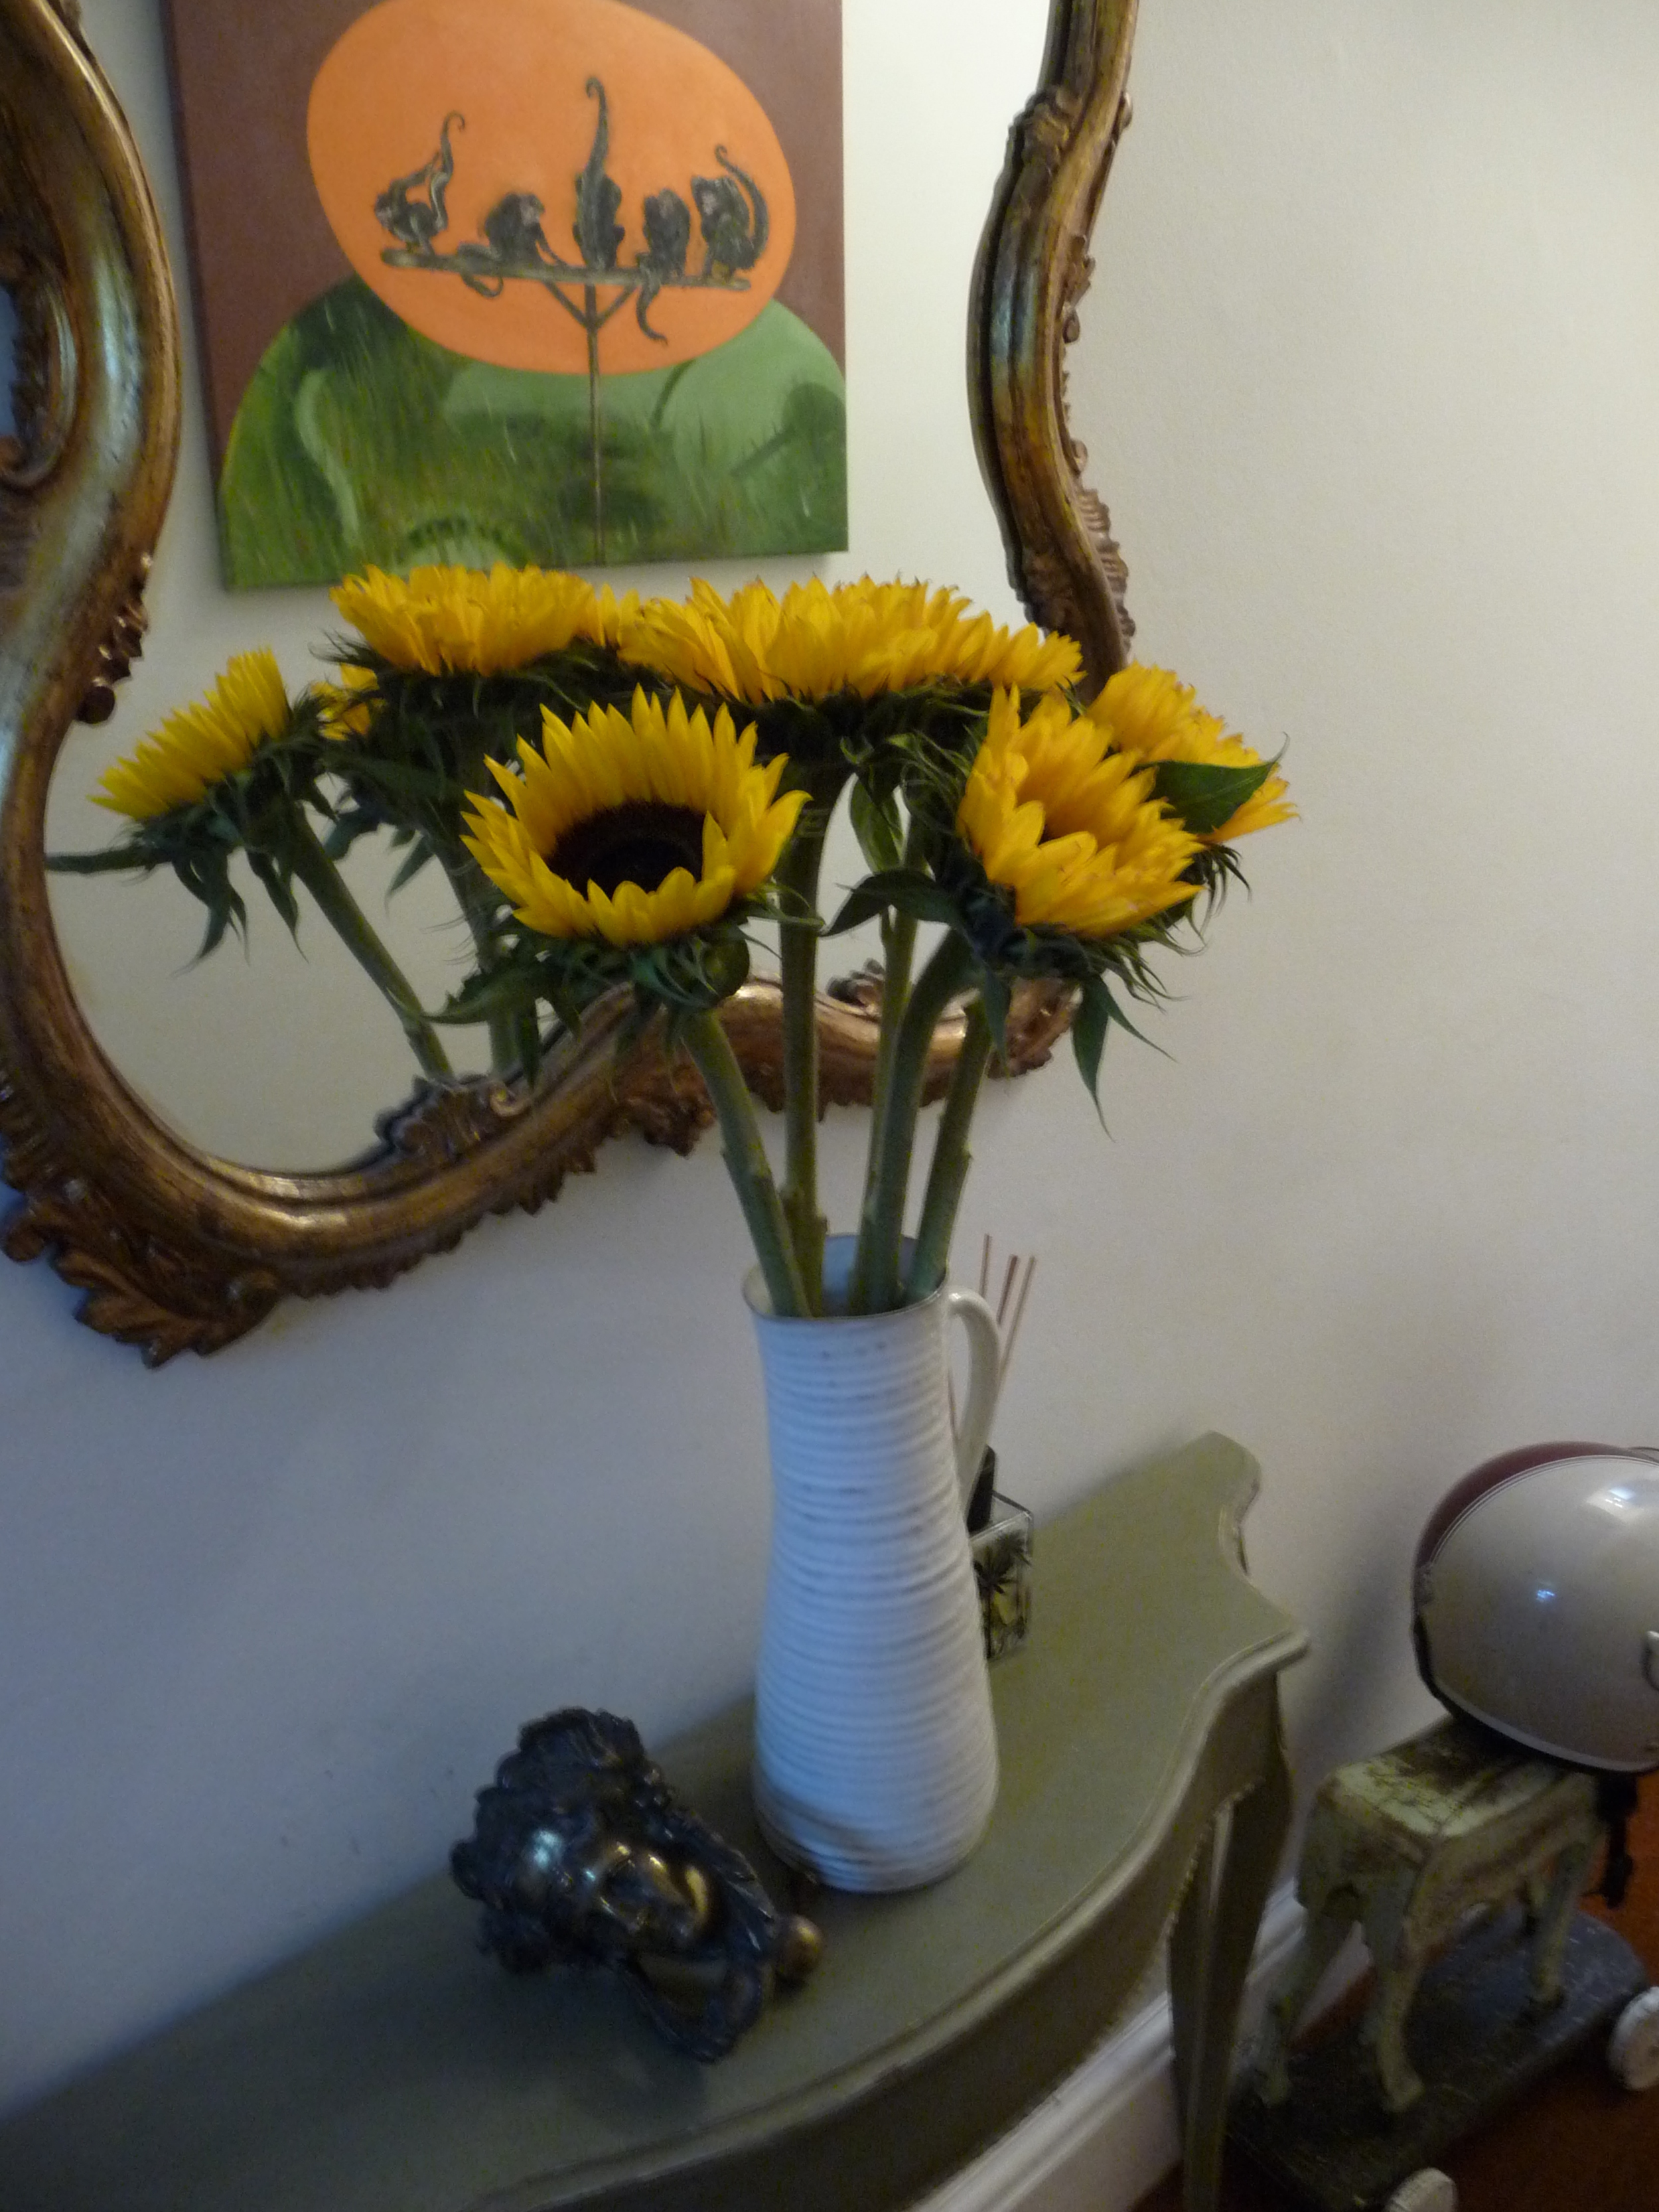
2. Monotones work best – buy flowers that are one colour as monotones create the most impact. Of course there are exceptions to this rule - mixed colours of the SAME flower, for example, tulips are rather lovely in mixed colours though I still prefer them in monotones or two colours (as you can see in the images below).
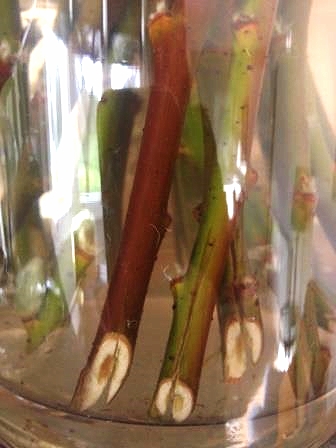
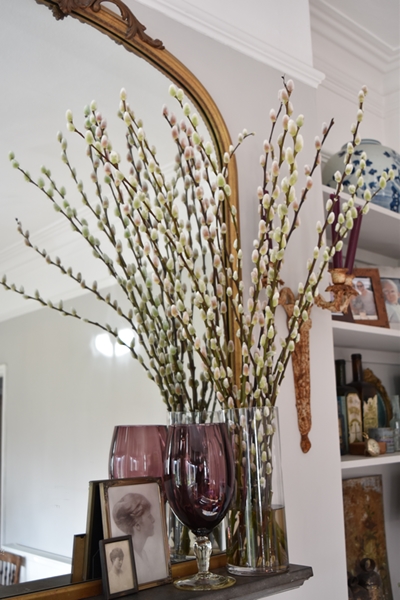
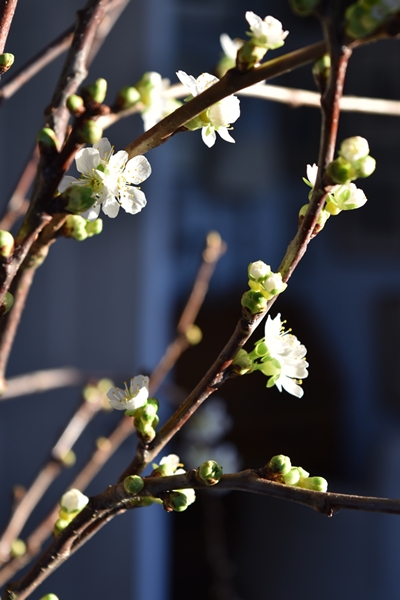
3. Prepare your flowers well before putting in a vase - strip off a lot of the foliage on the stems so that it isn't sitting in the water getting smelly! Also, the foliage takes nutrients so if there is less the flower will have a better chance of survival. With roses, remove any thorns as they also take nutrients. Always cut the stems on a diagonal and with any woody stems (stock, hydrangeas, blossom, pussy willow or any other hard stemmed flowers or greenery) cut a slit vertically up the stem as well, about half an inch (see image below).
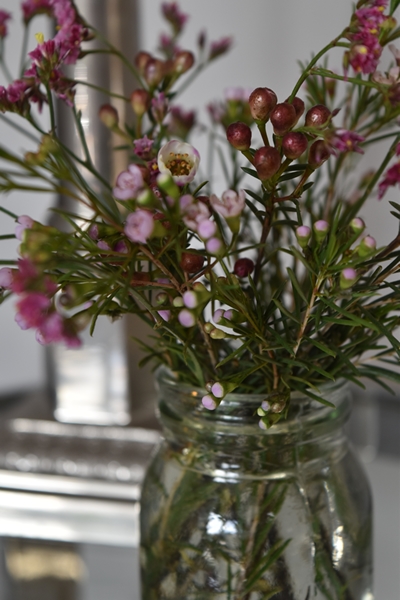
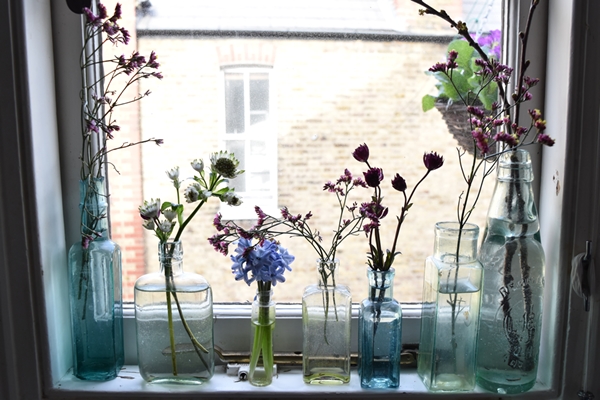
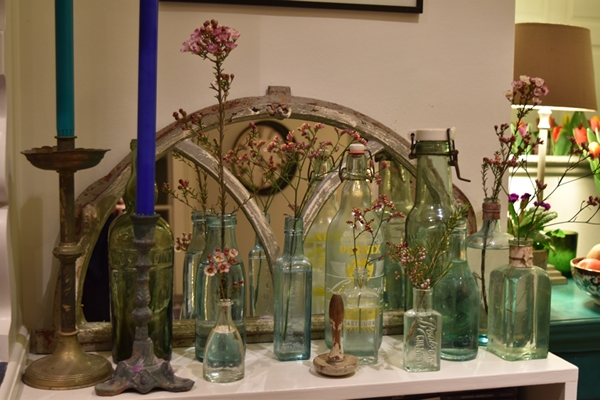
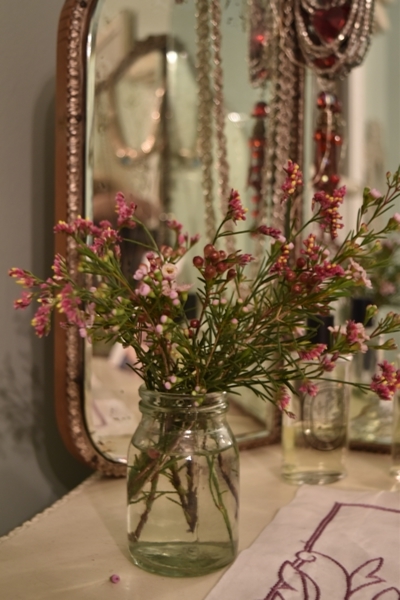
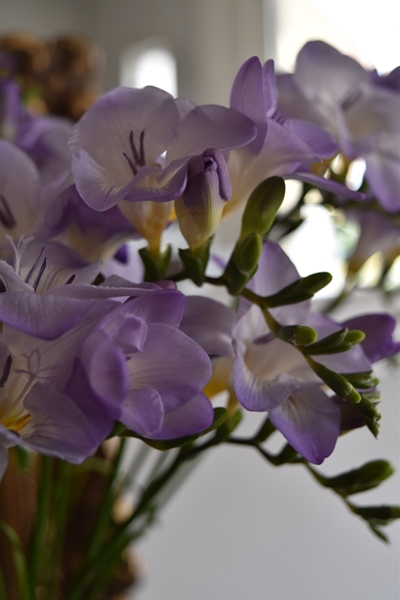
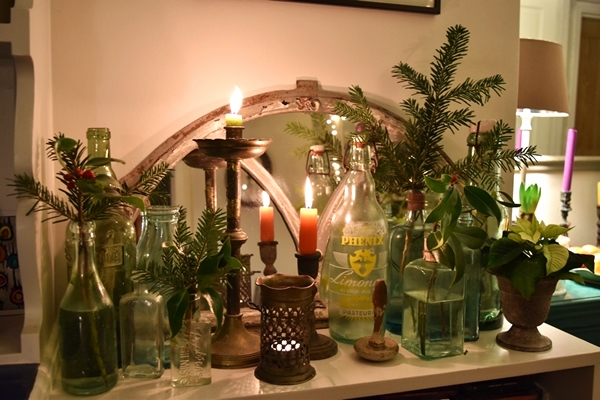
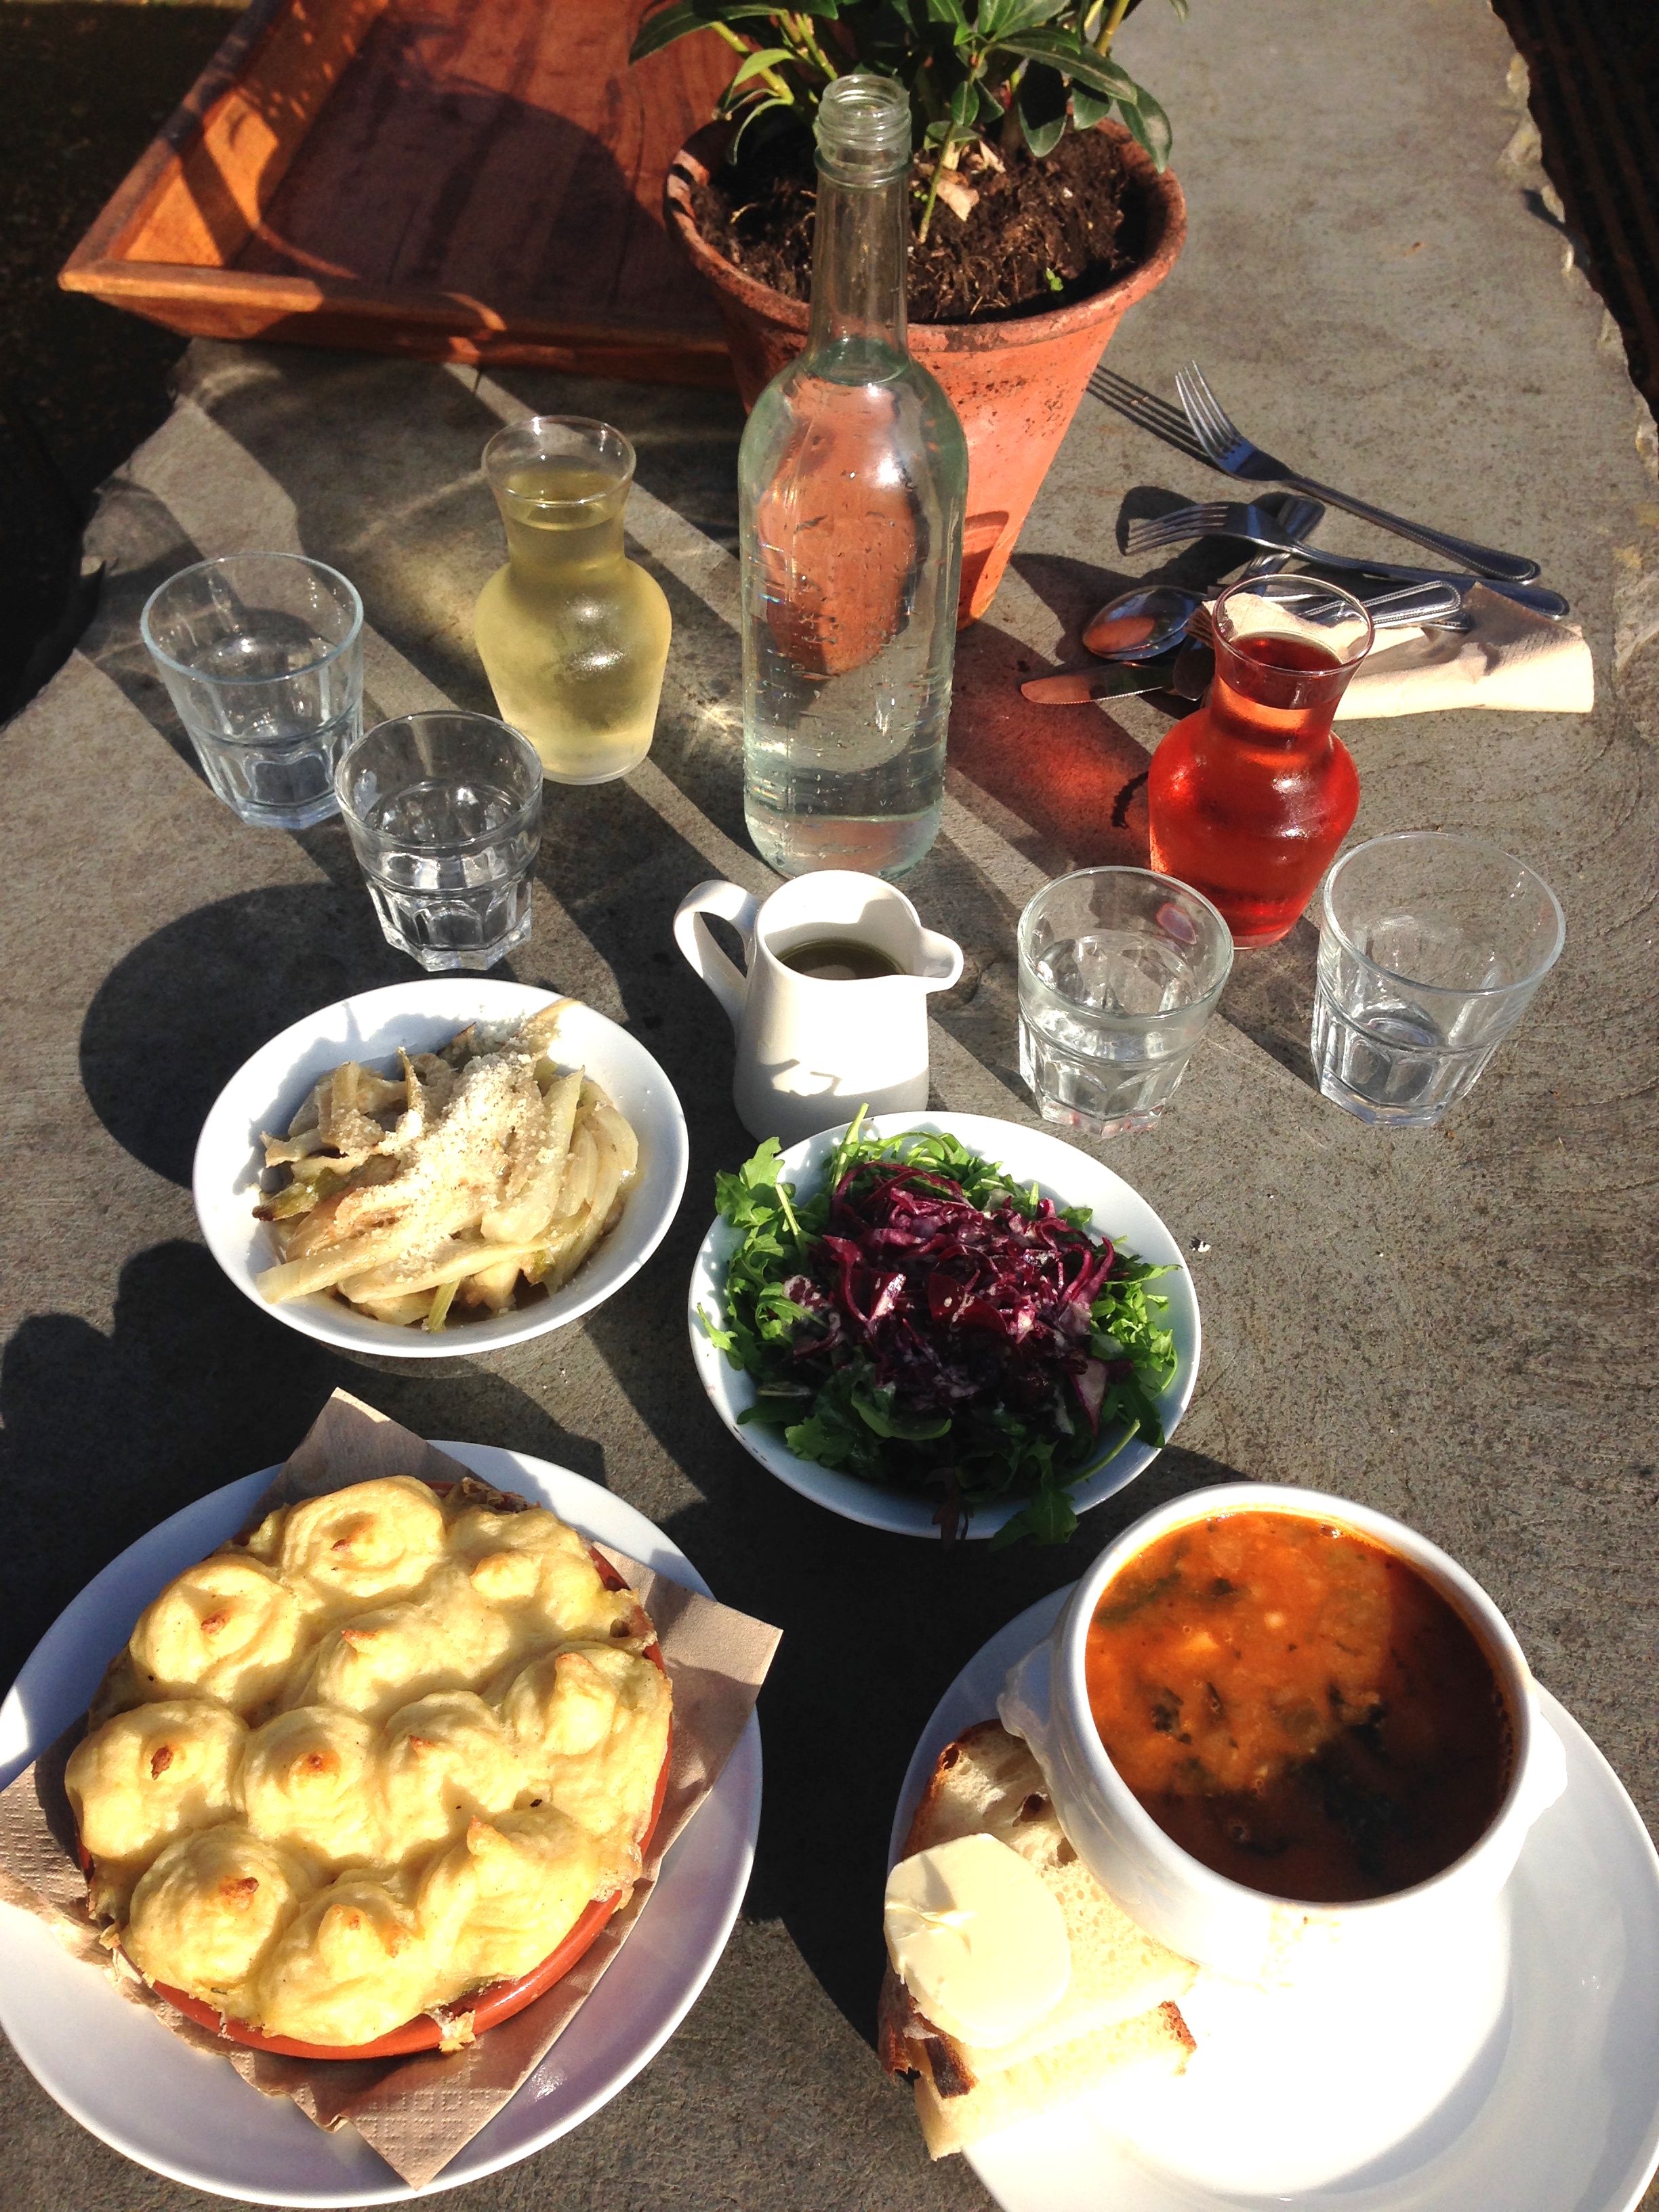
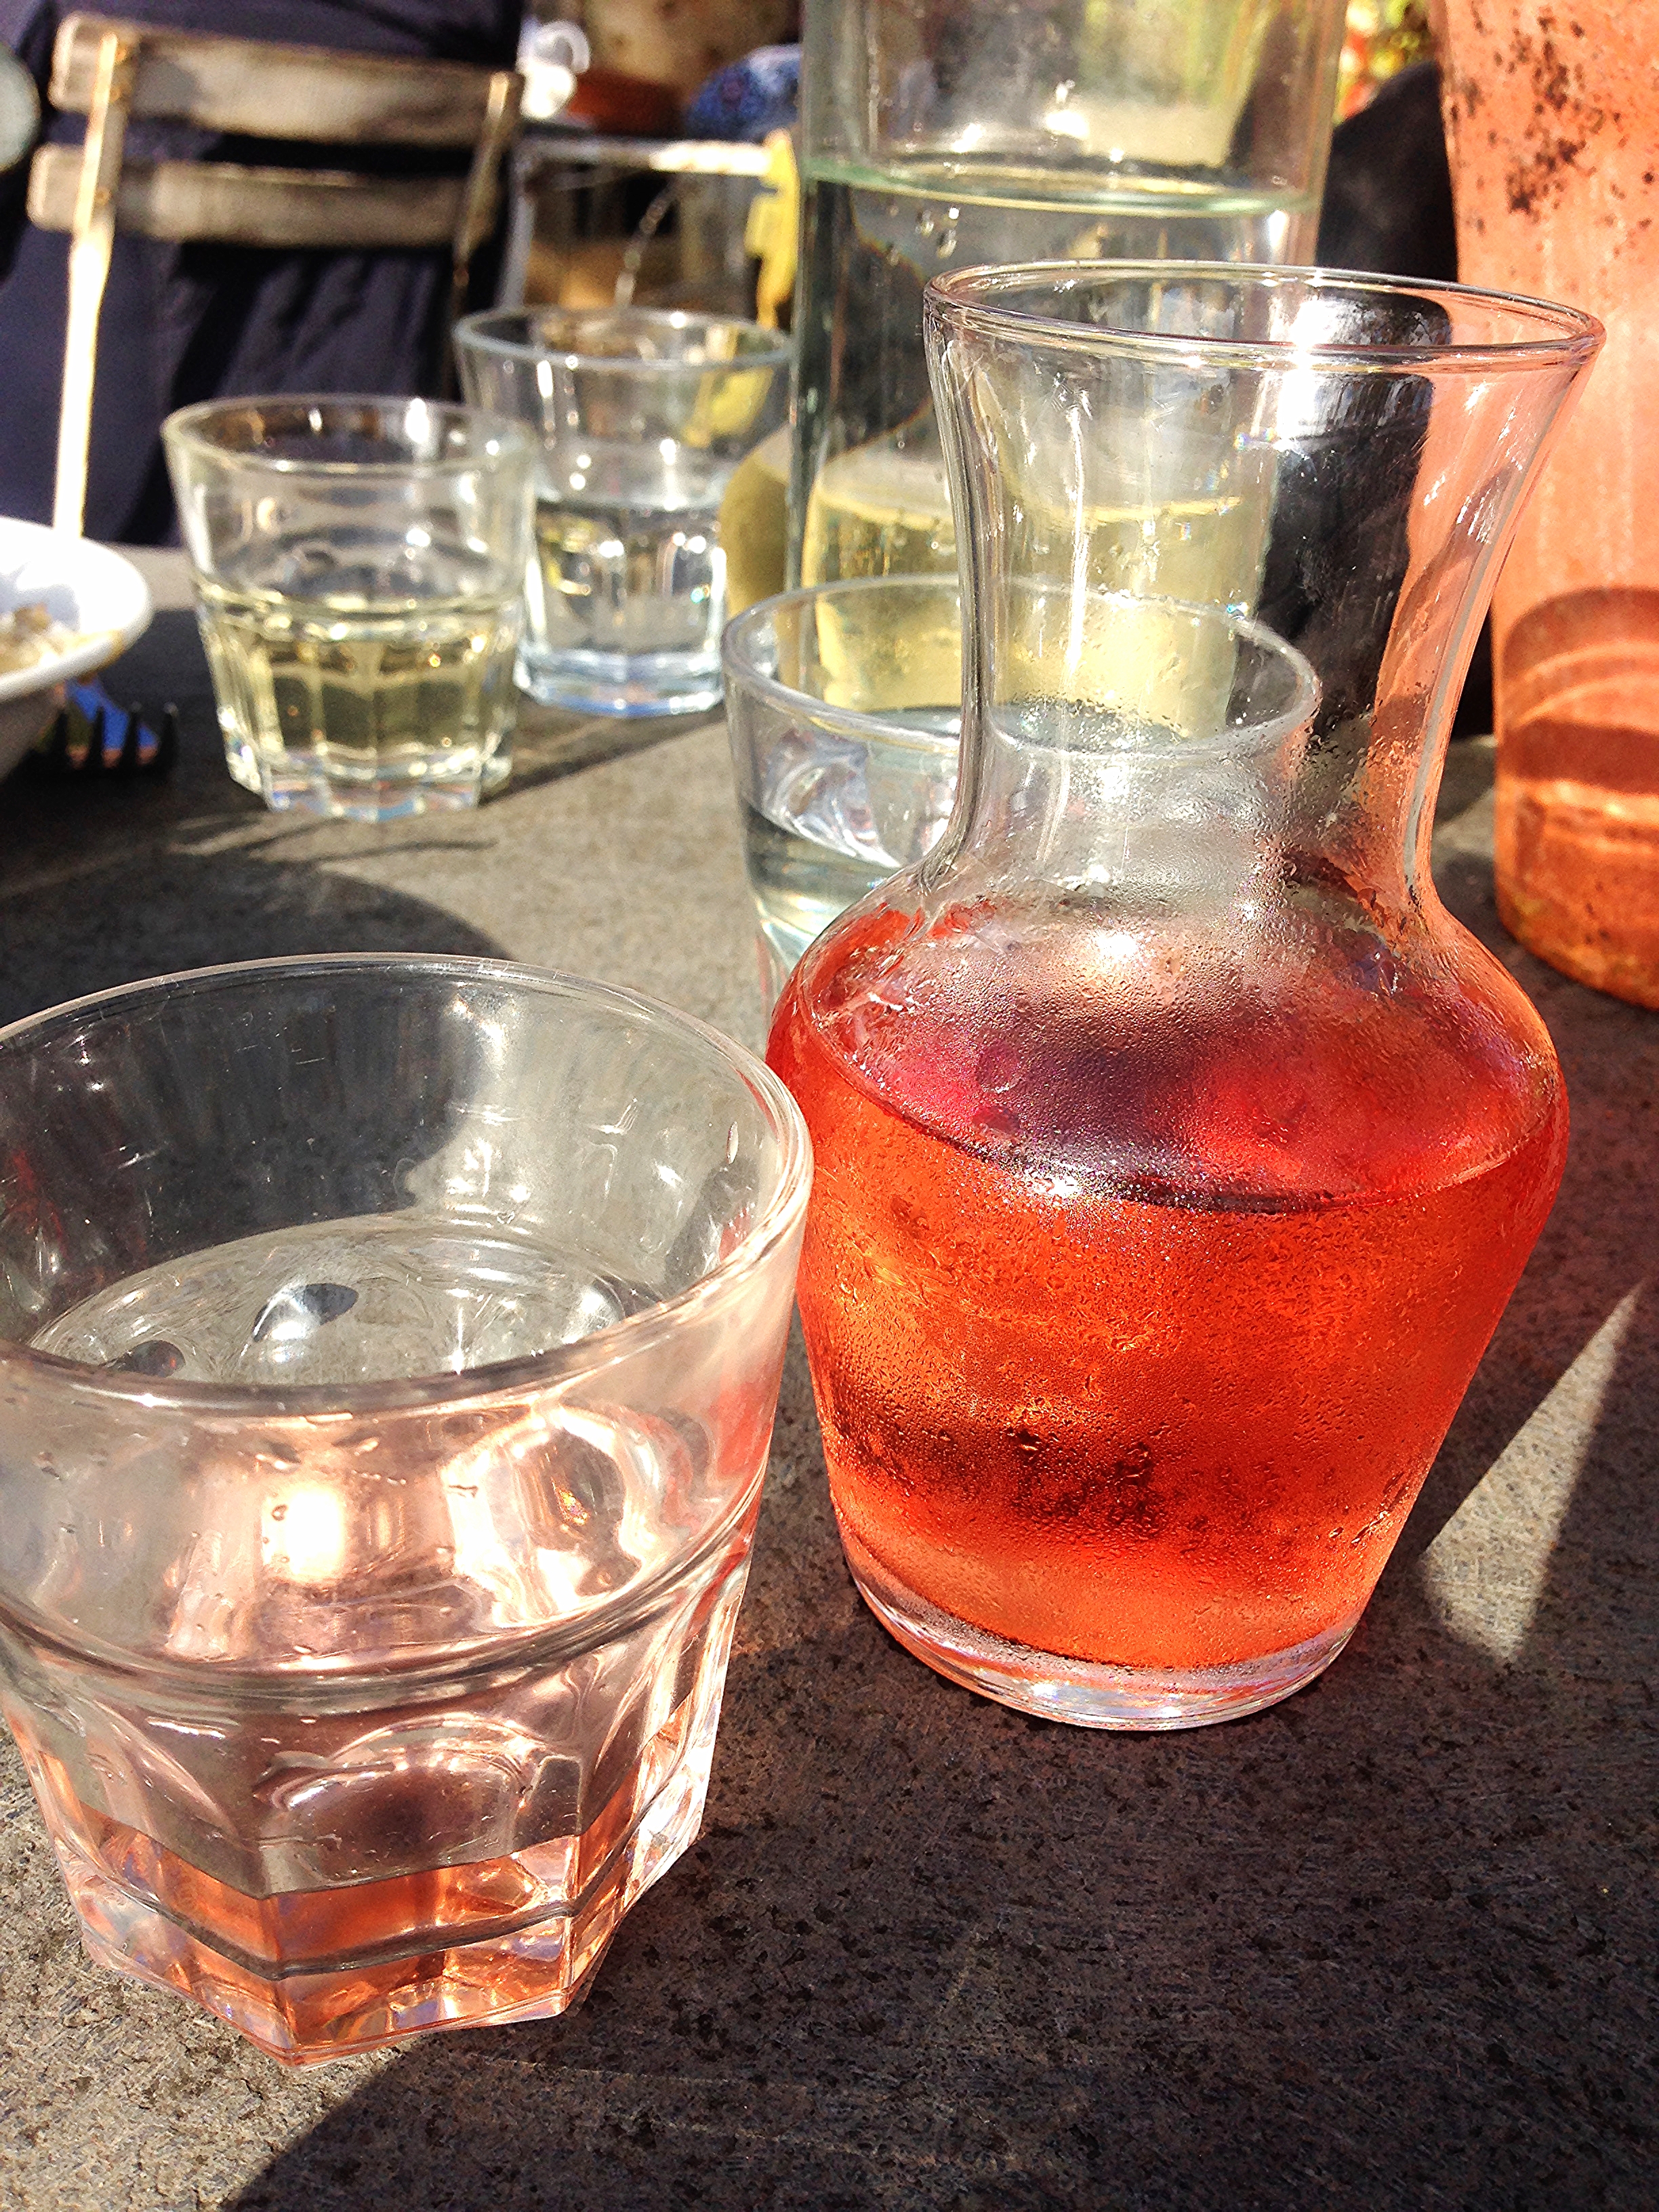
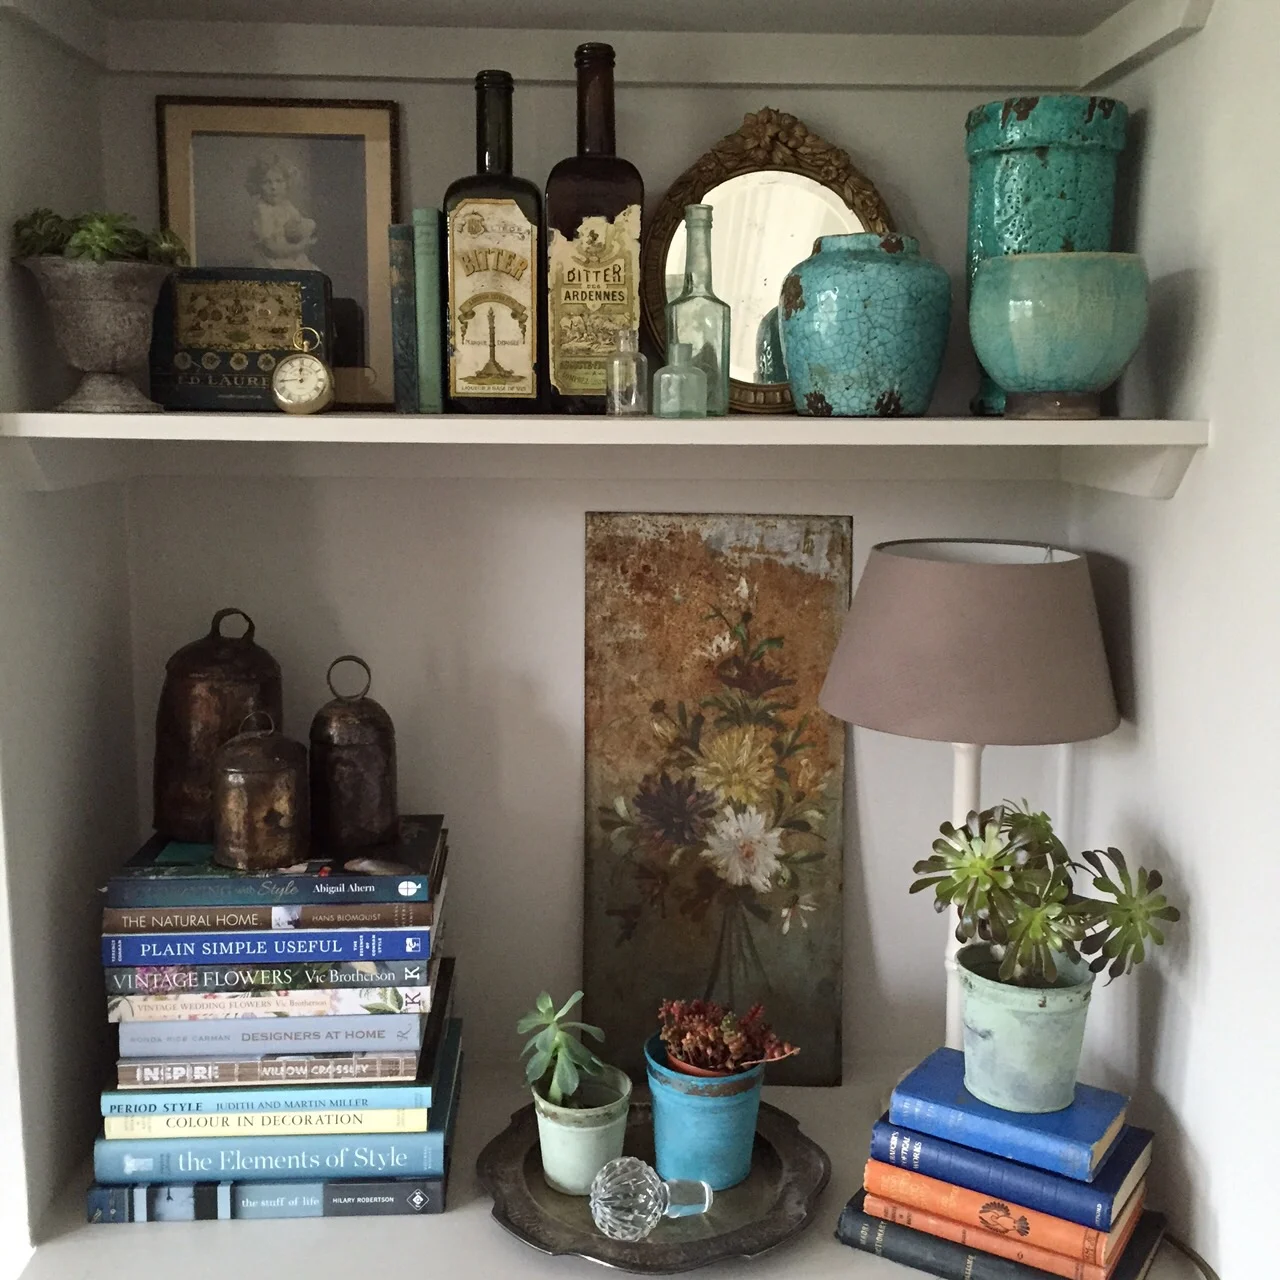
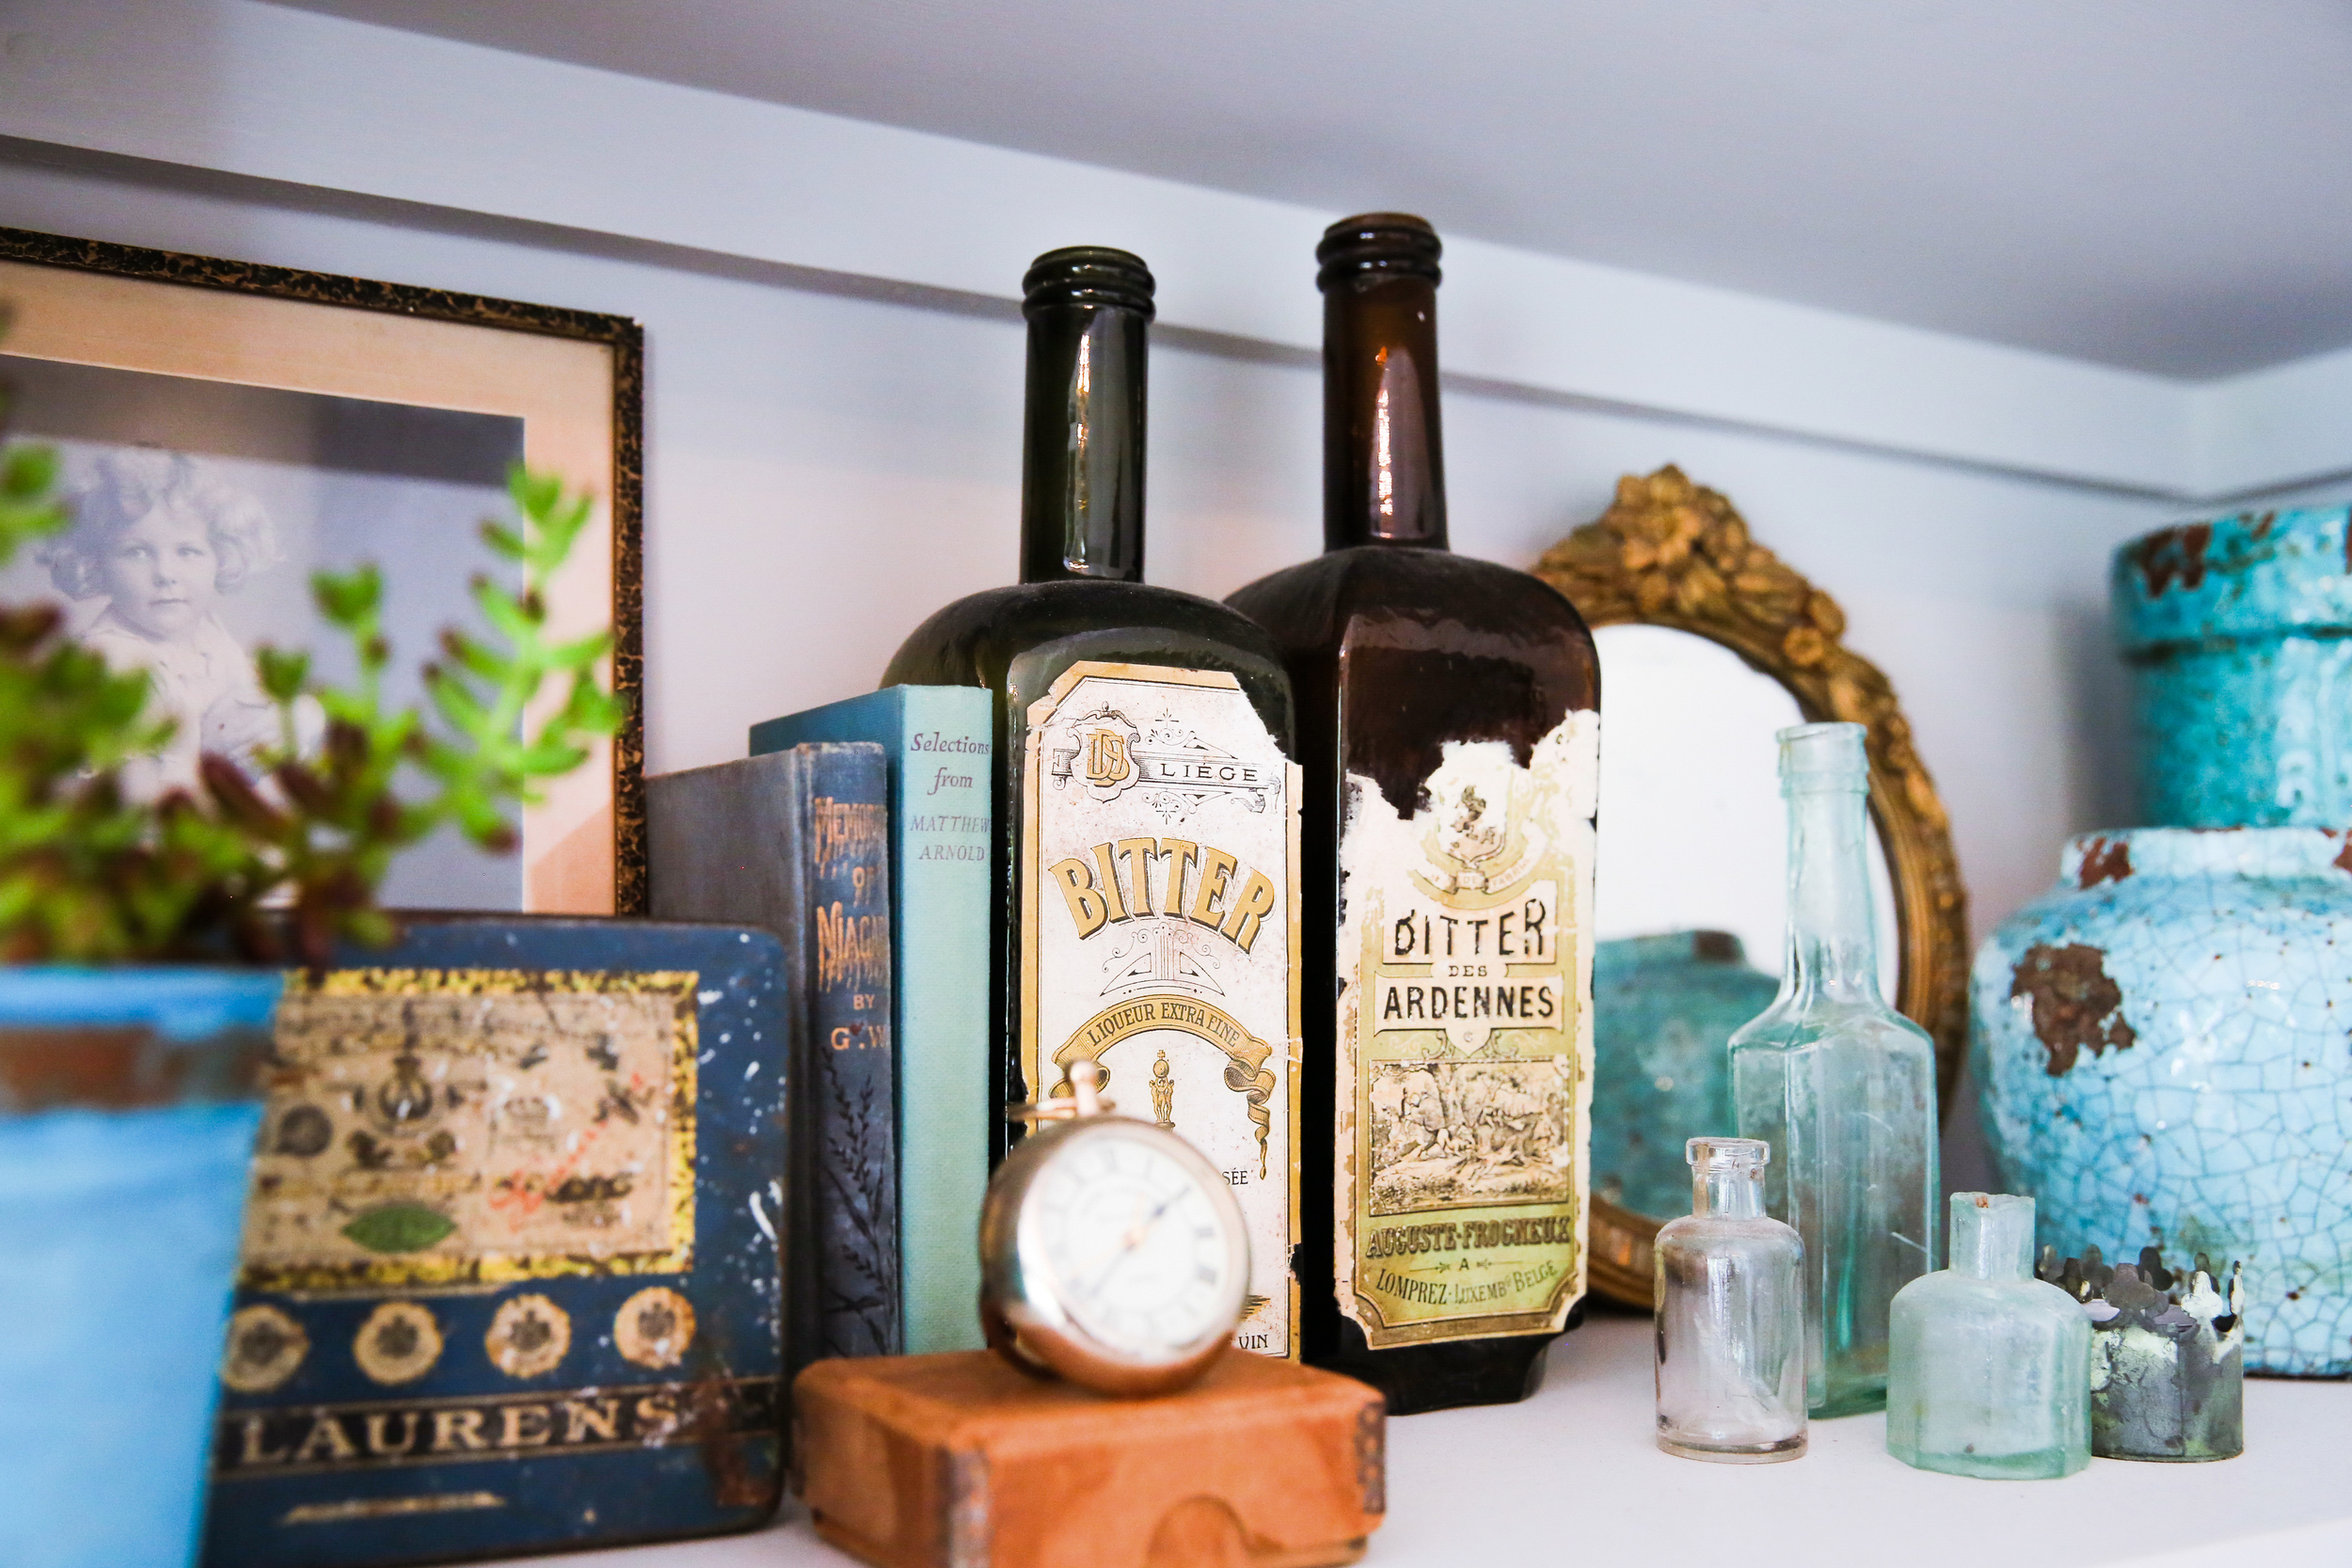
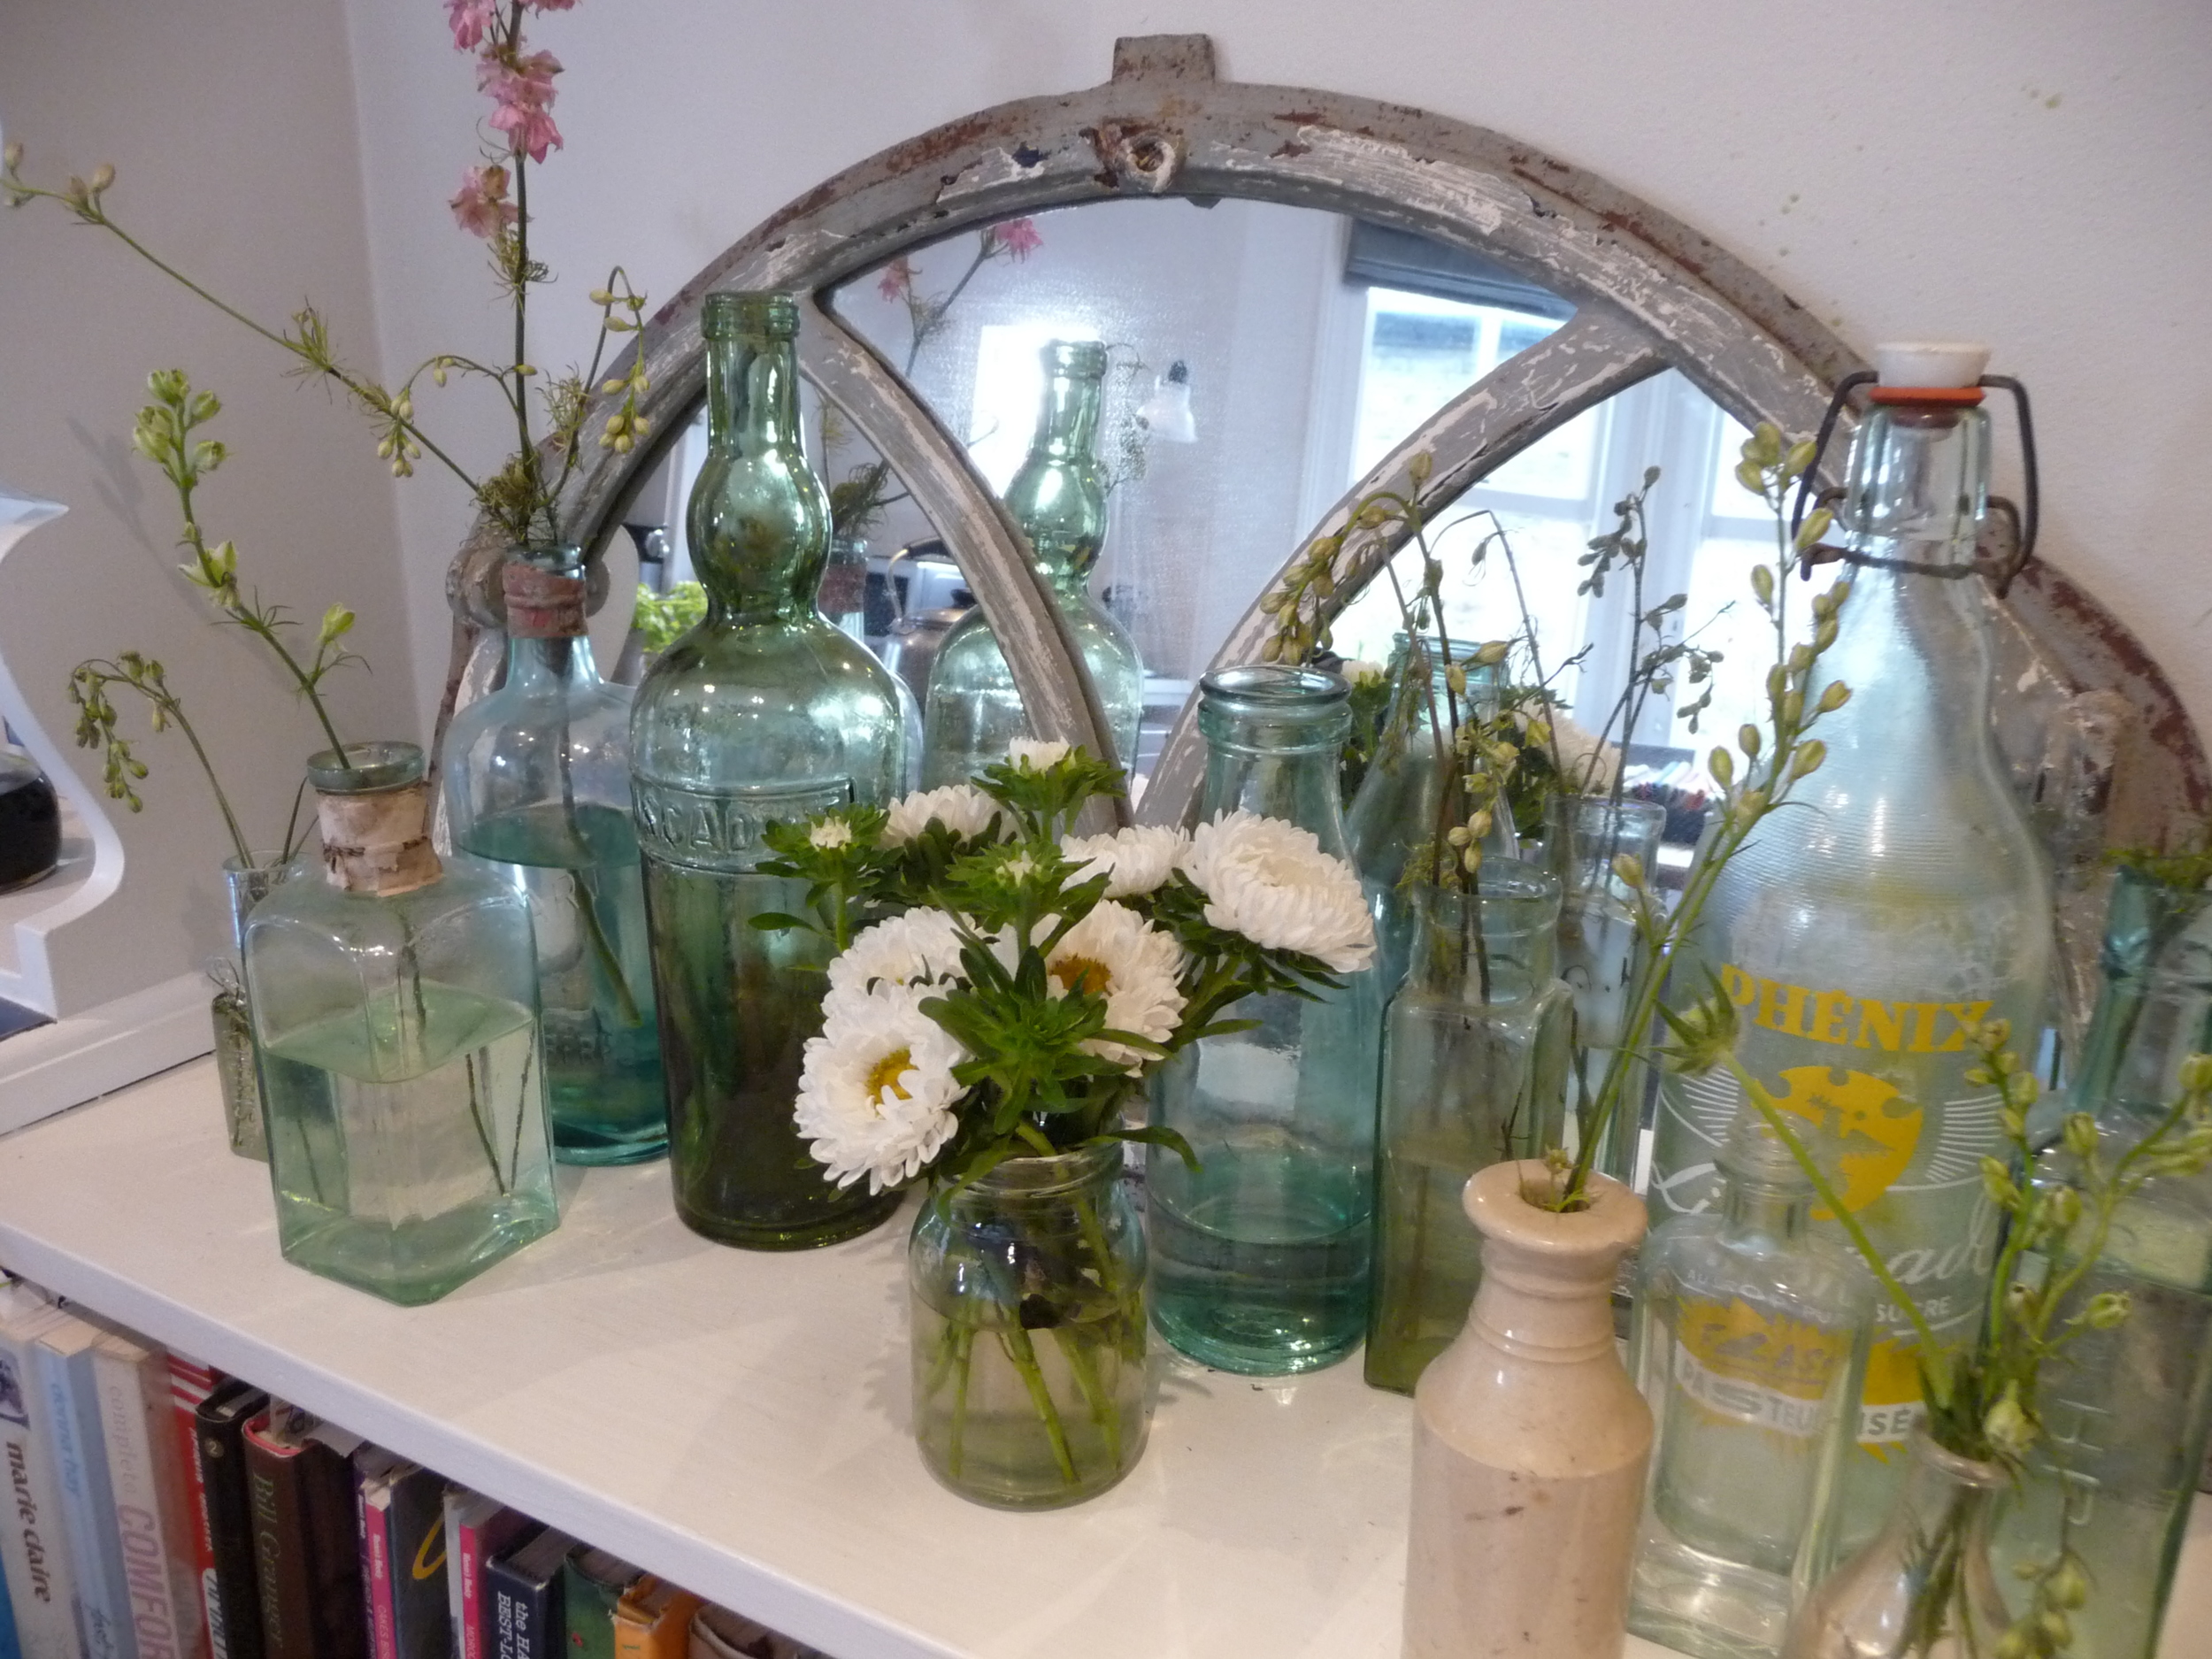
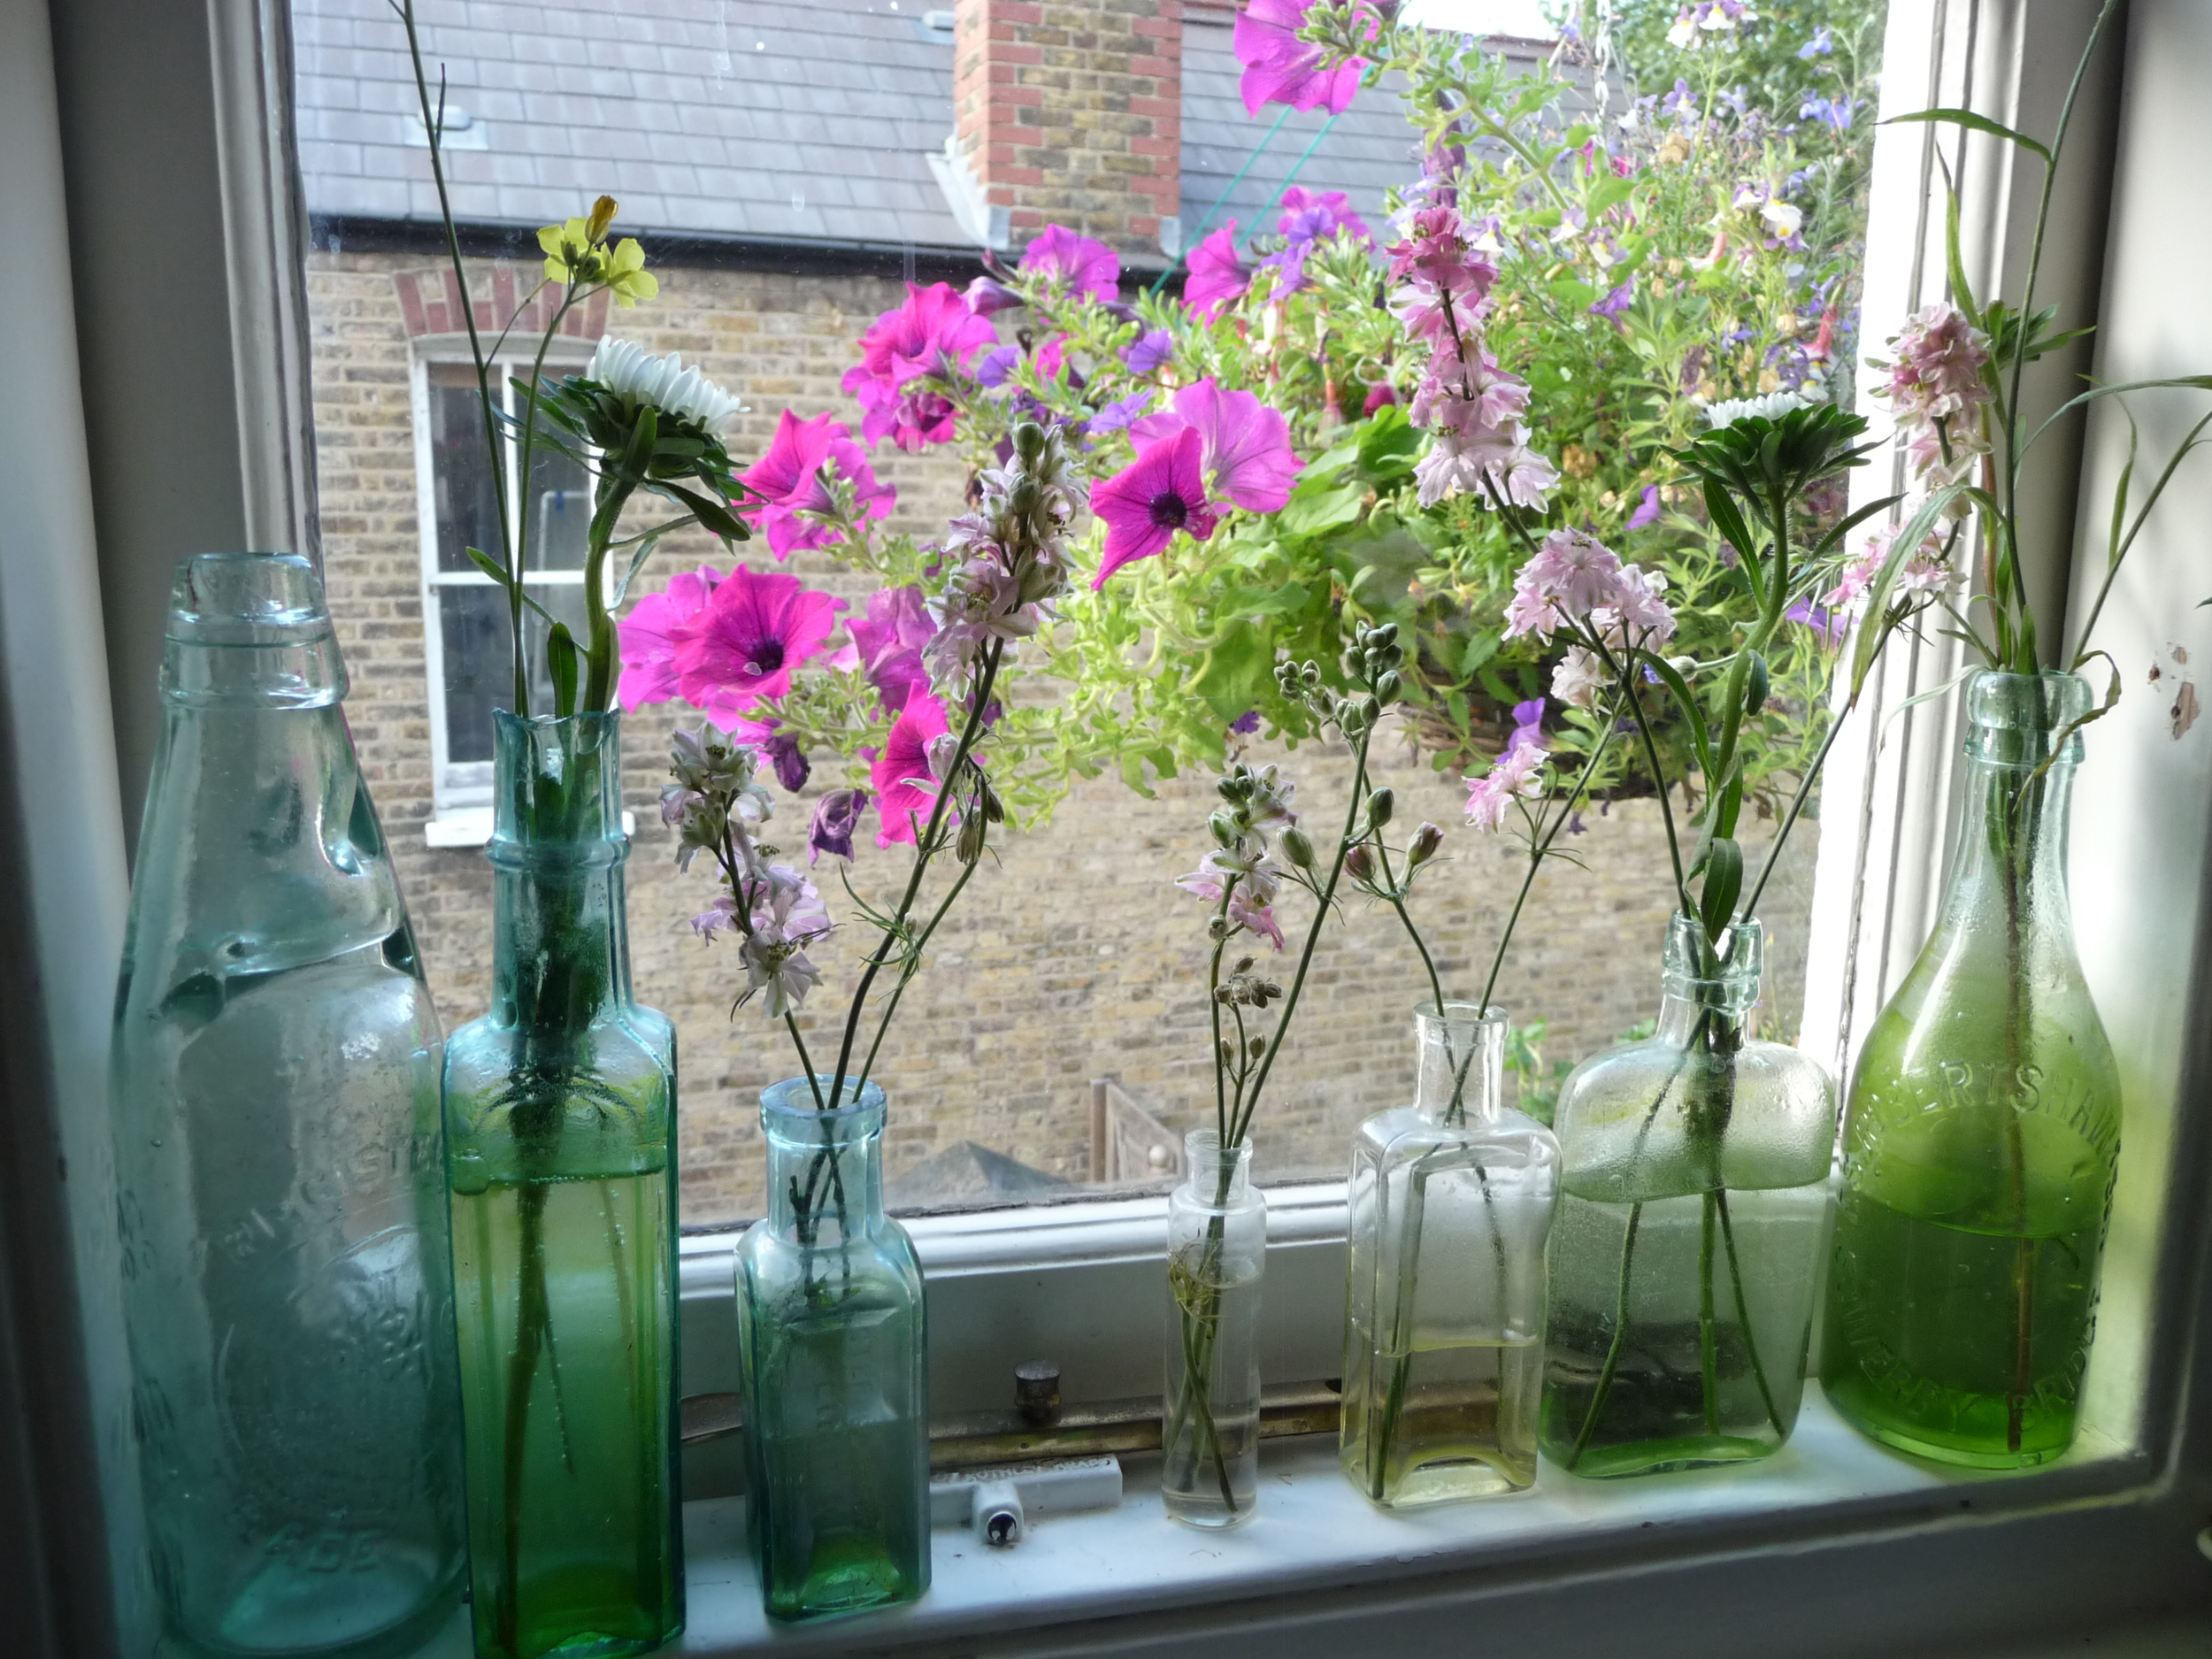
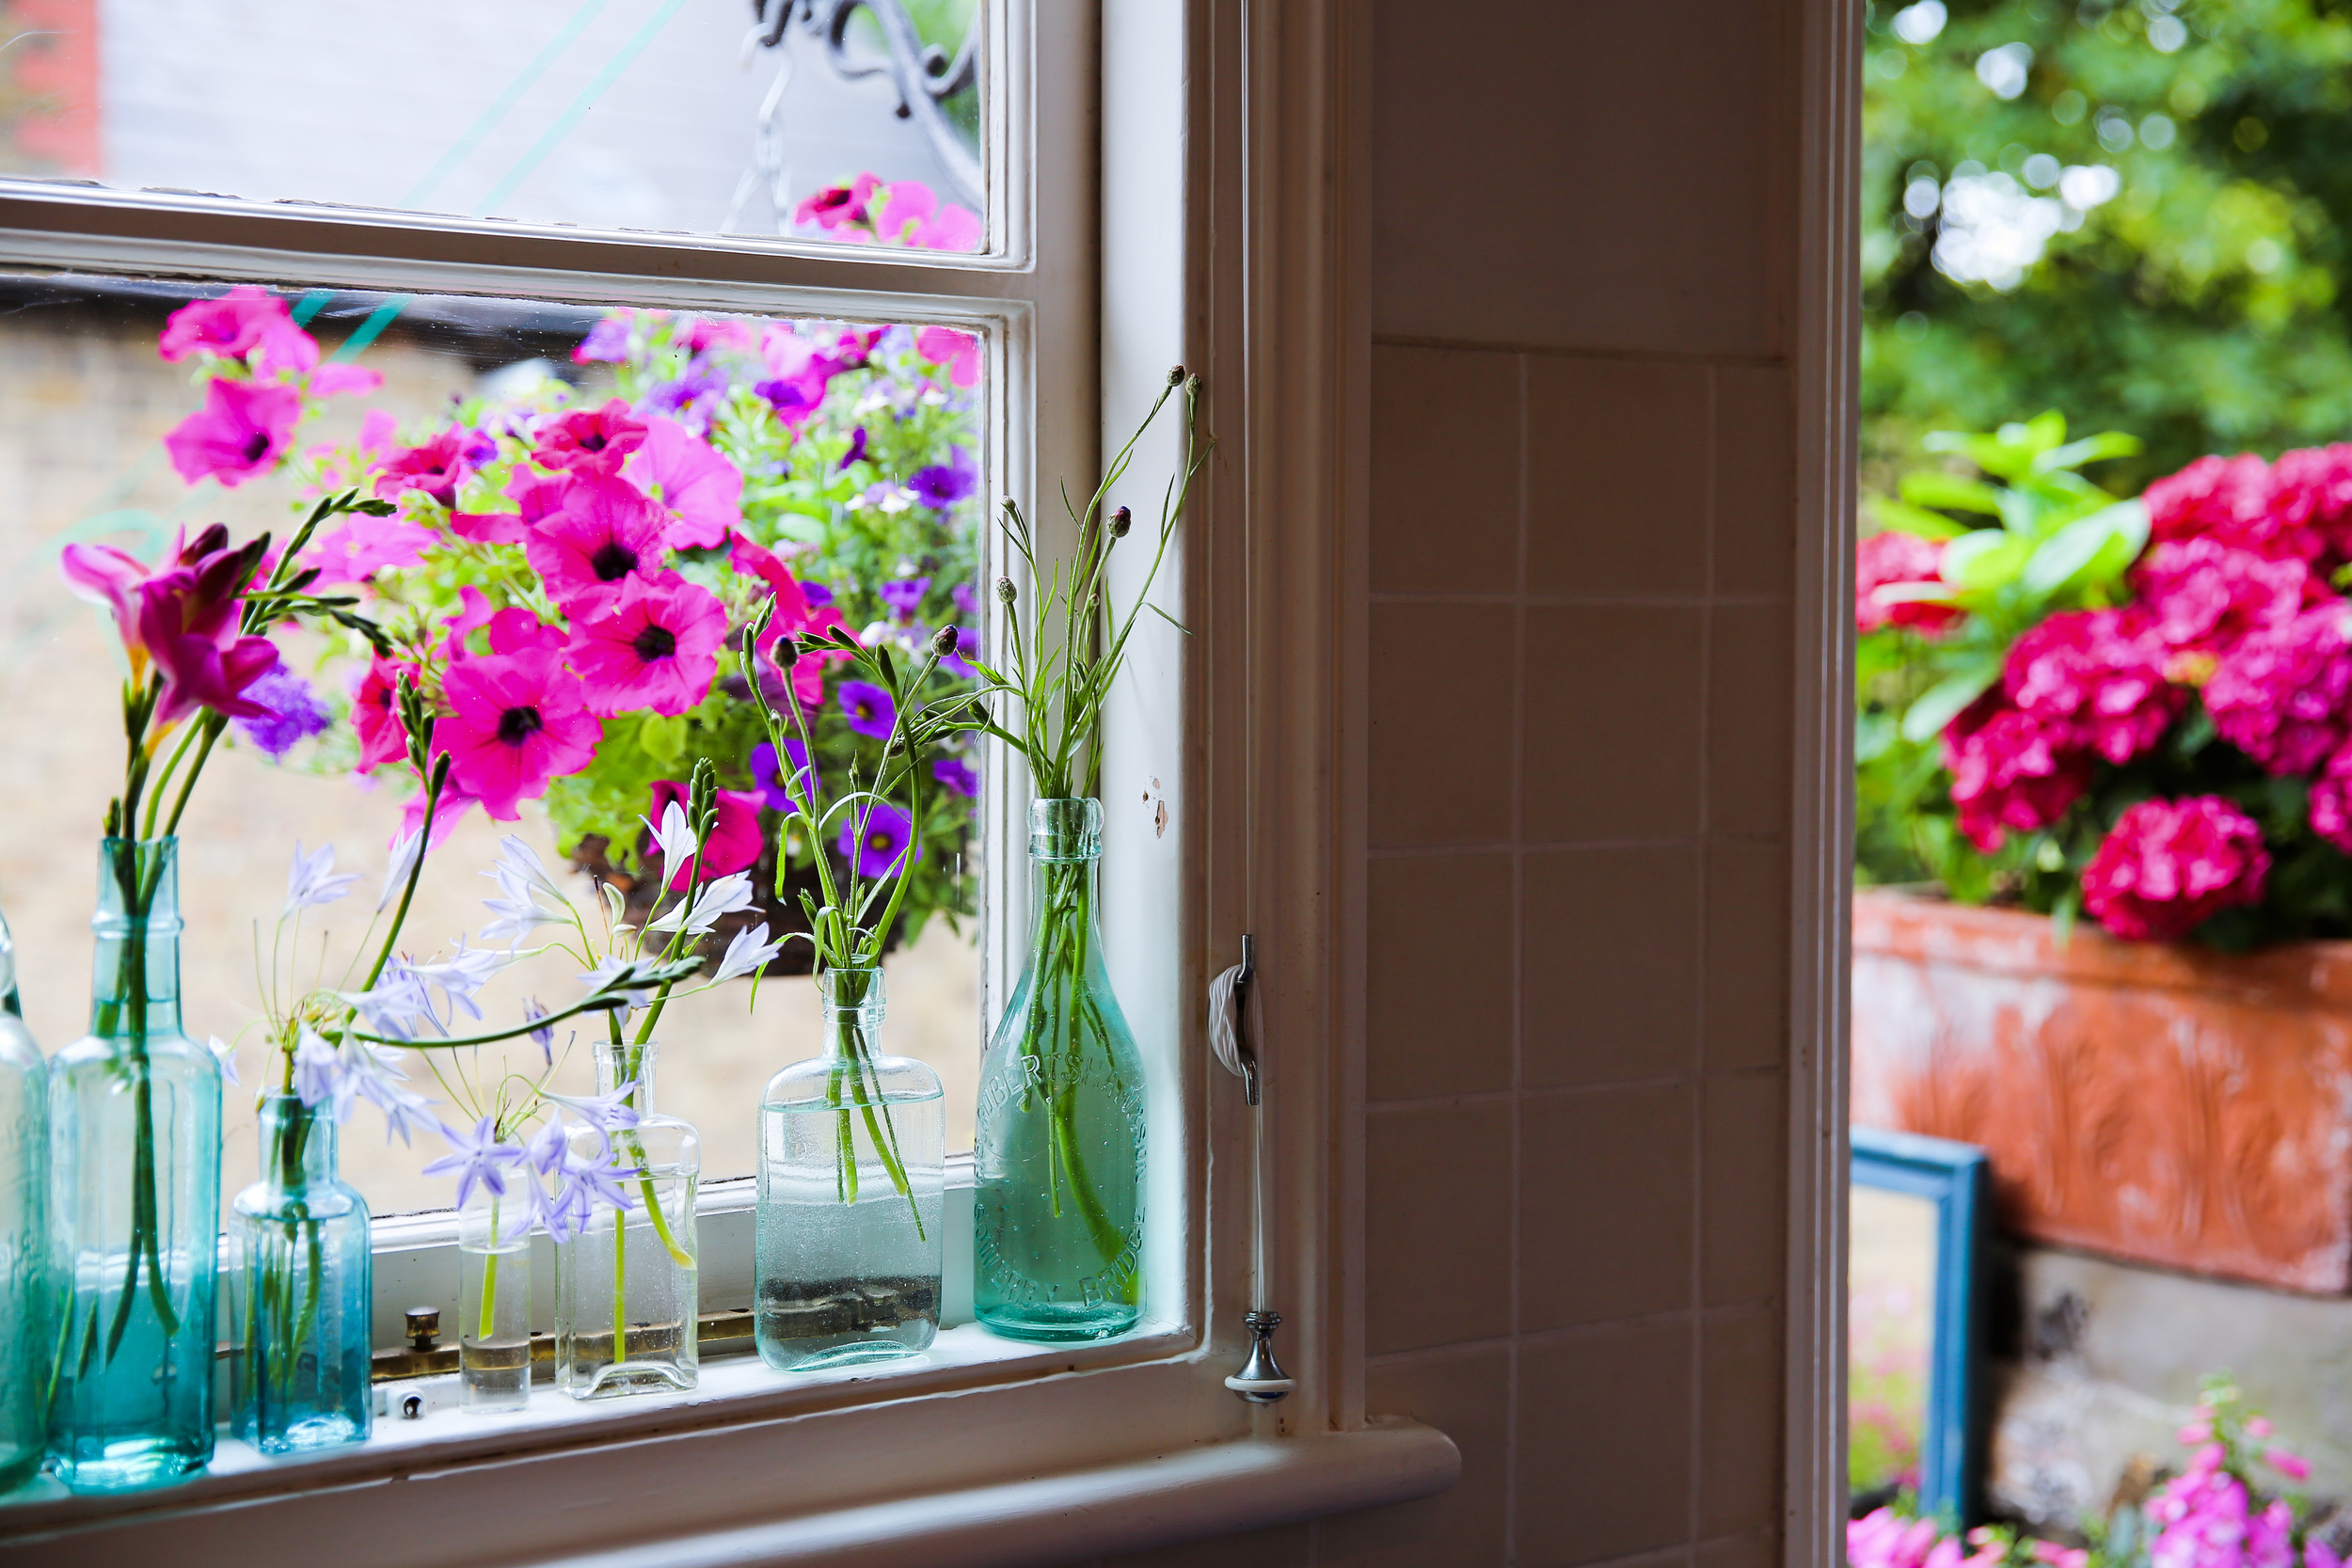
4. Don't waste anything - when stripping the stems of foliage there are often offshoots. Don't throw these away, put them in little vintage bottles on a window ledge or a small vase. I waste nothing! Freesias and hyacinths are classic examples where they have a lot of offshoots that look like they will never flower but usually they will.
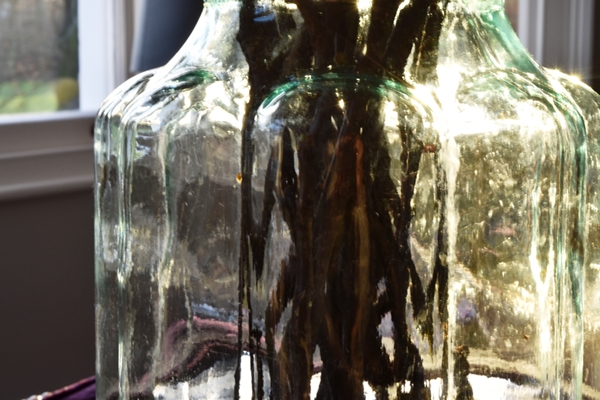
5. Keep the vase clear of water marks - I add a drop of bleach to the water AFTER I've filled the vase (if you do it before you add the water it will create a lot of froth) and this stops the water smelling and any water marks on the vase (crucial with glass containers). I also add a sachet of flower food.
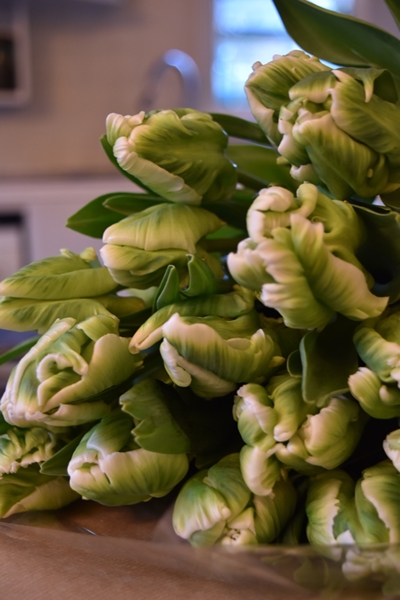
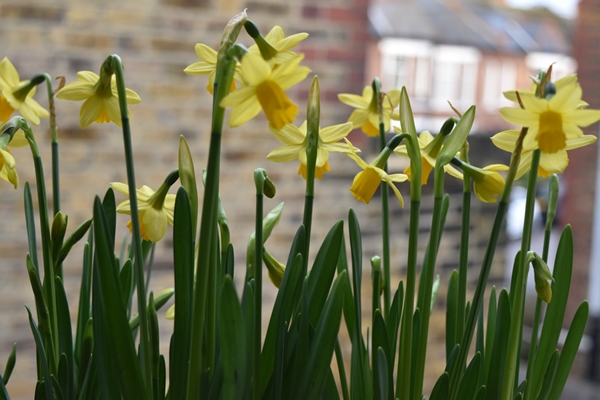
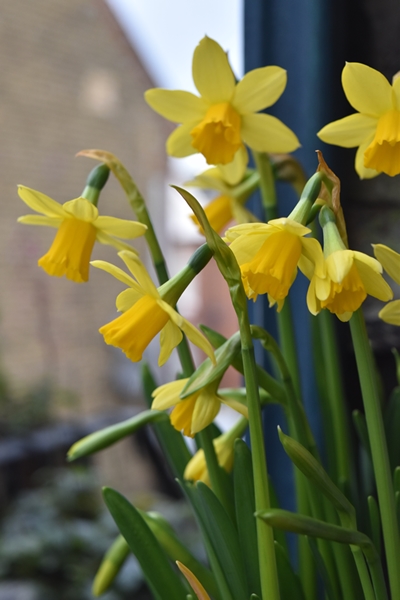
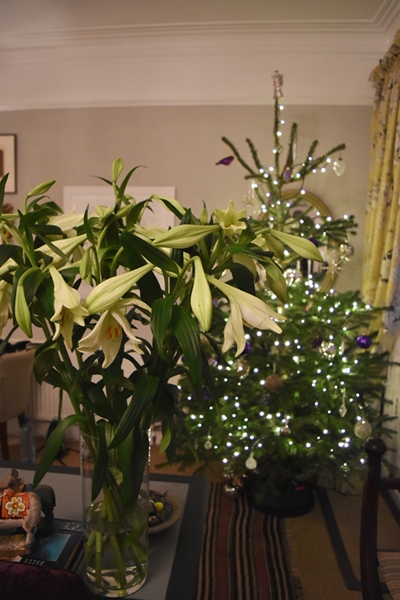
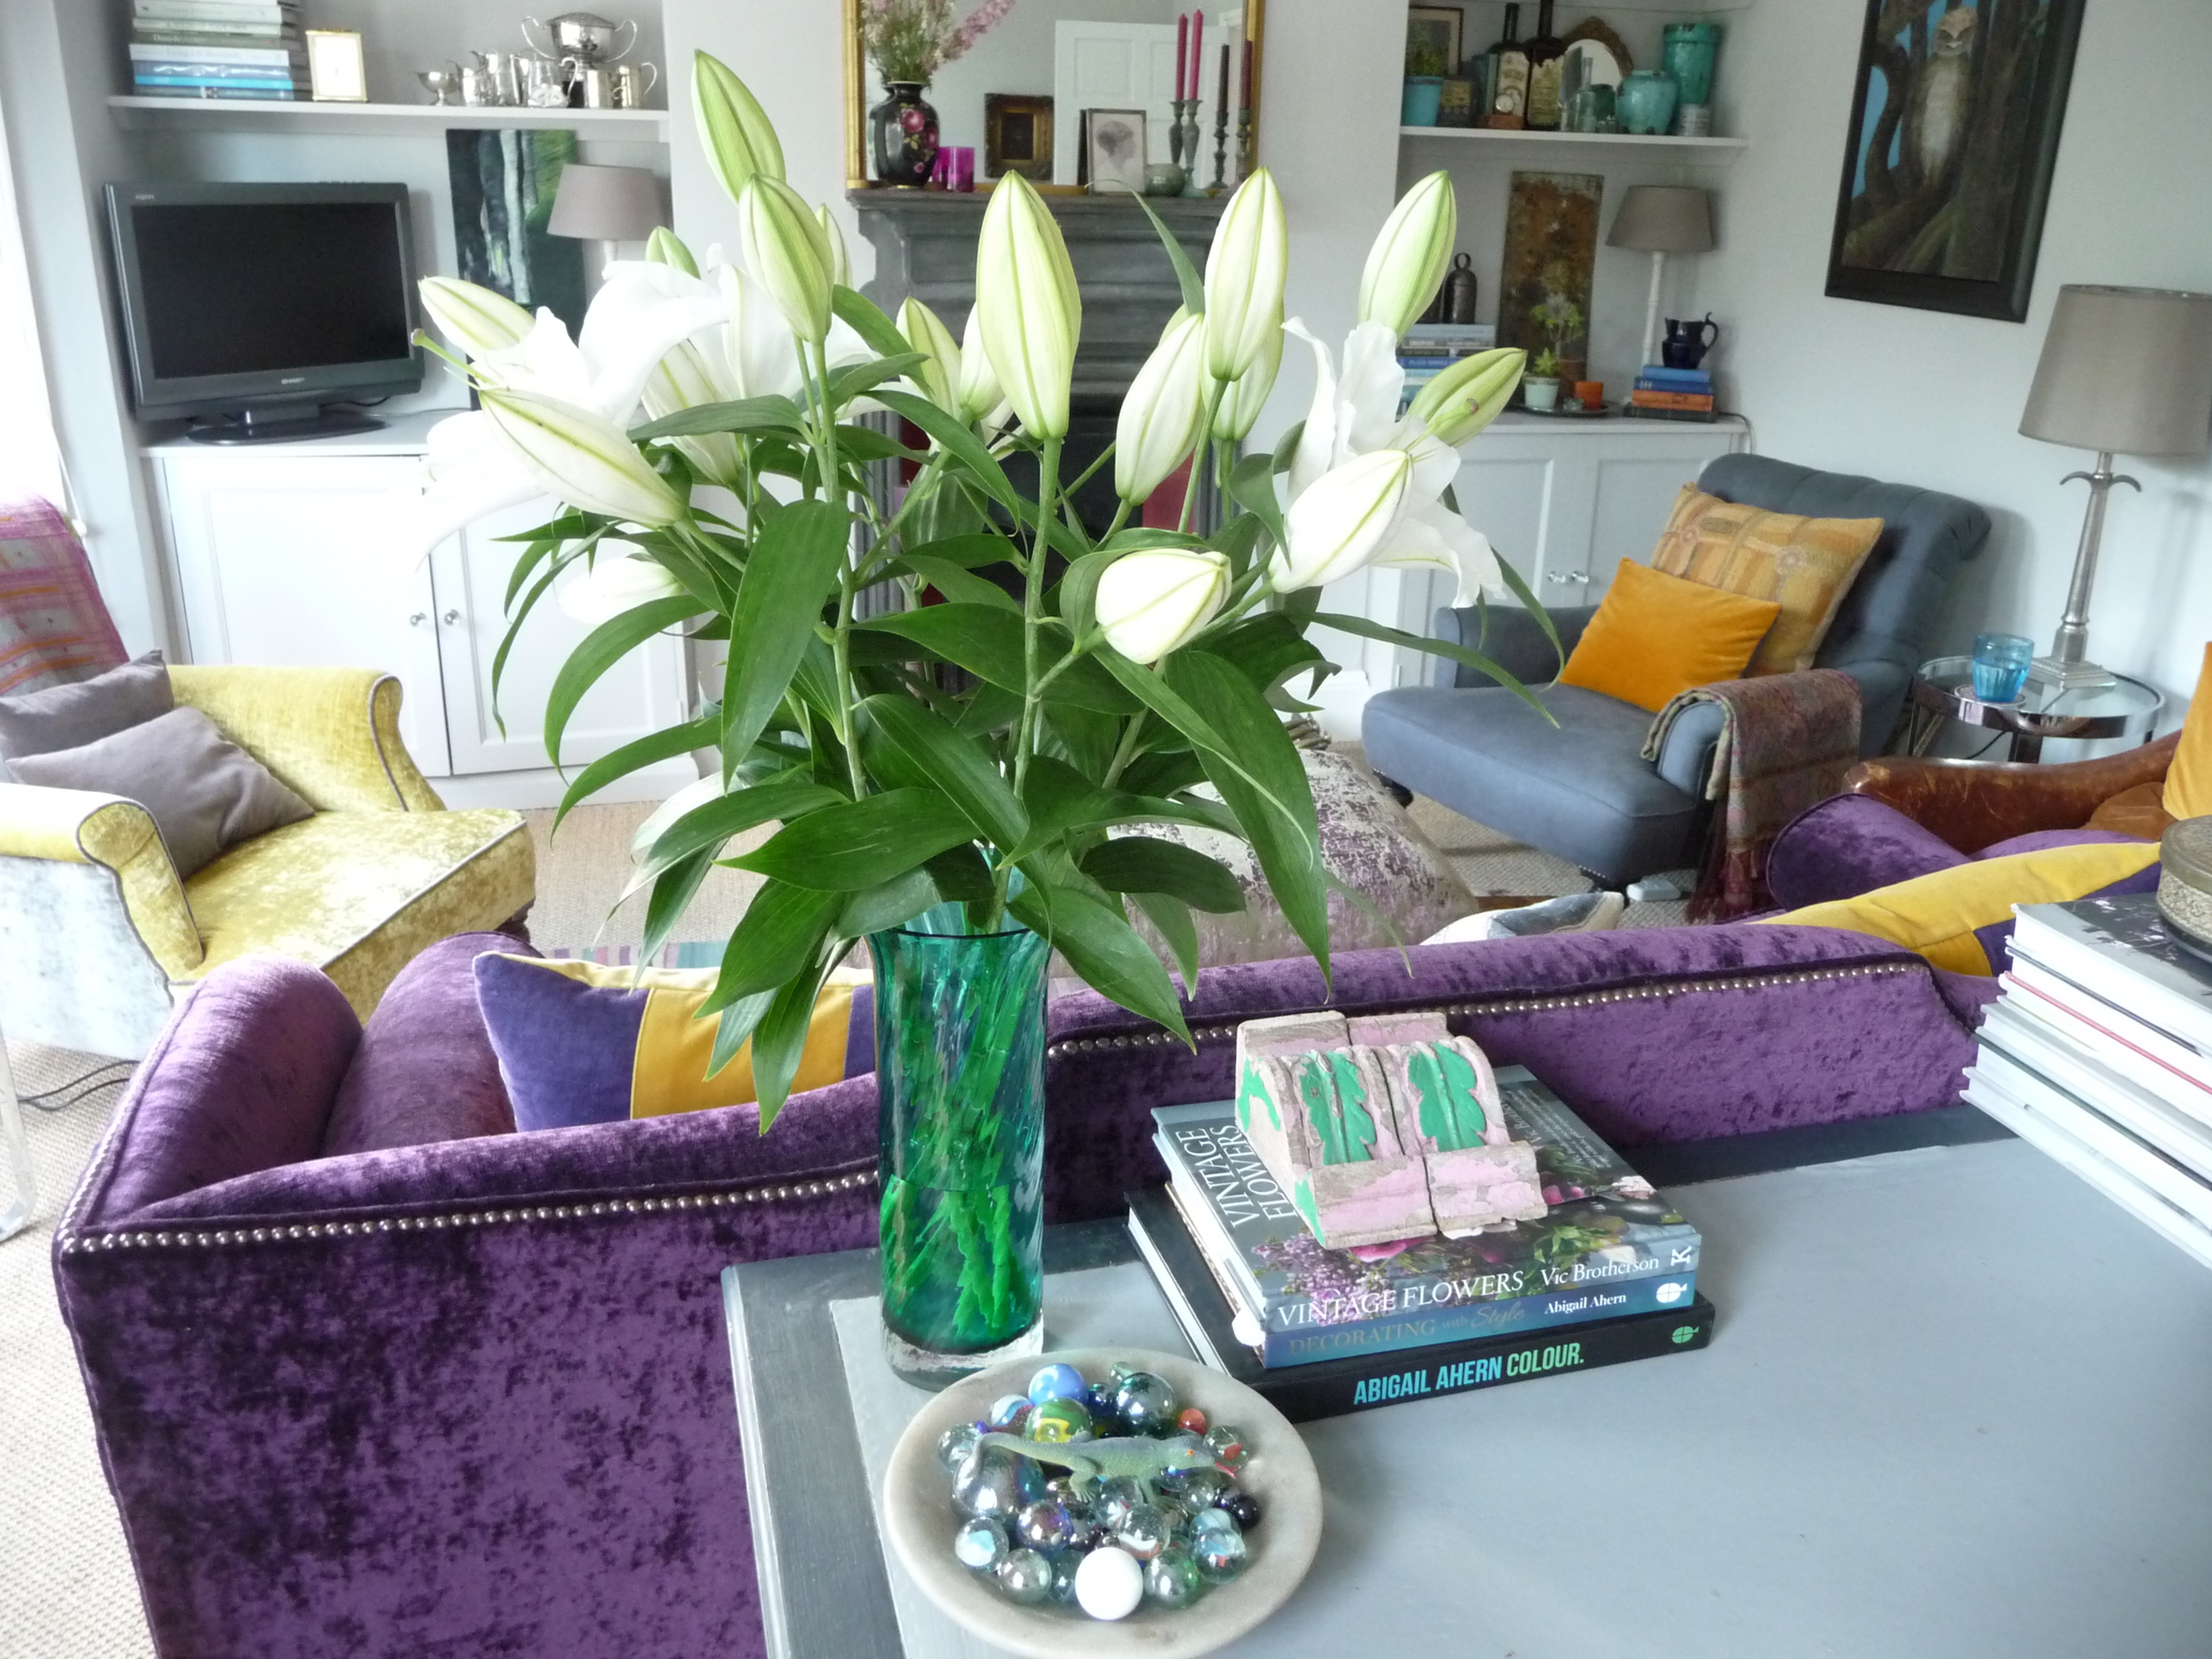
6. Keep it simple! - Don't always feel you have to add foliage to flowers that have their own foliage as it just detracts from their beauty. Less is definitely more! Flowers should look as if they are growing especially spring flowers like tulips and daffodils. You would never see Eucalpytus growing in the middle of a clump of daffodils! Same with roses, they have beautiful leaves so don't add anything else.
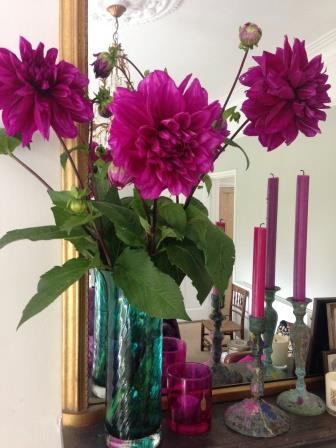
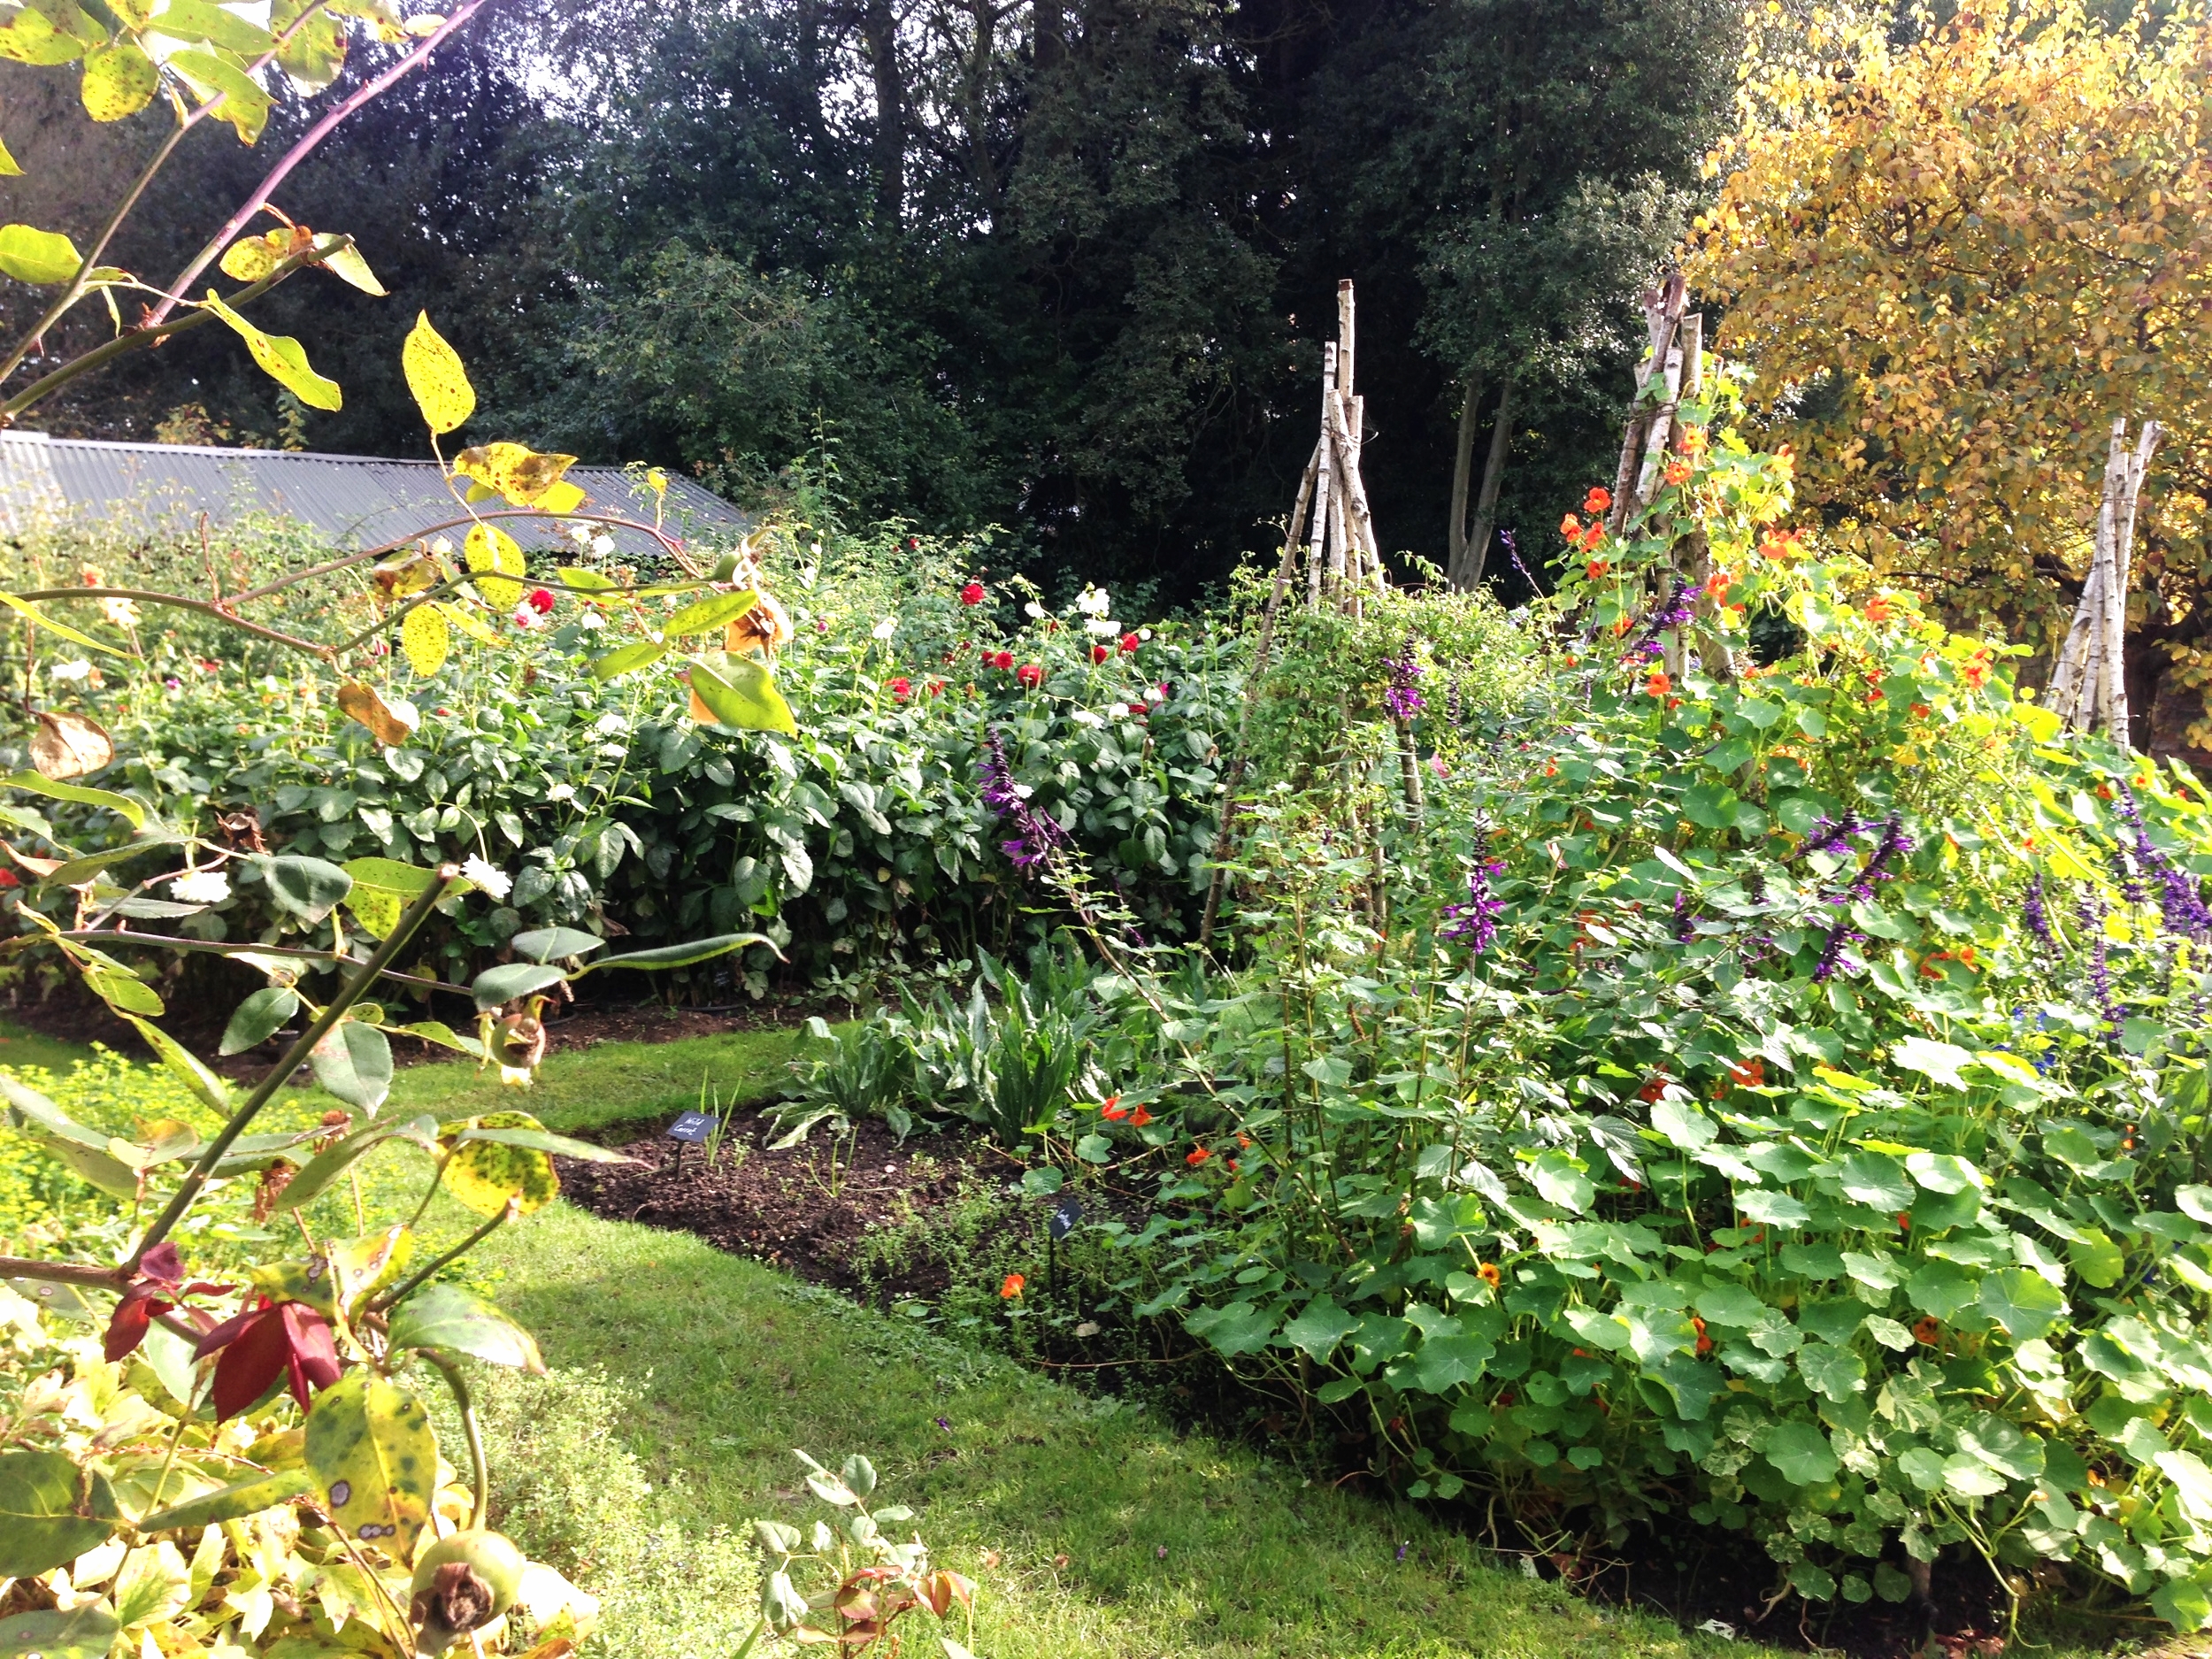
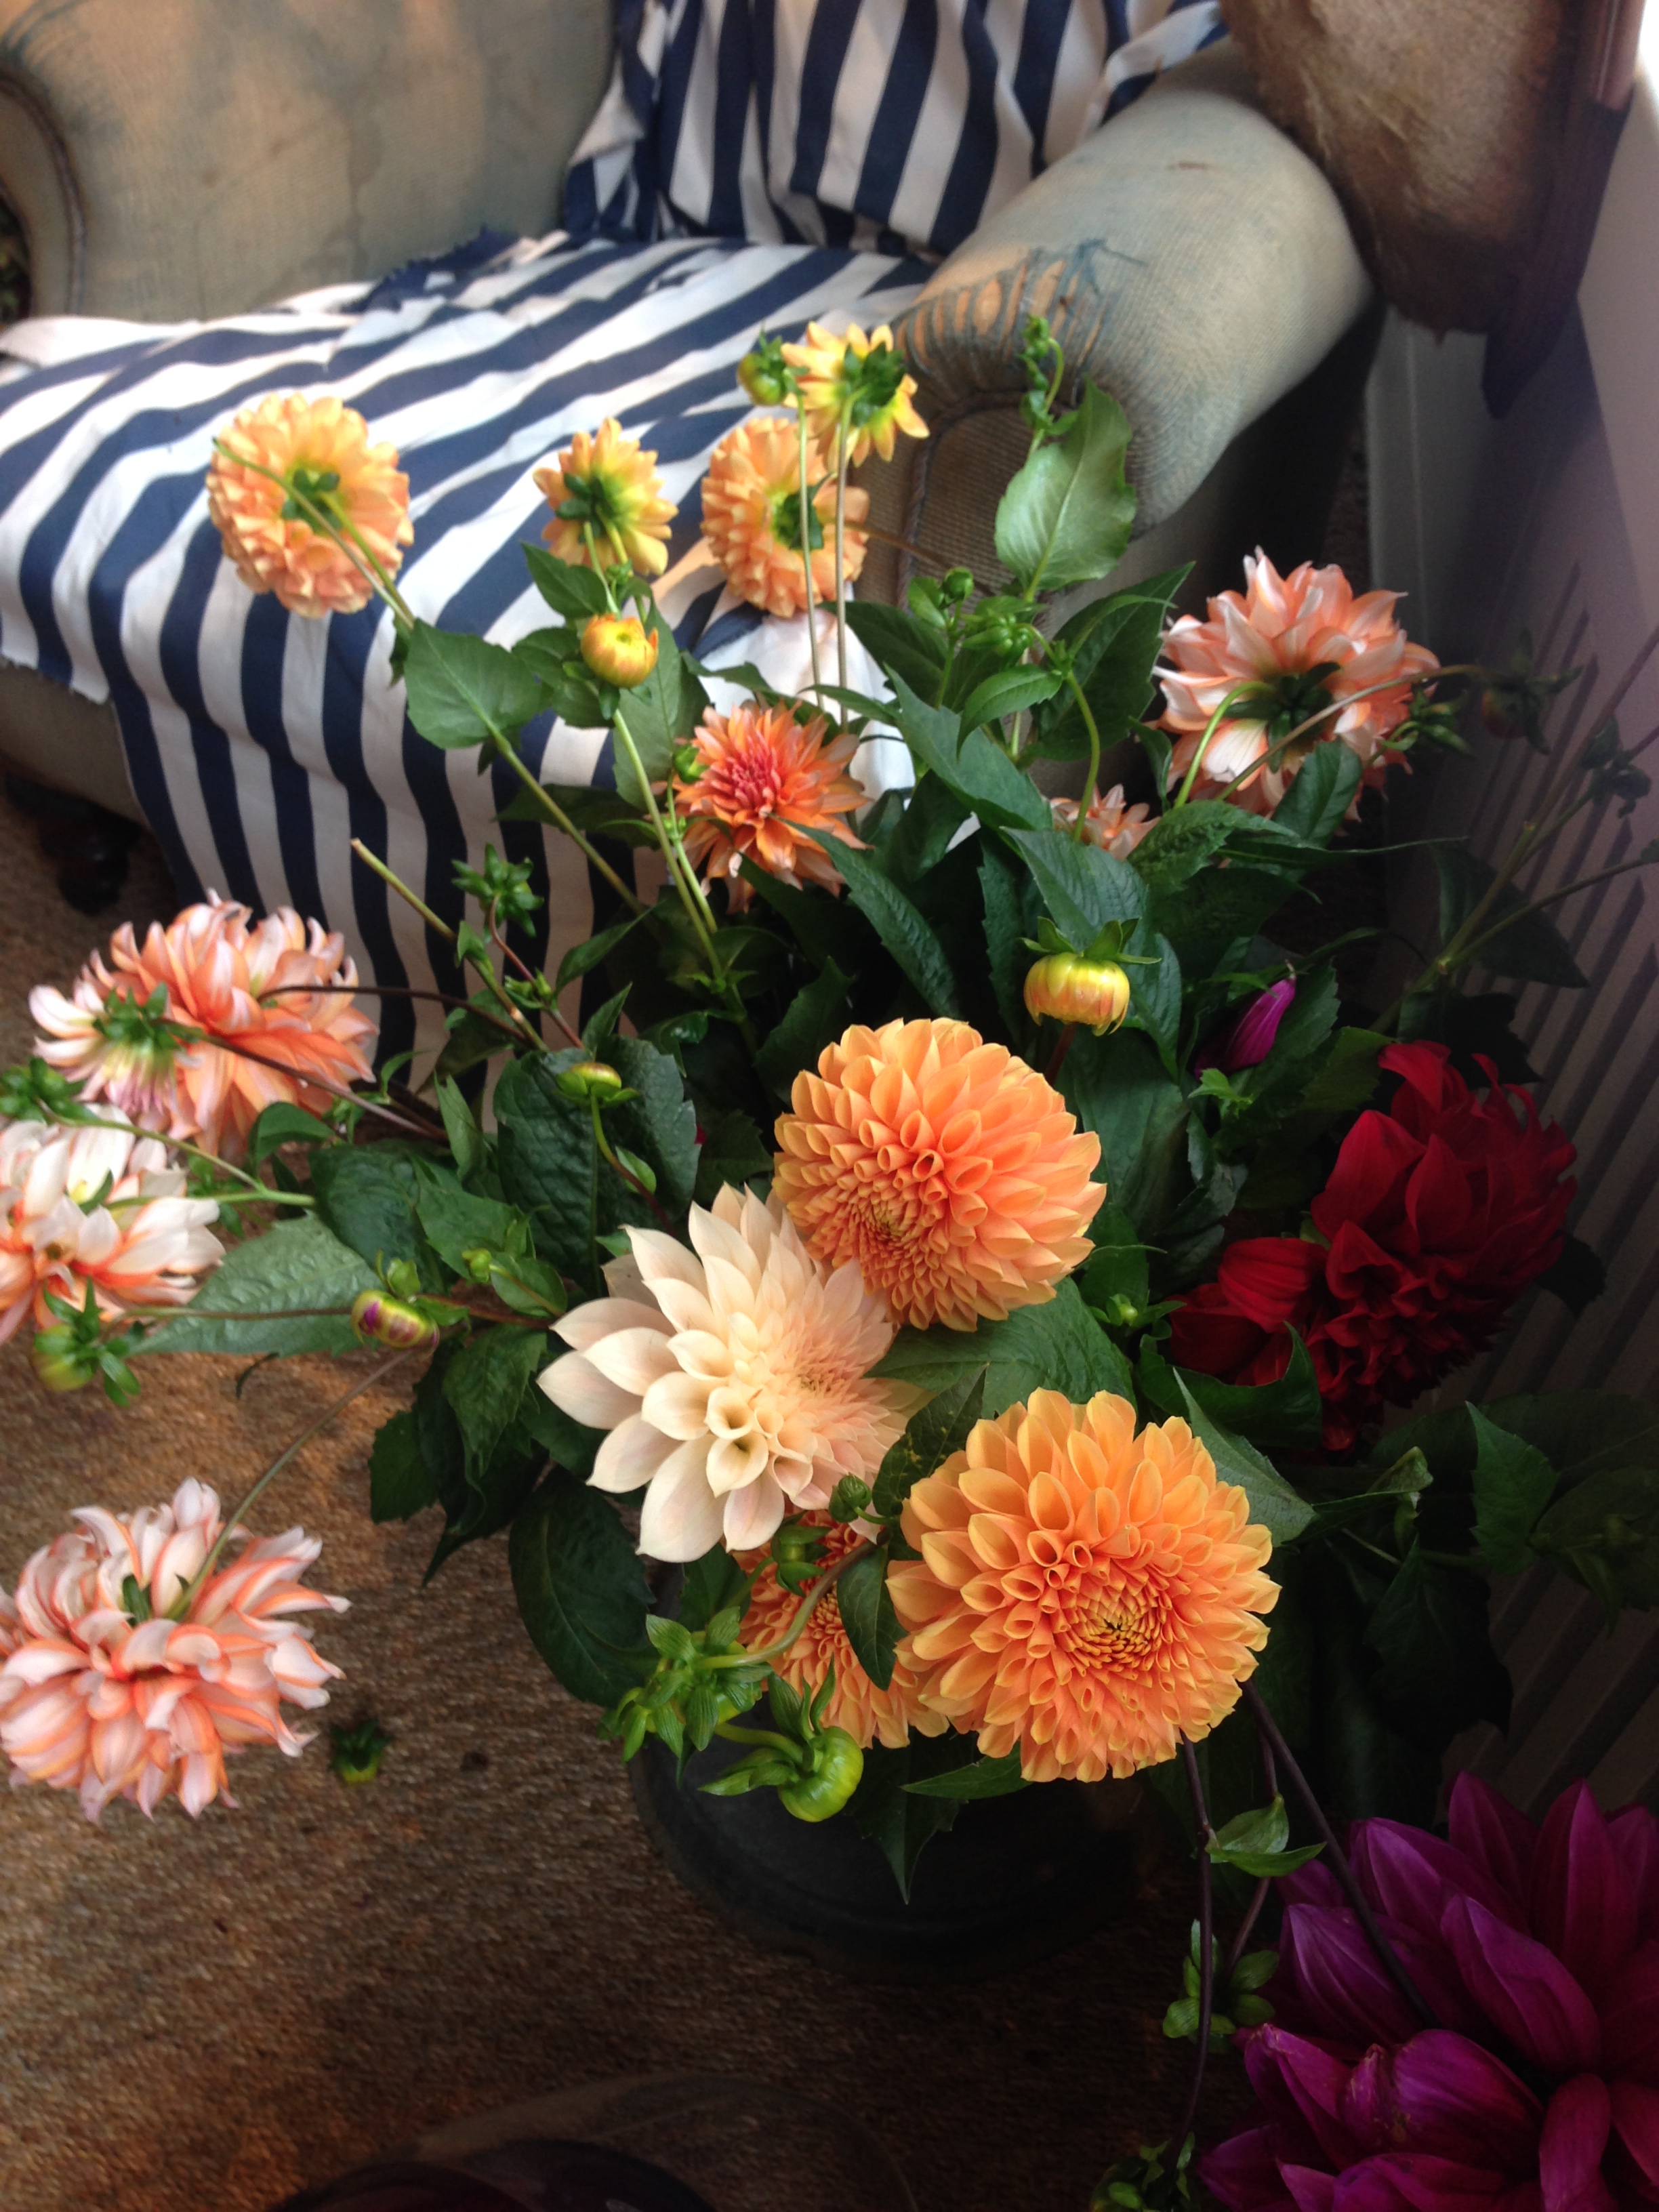
7. Try and buy flowers that have their own foliage - They look so much more natural in a vase with their own foliage. I'm particularly fond of spring flowers and dahlias with their own foliage. Unfortunately most of the retailers sell them without leaves but I've managed to find them in my local florist and local market stall.
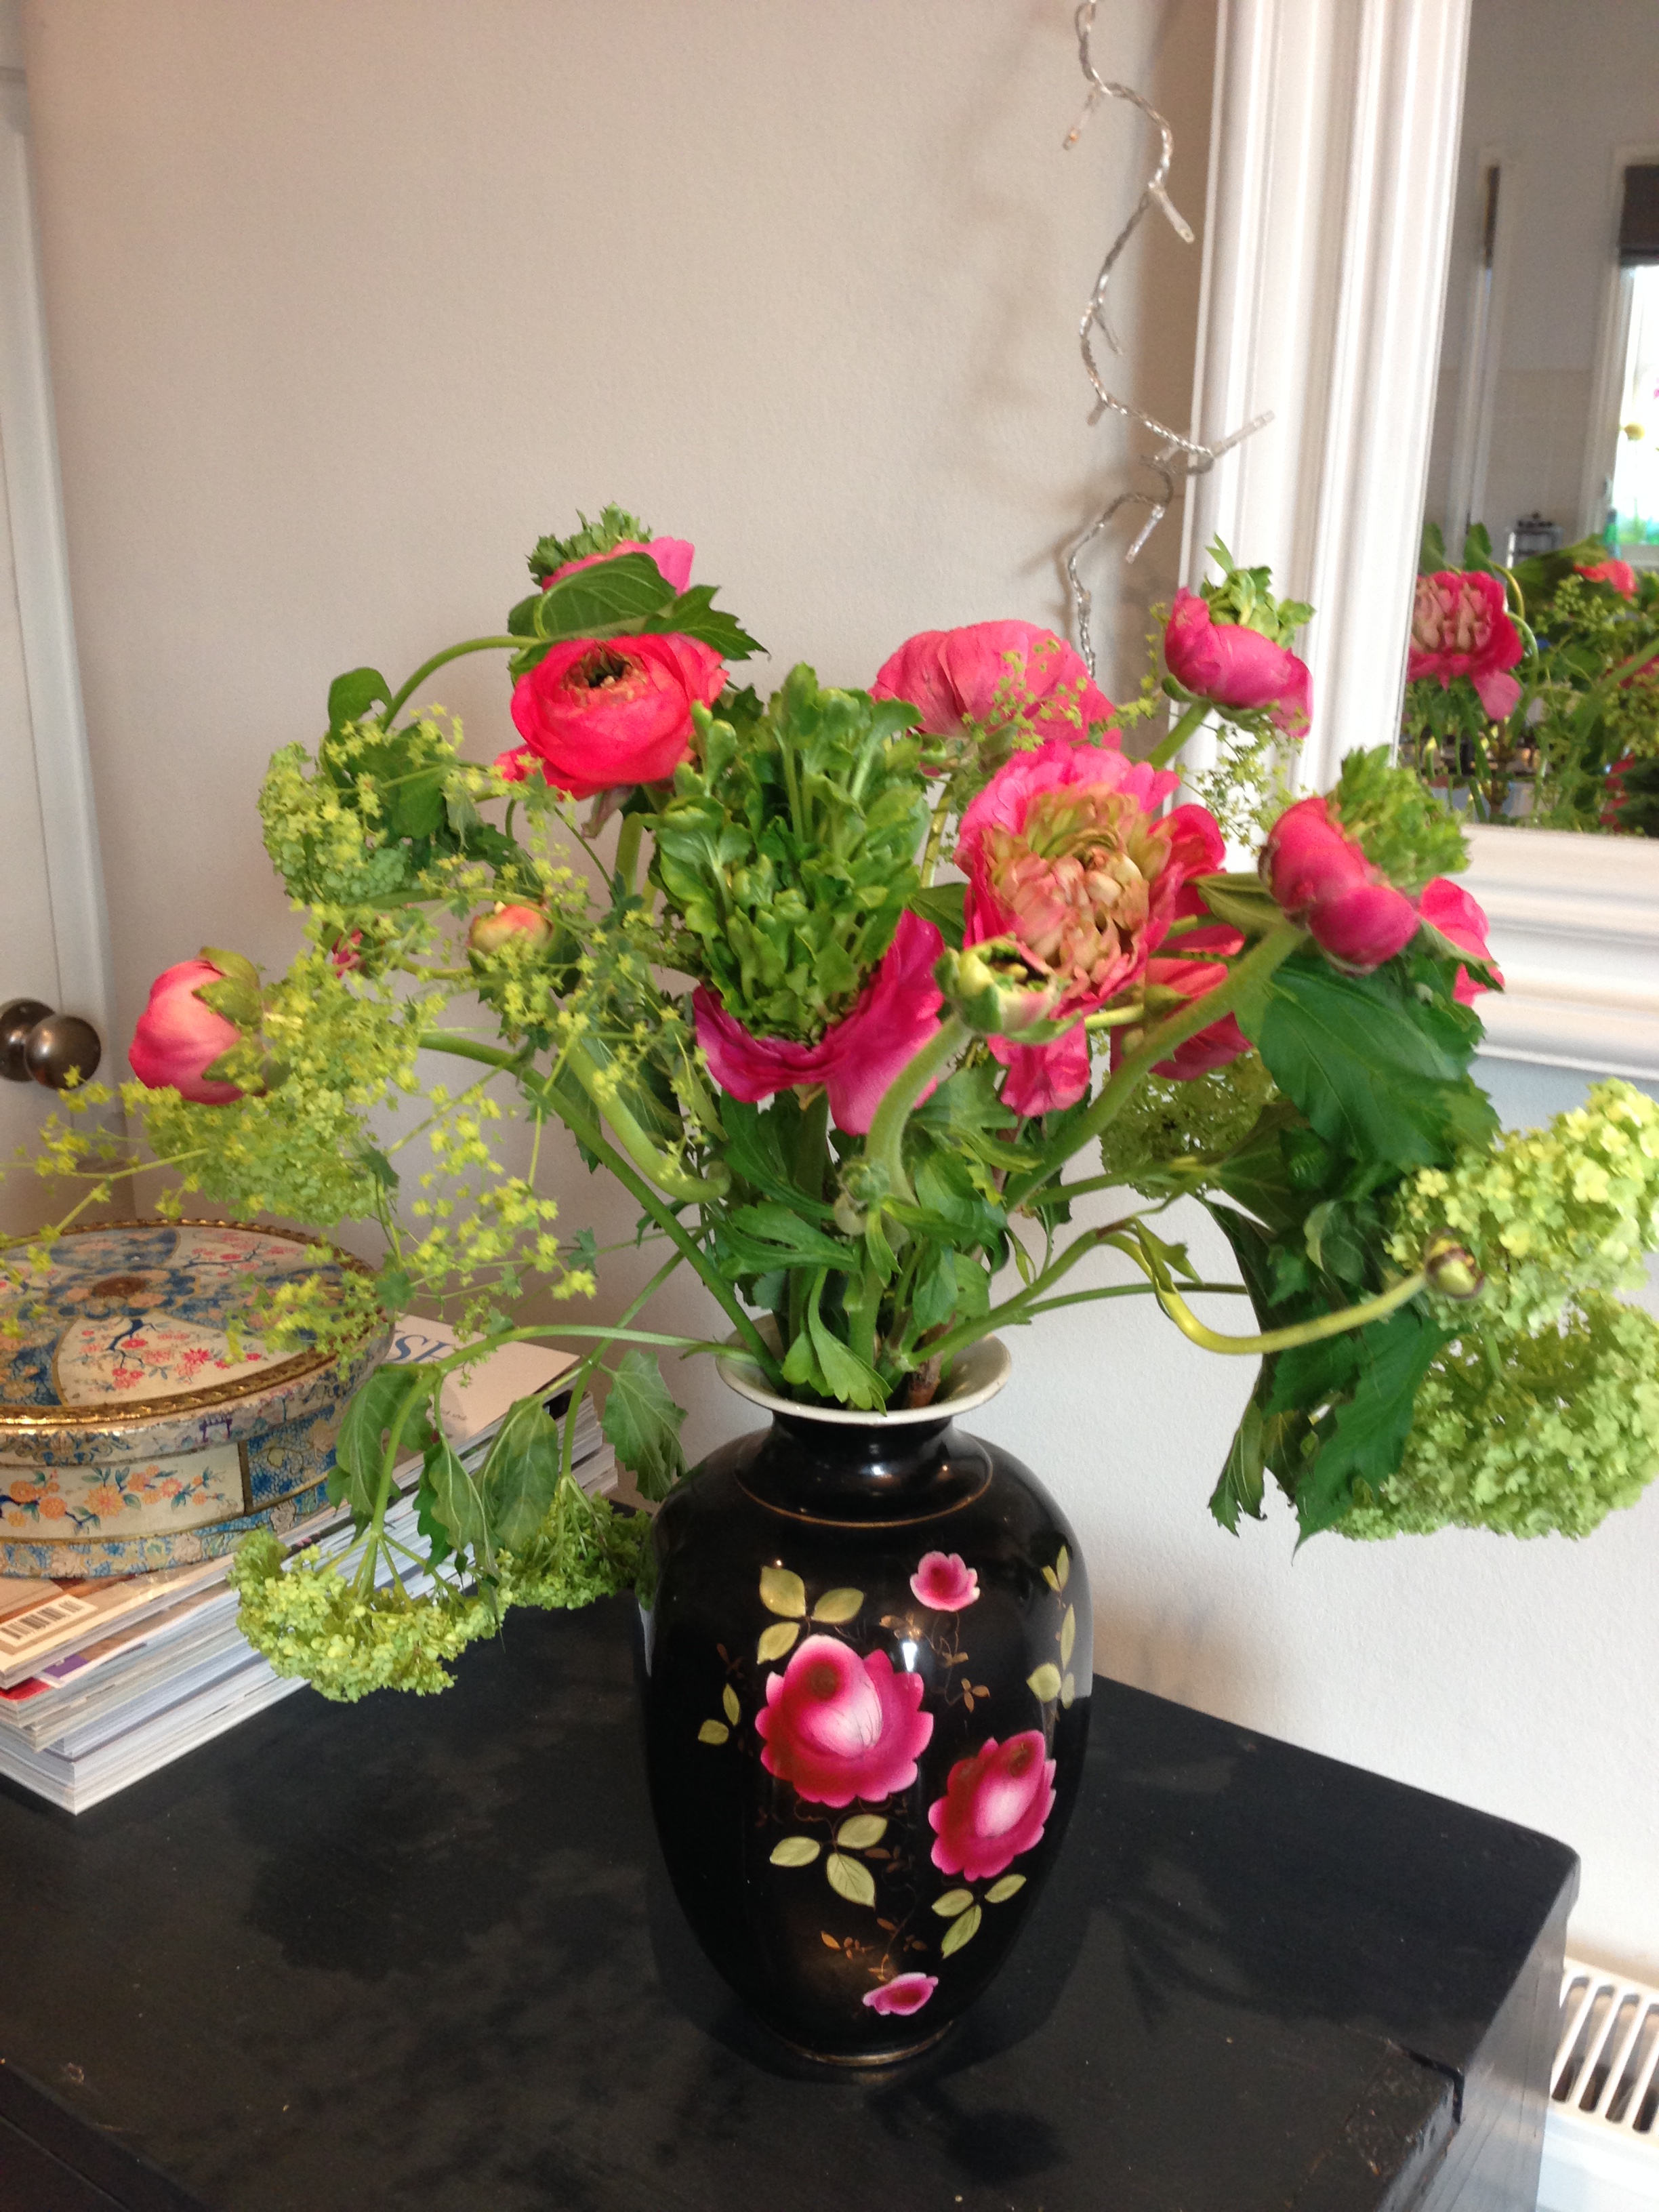
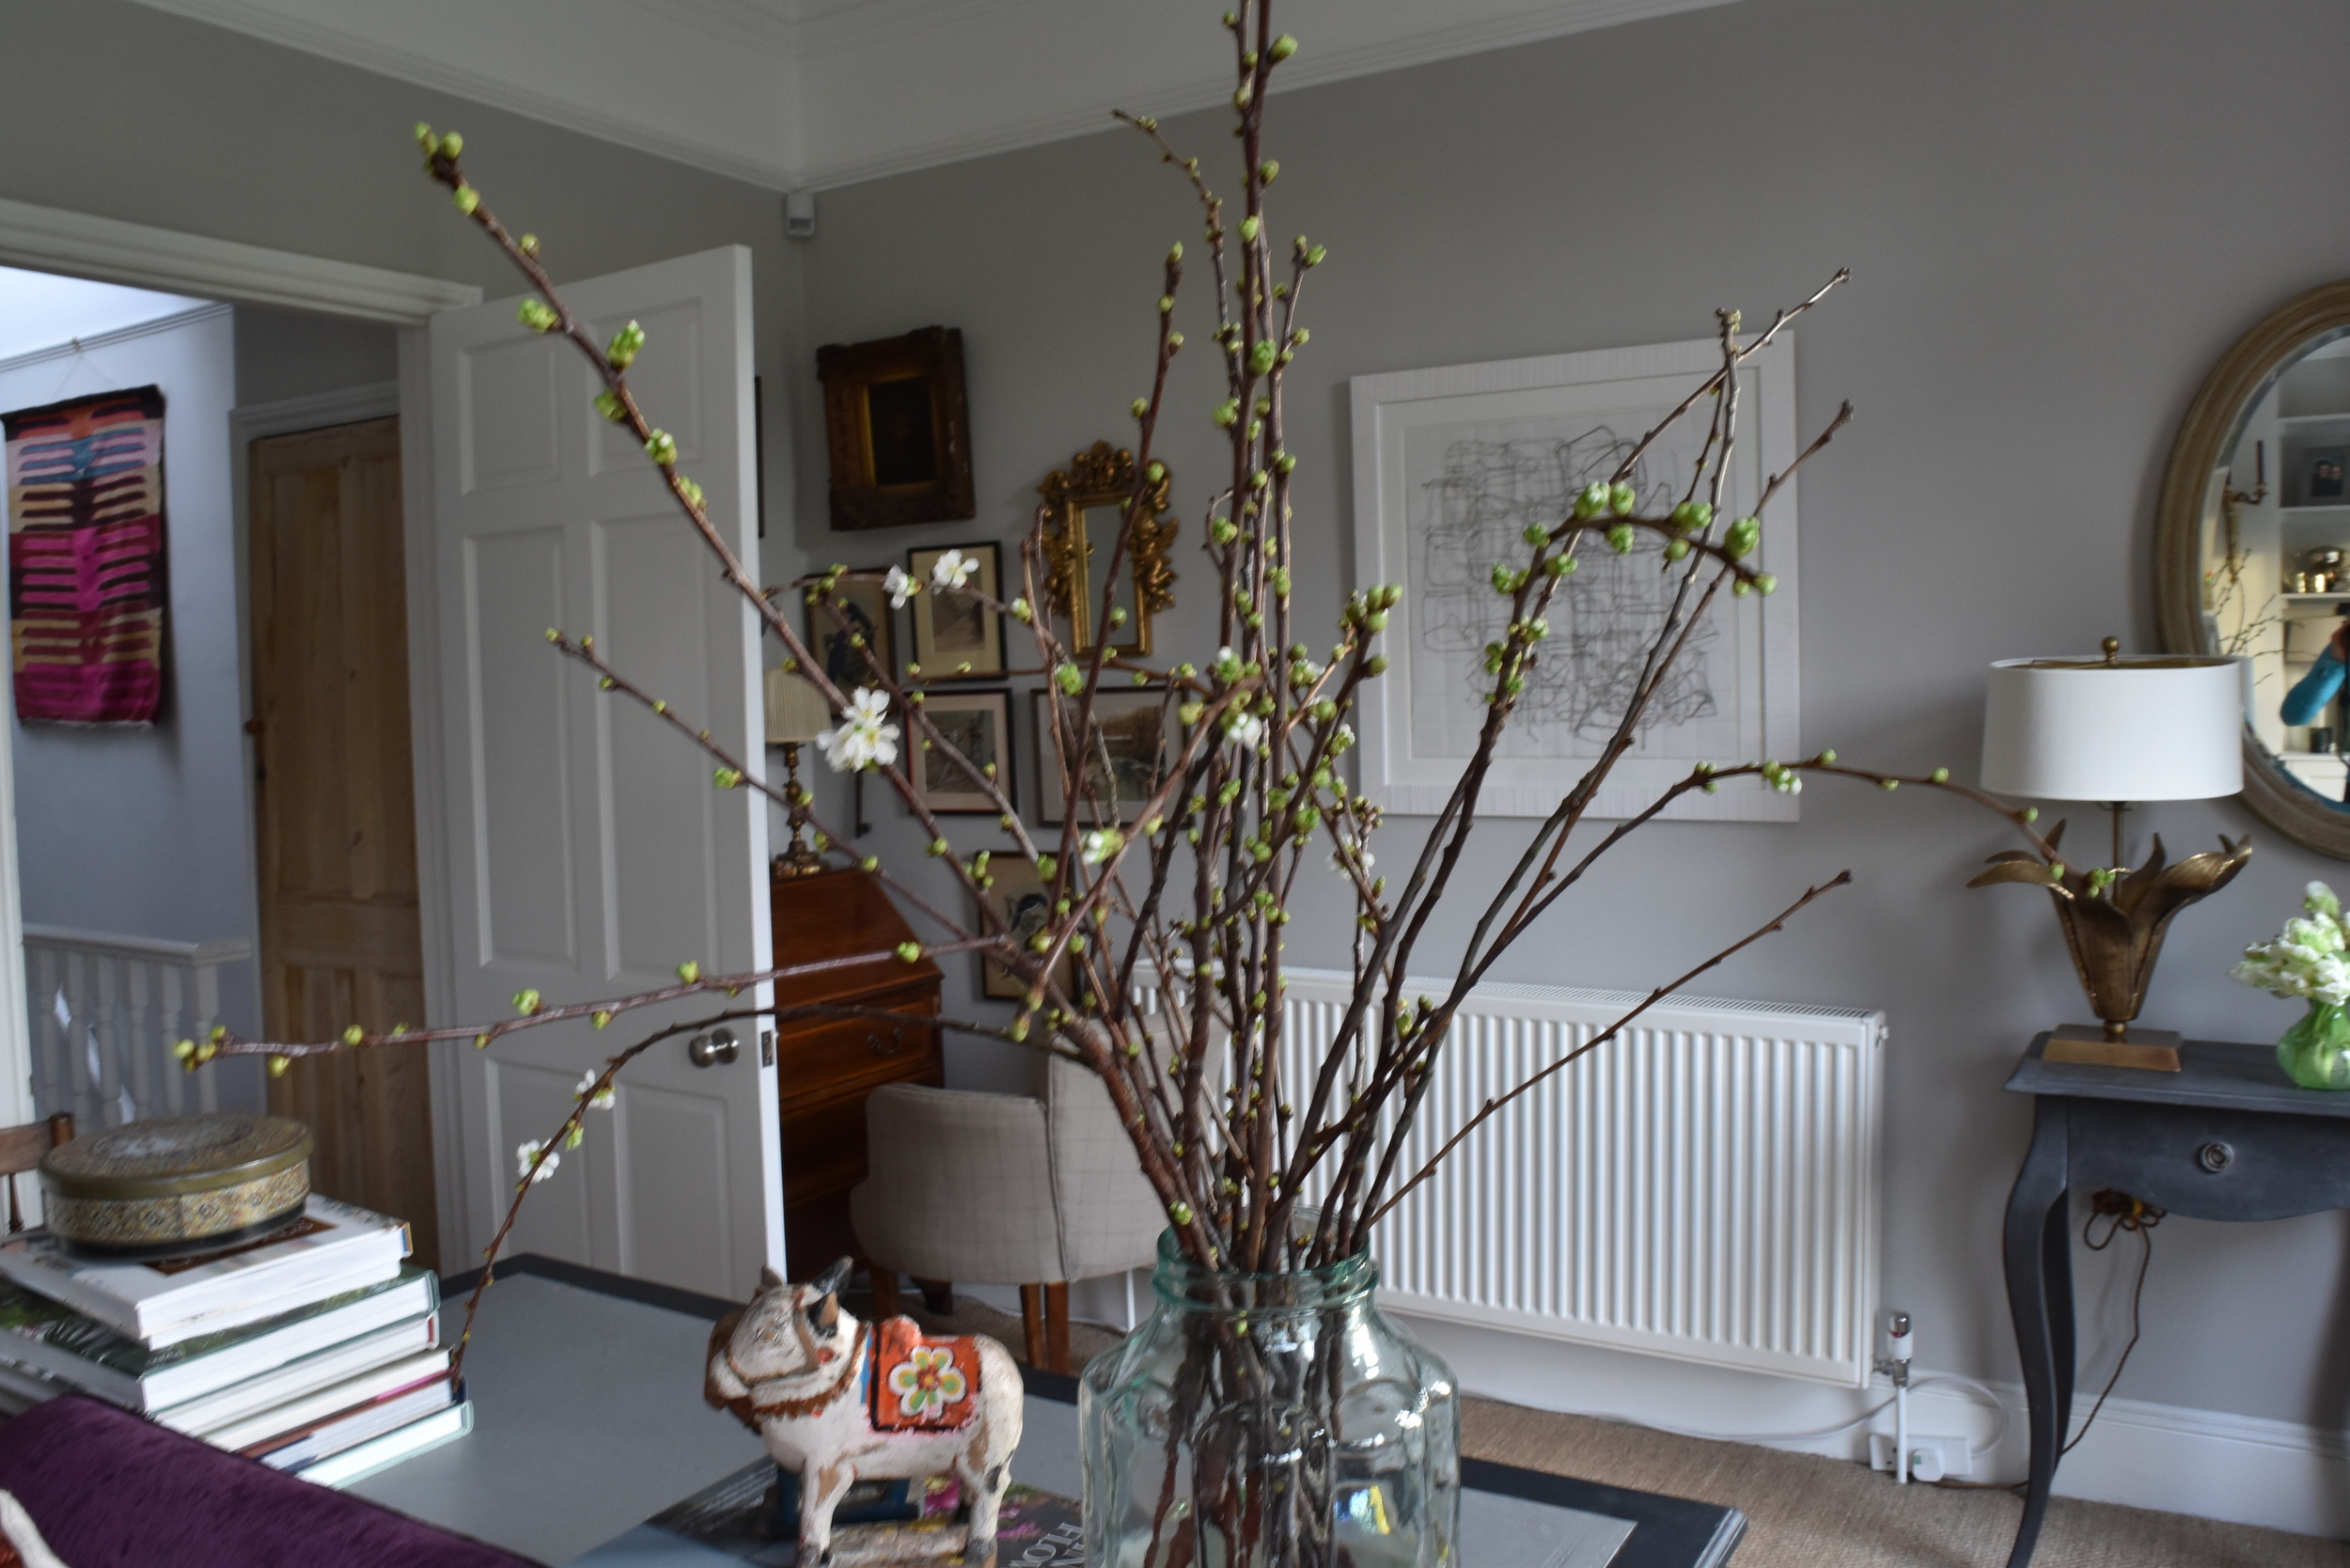
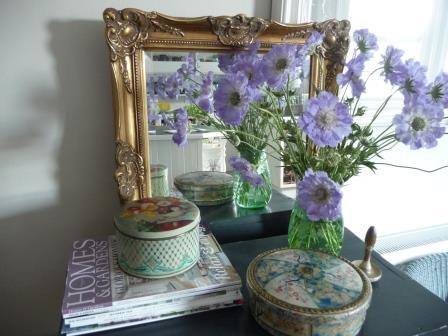
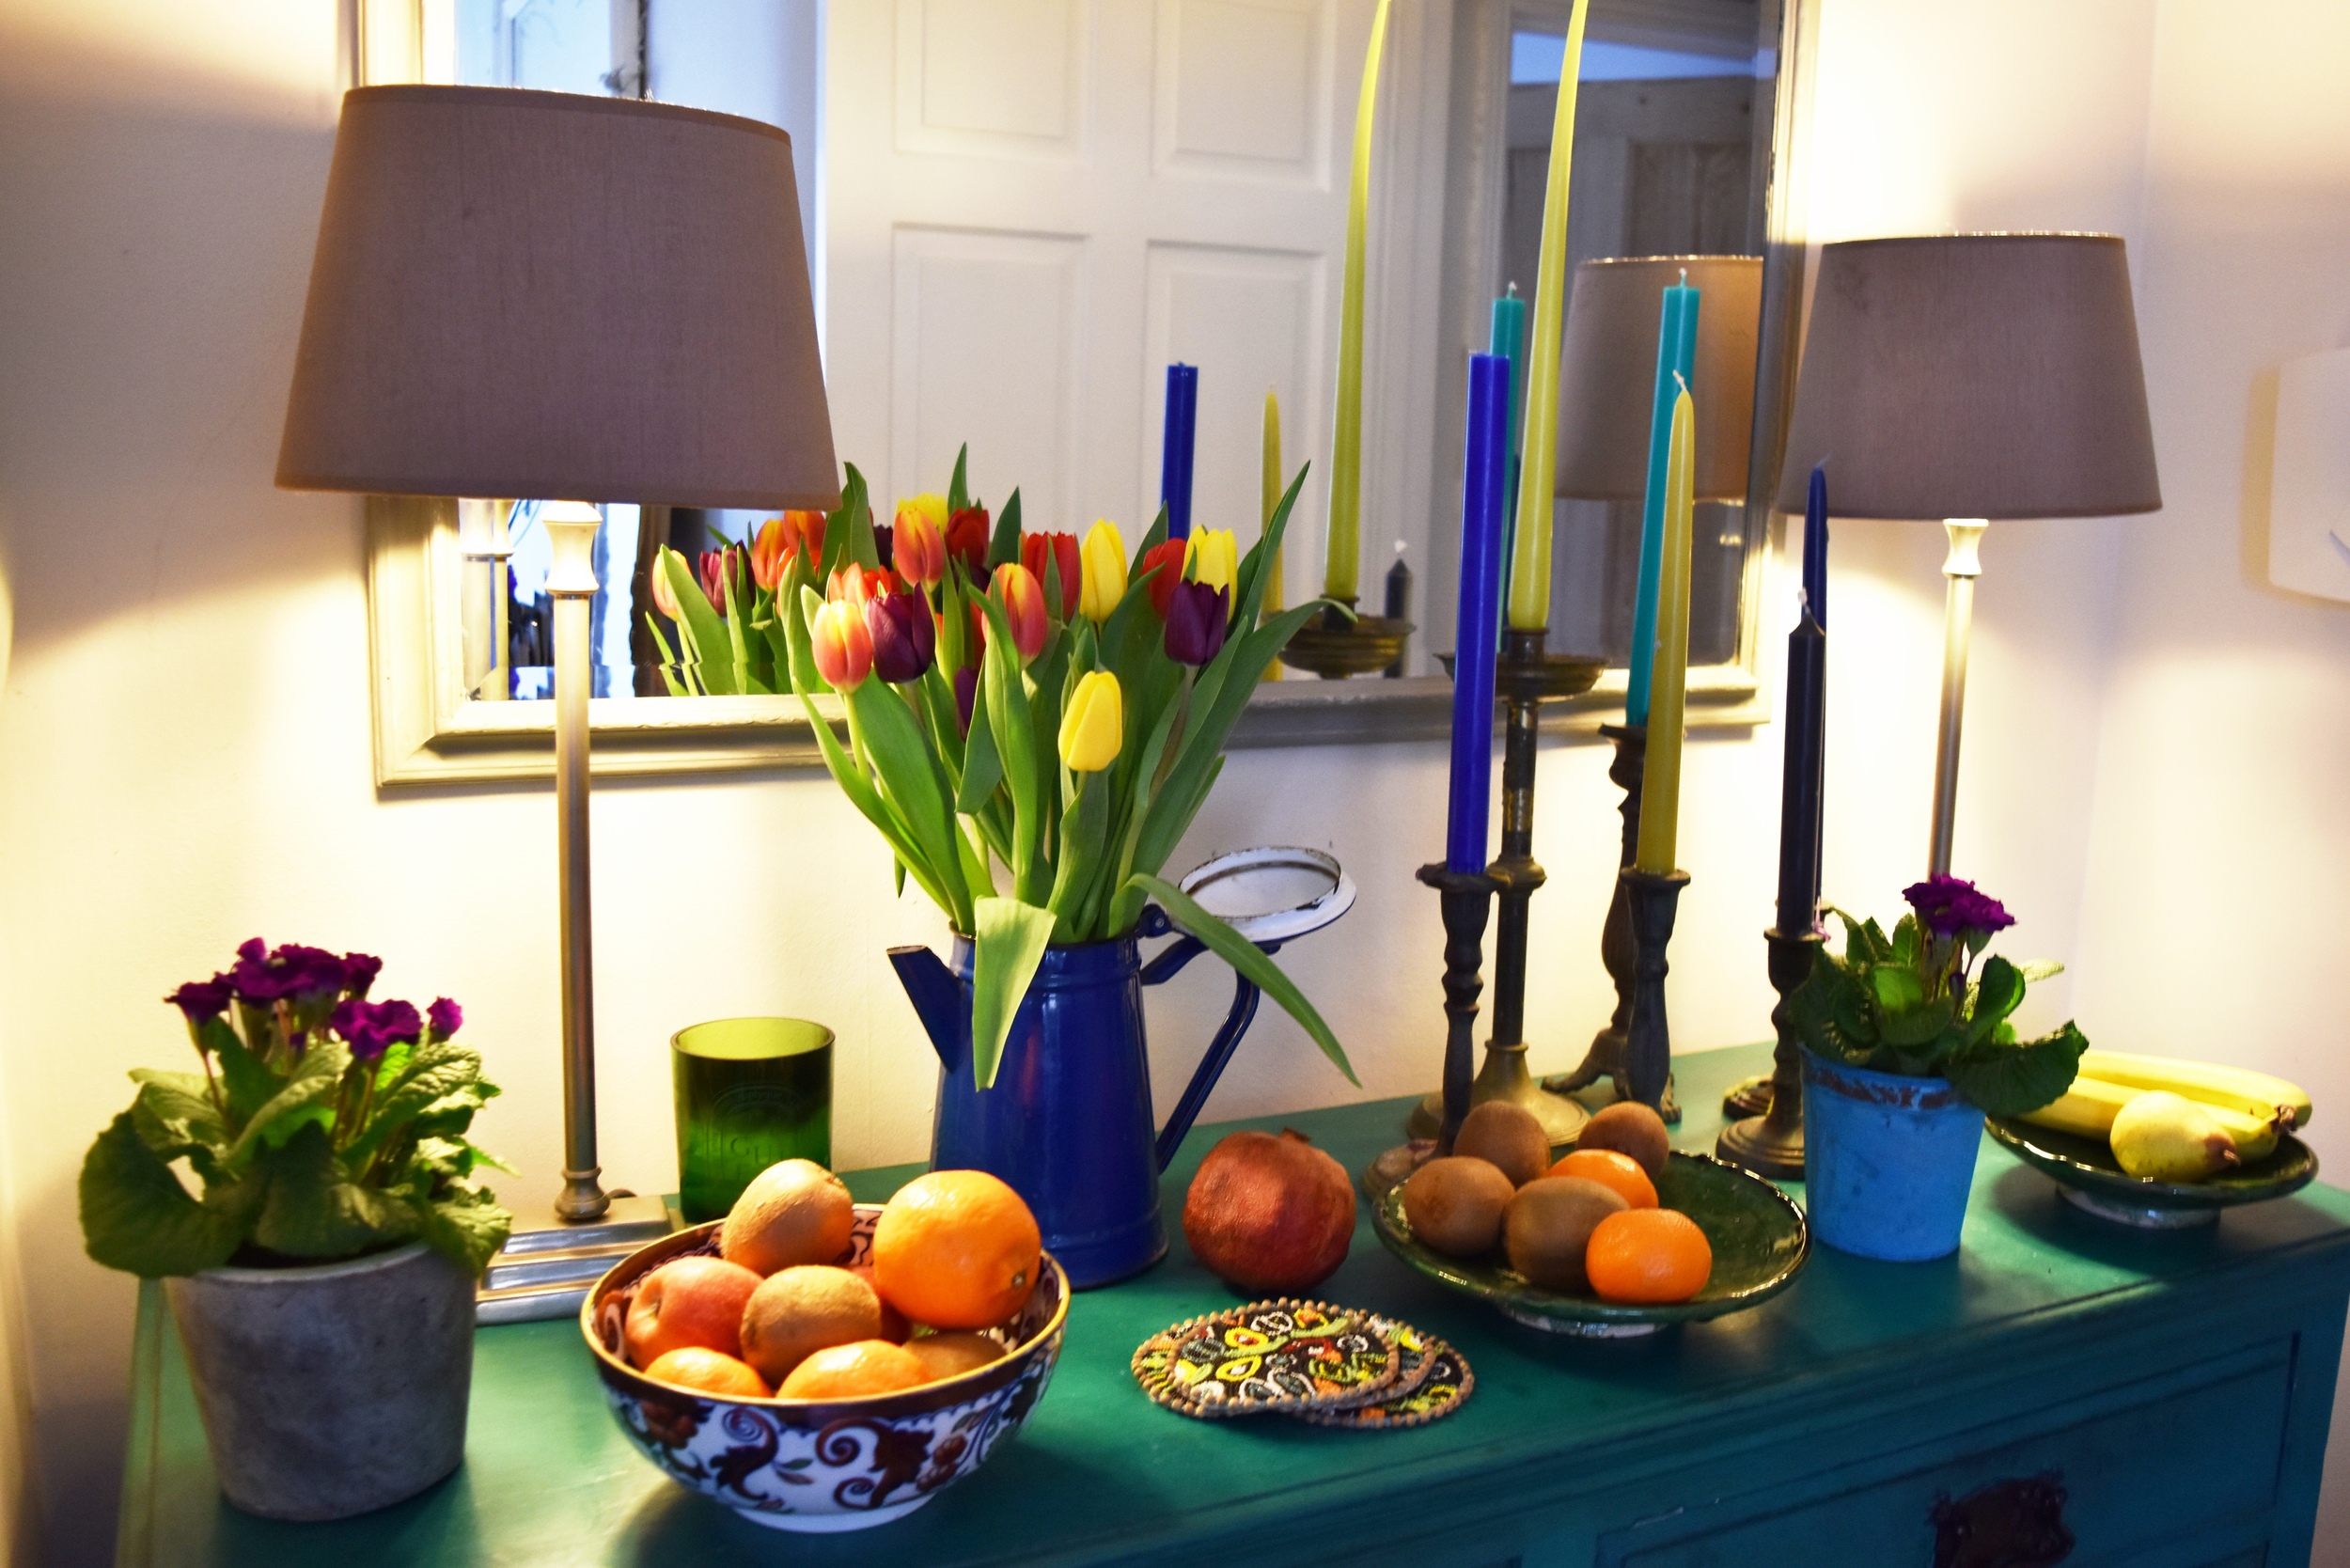
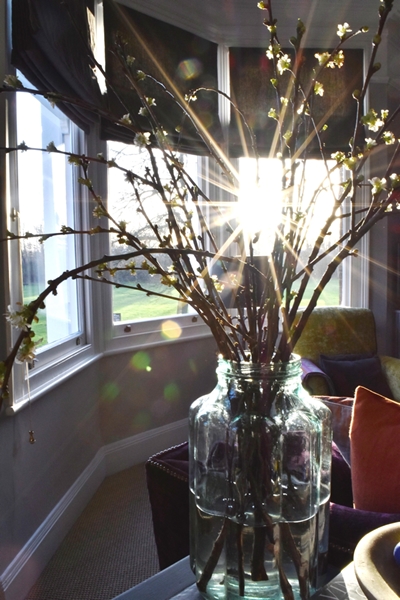
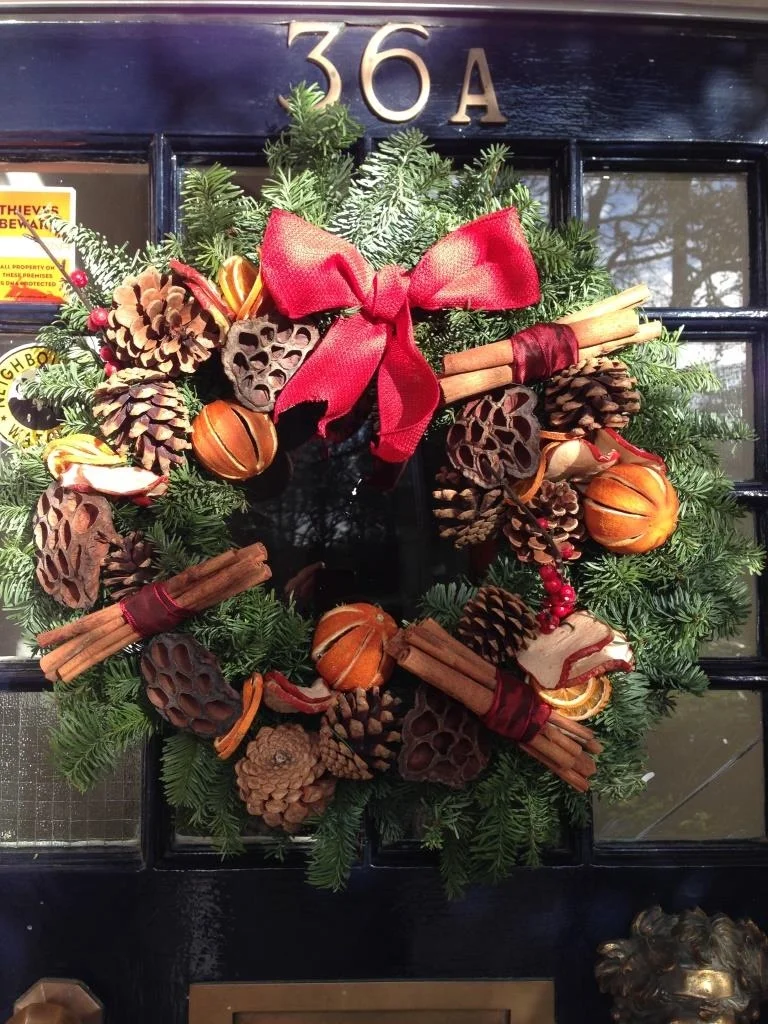
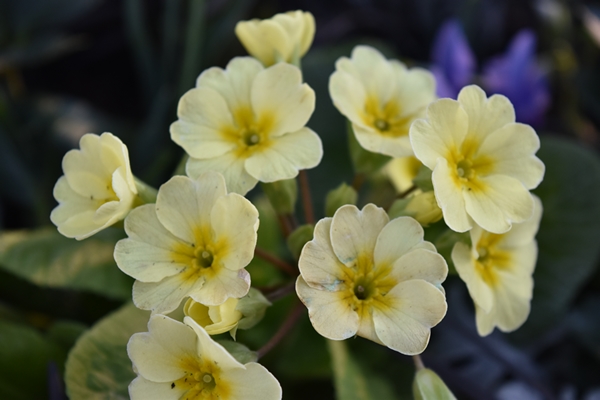
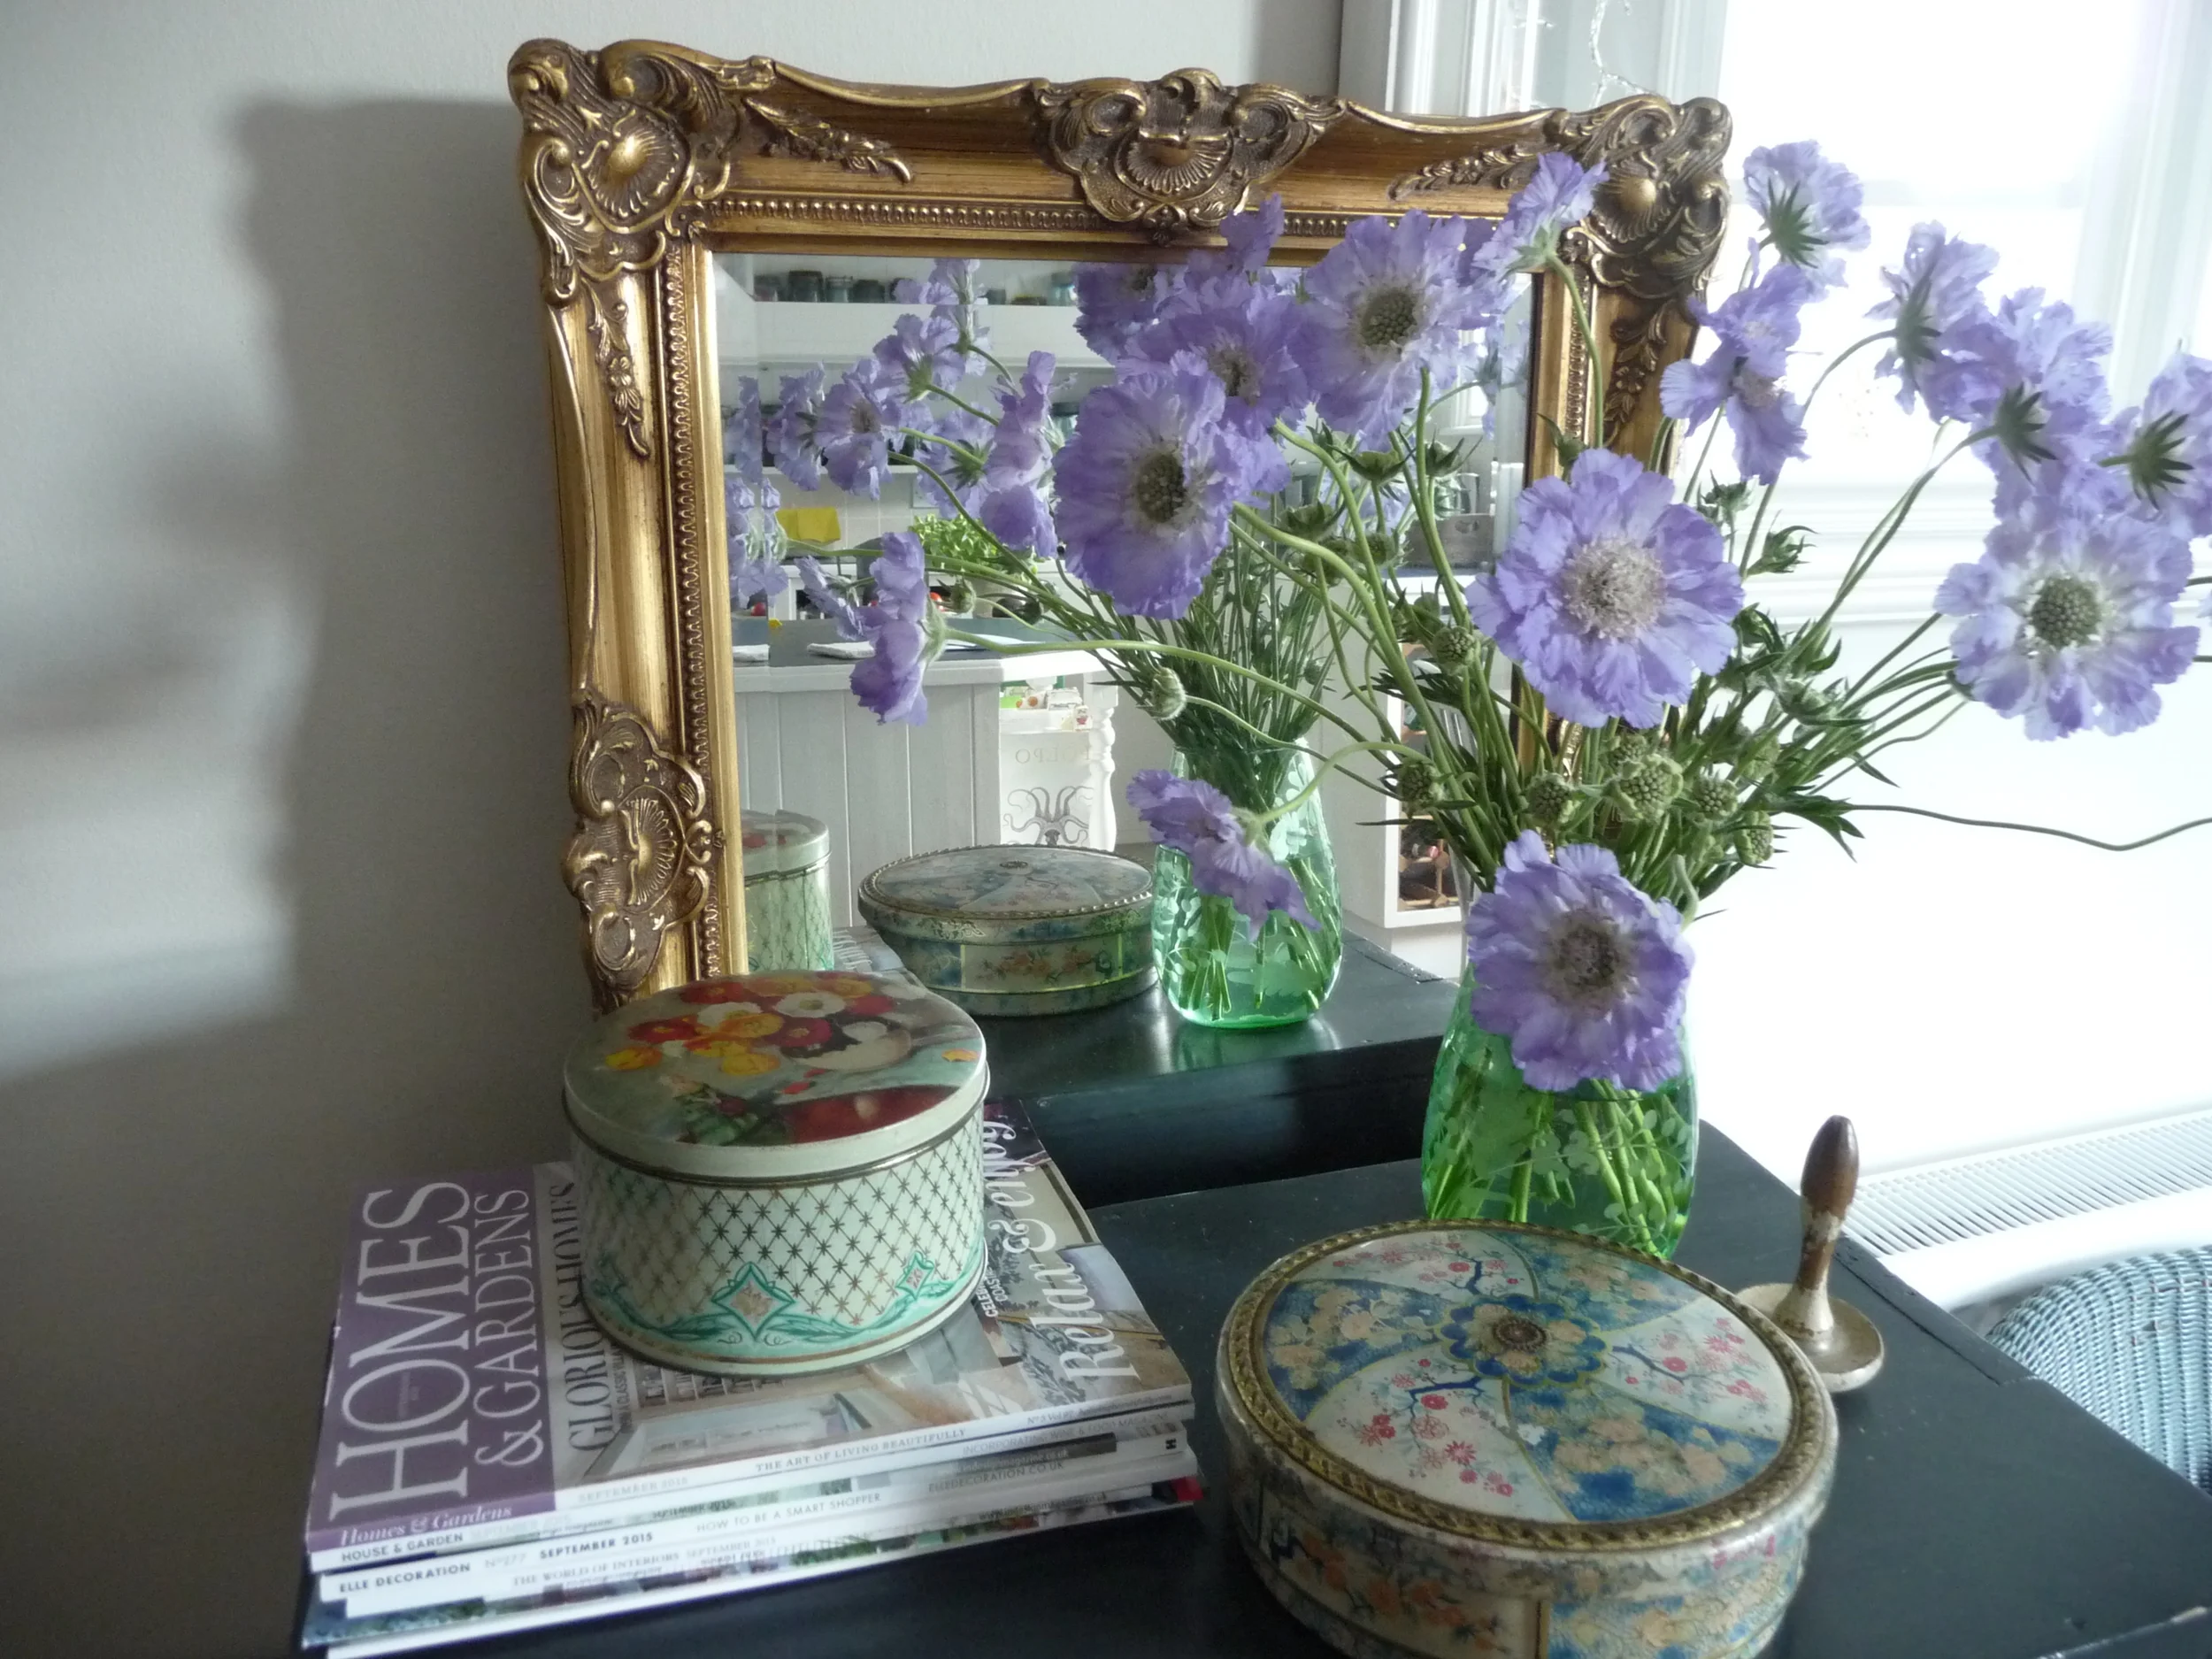
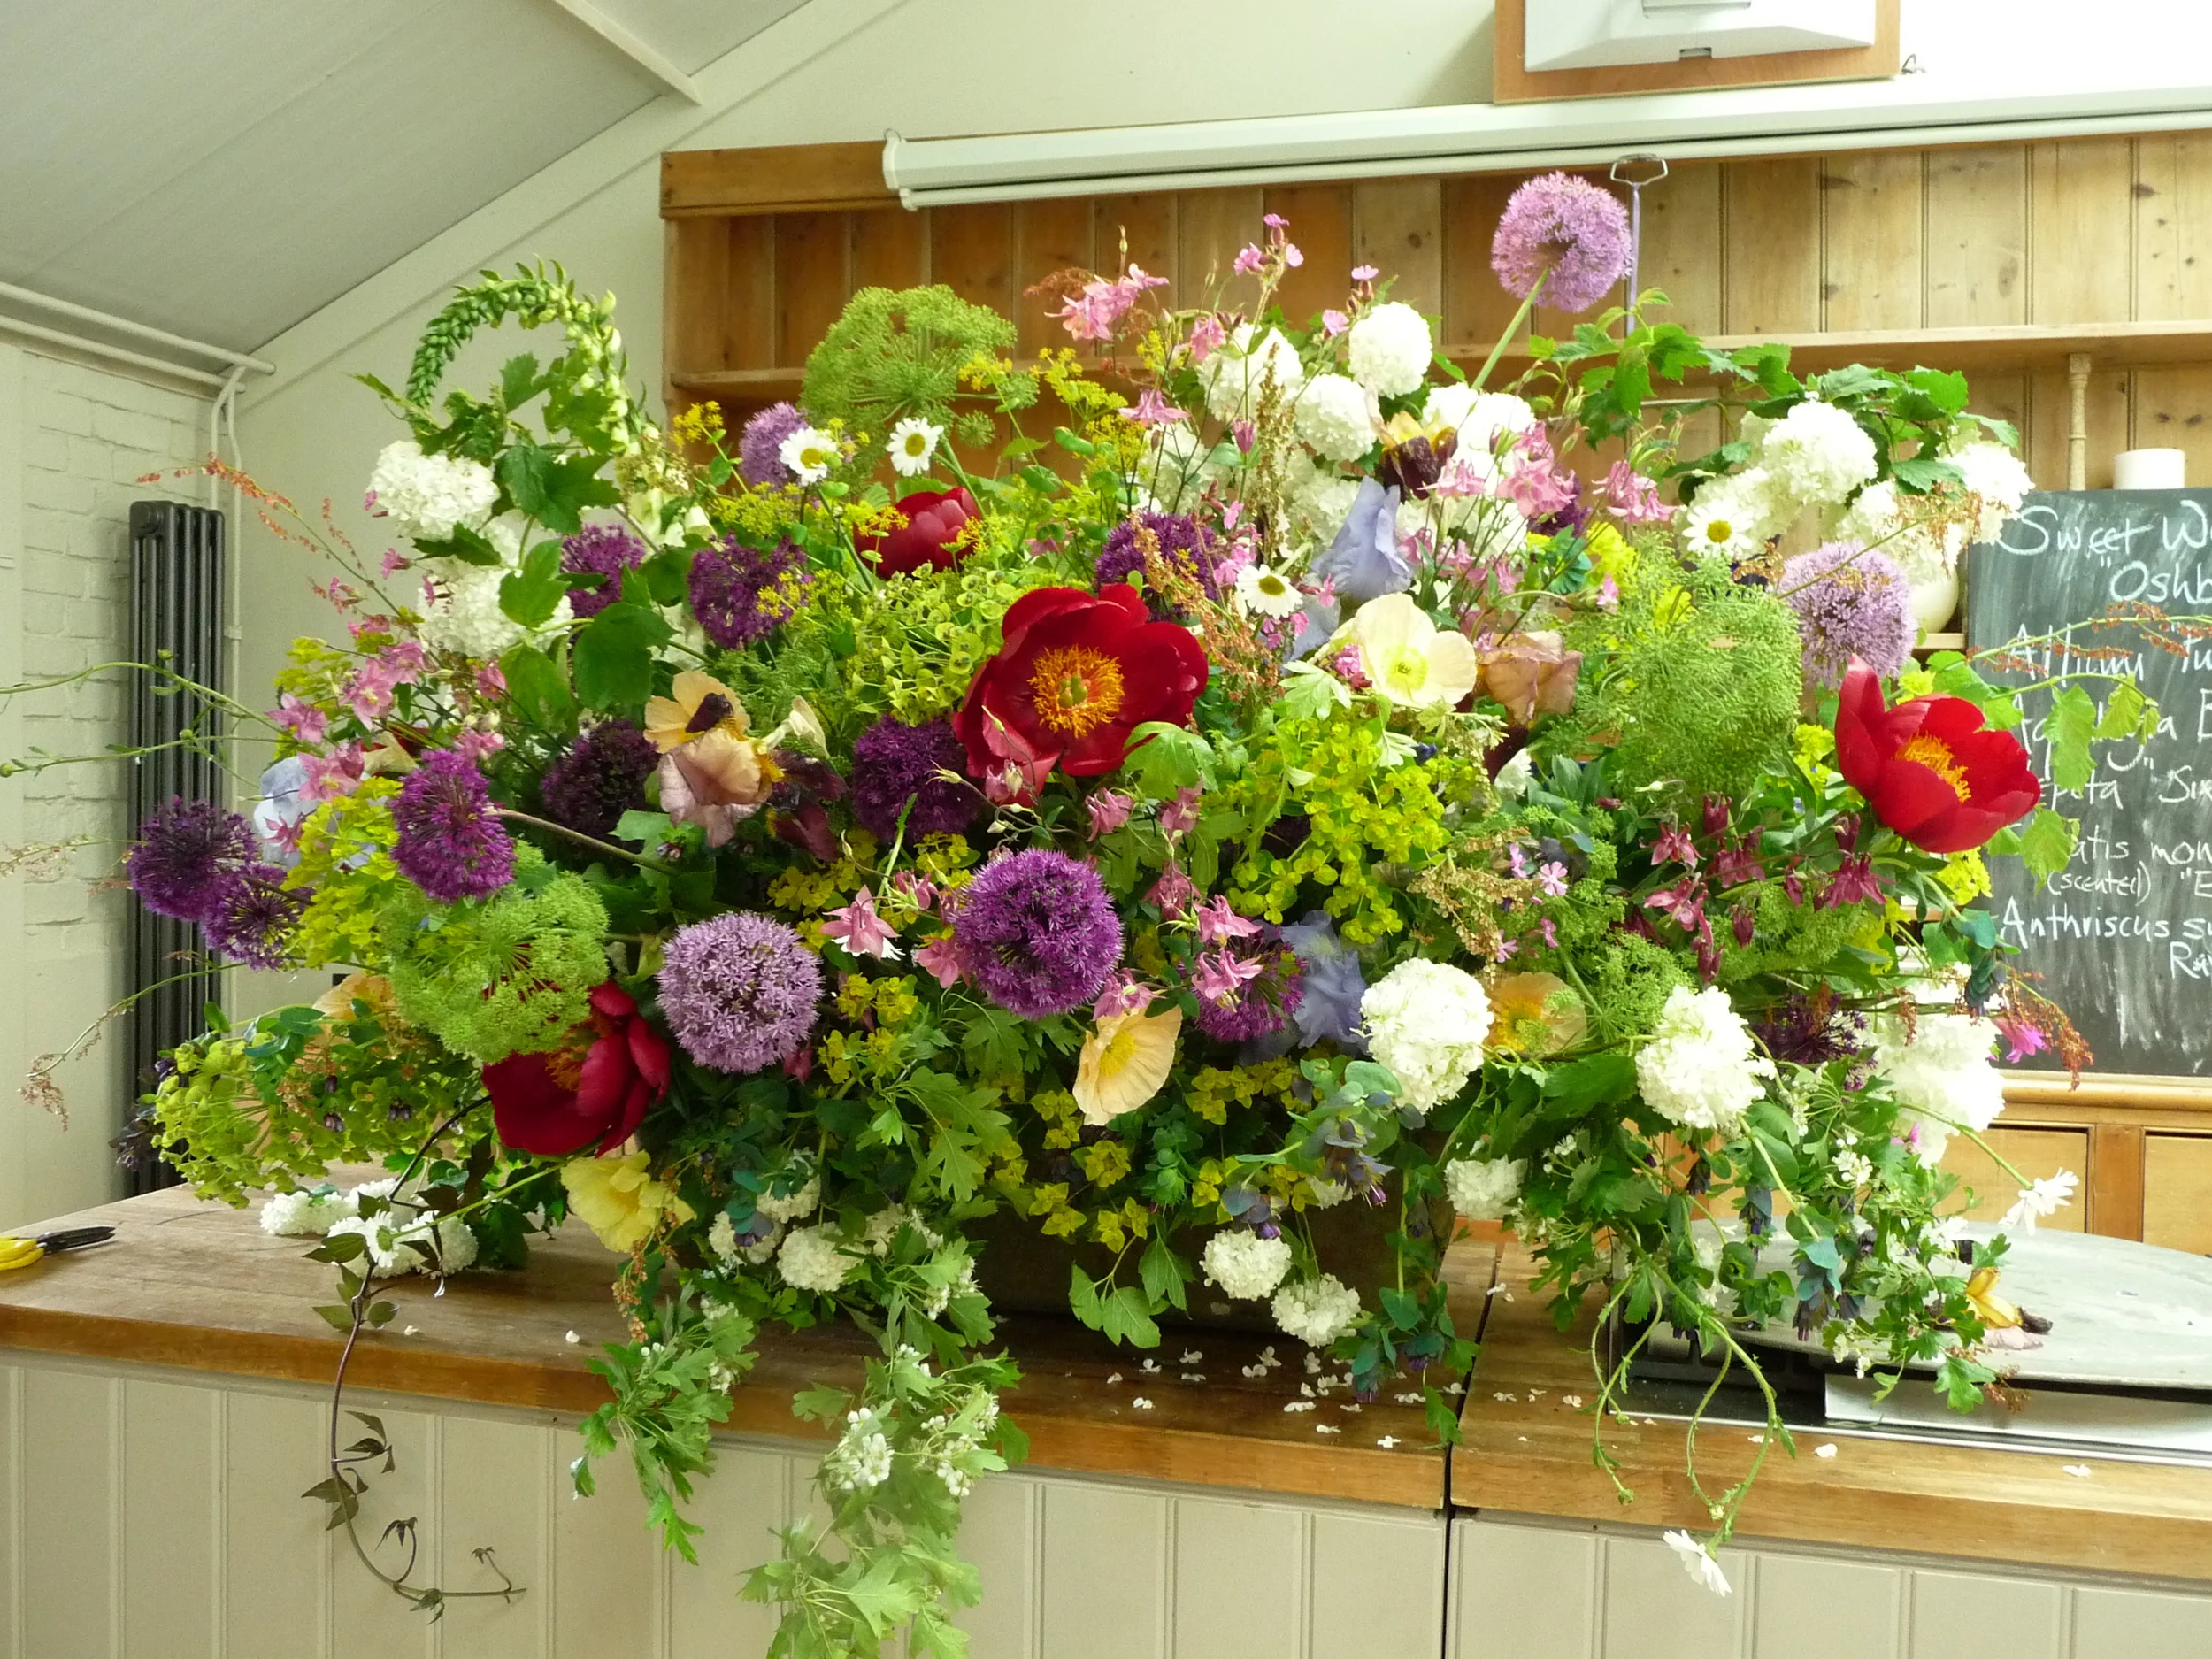
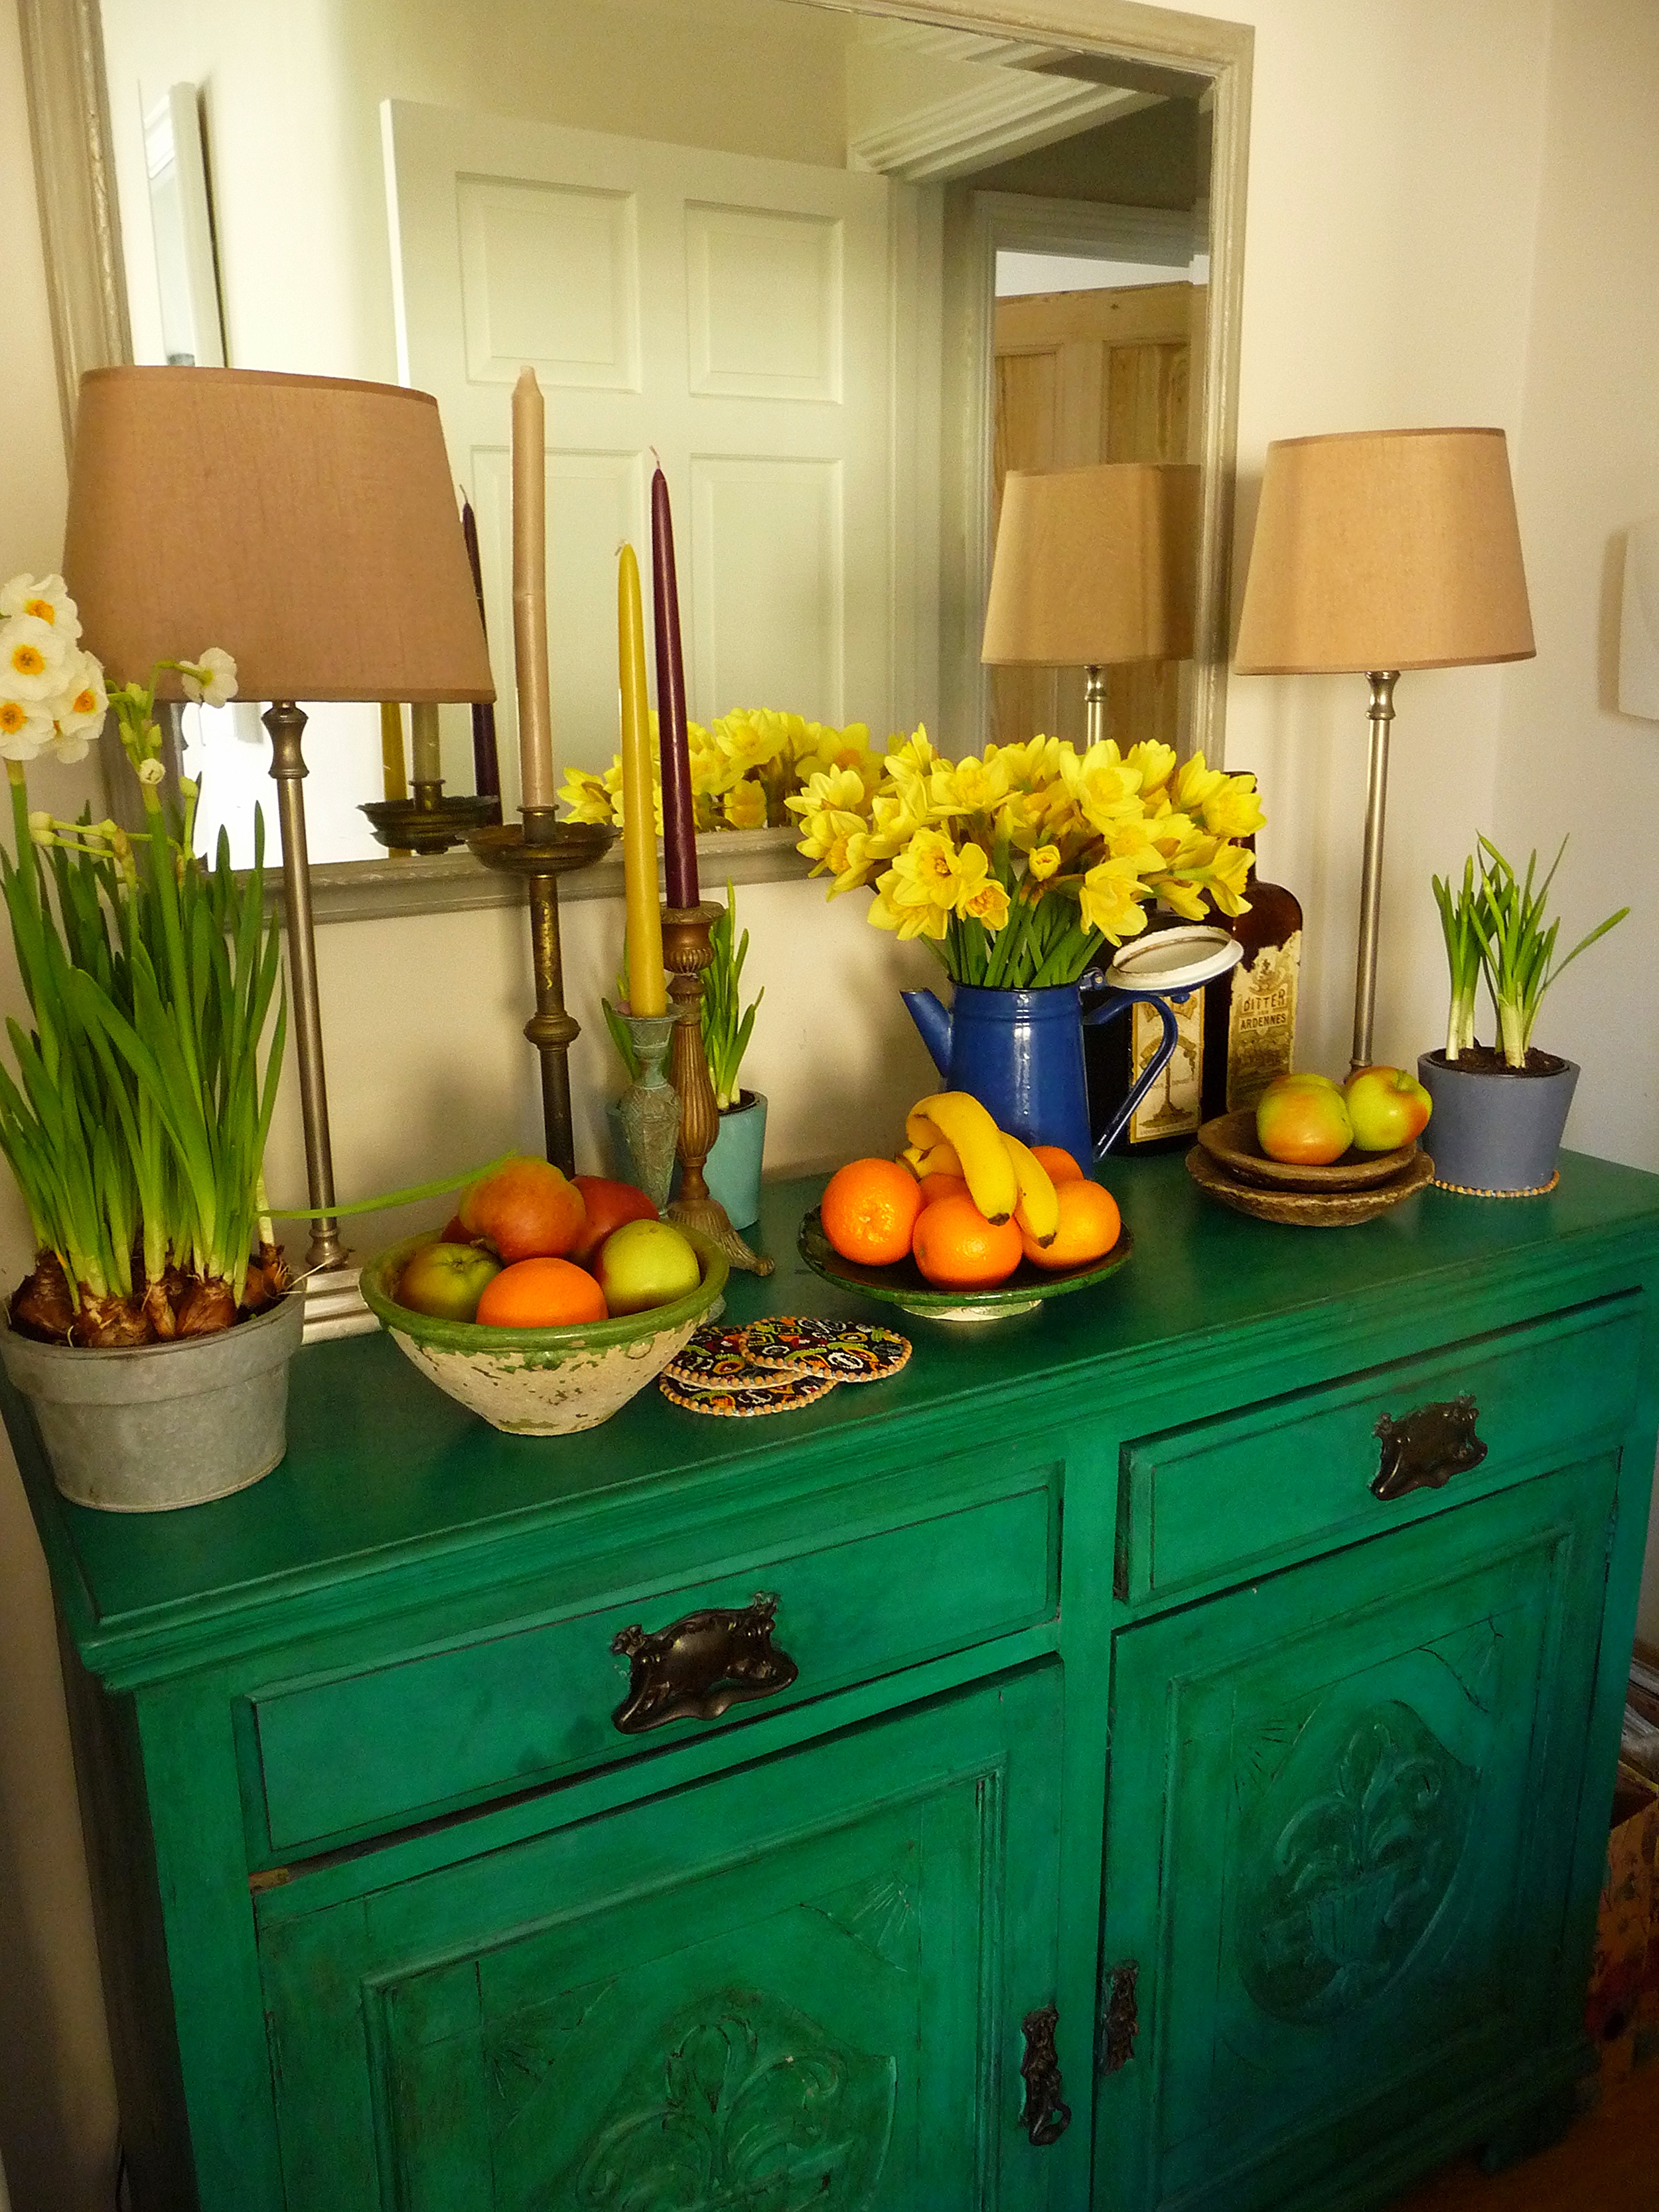
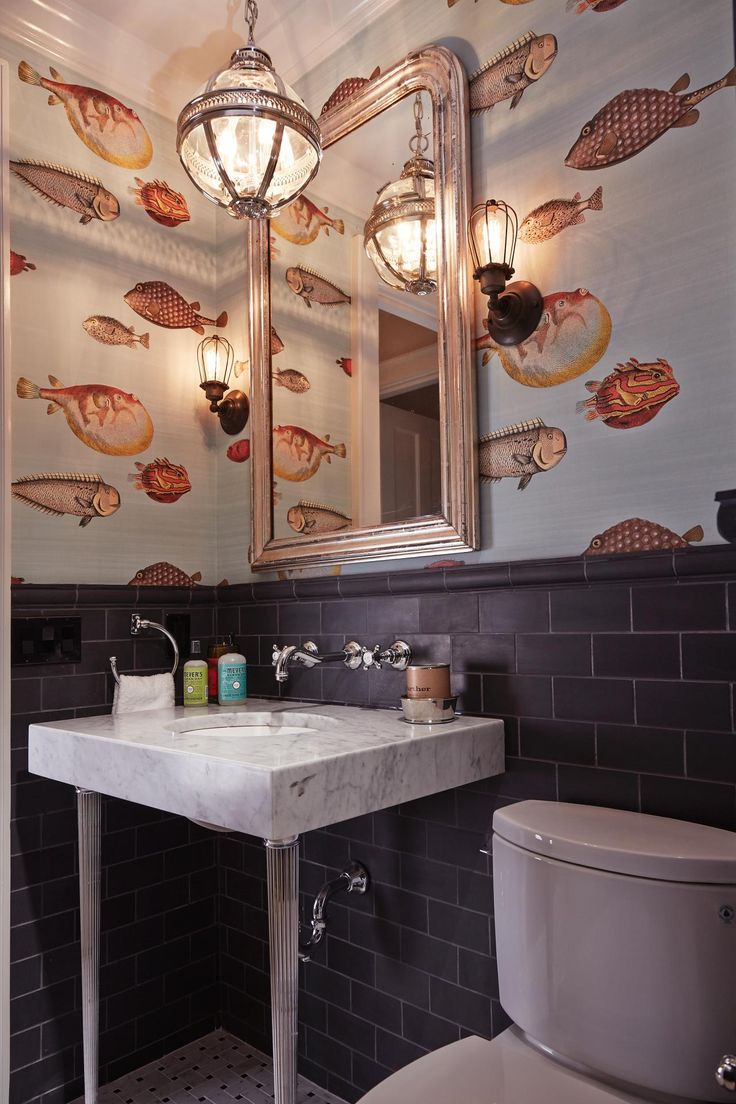
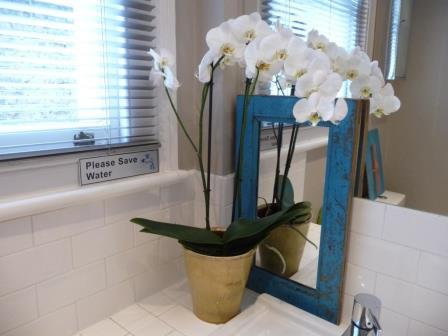
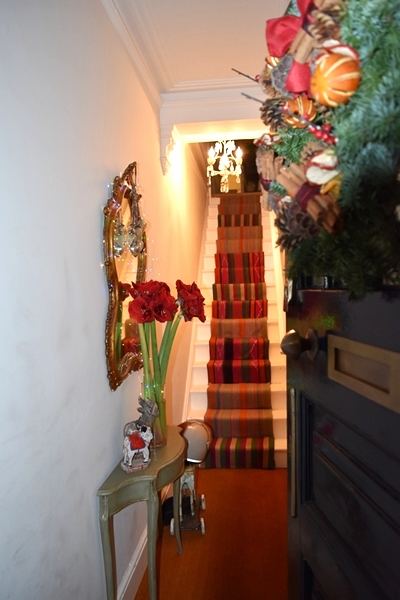
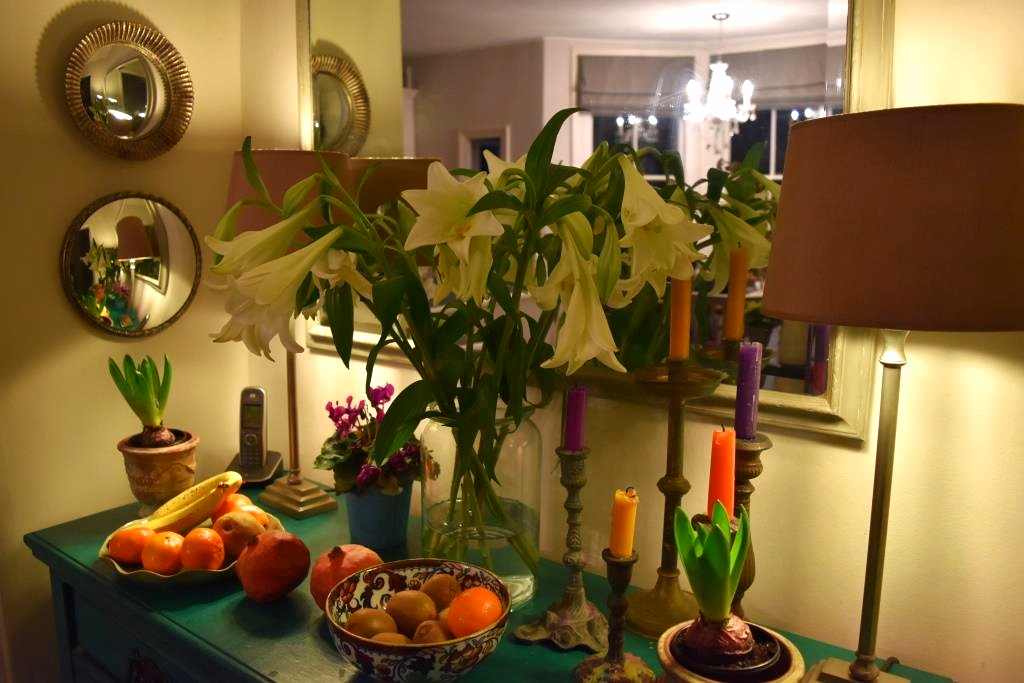
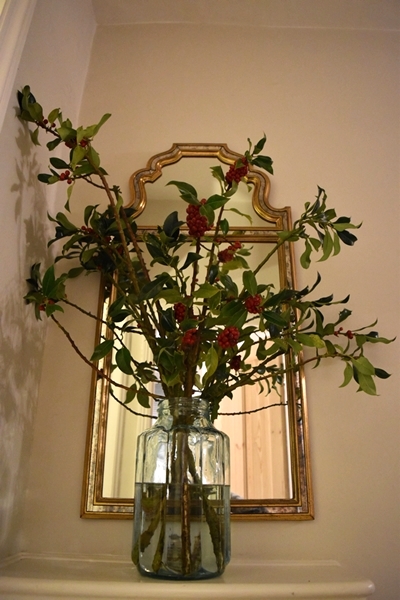
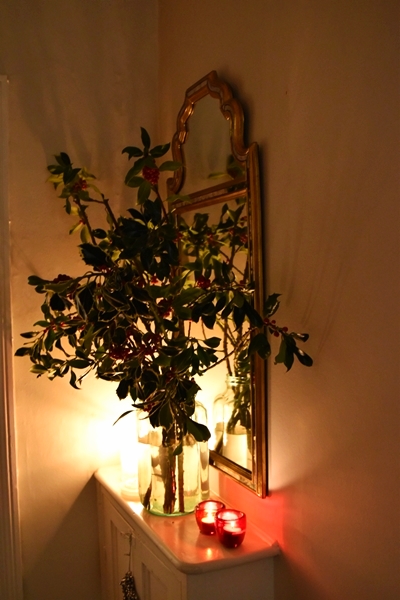
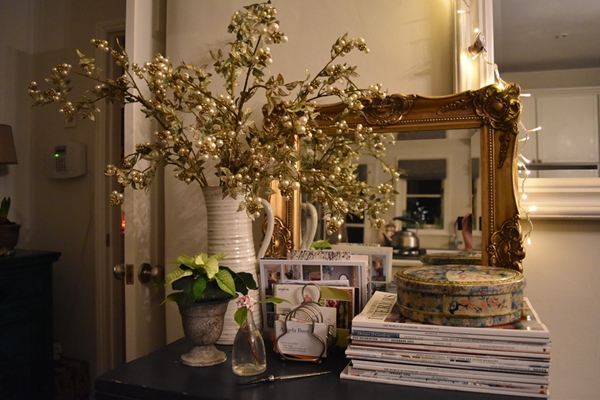
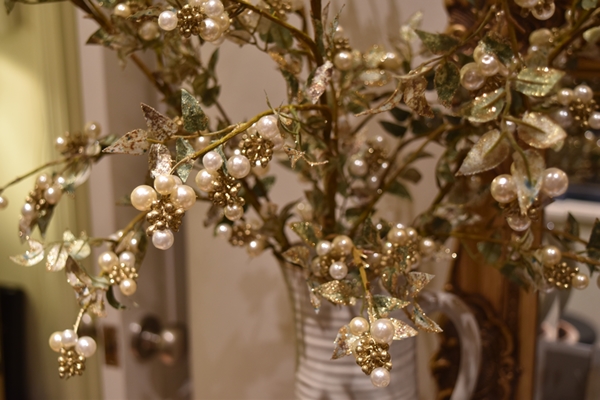
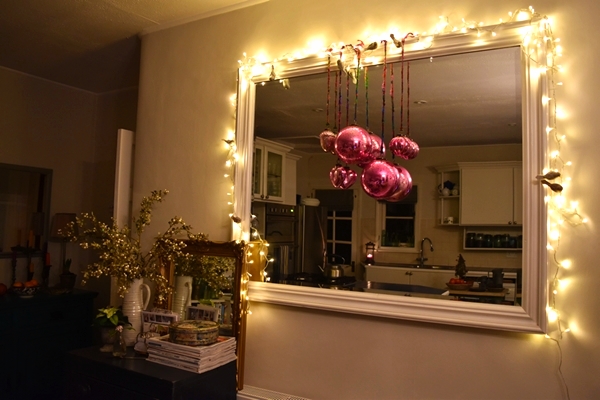
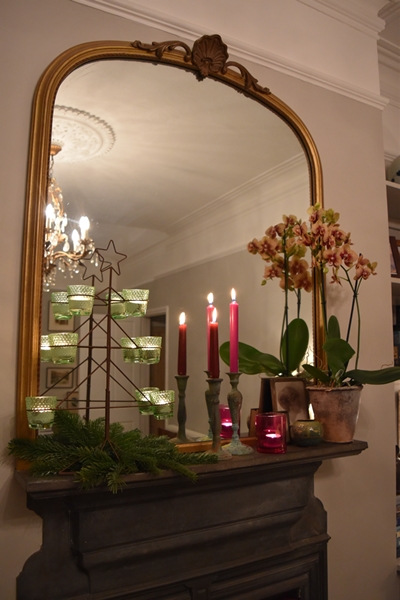
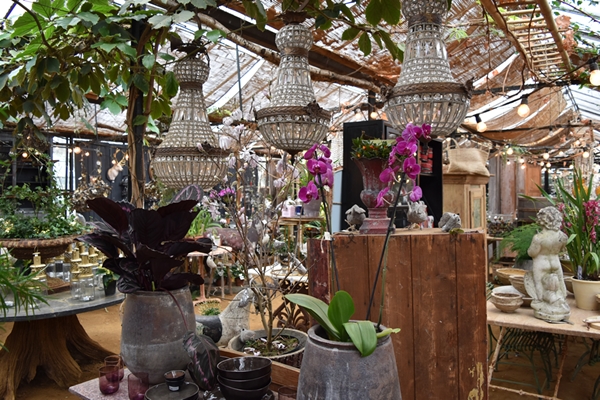
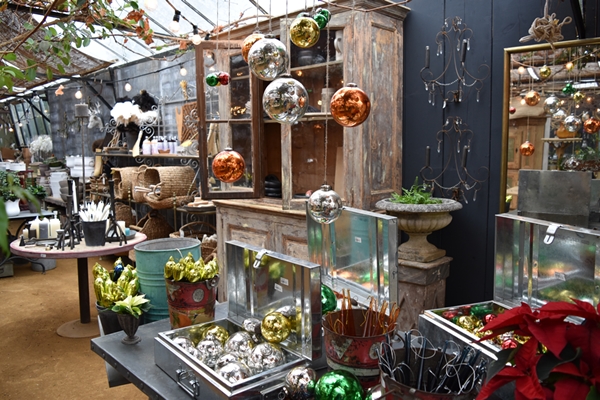
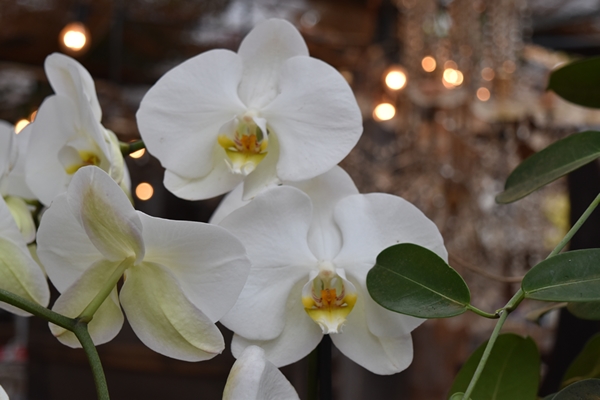
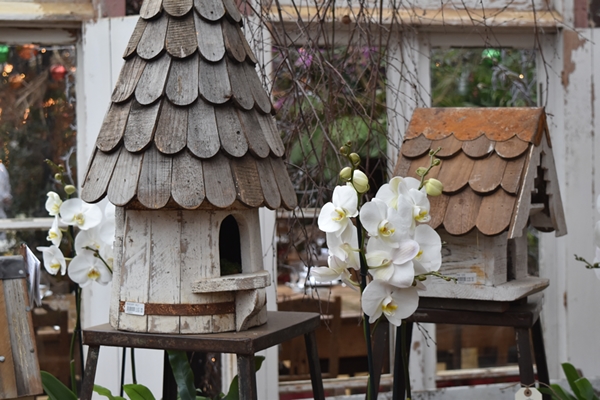
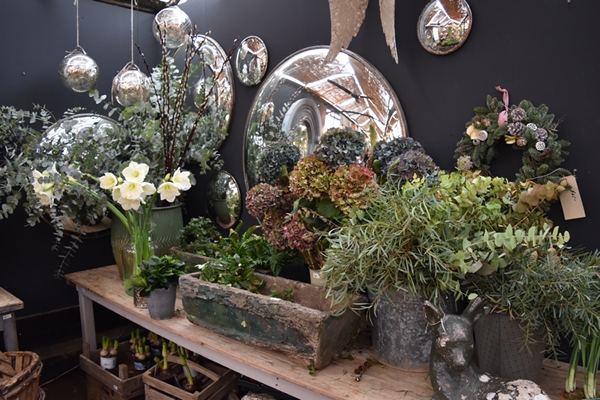
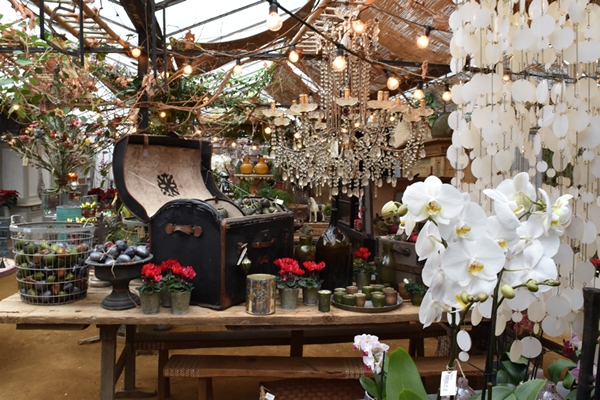
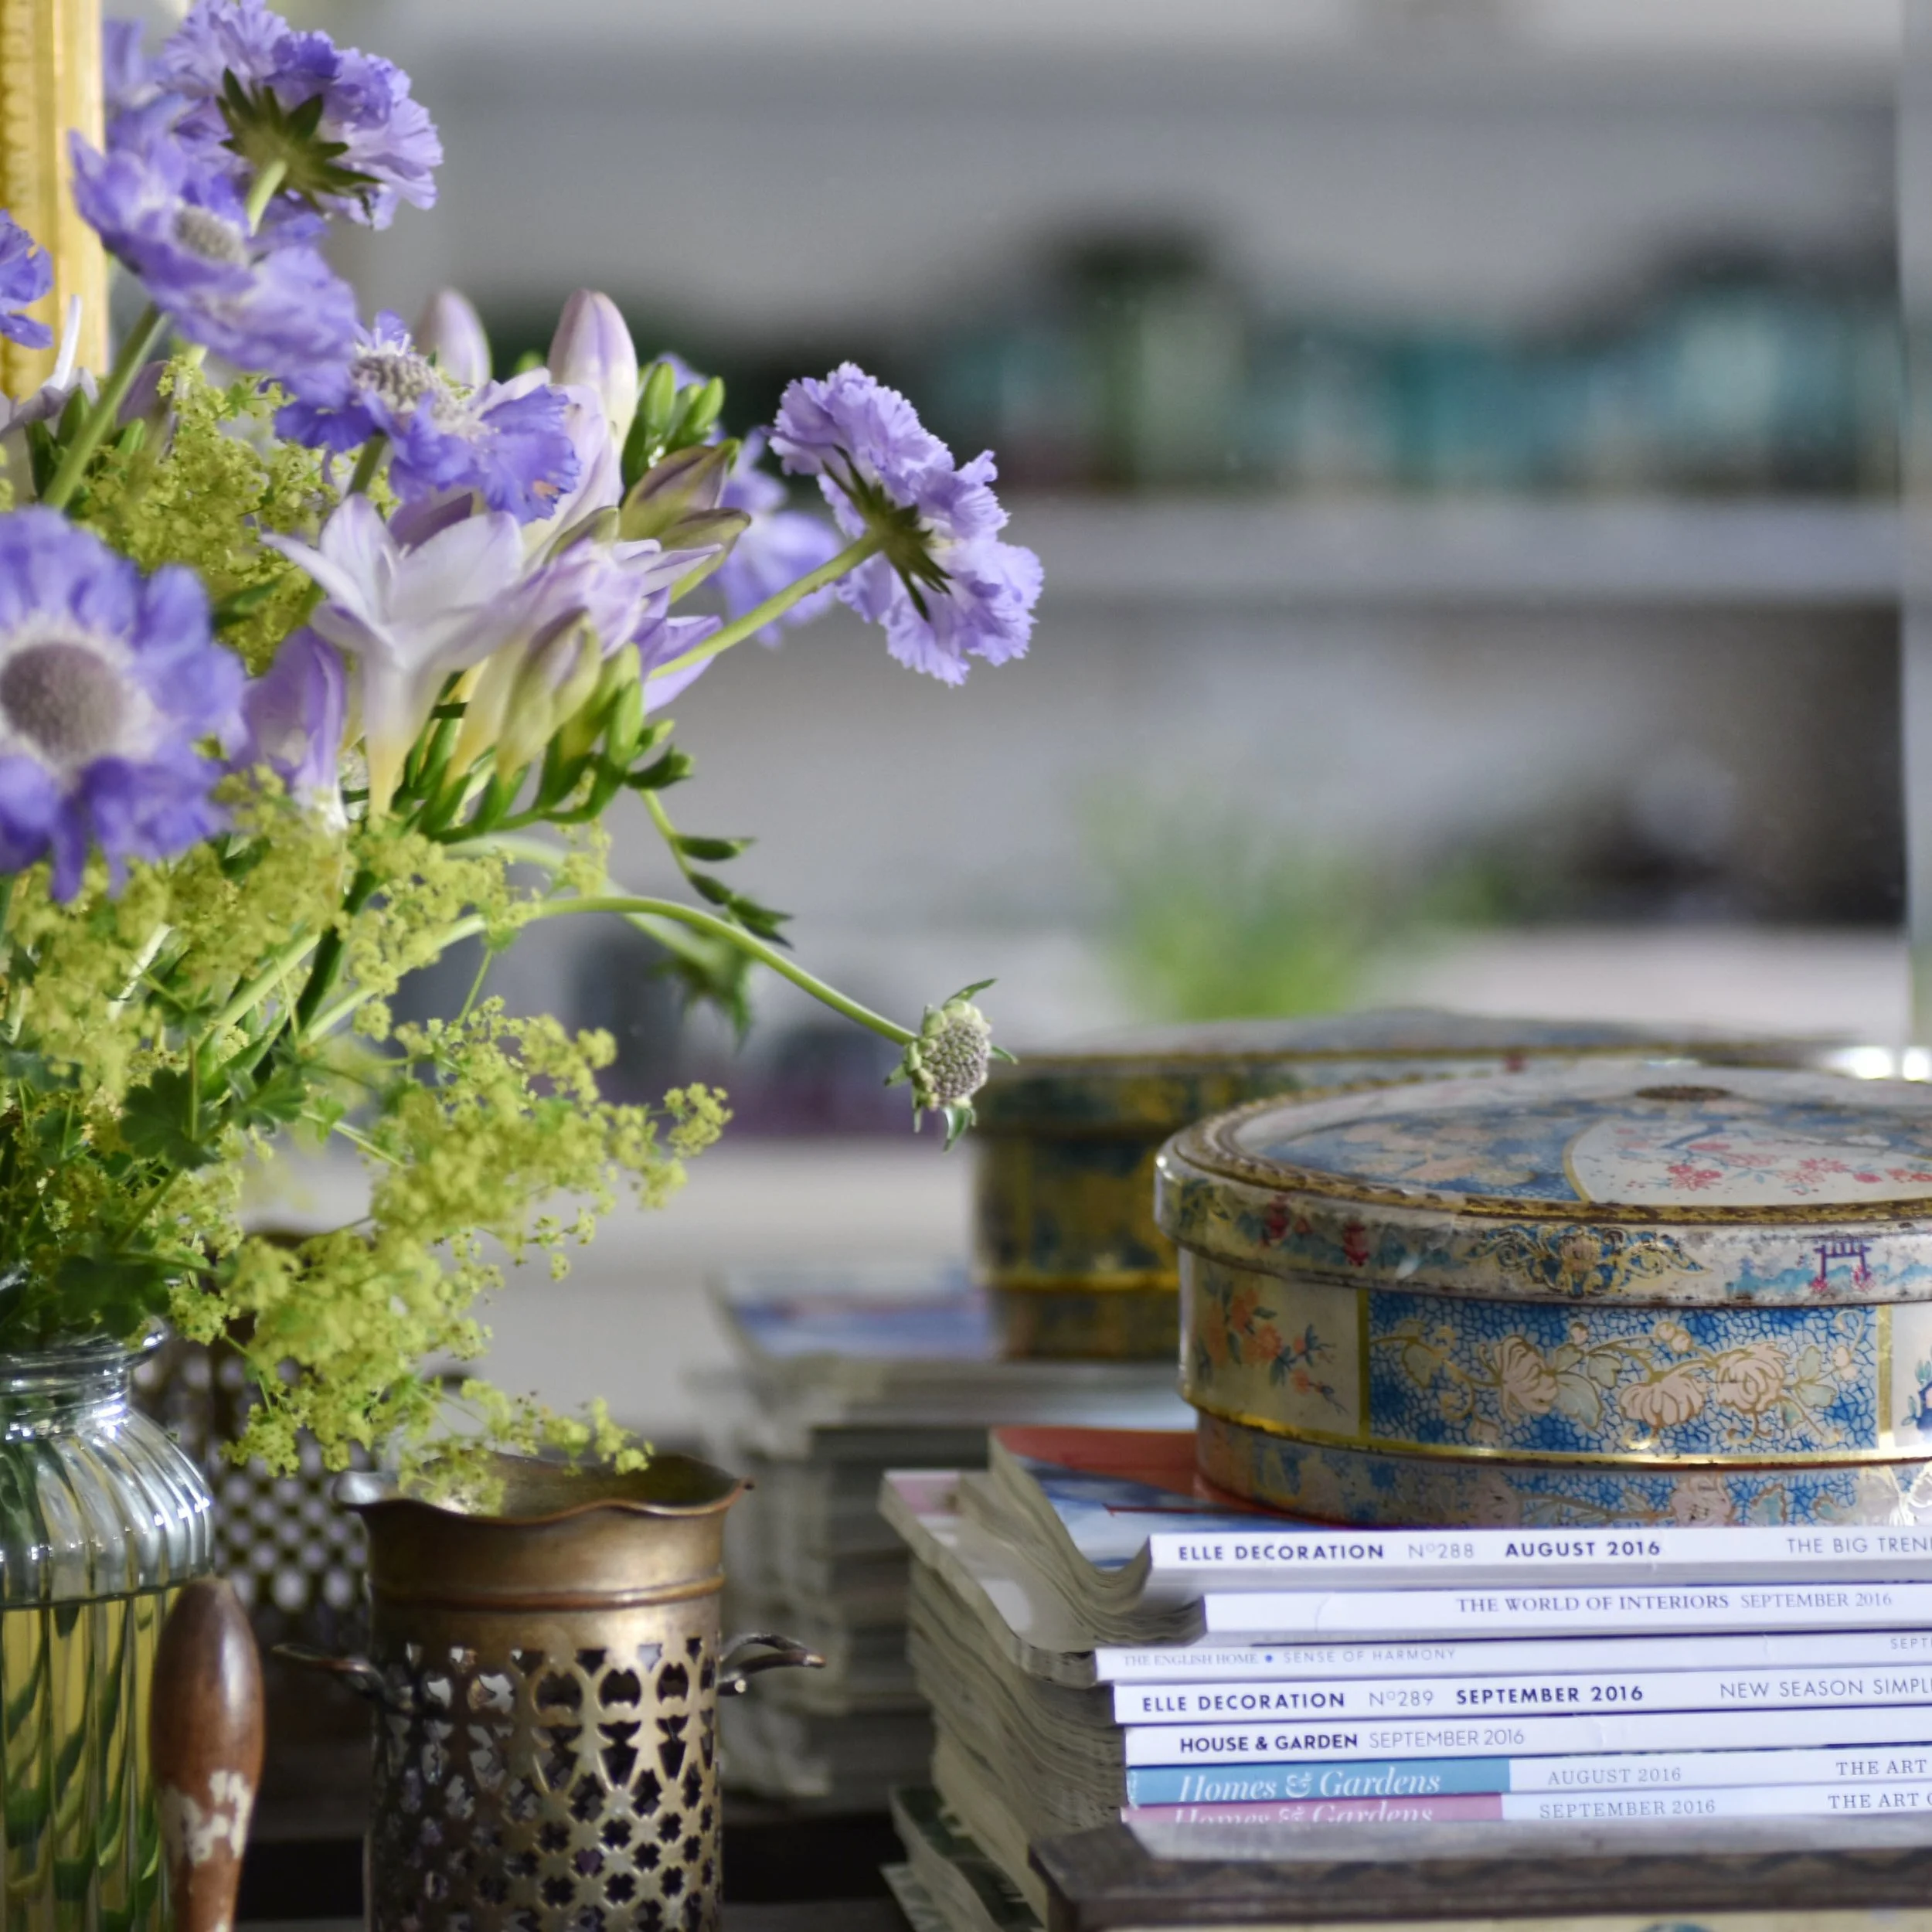
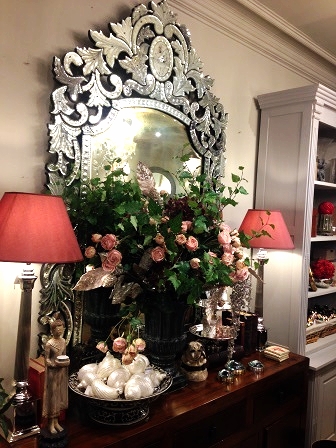
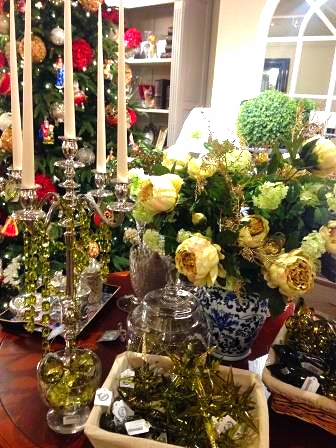
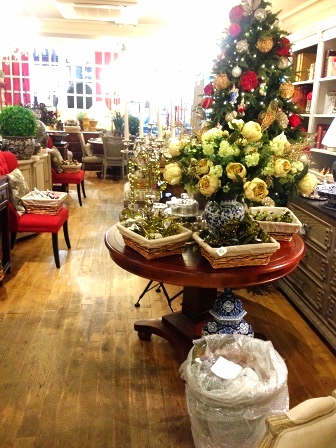
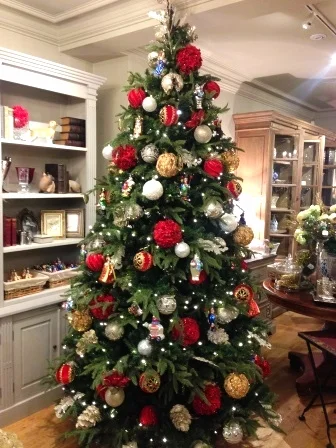
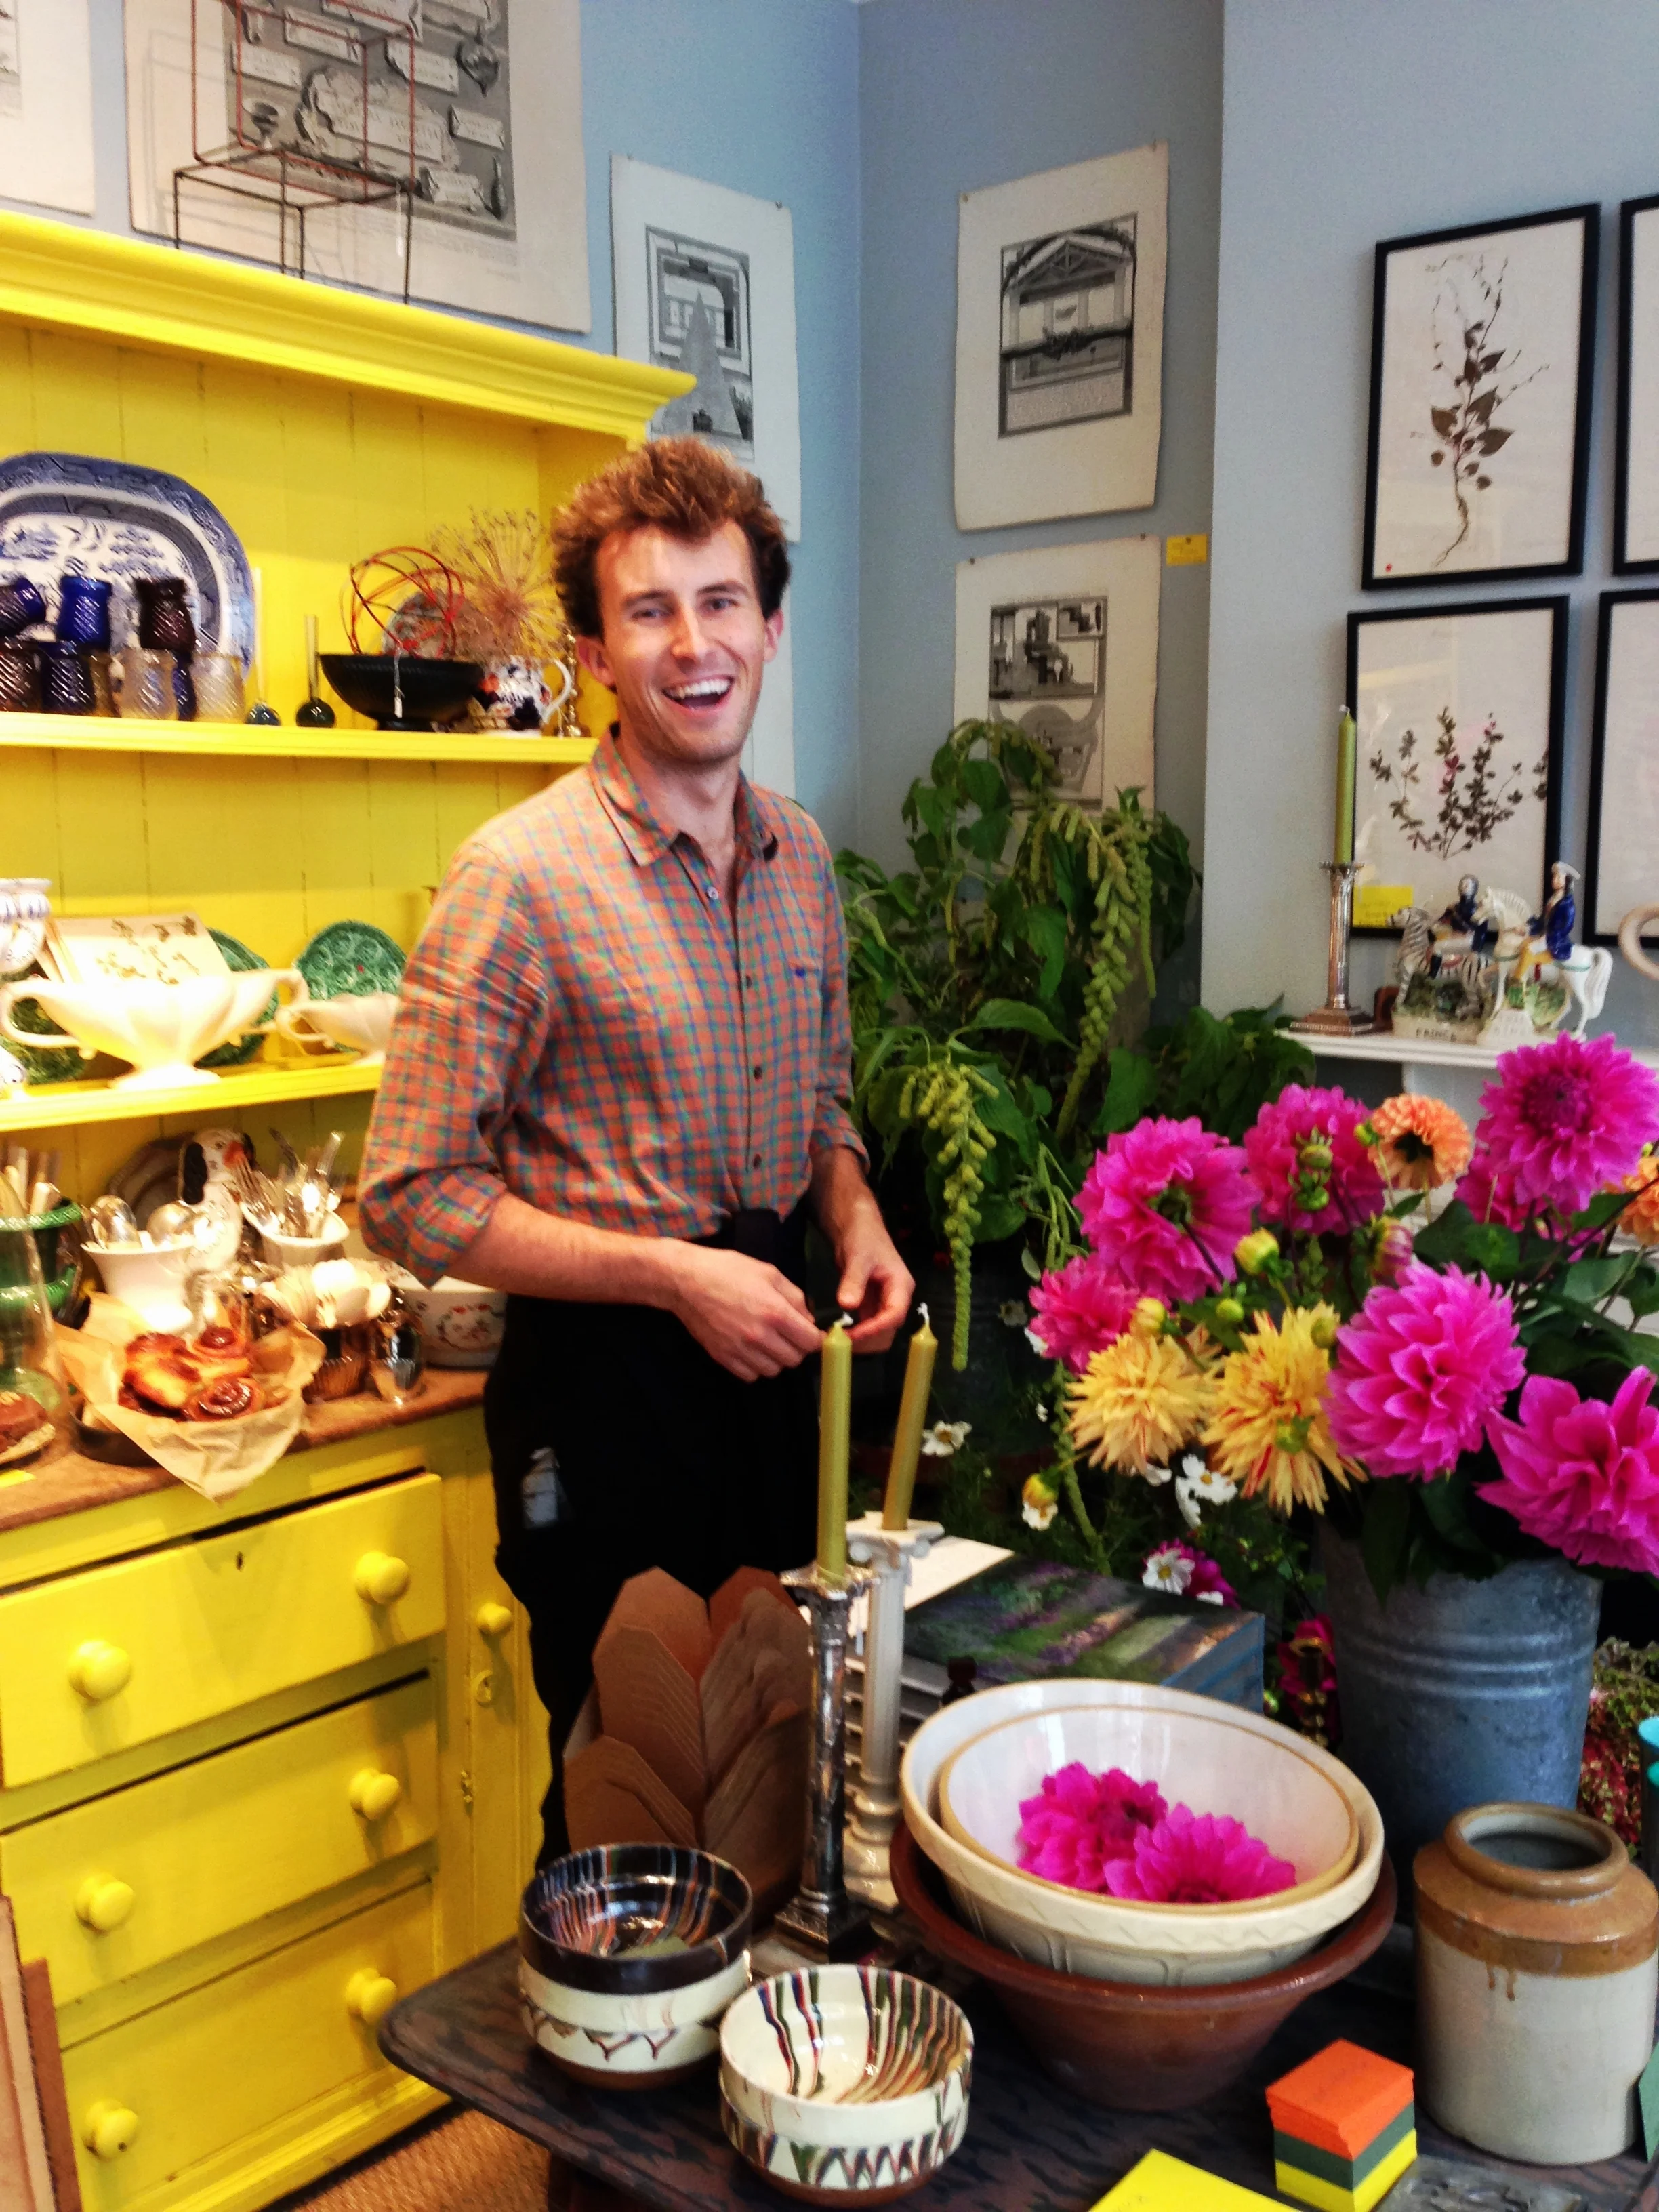
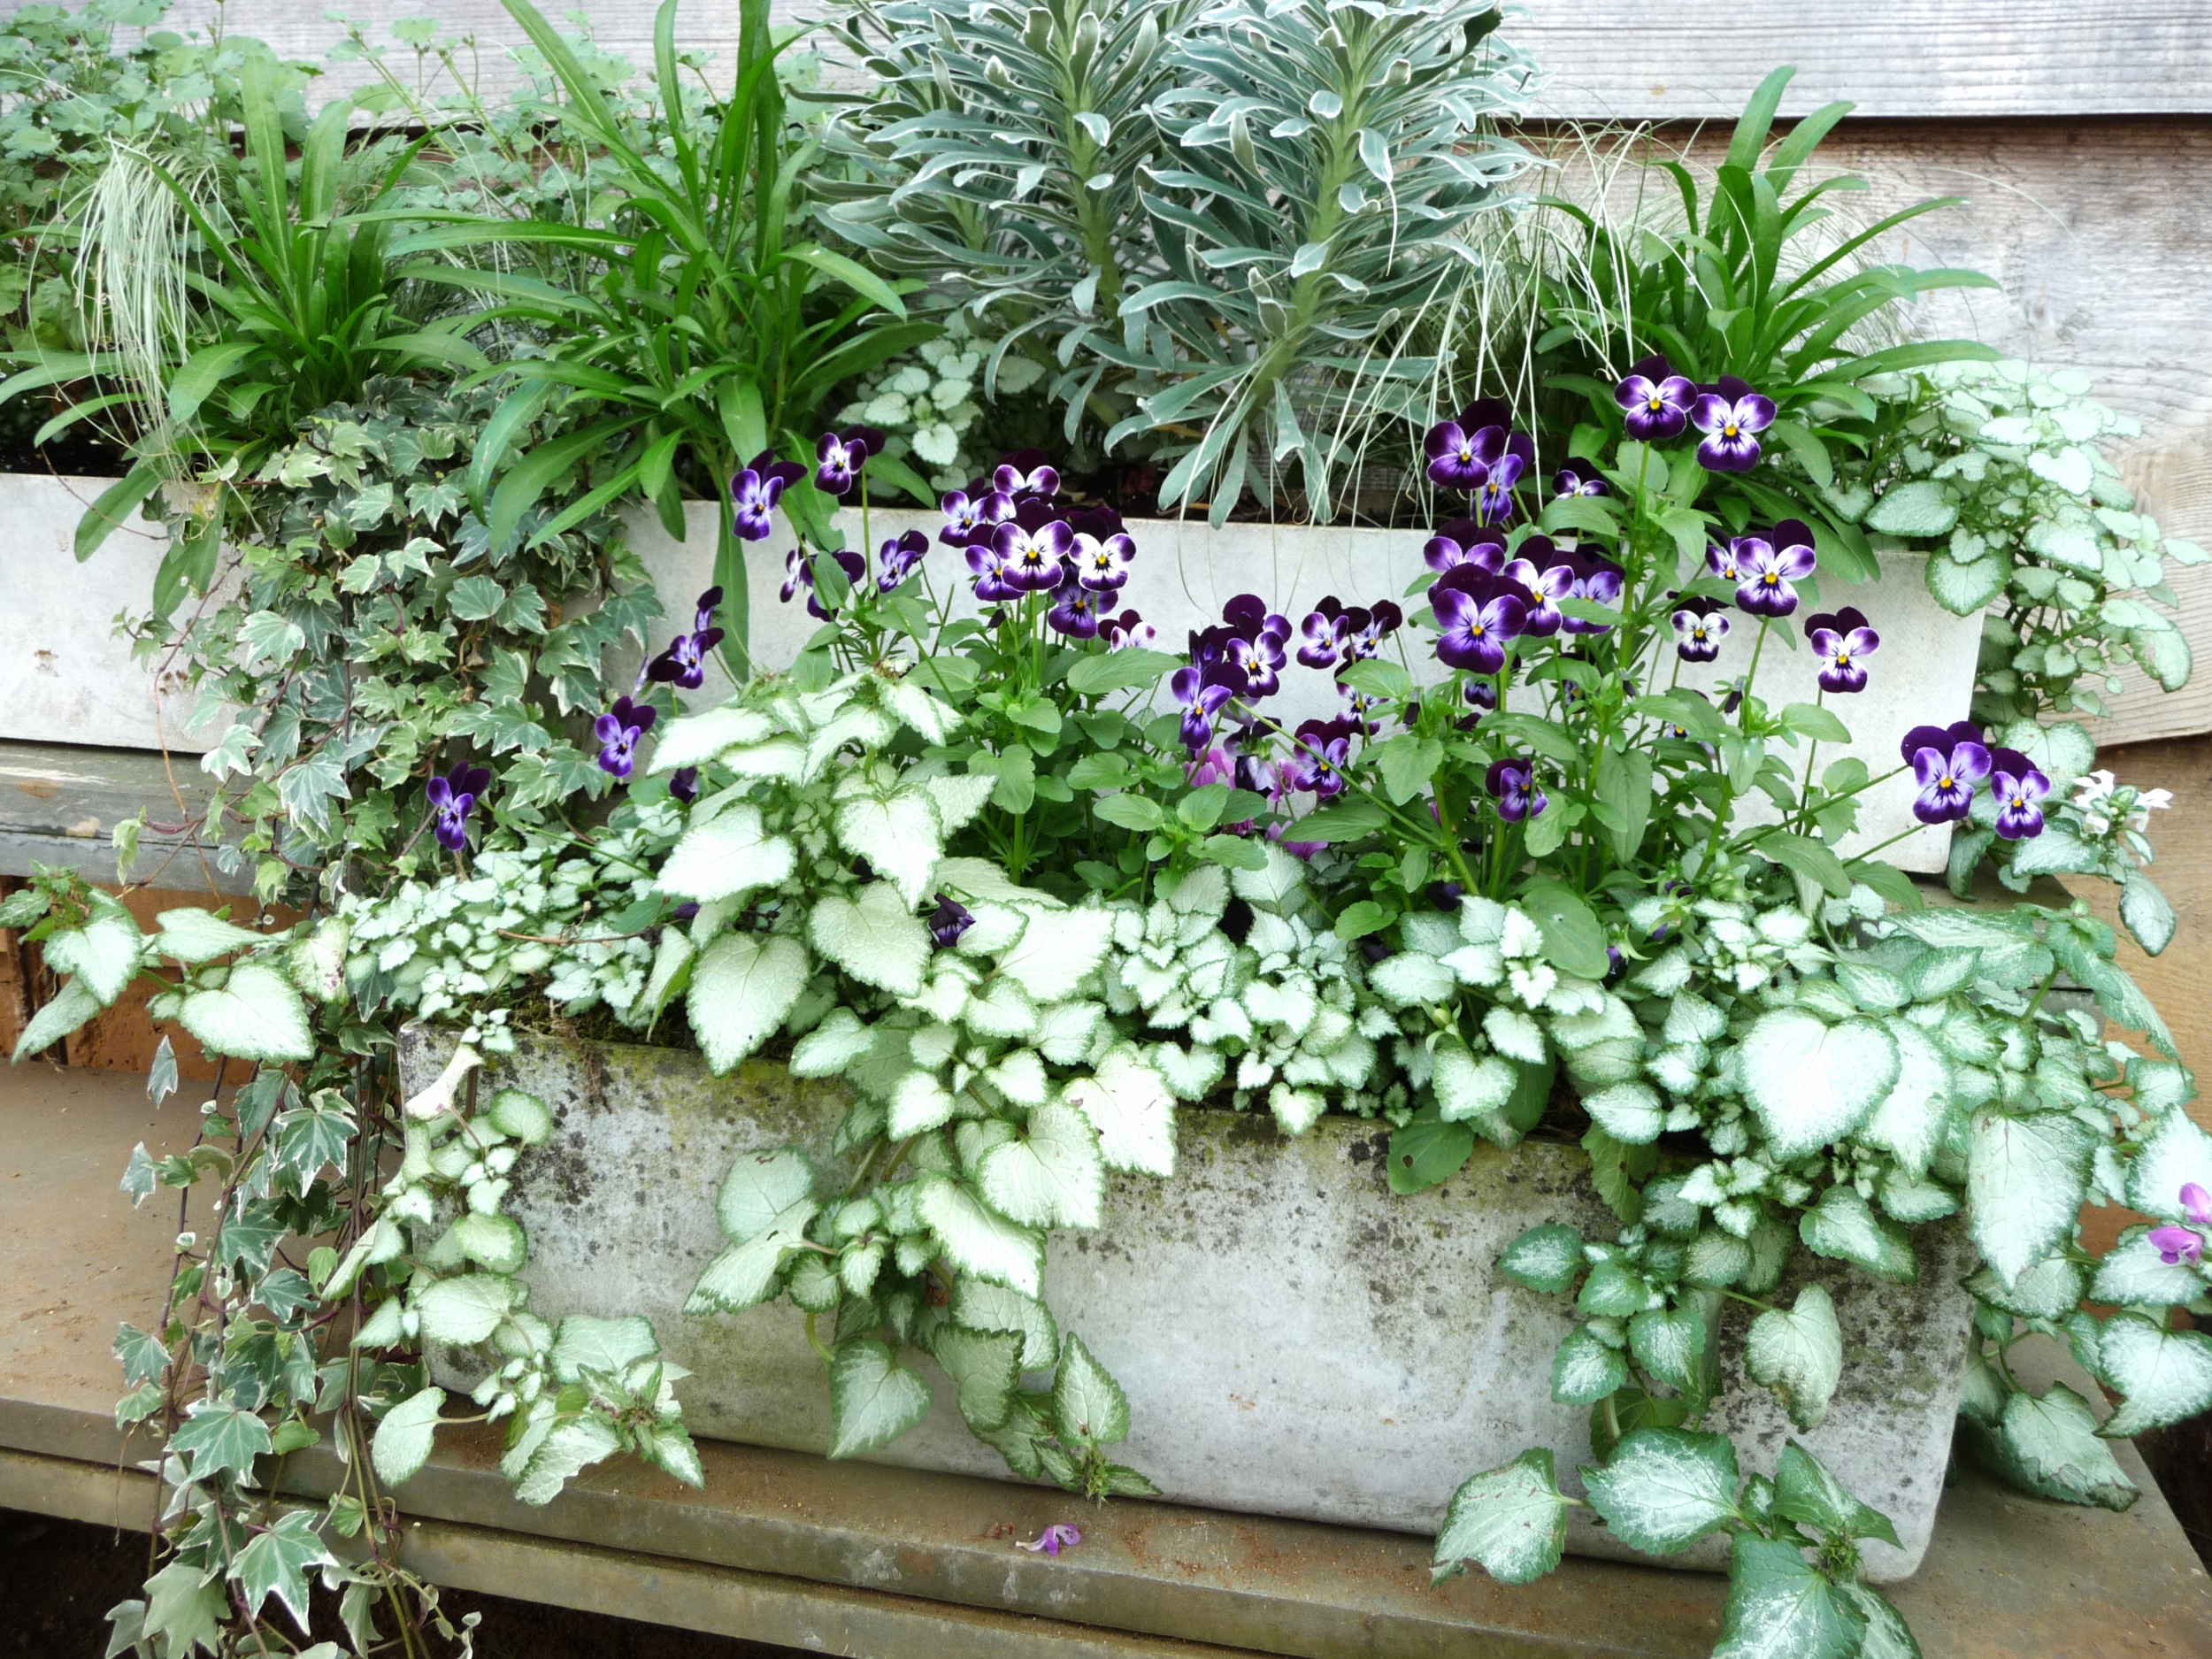
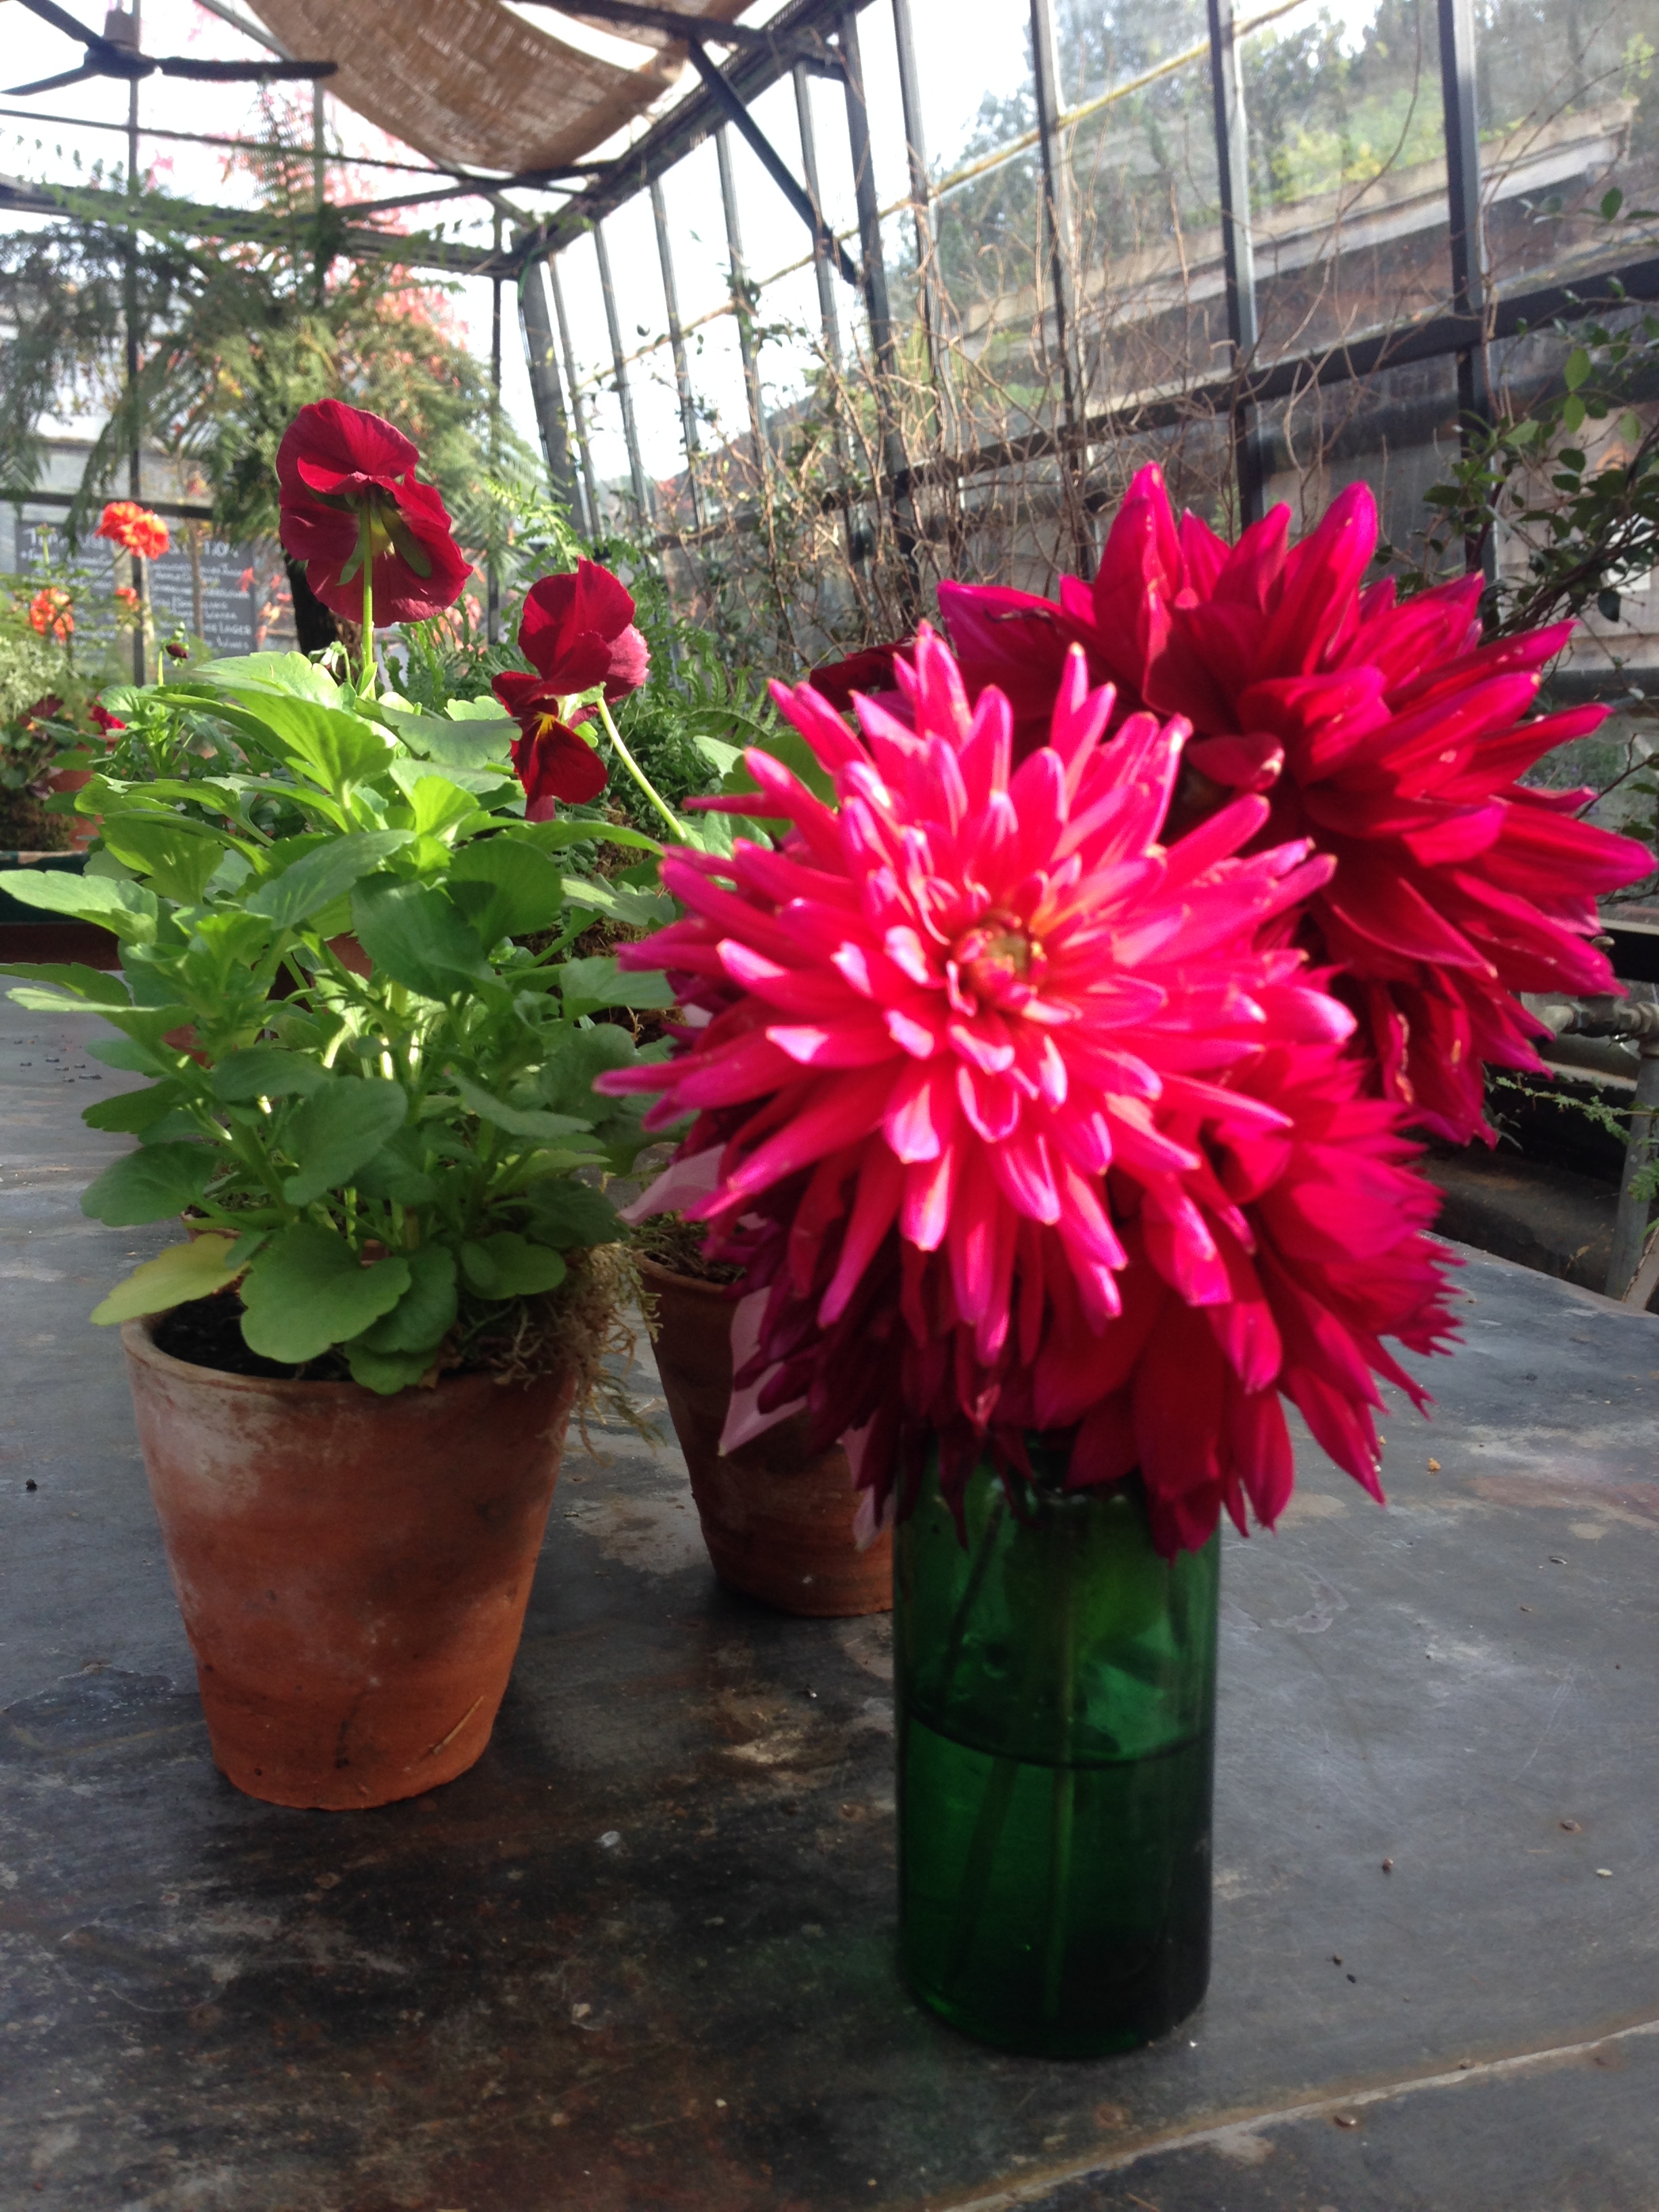
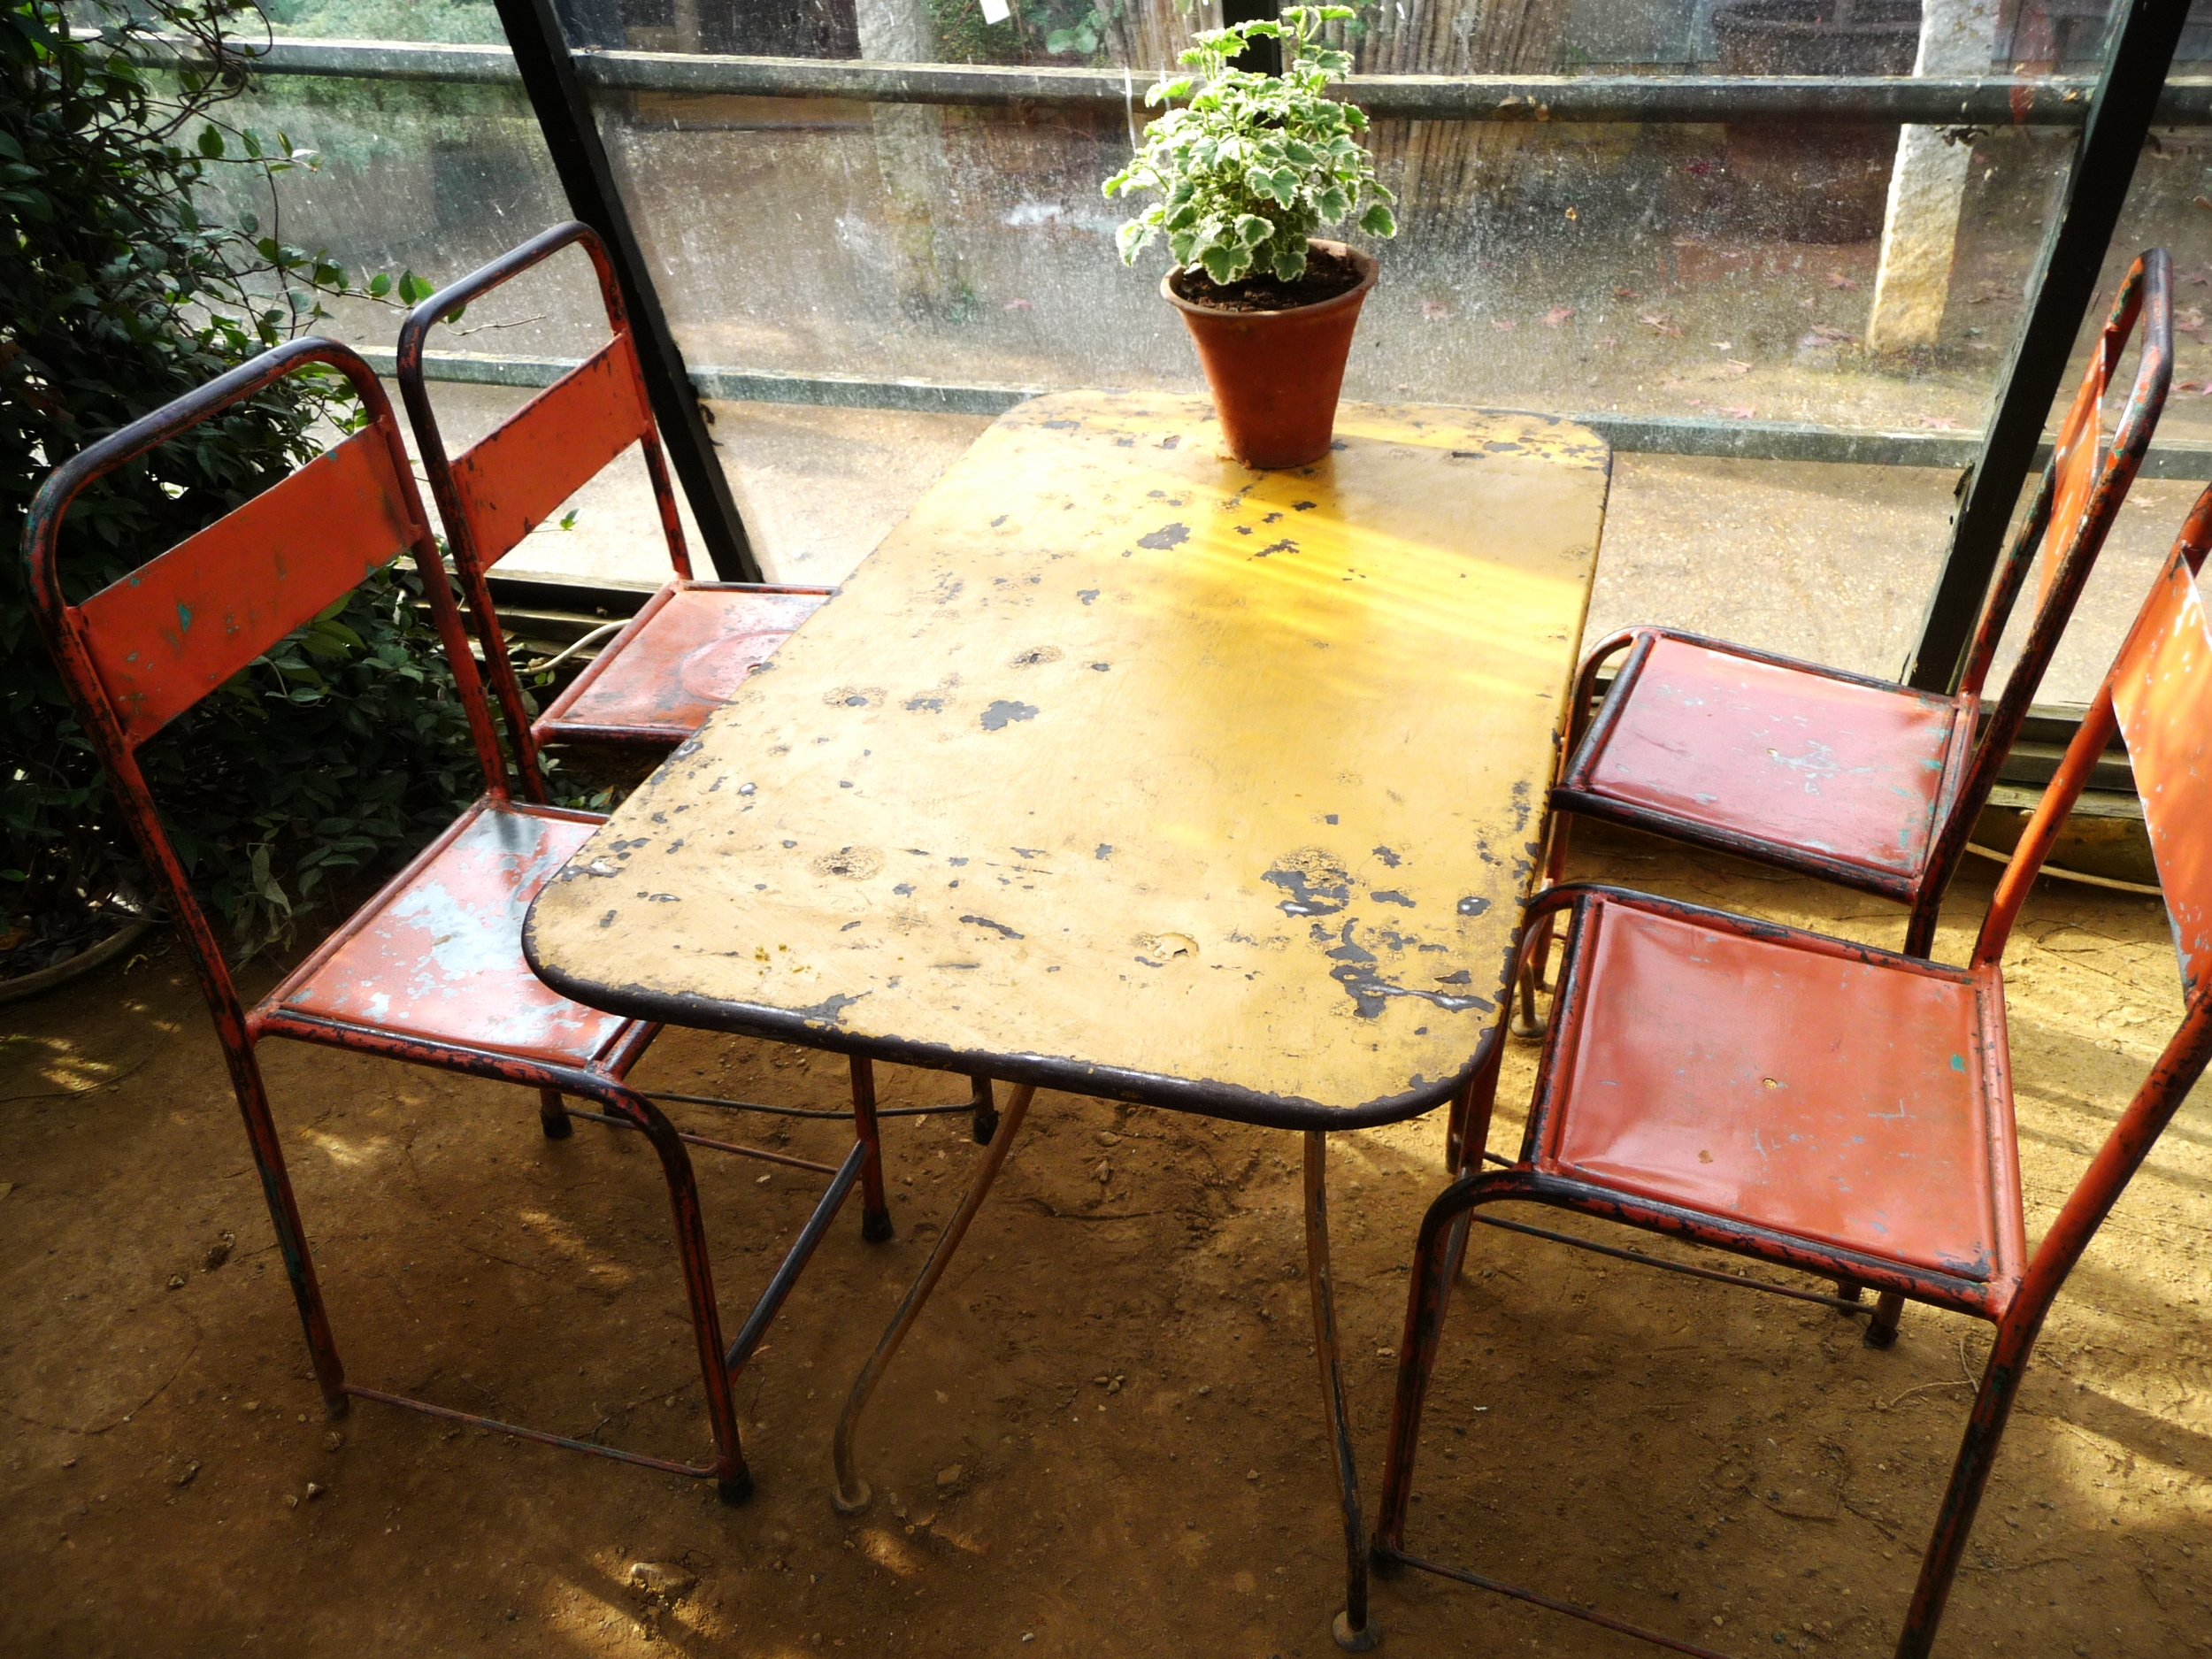
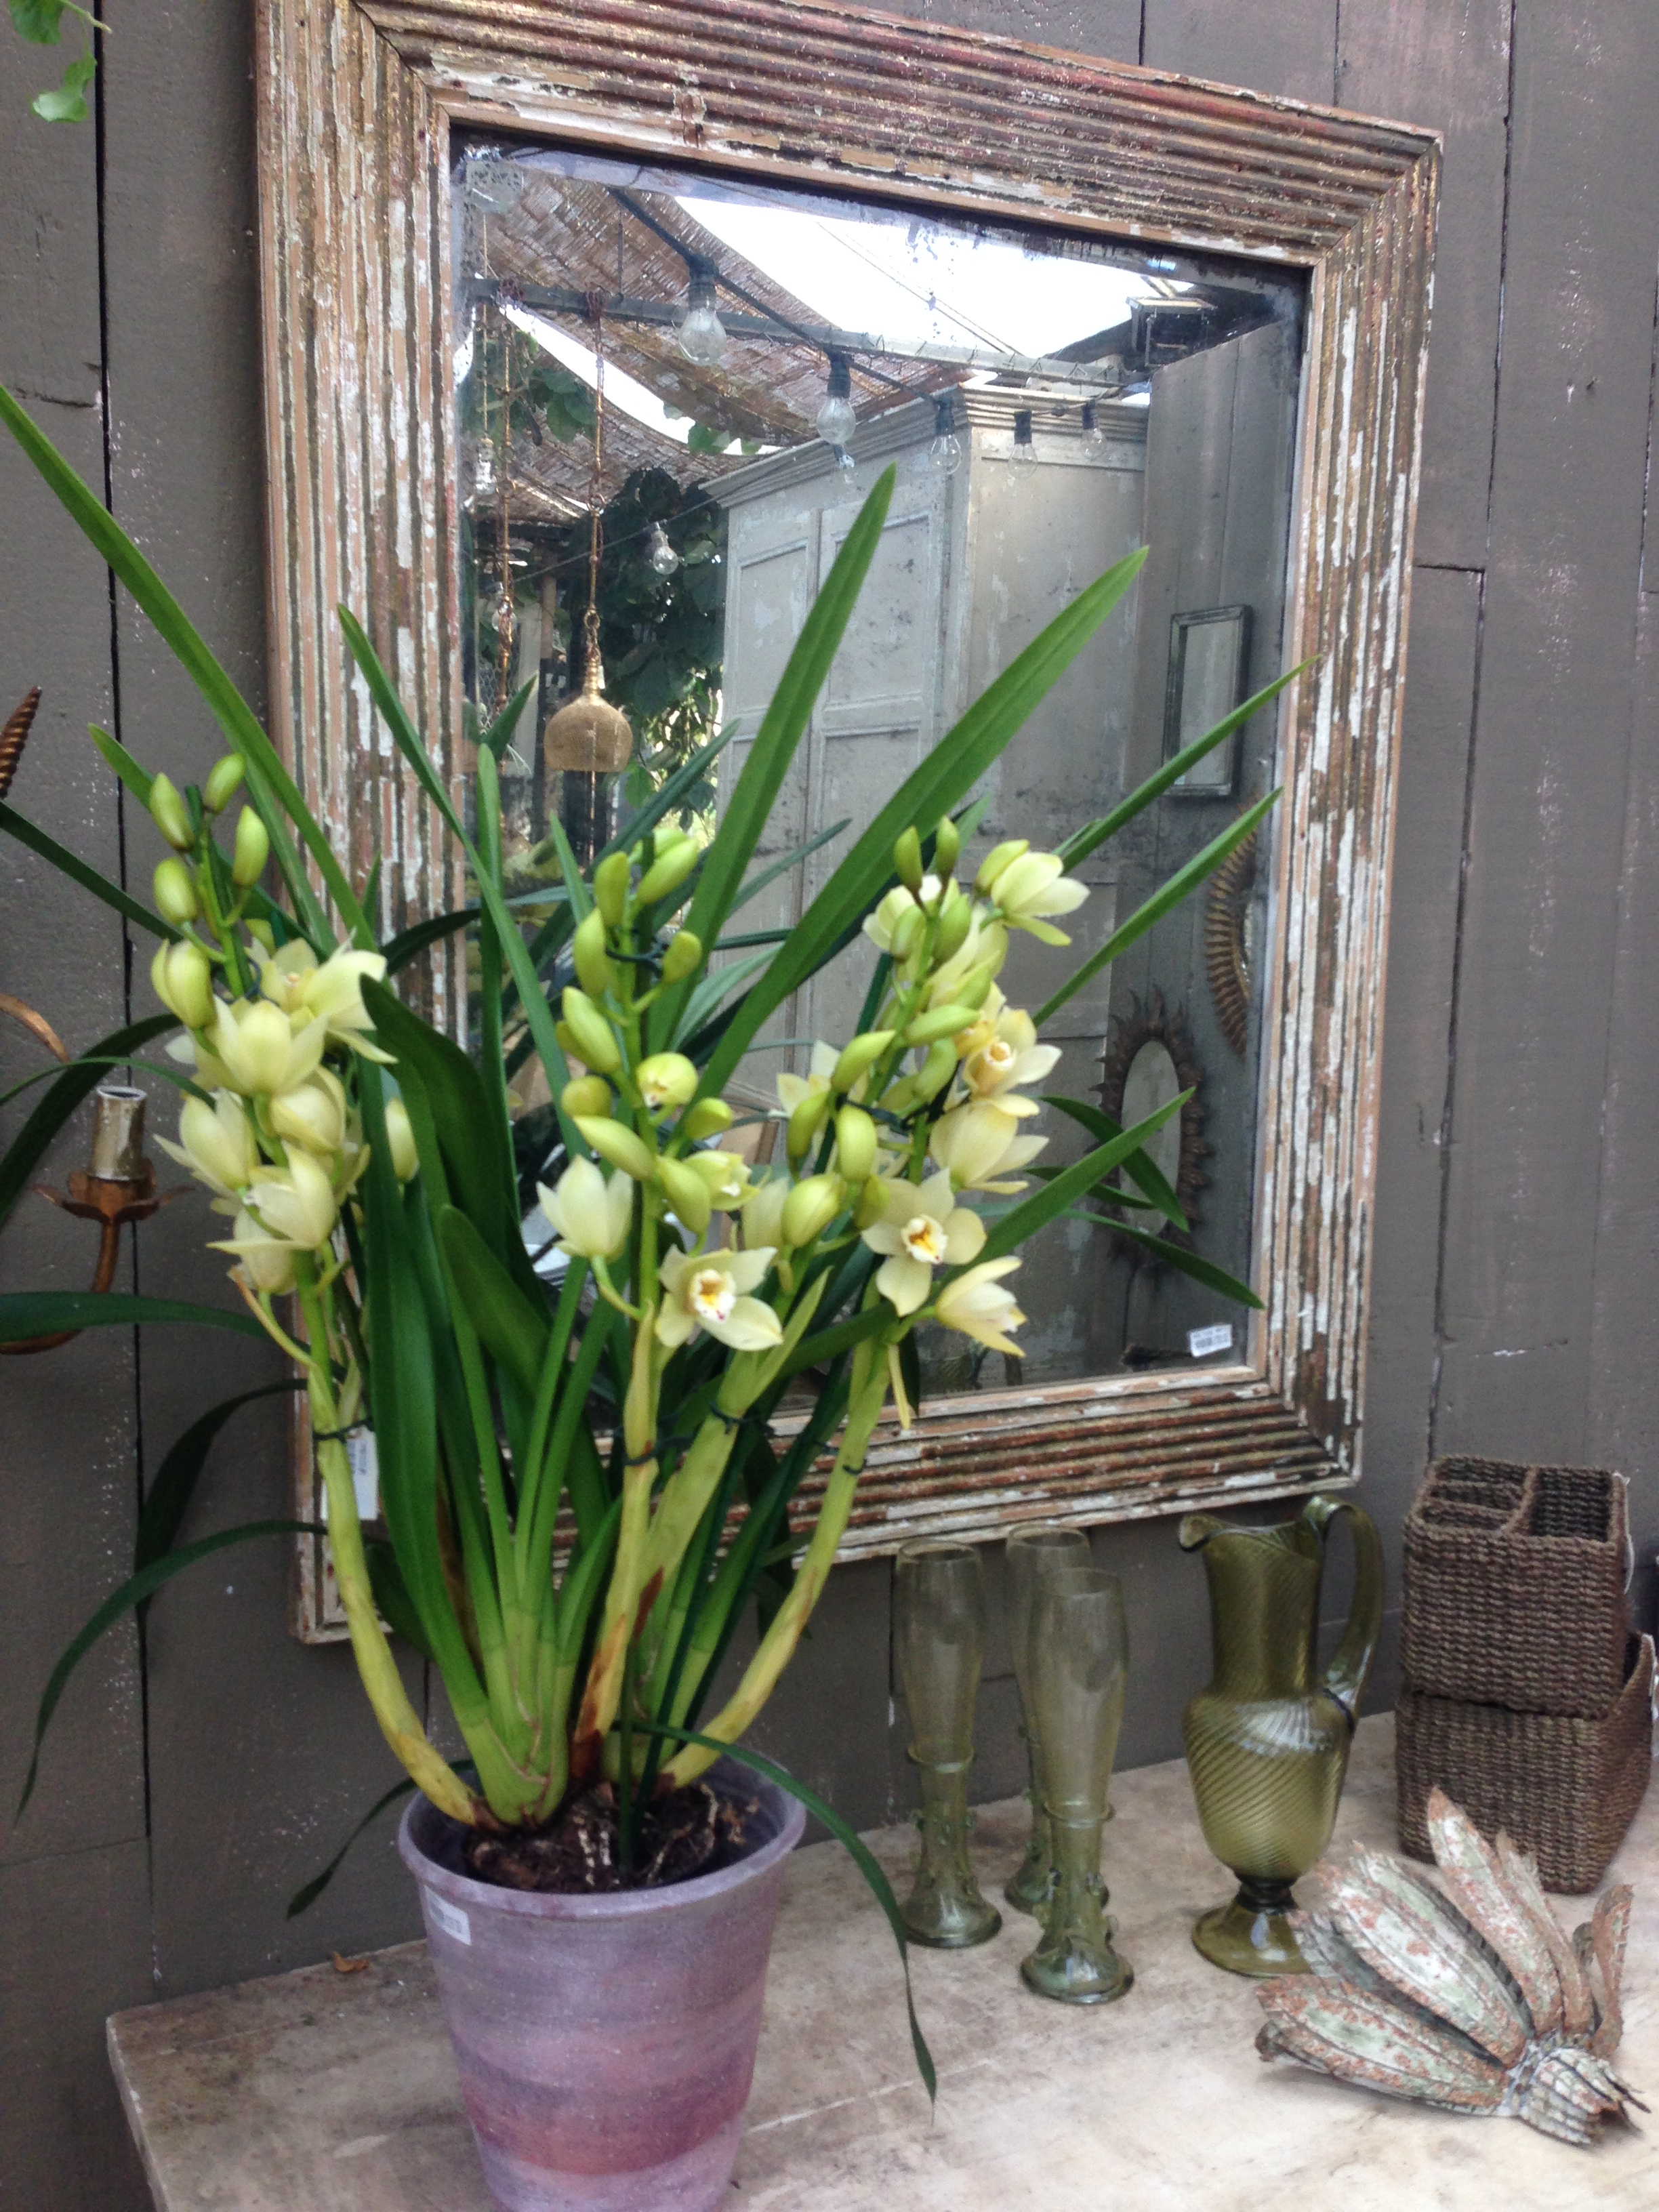
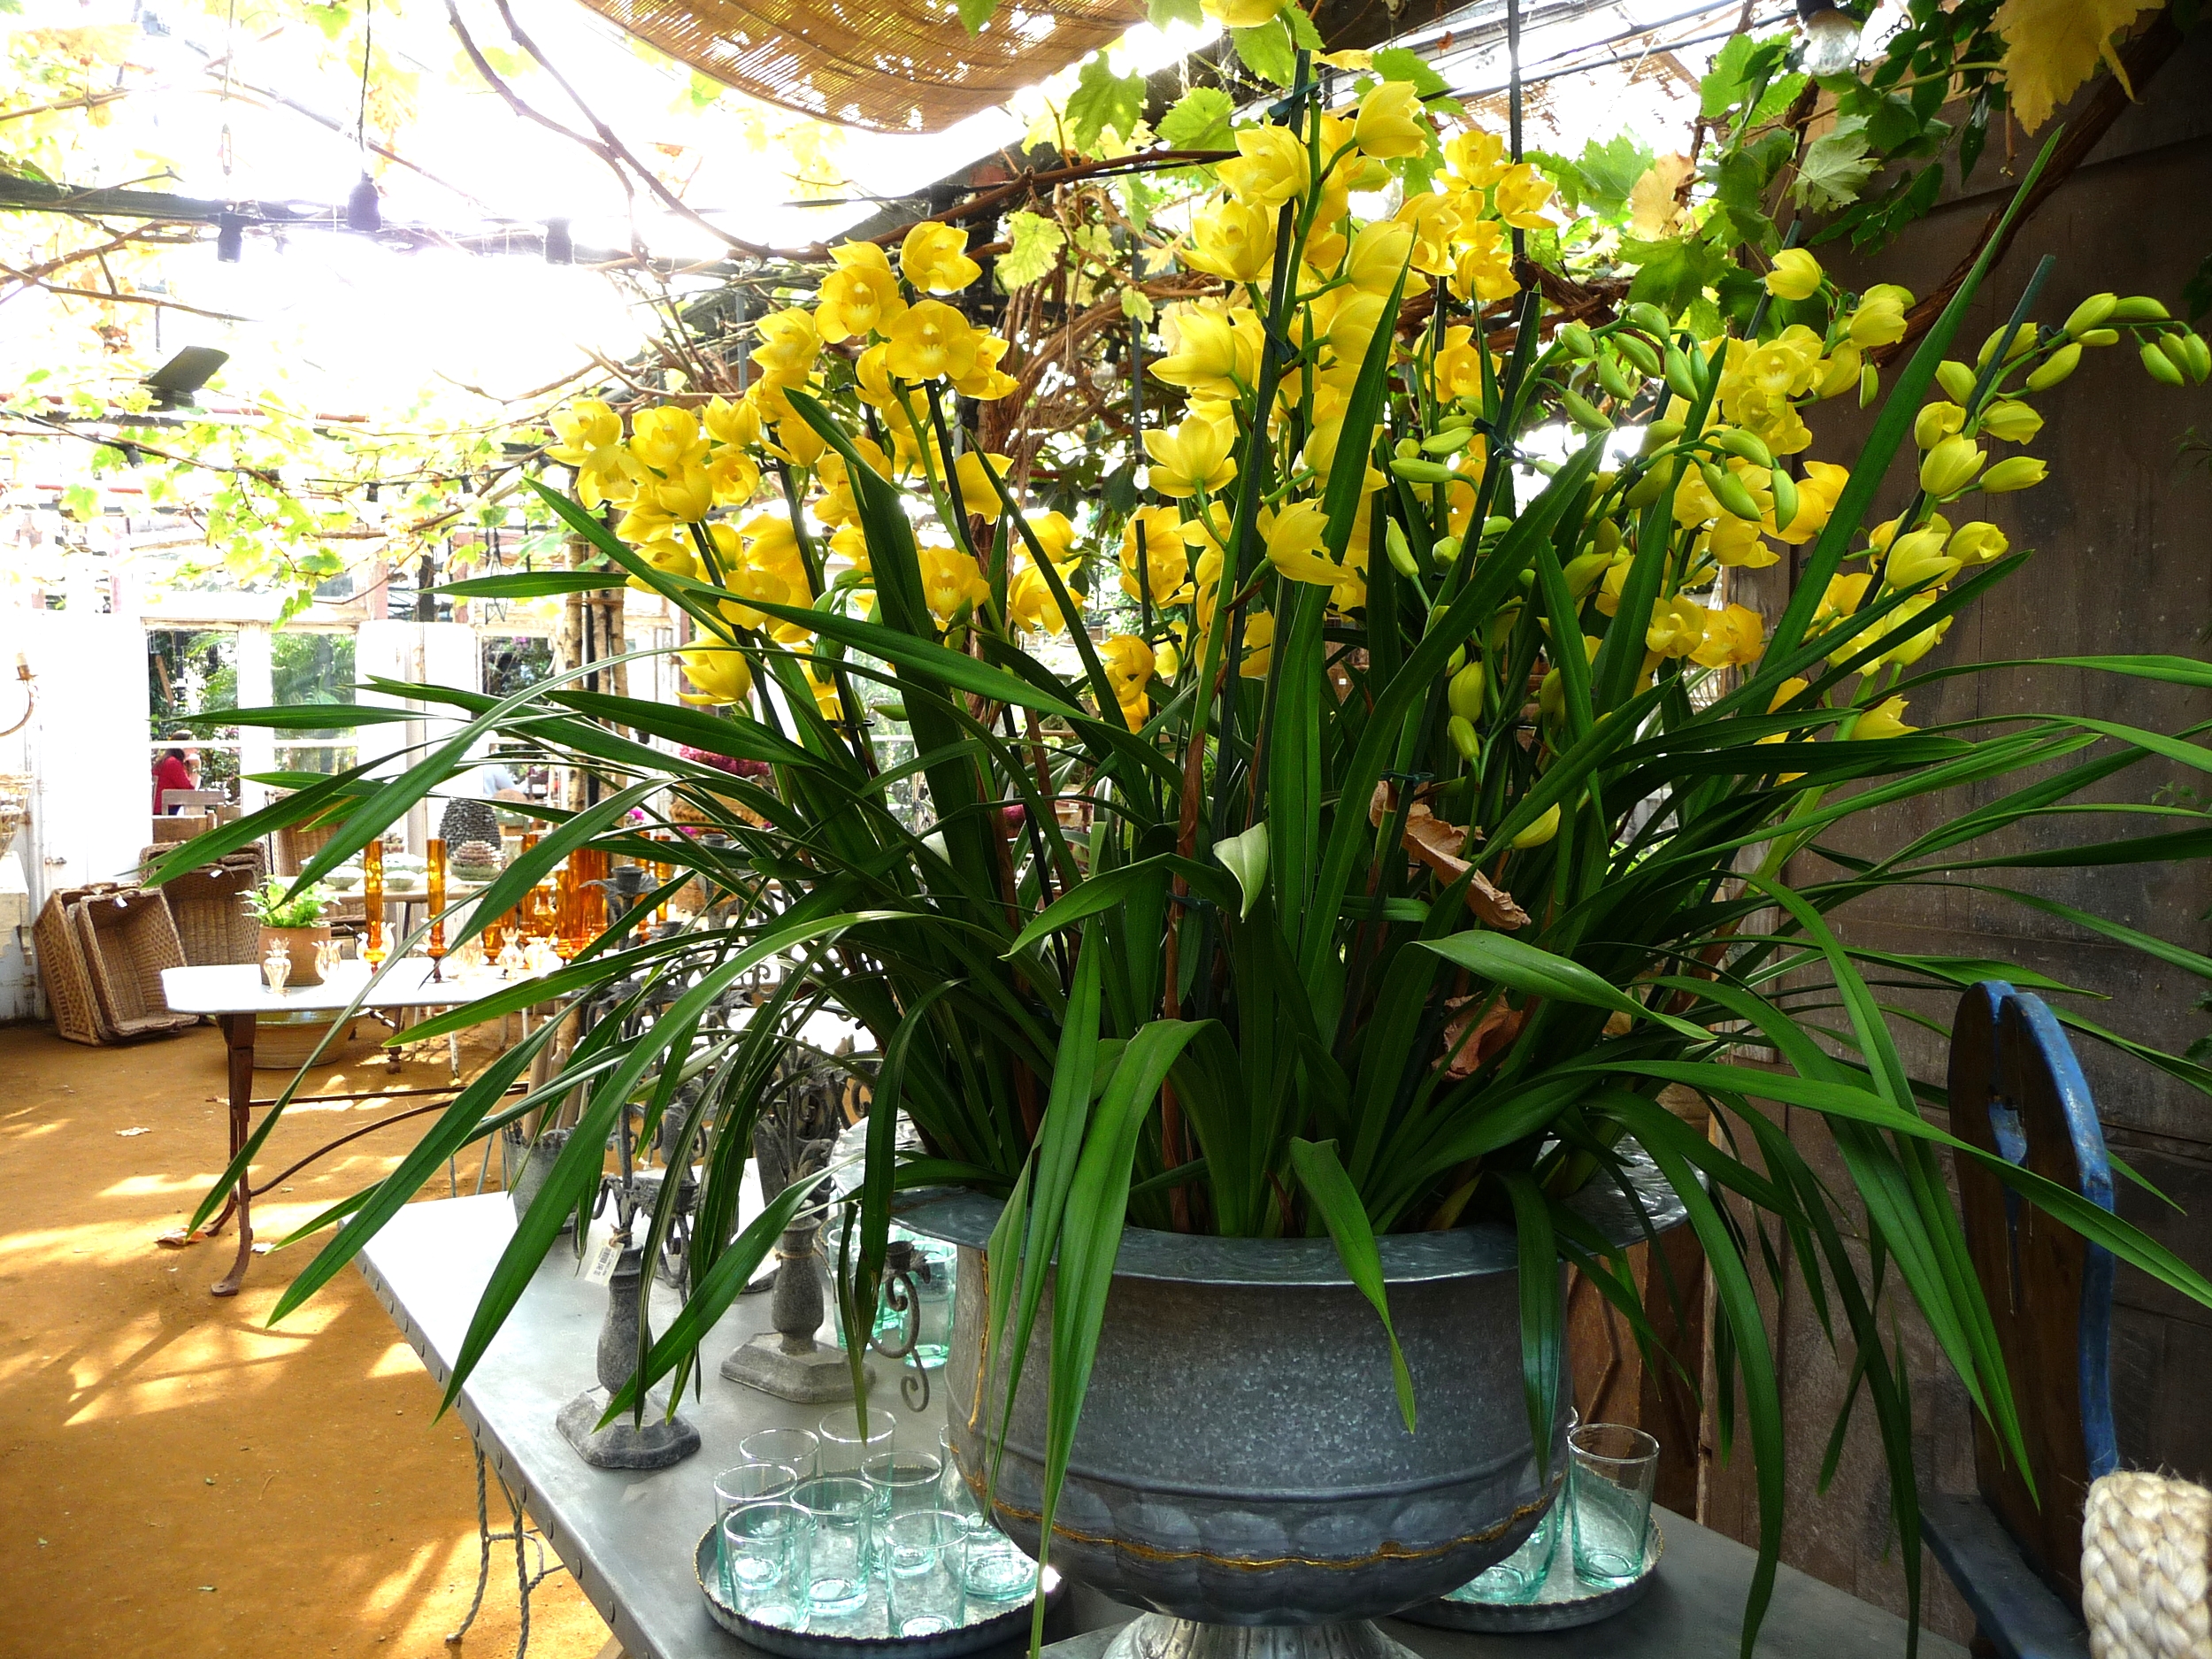
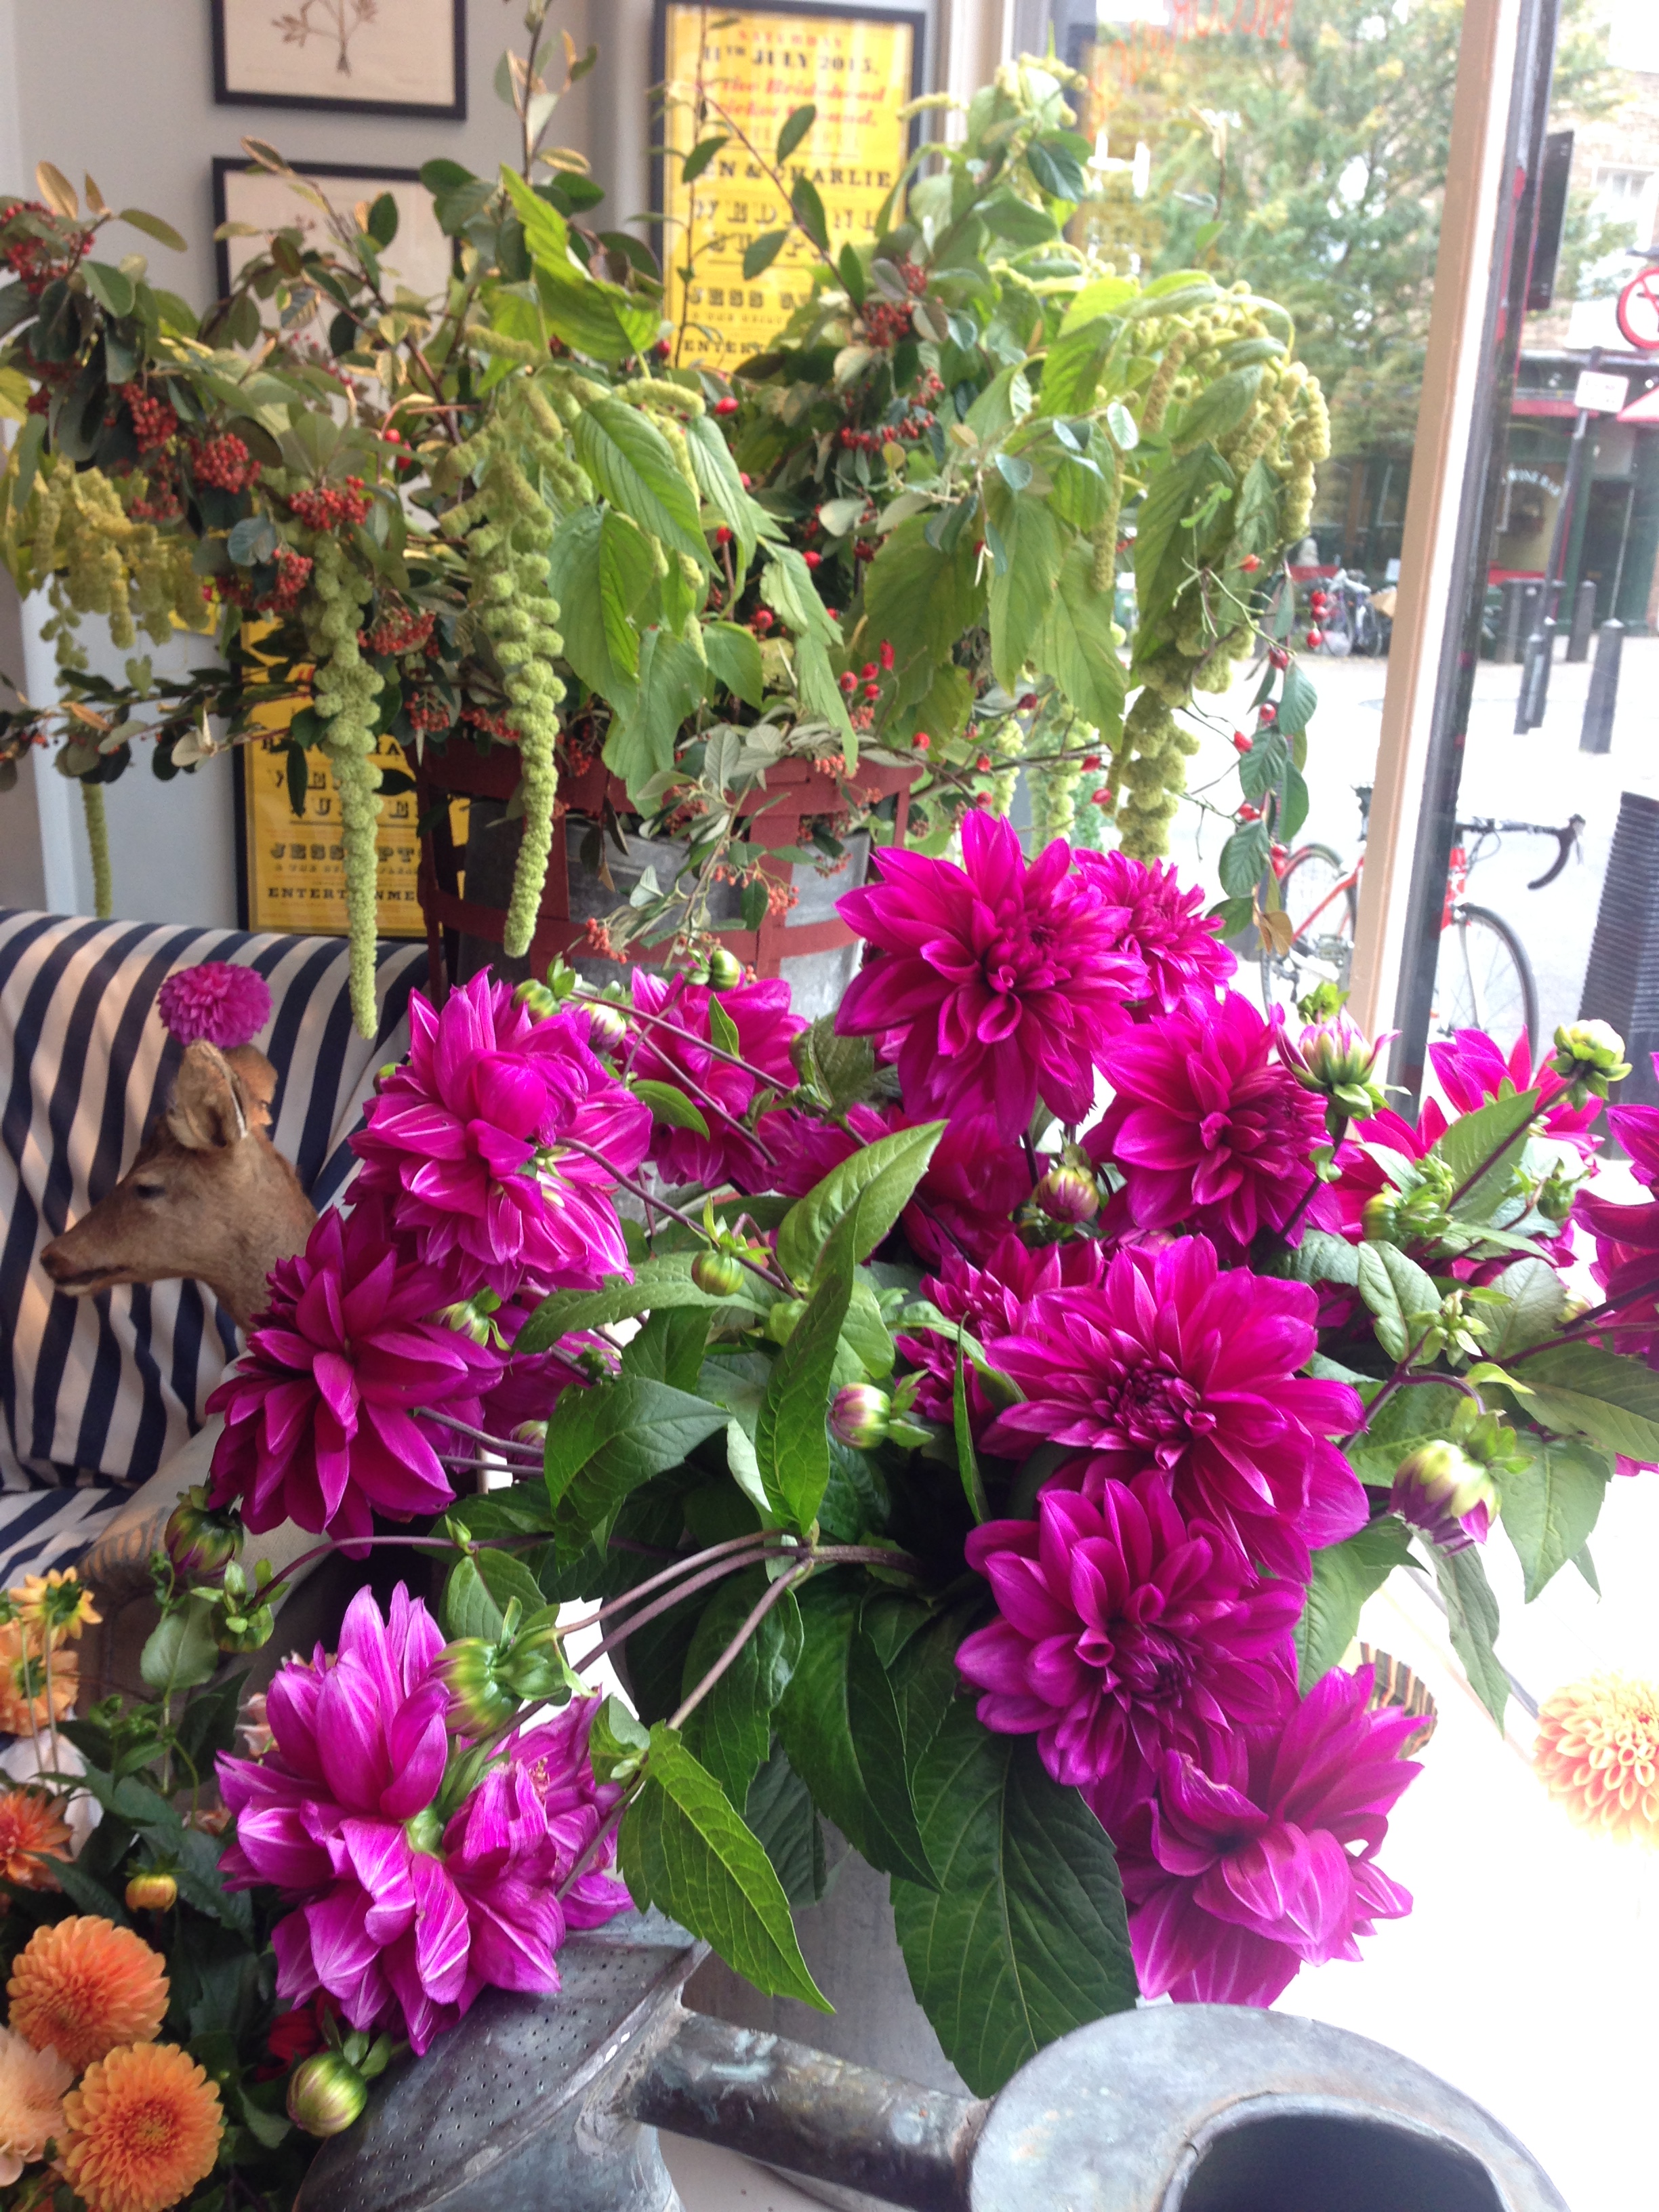
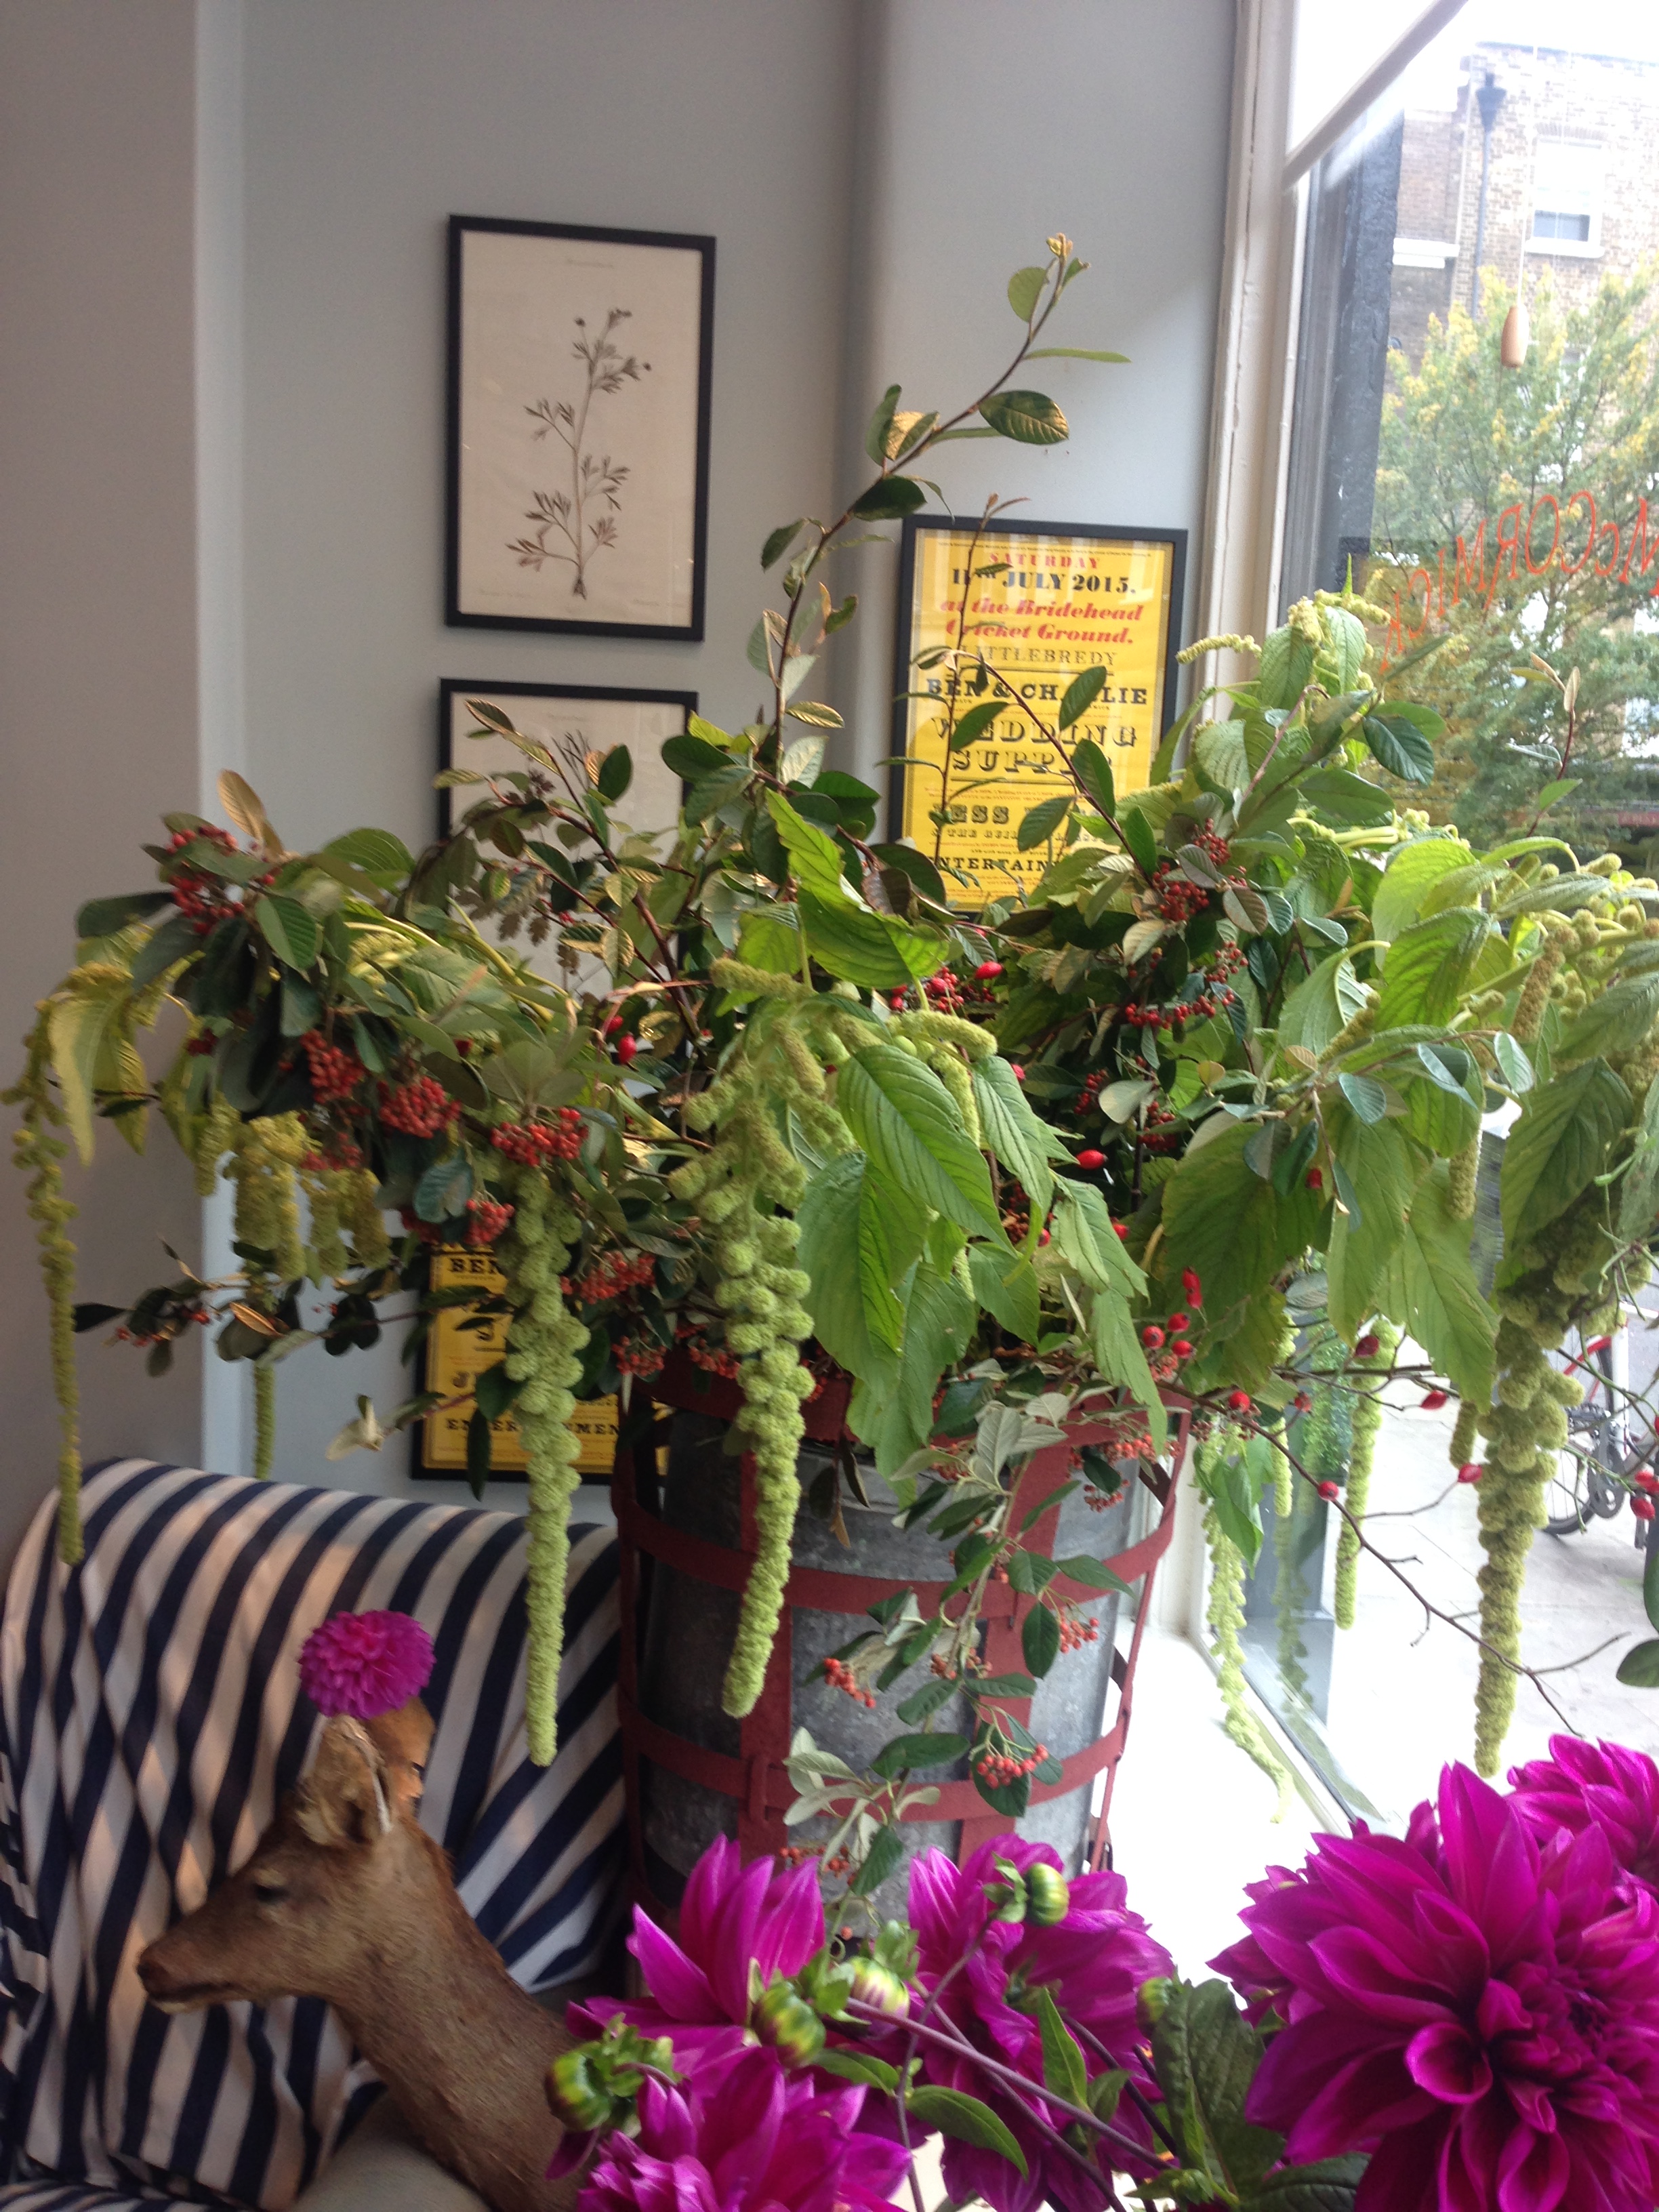
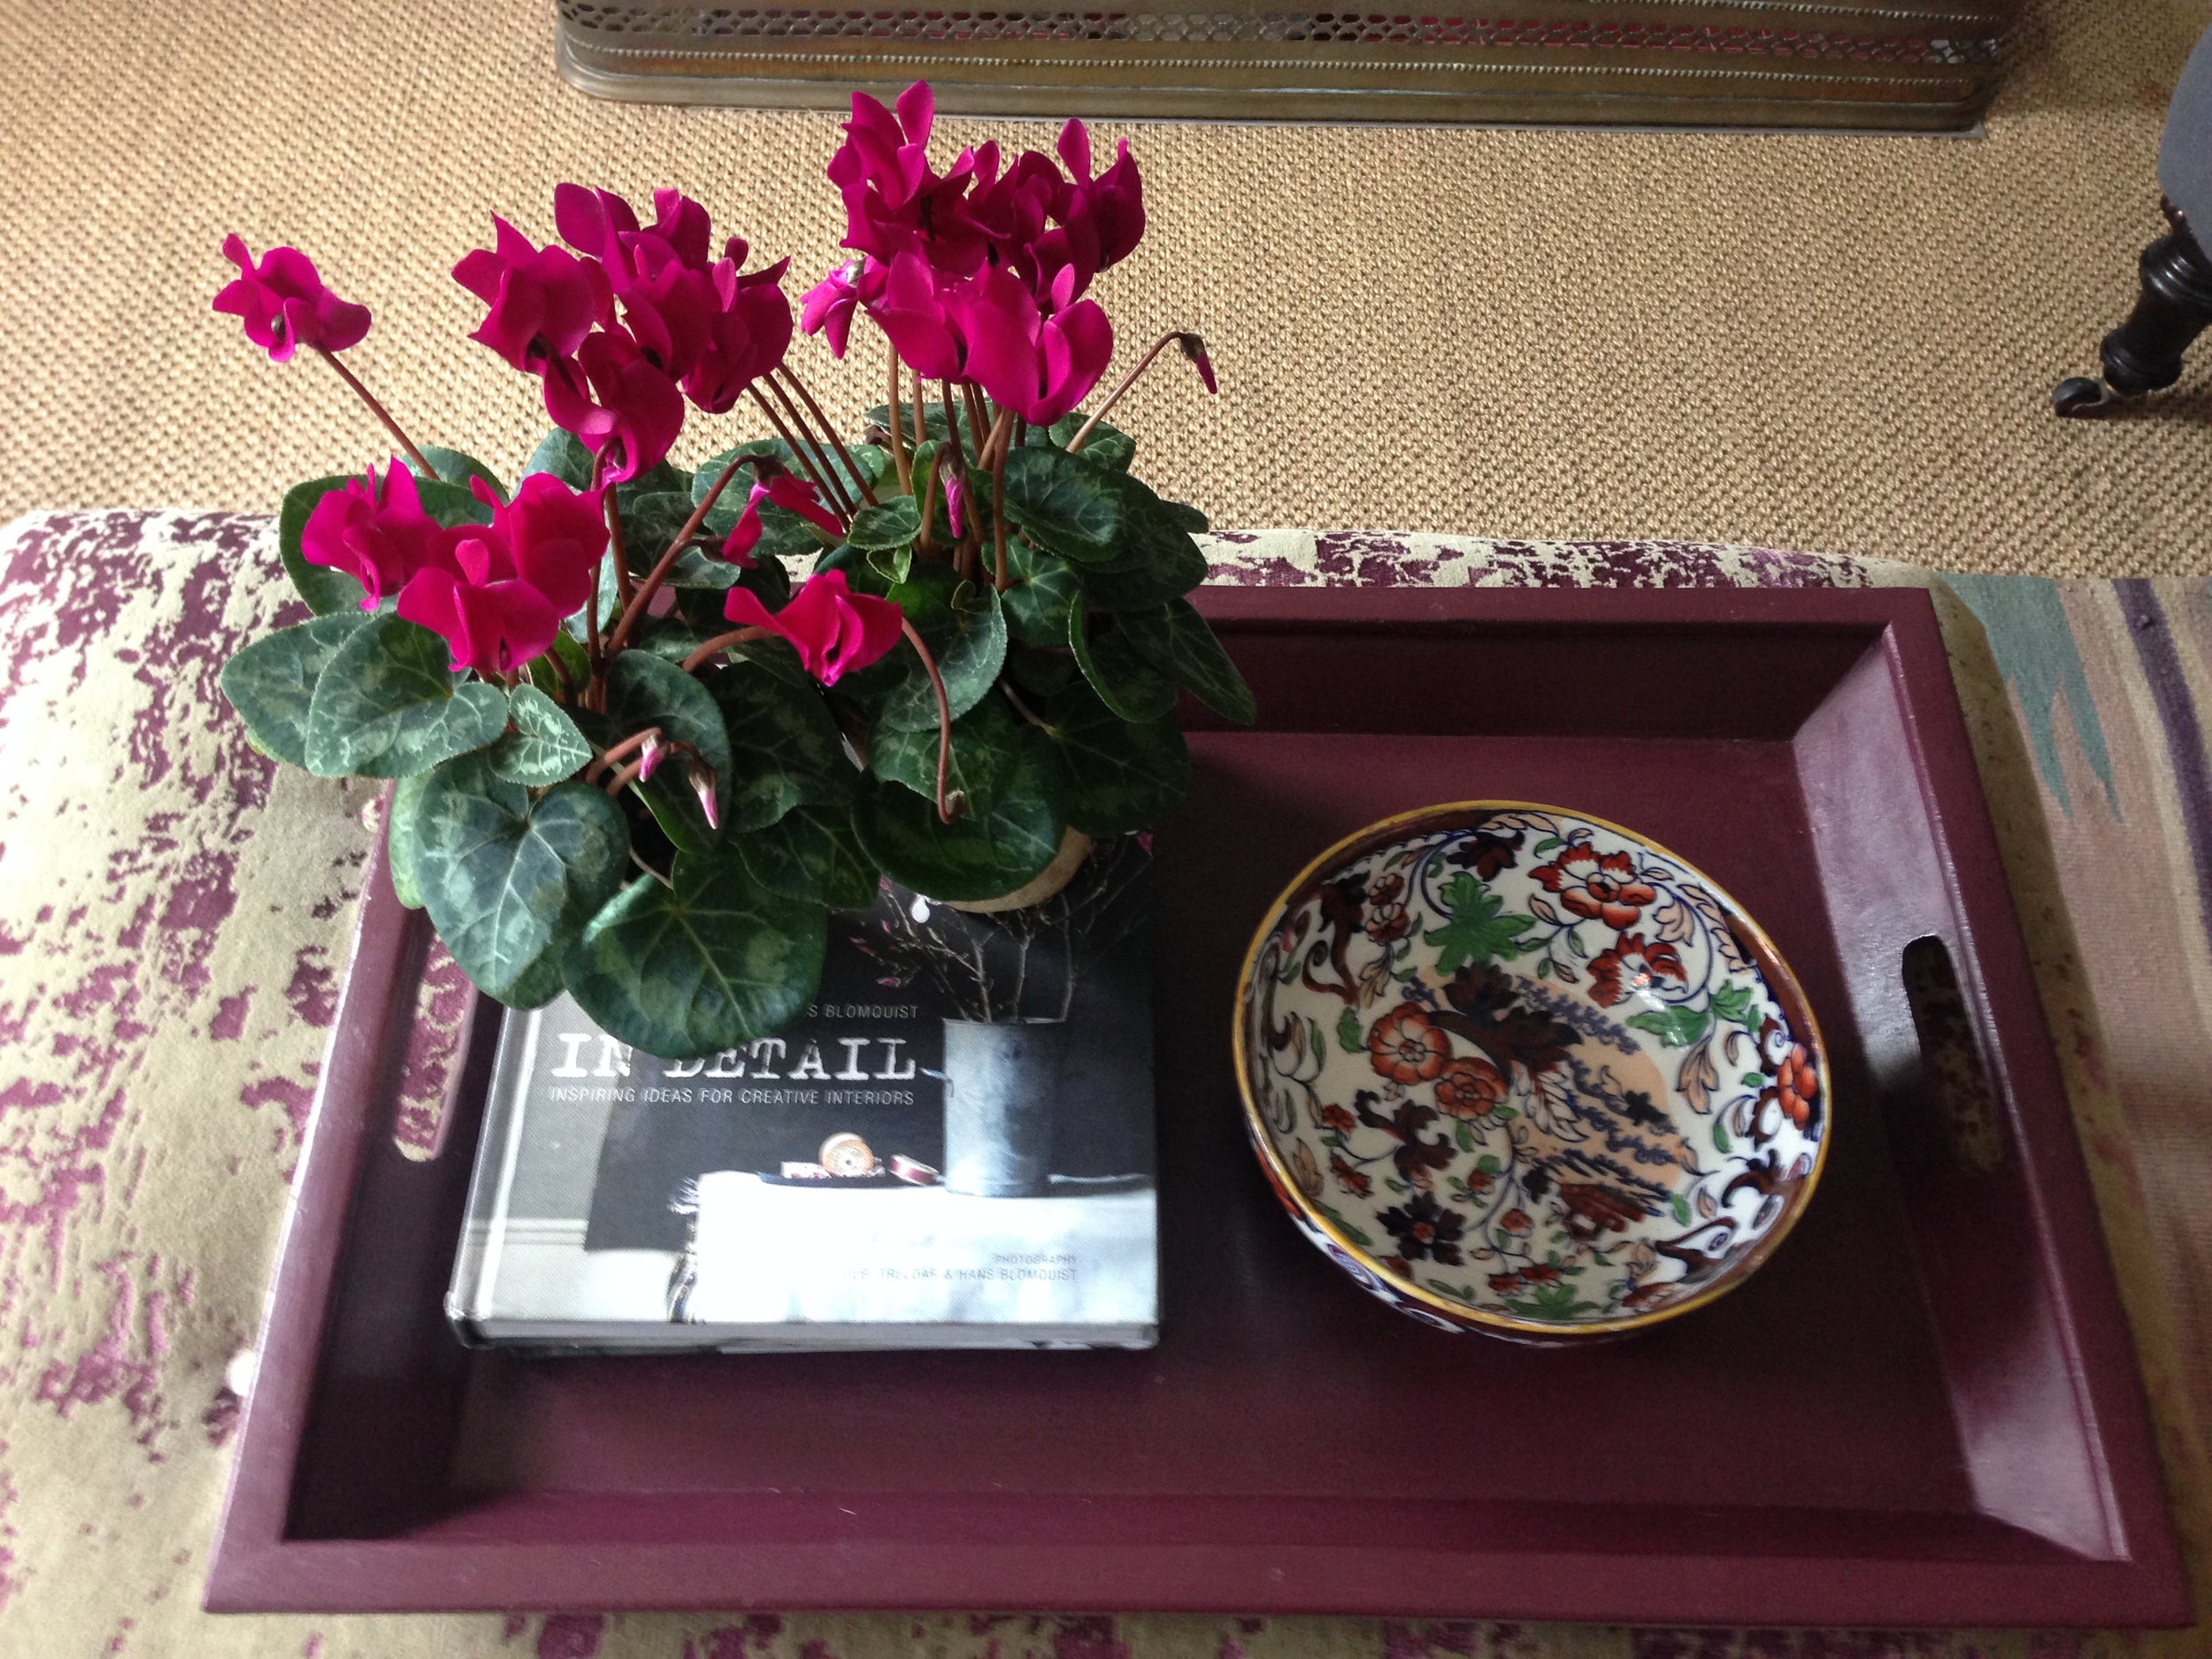
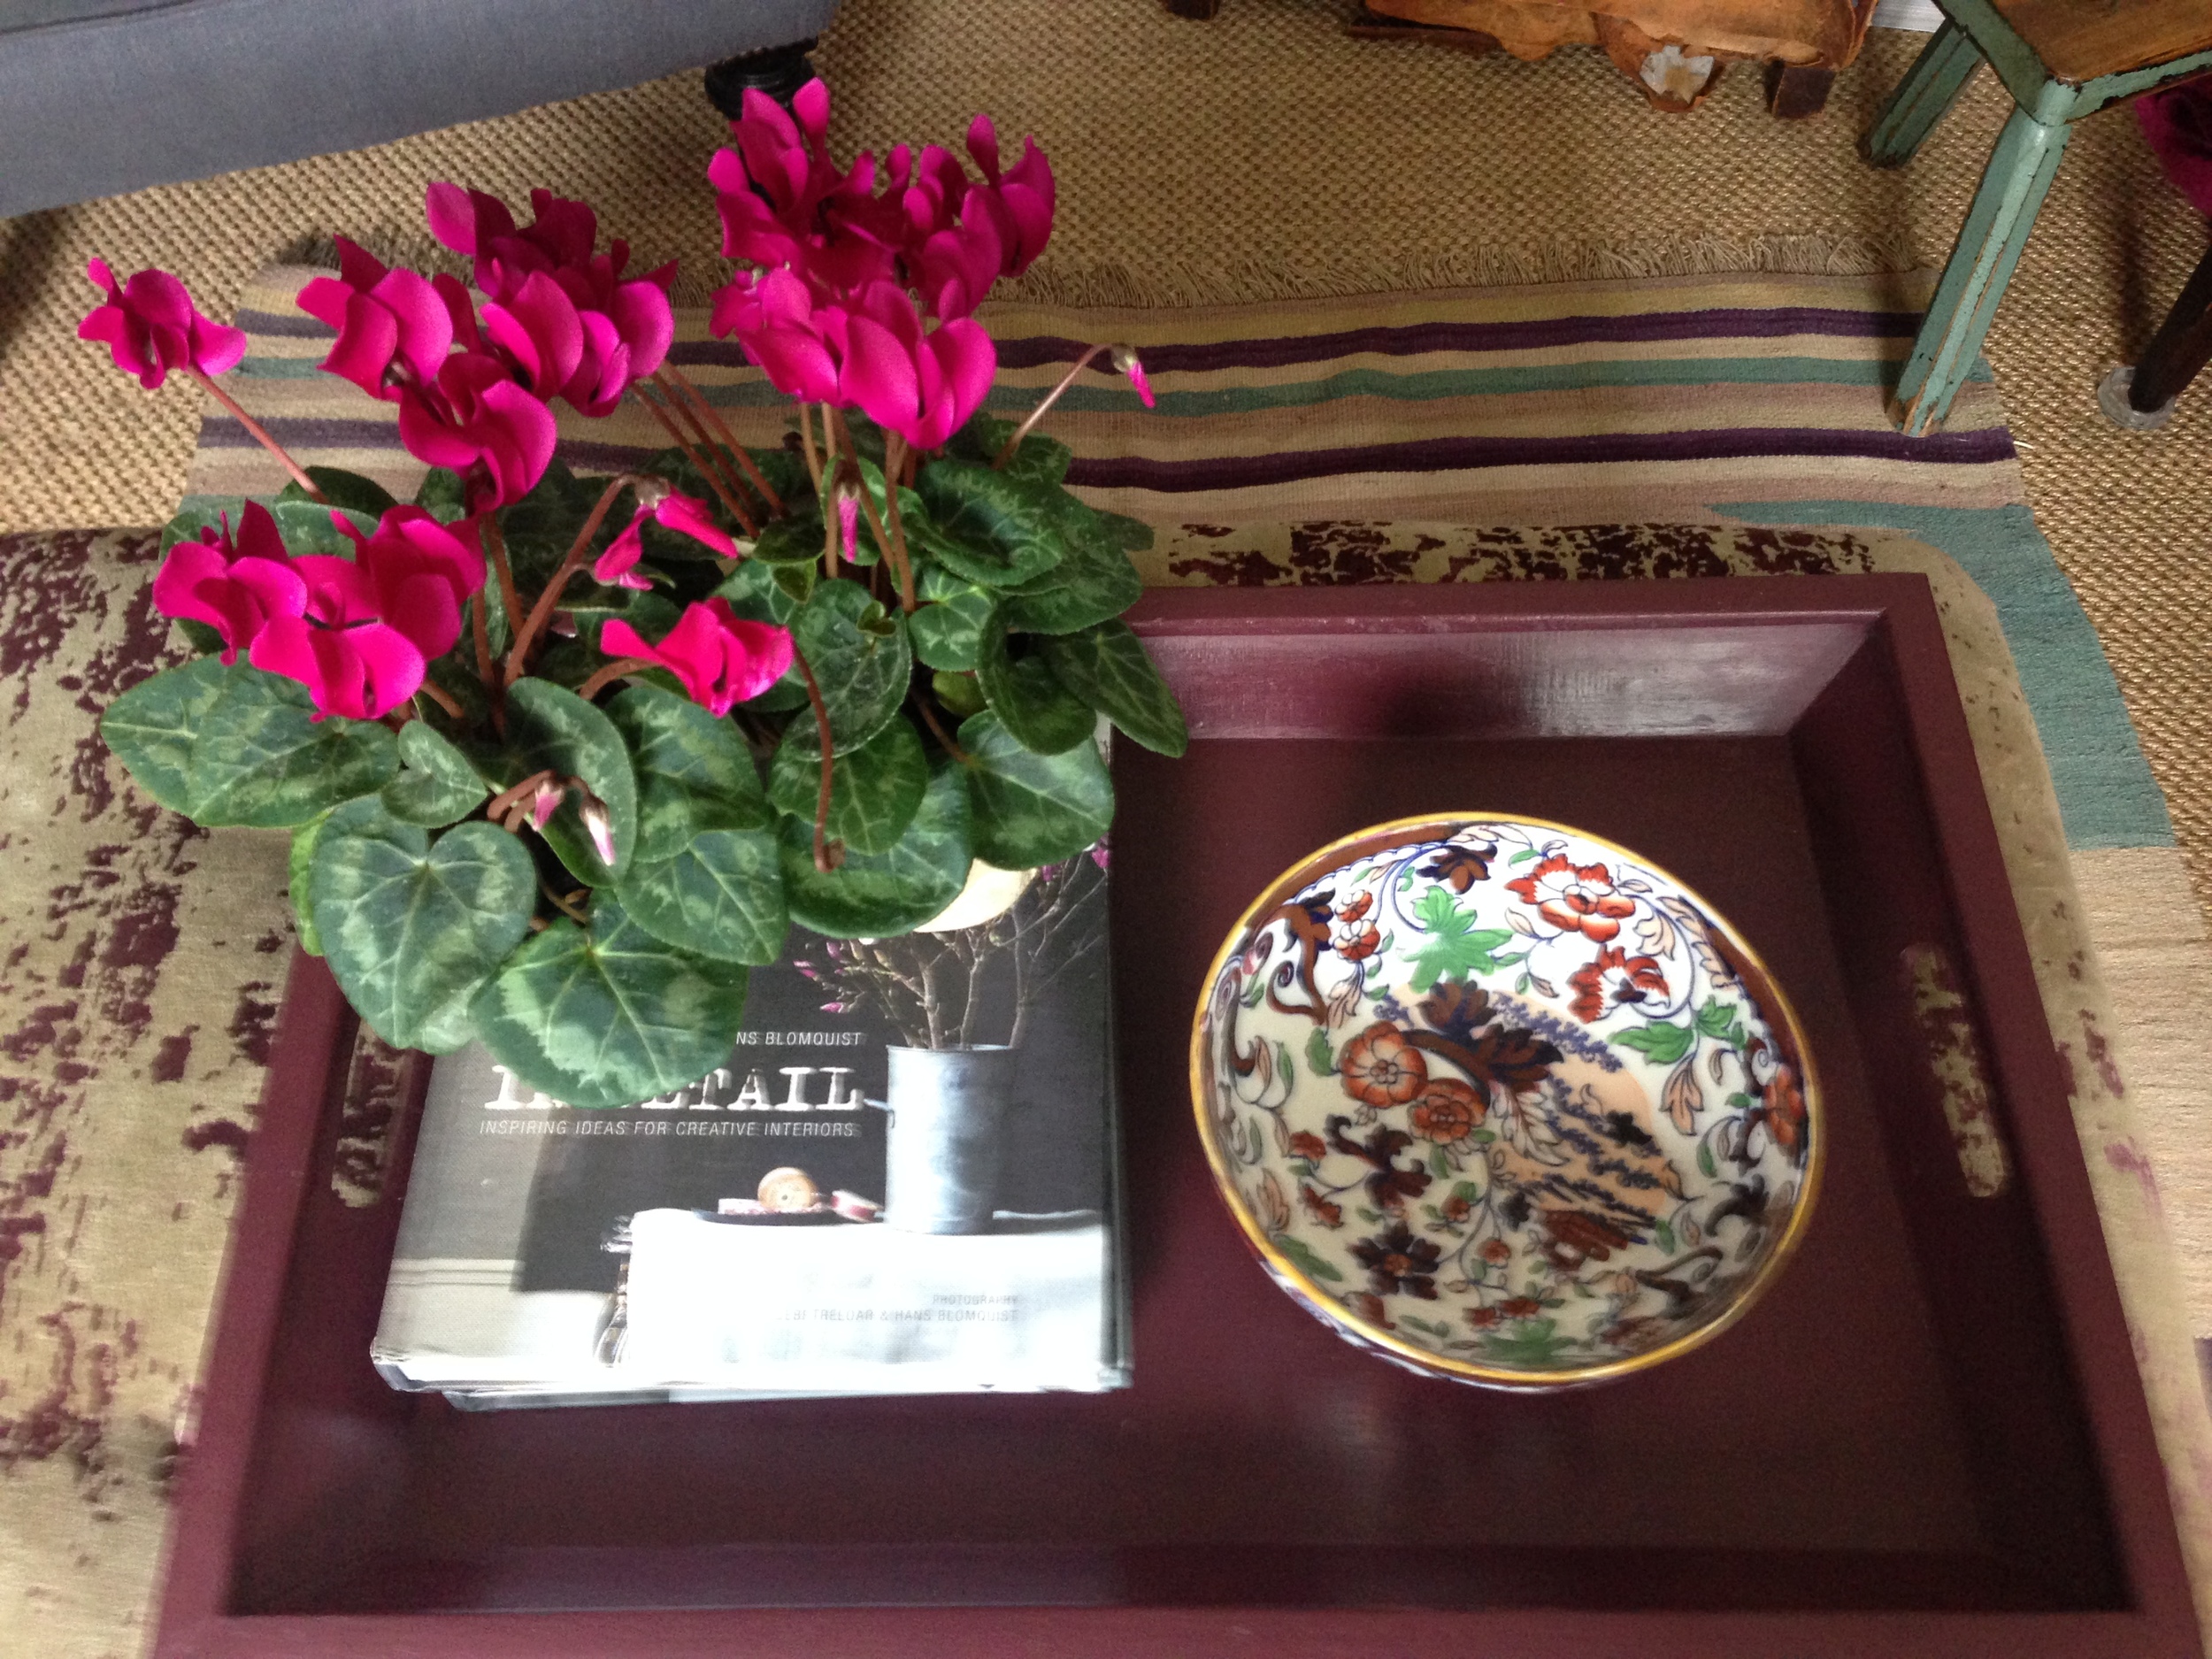
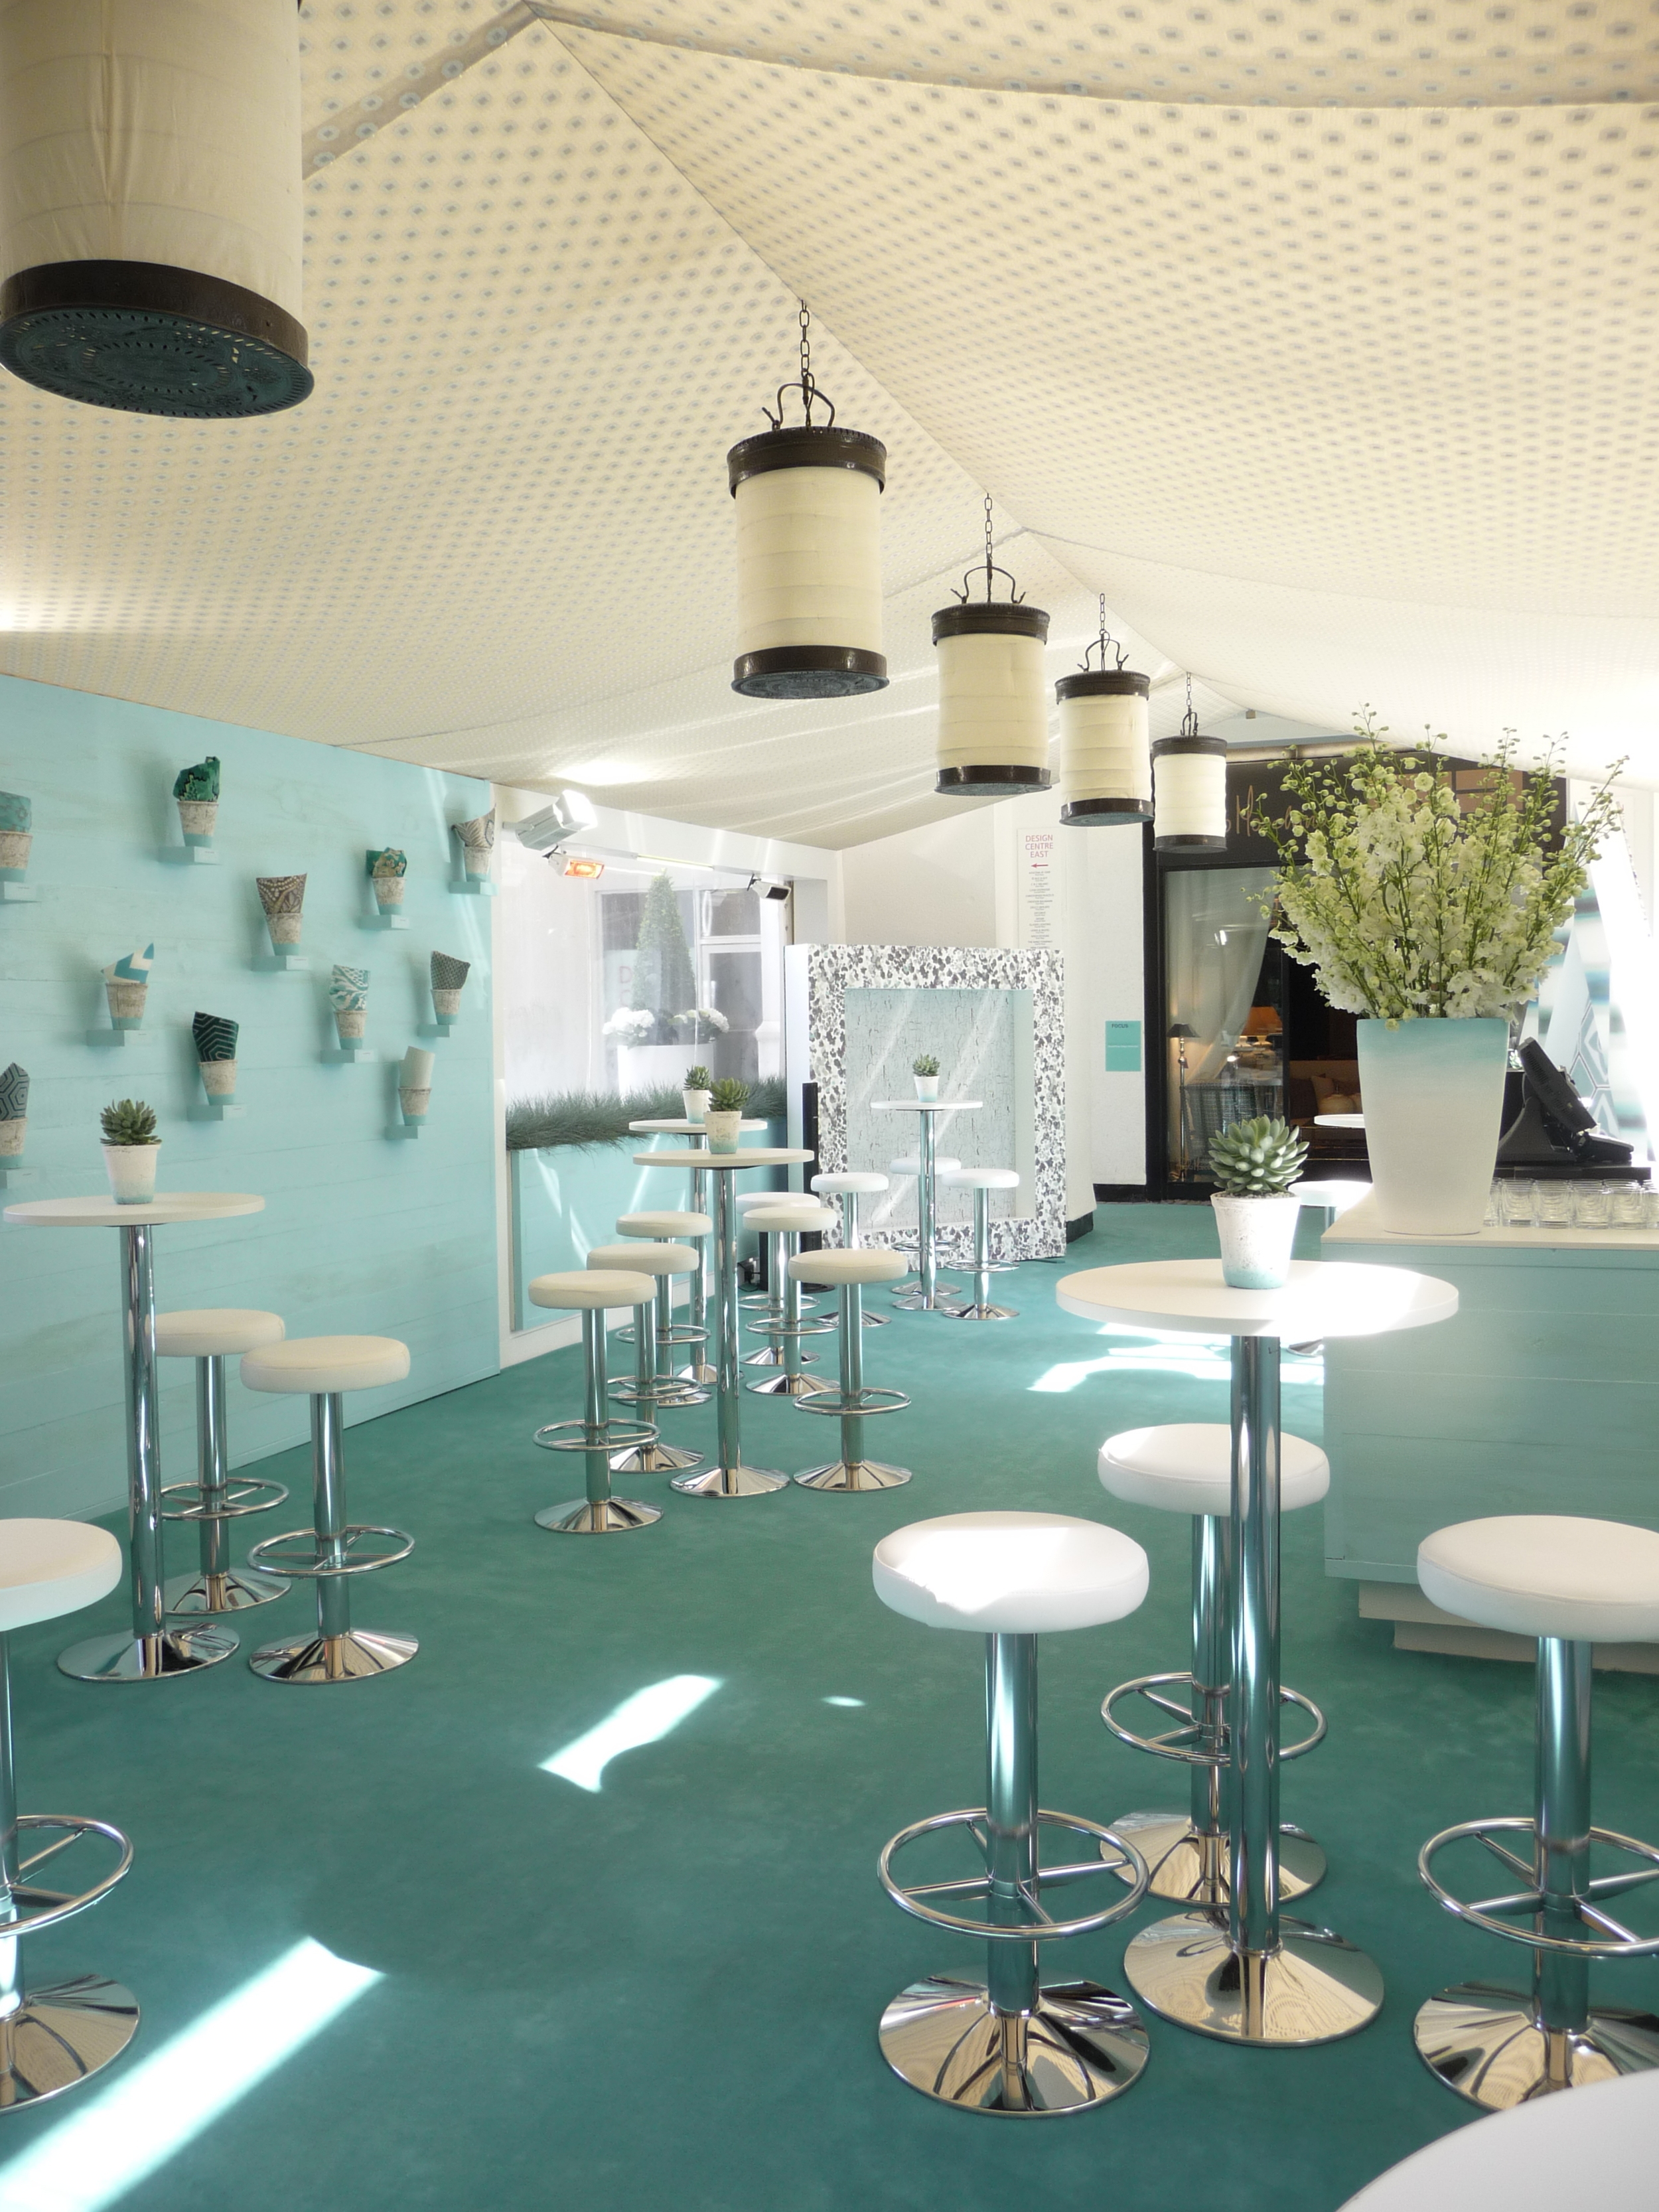
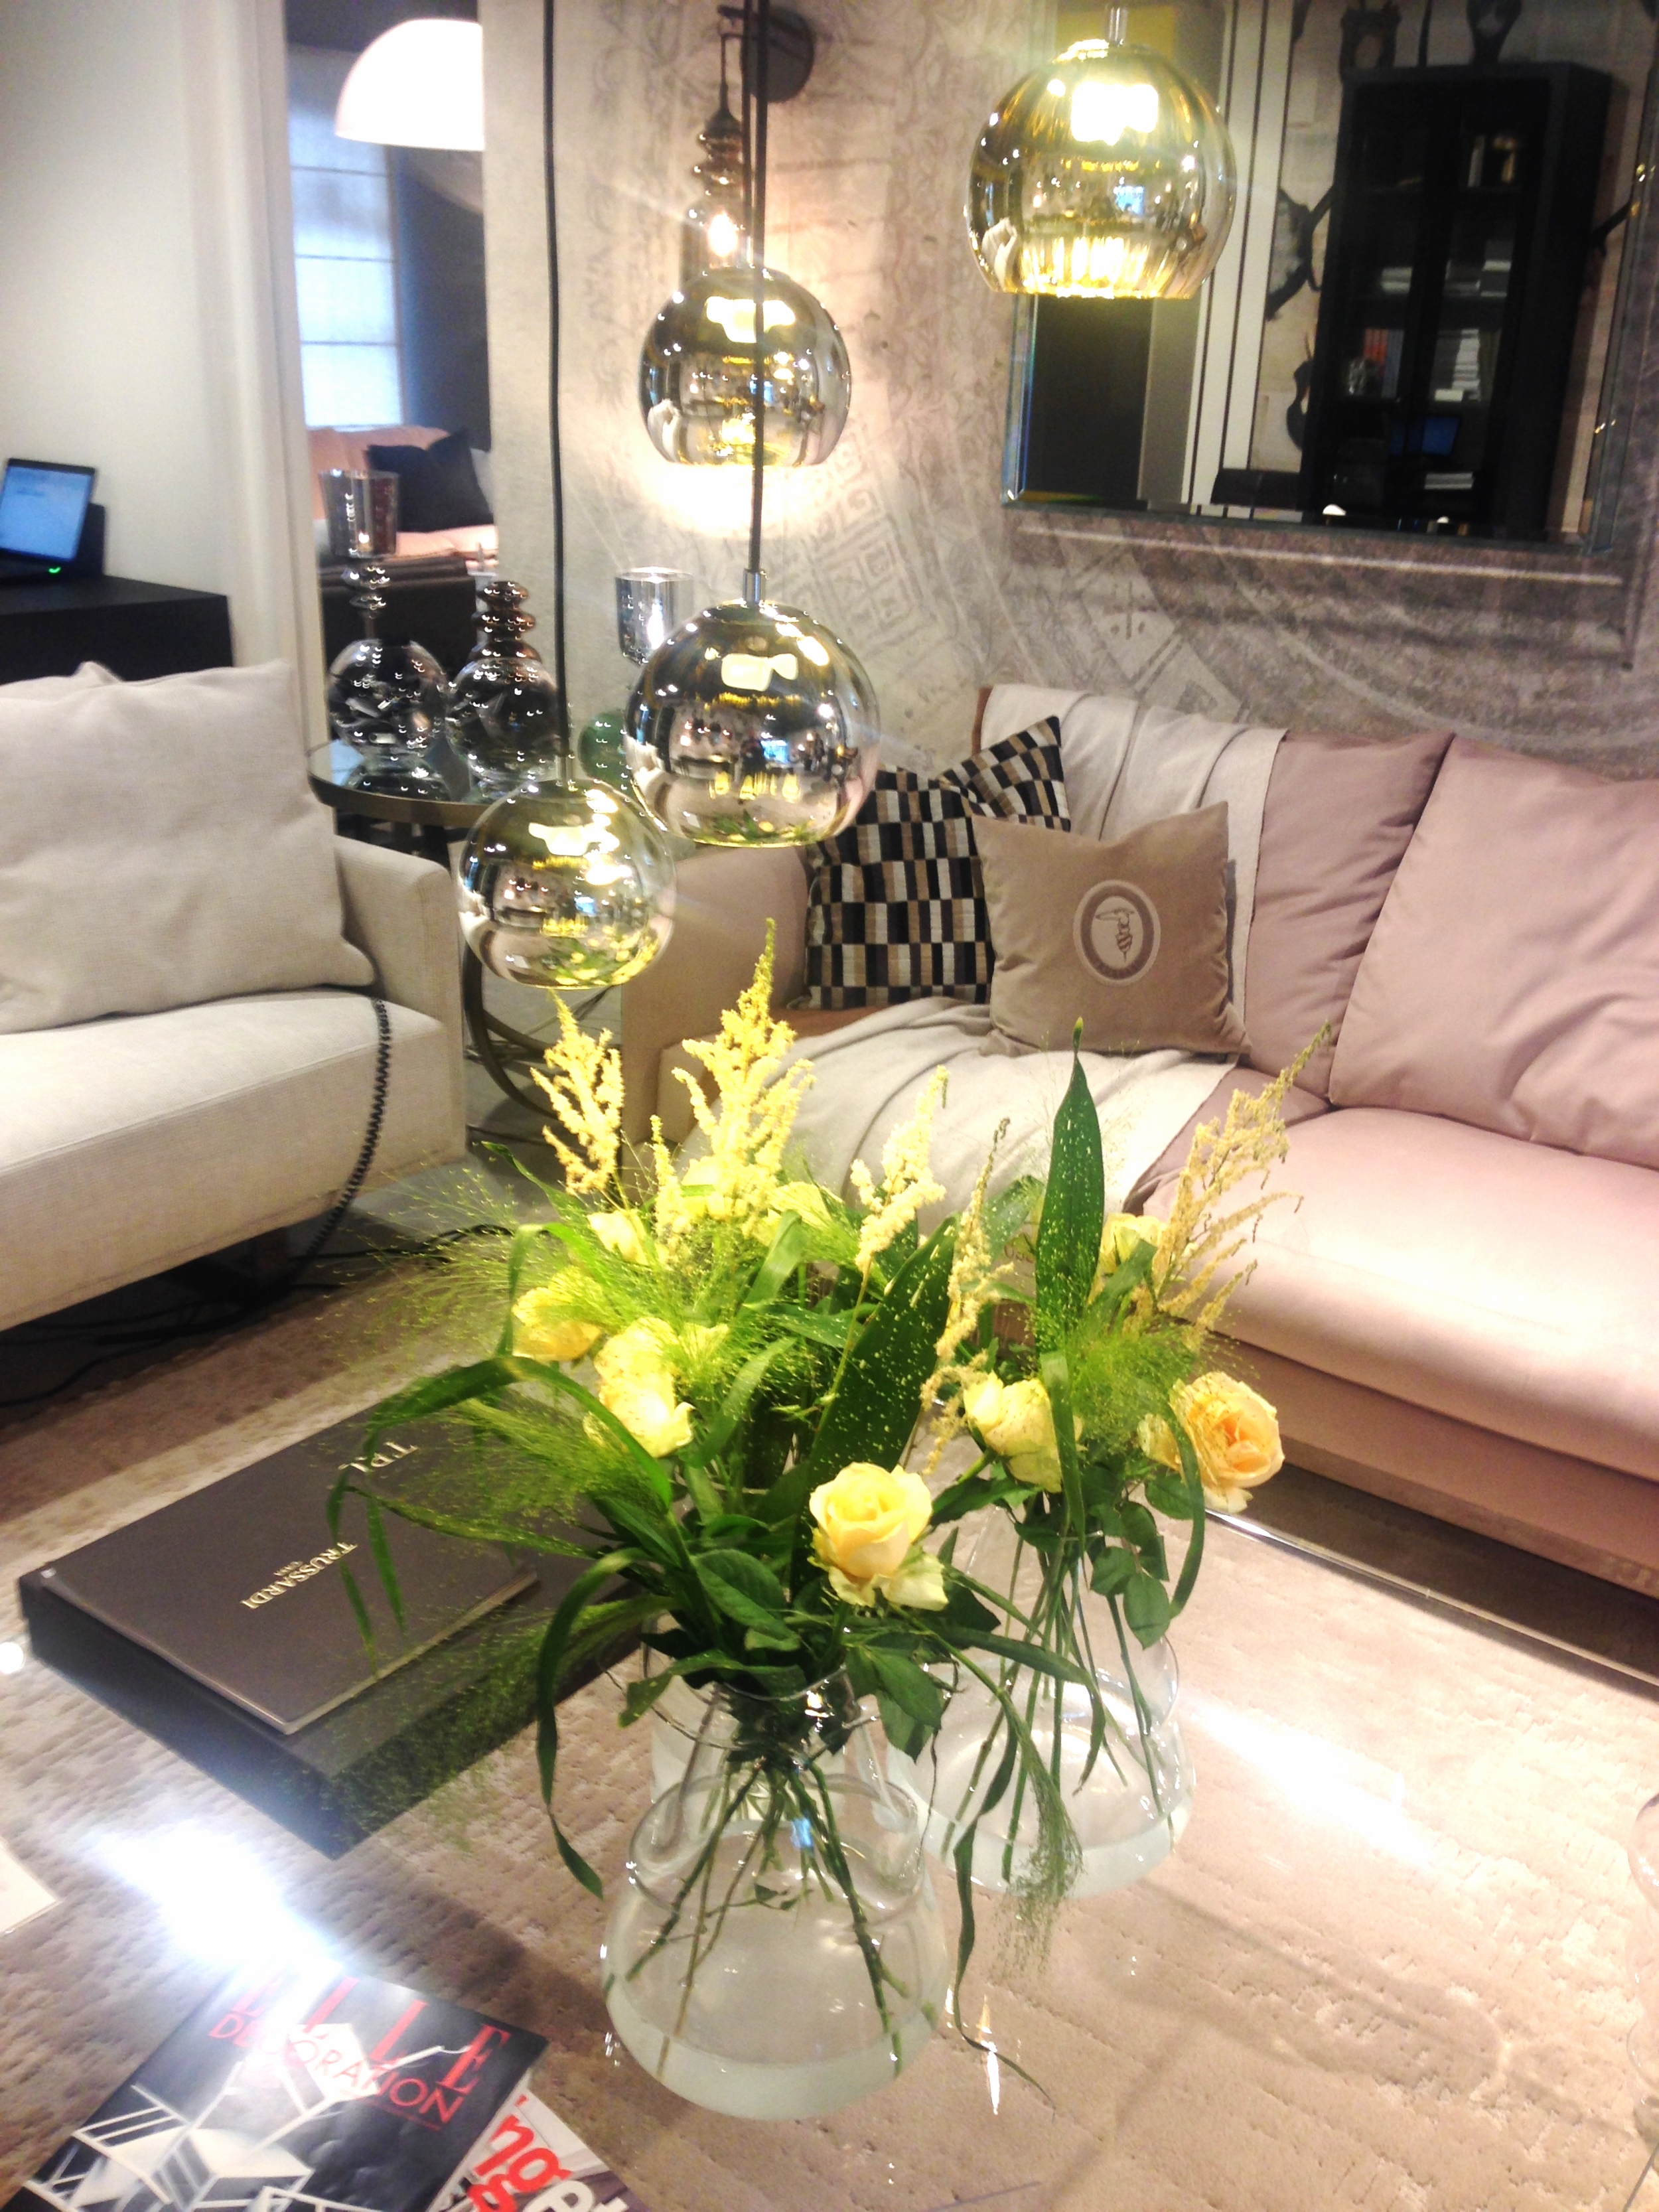
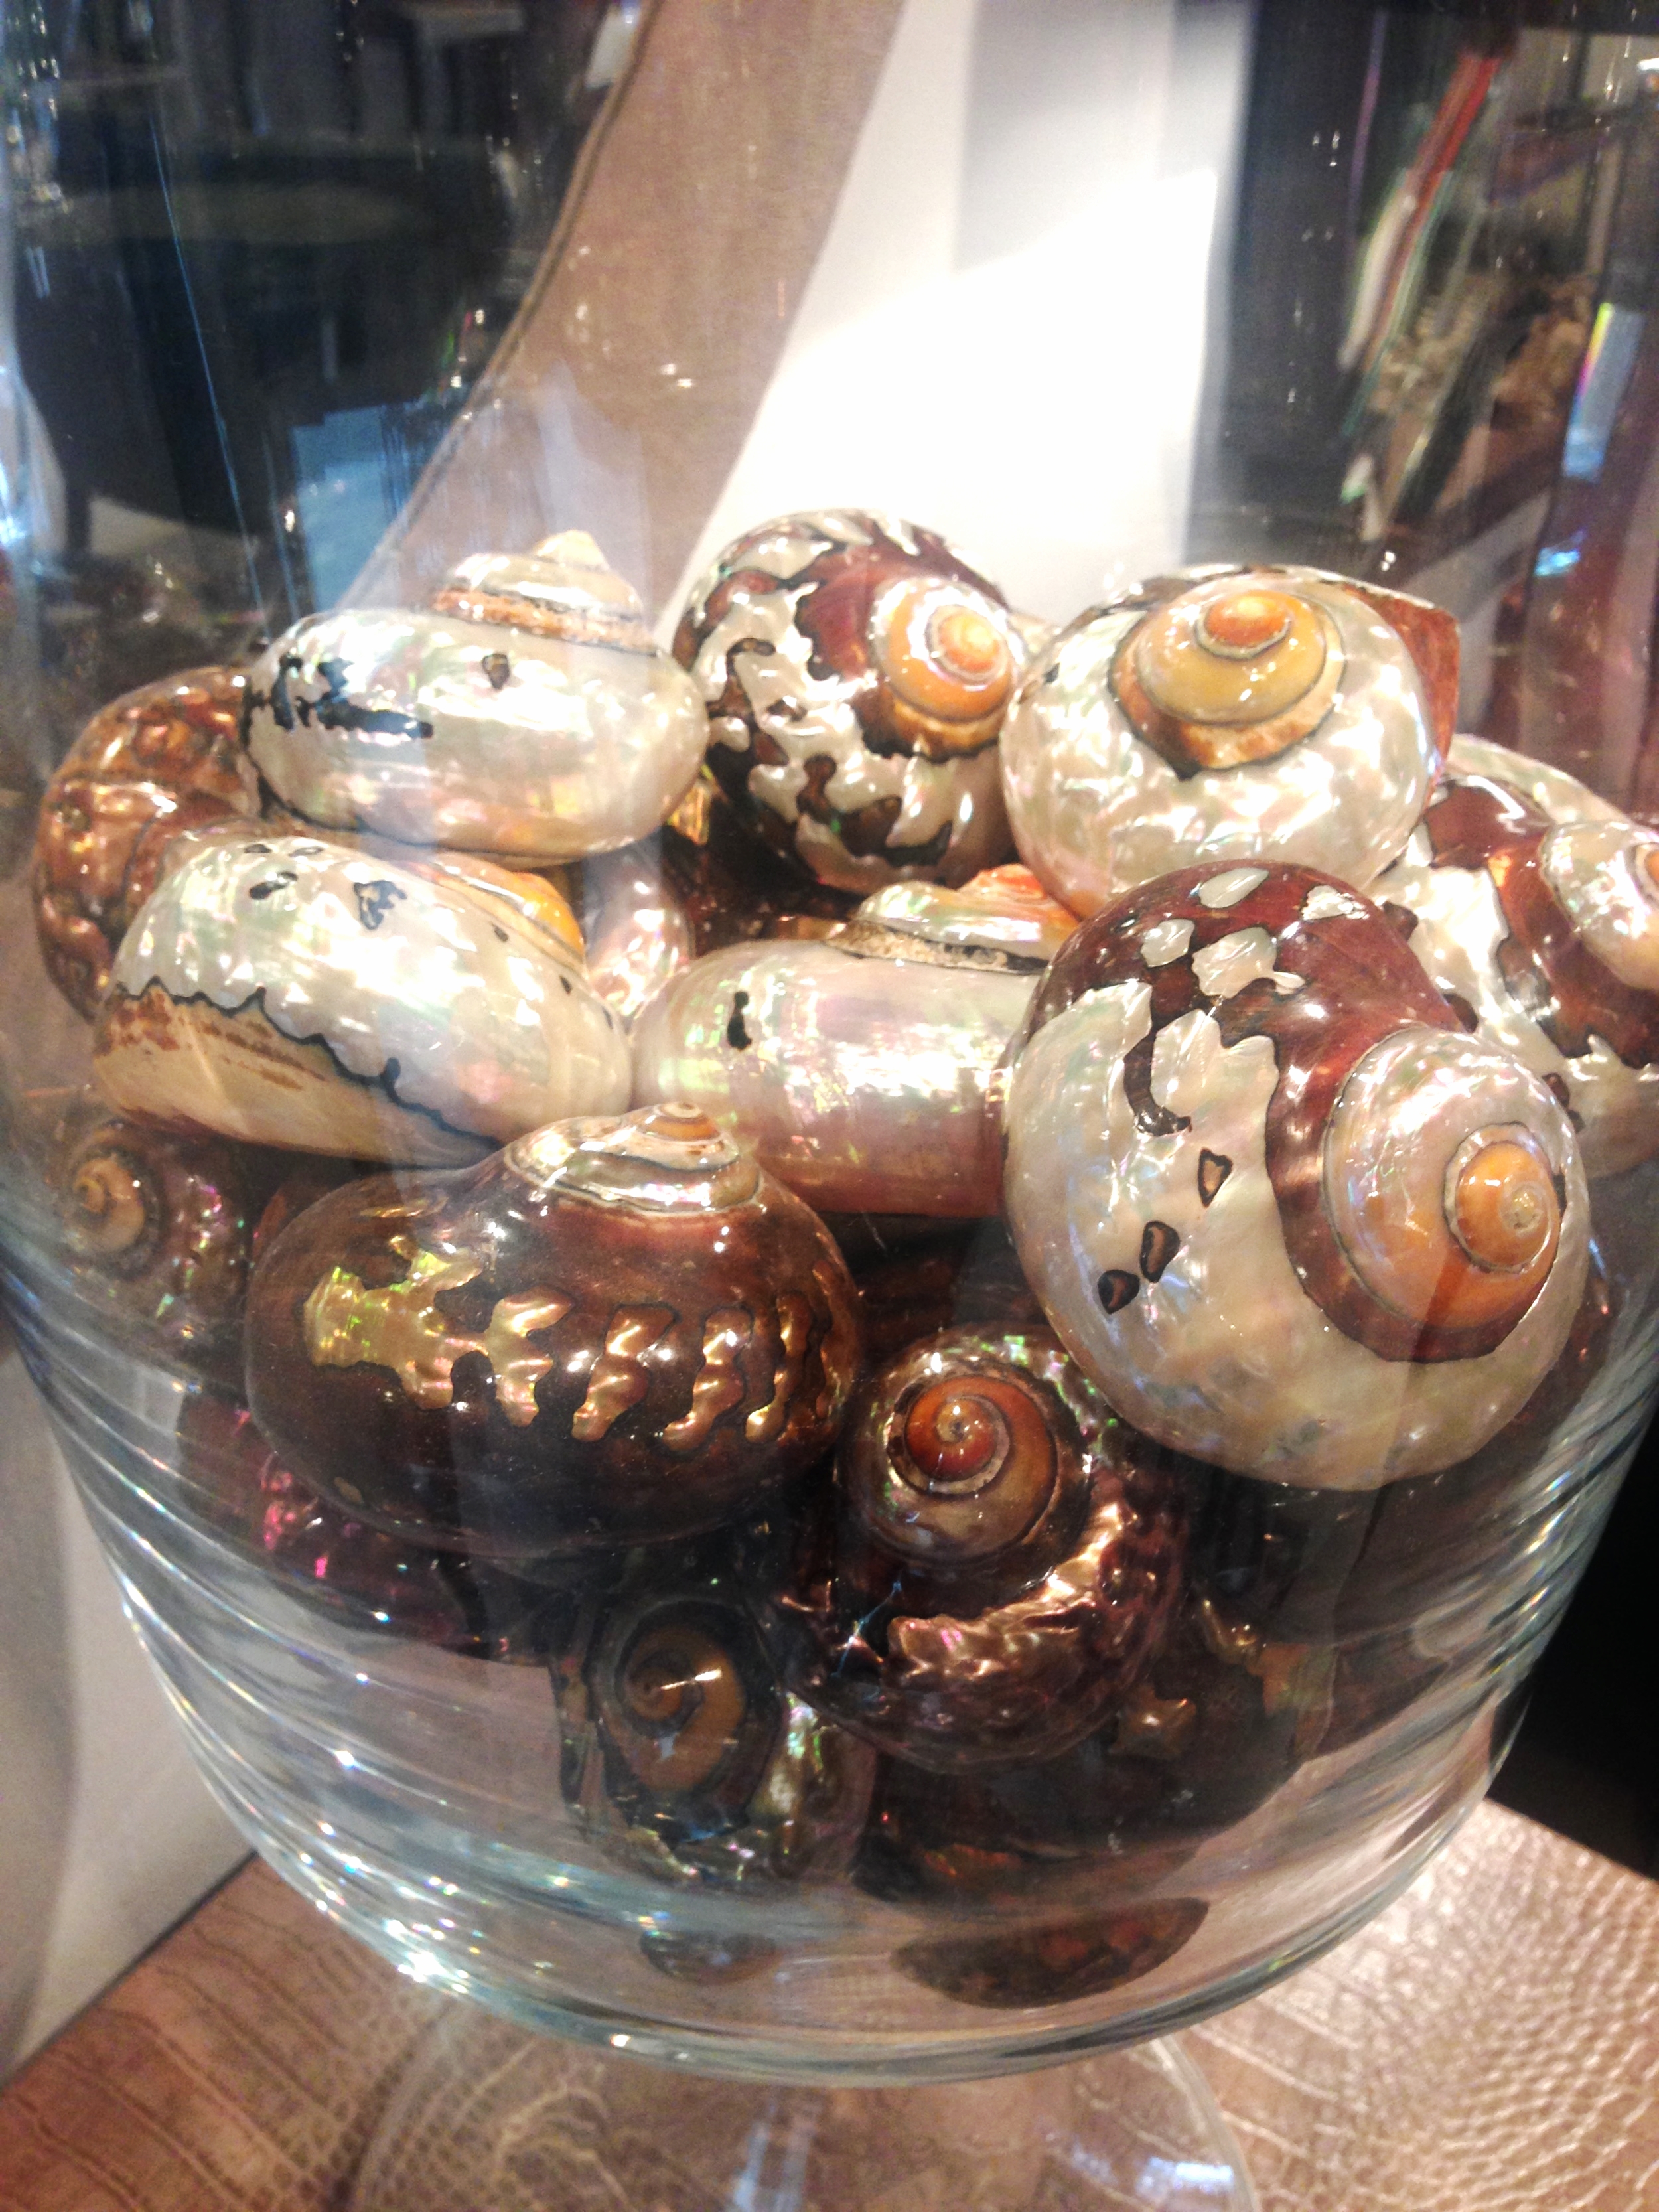
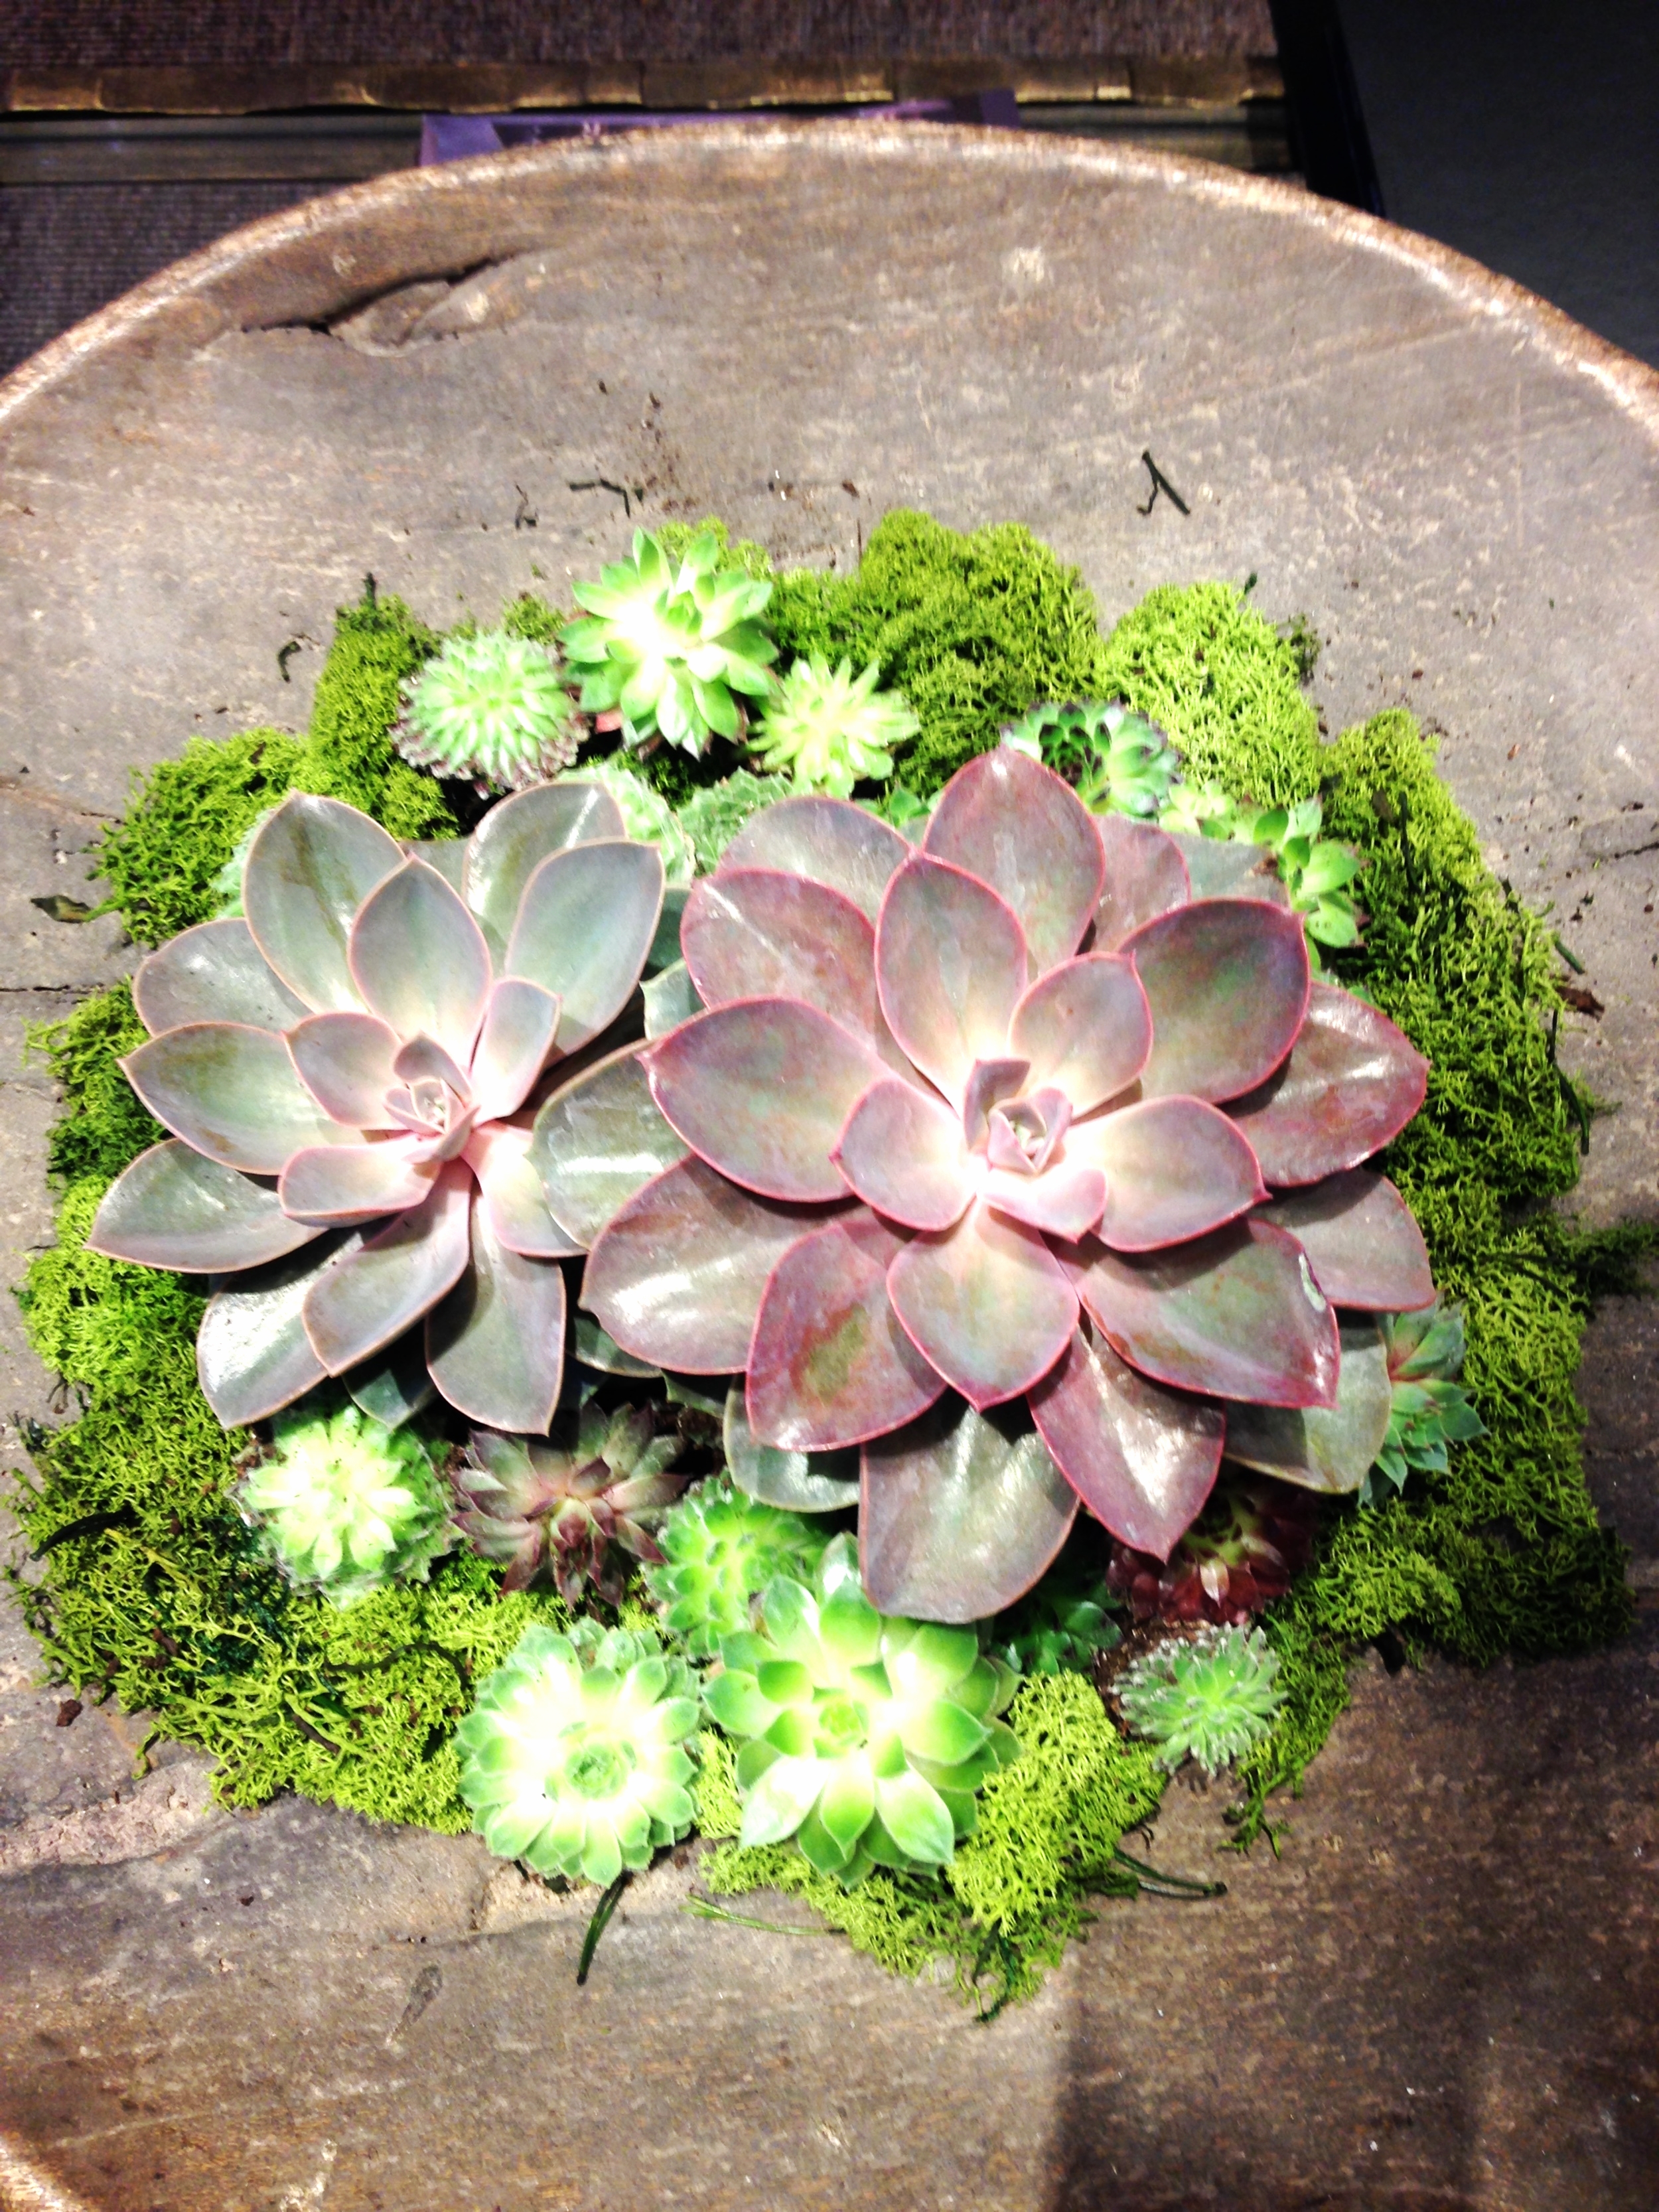
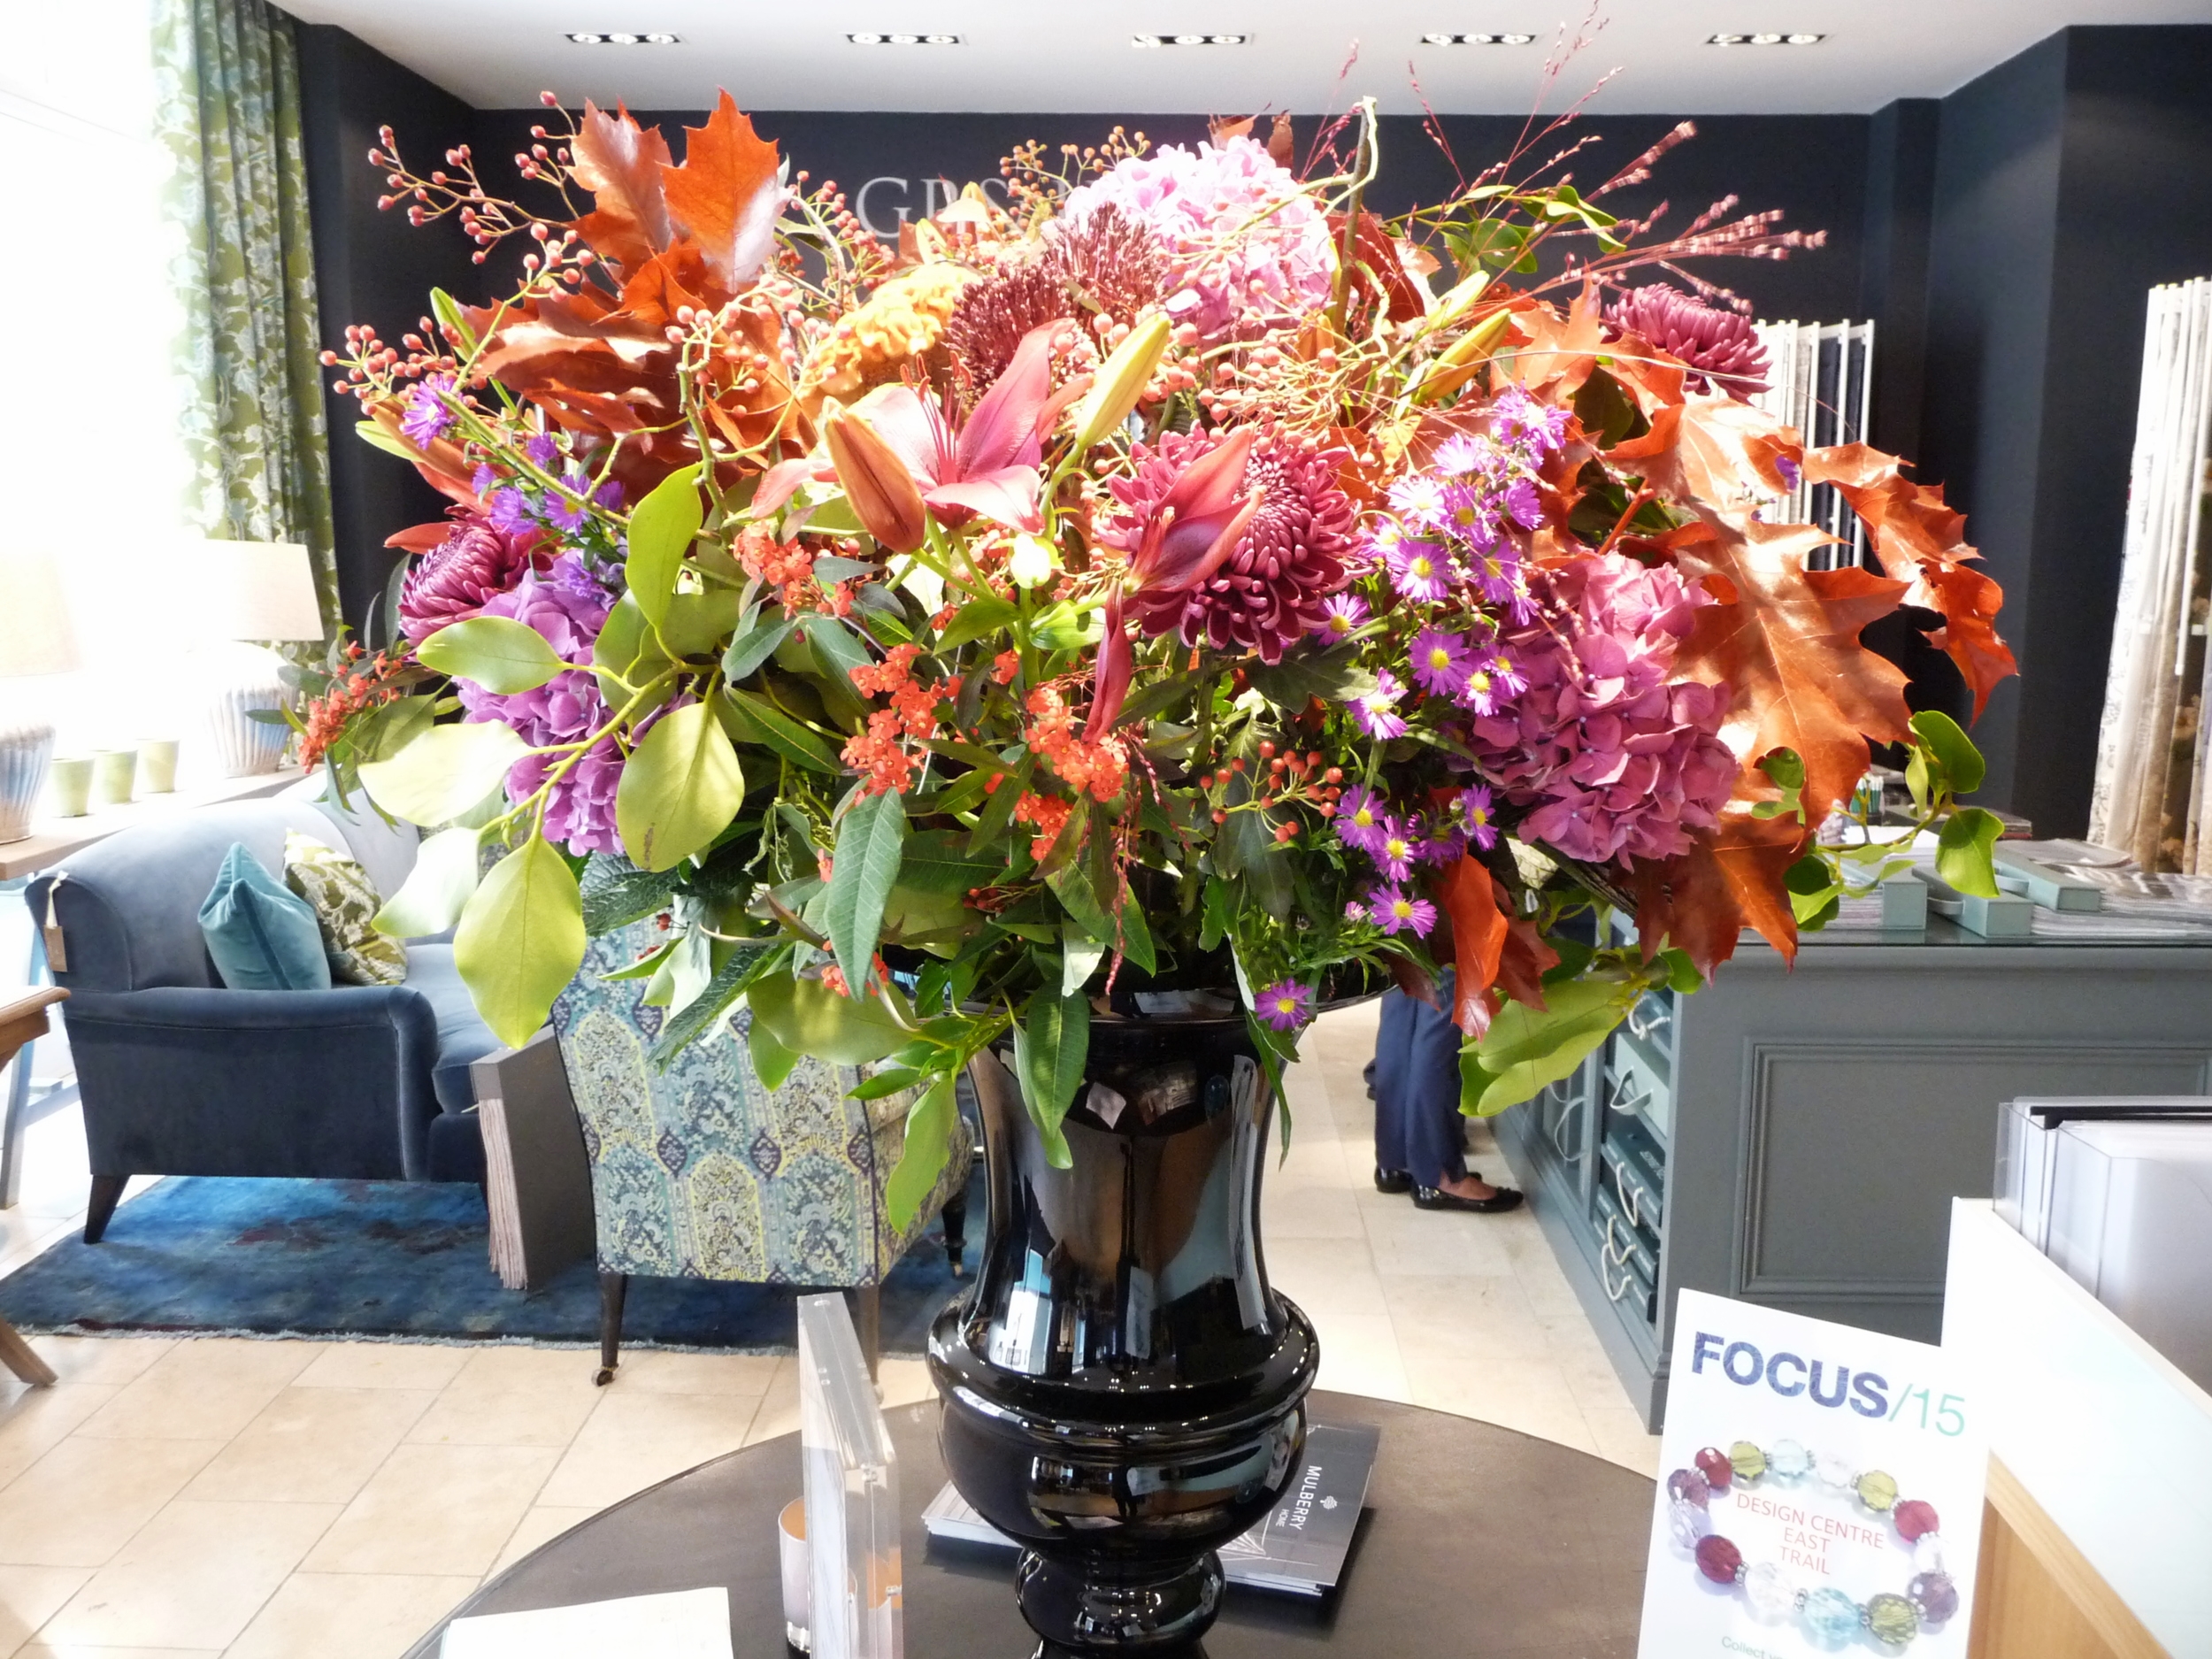
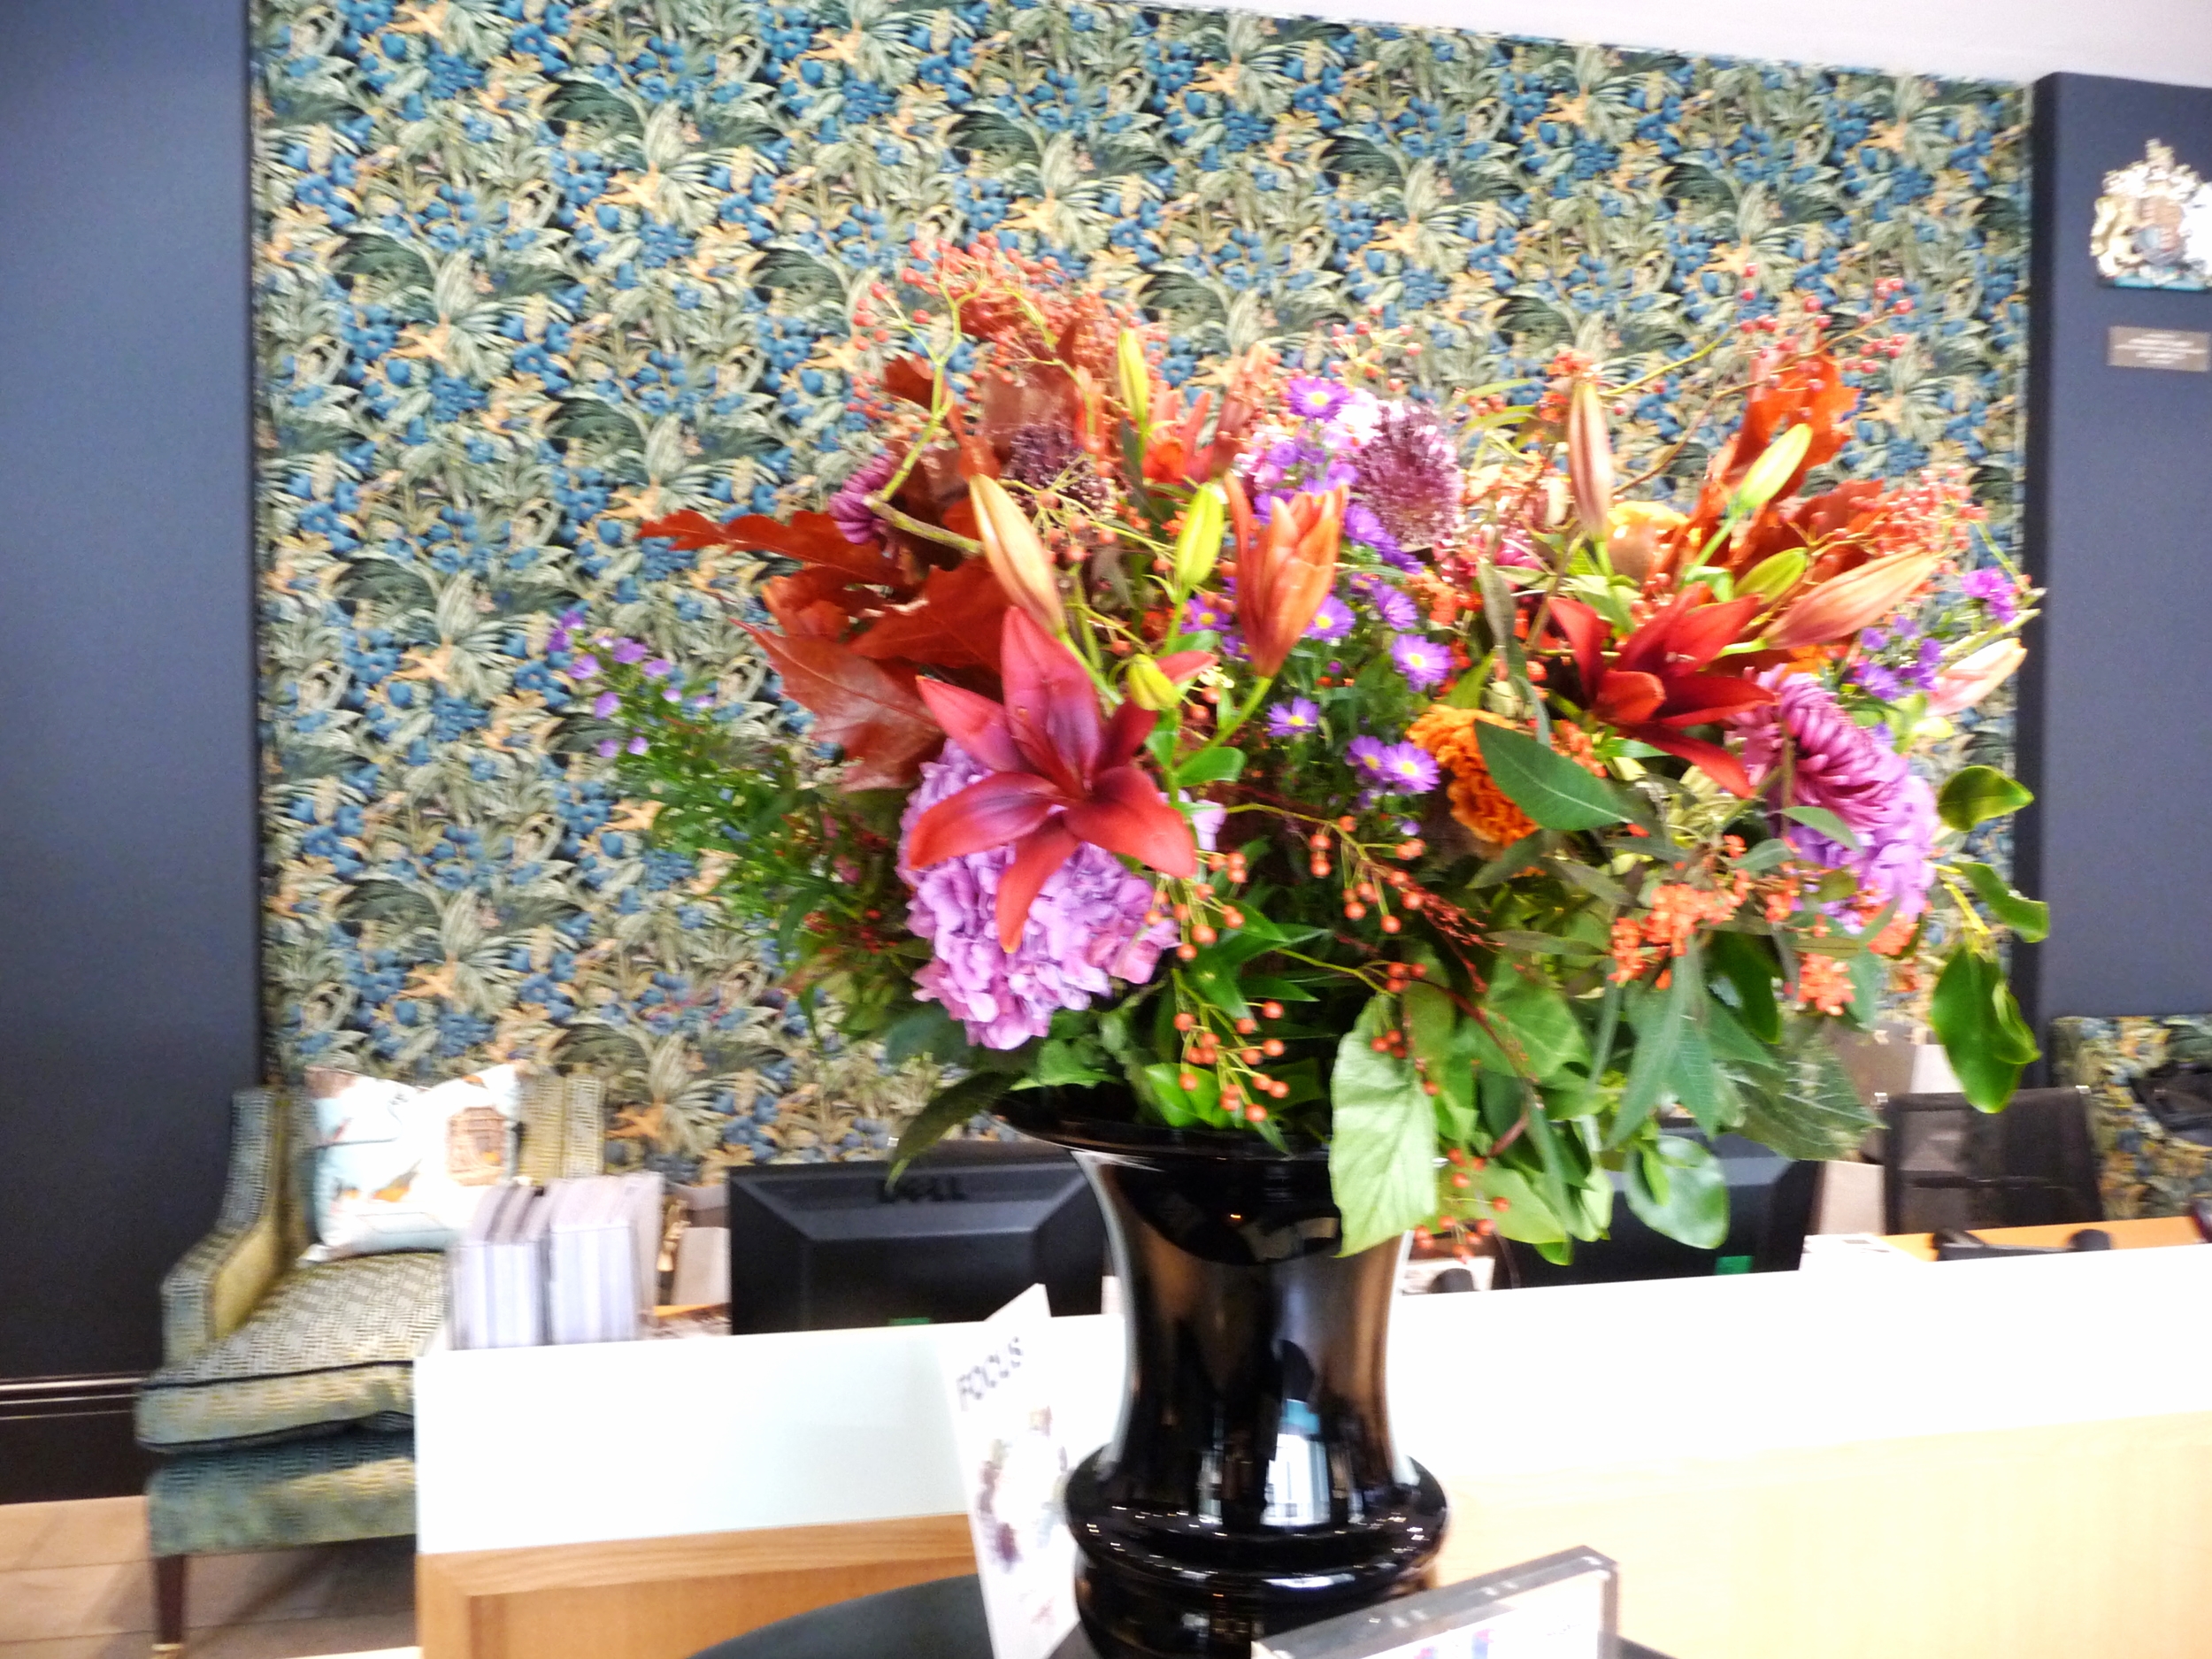
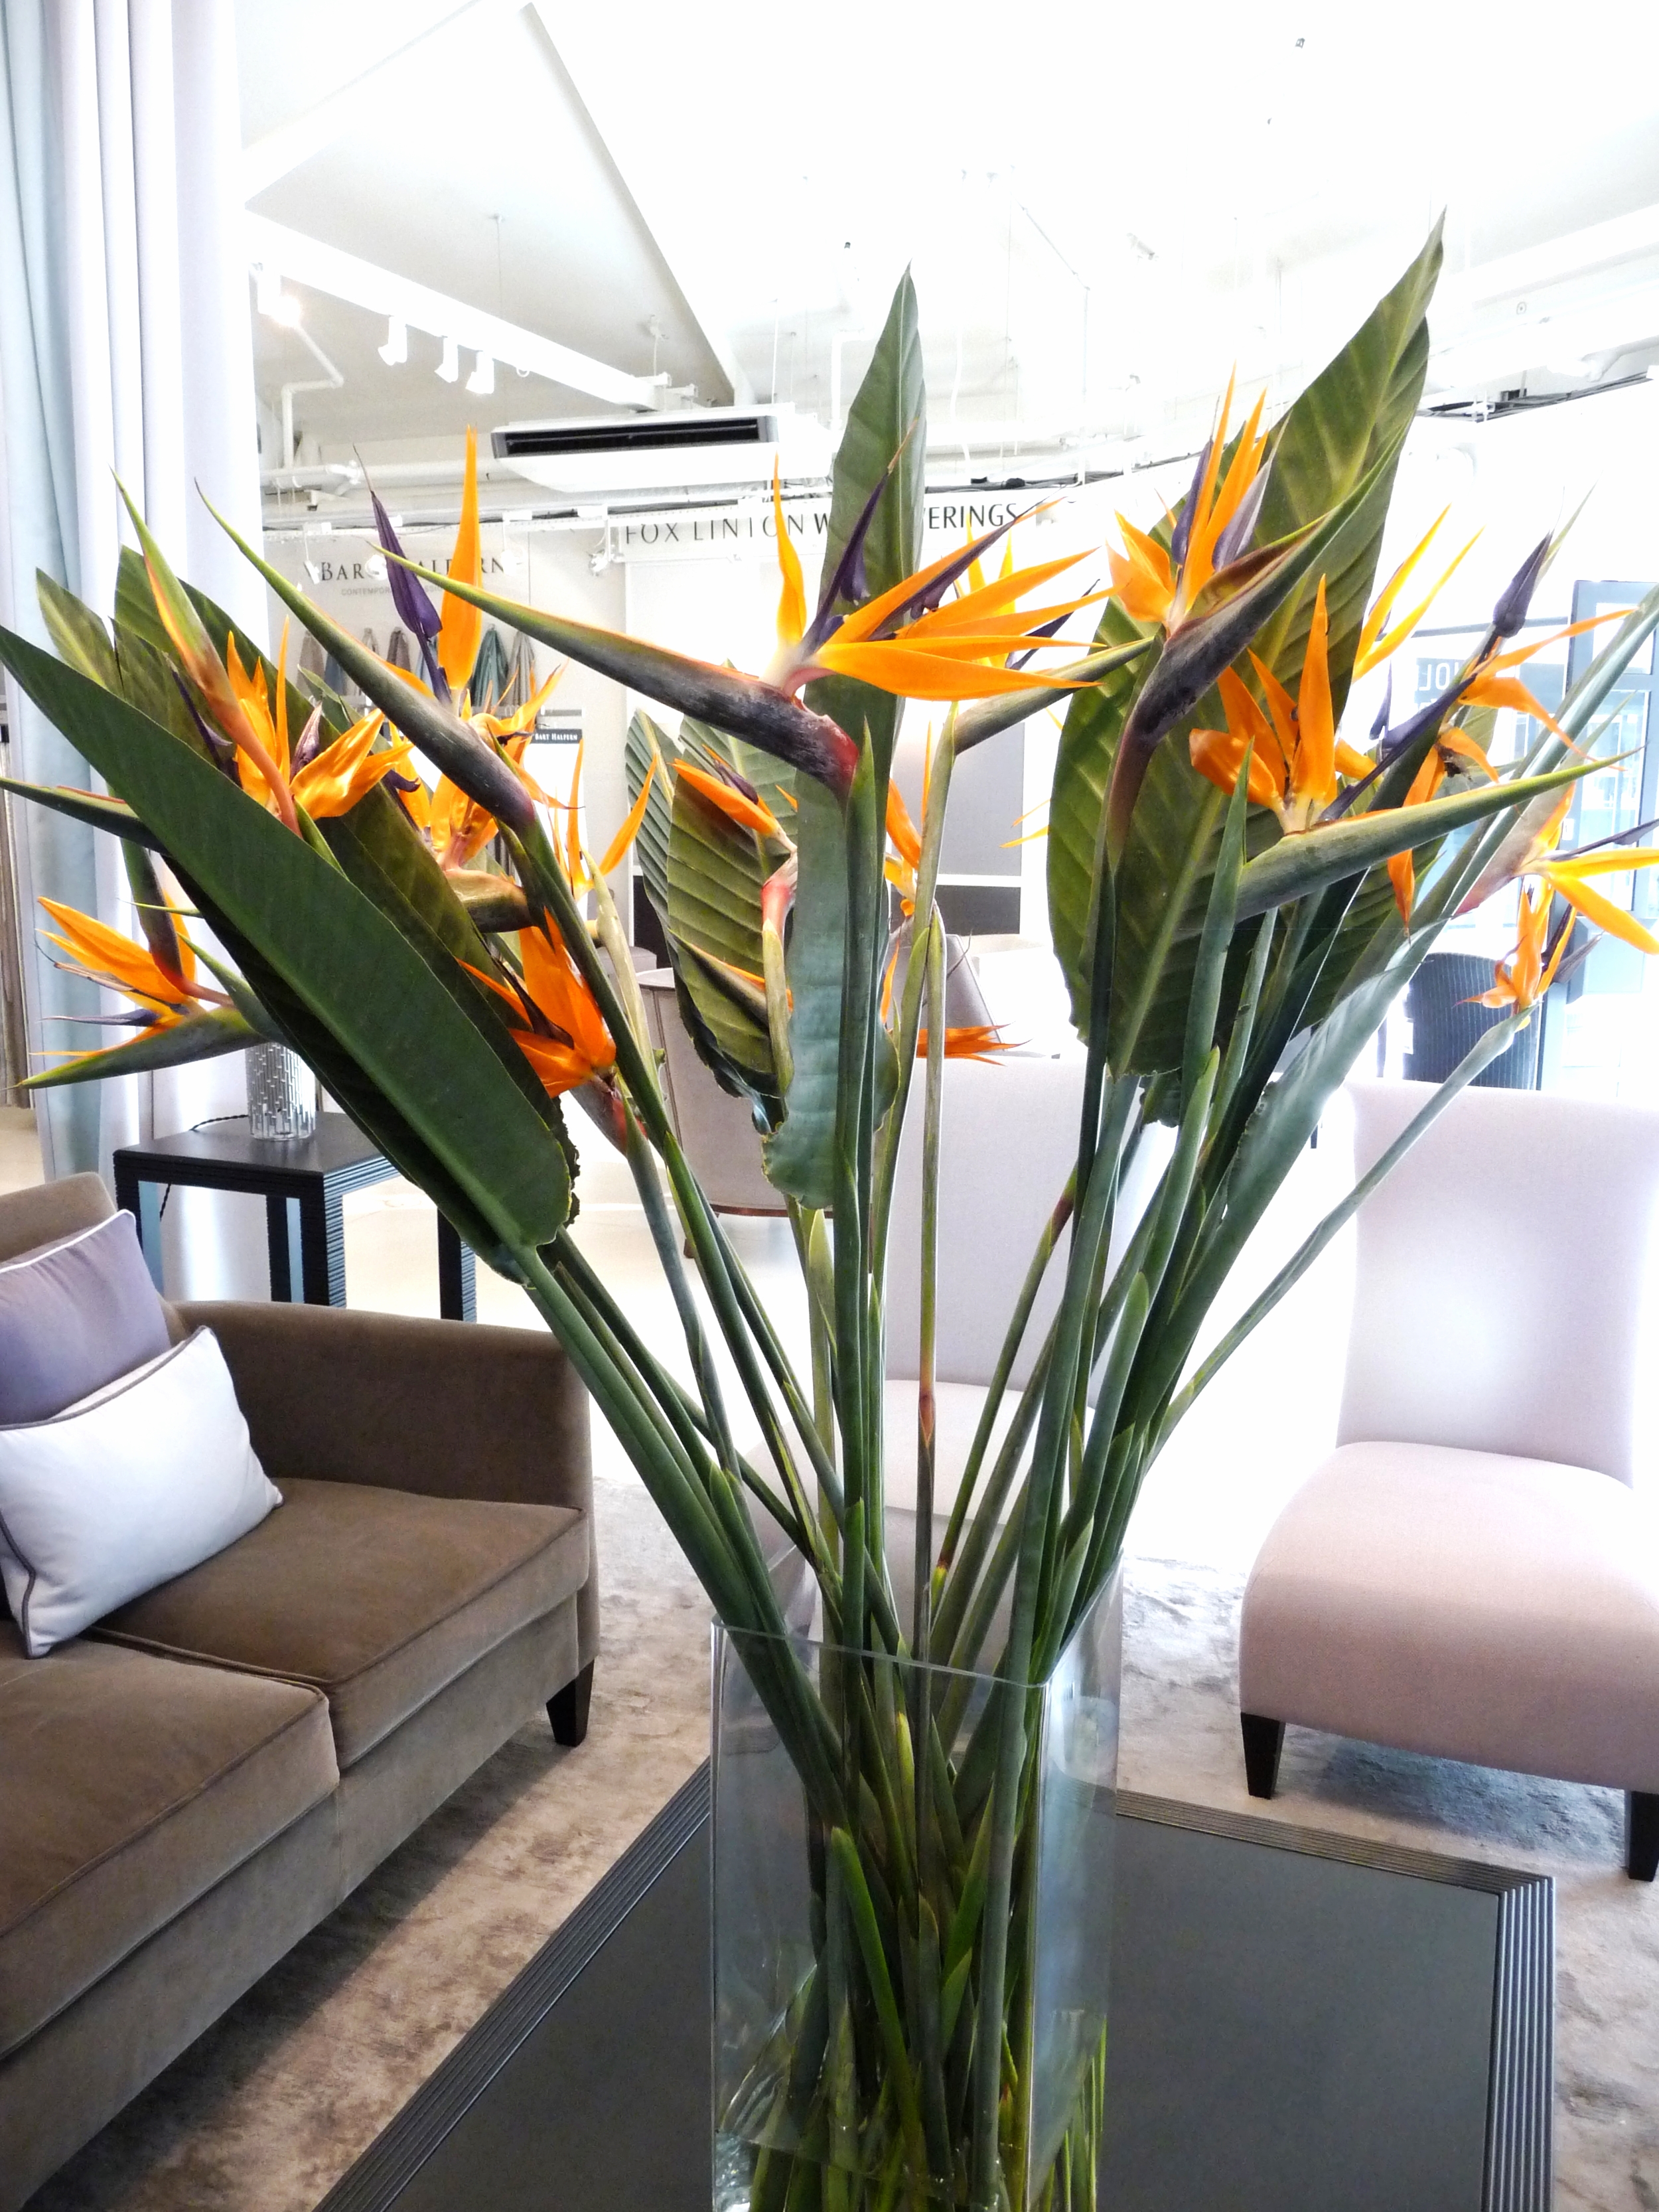
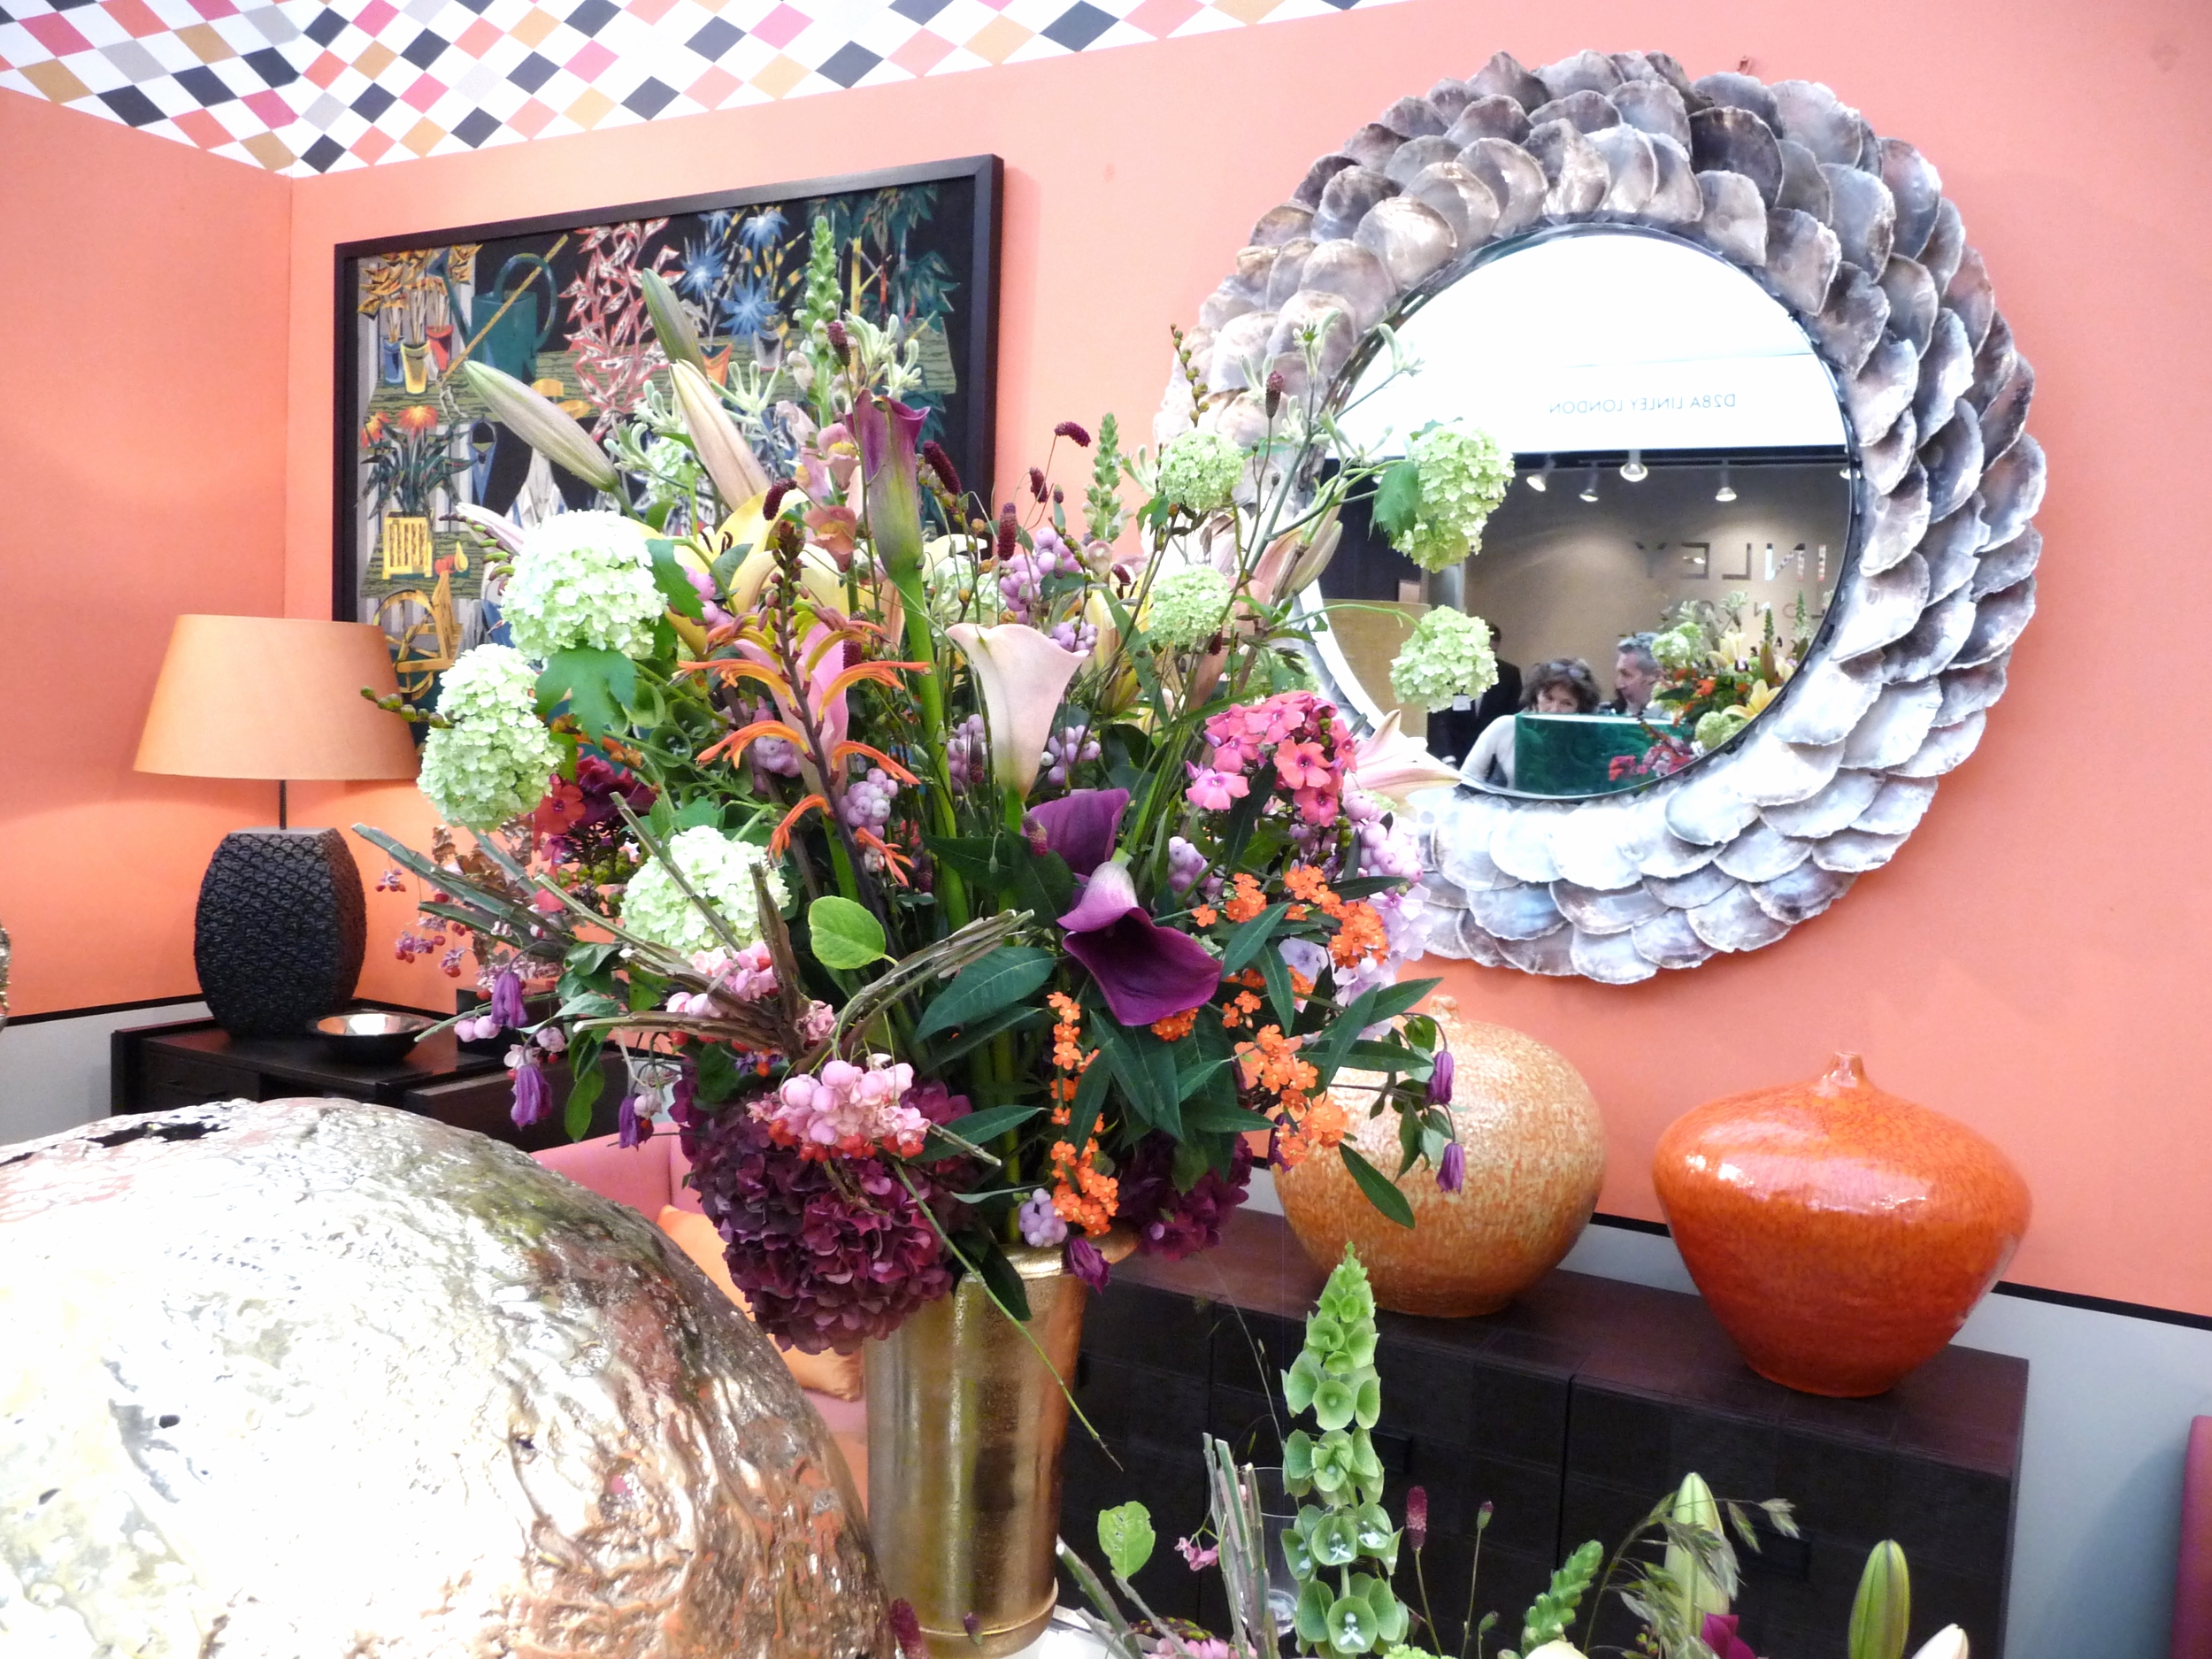
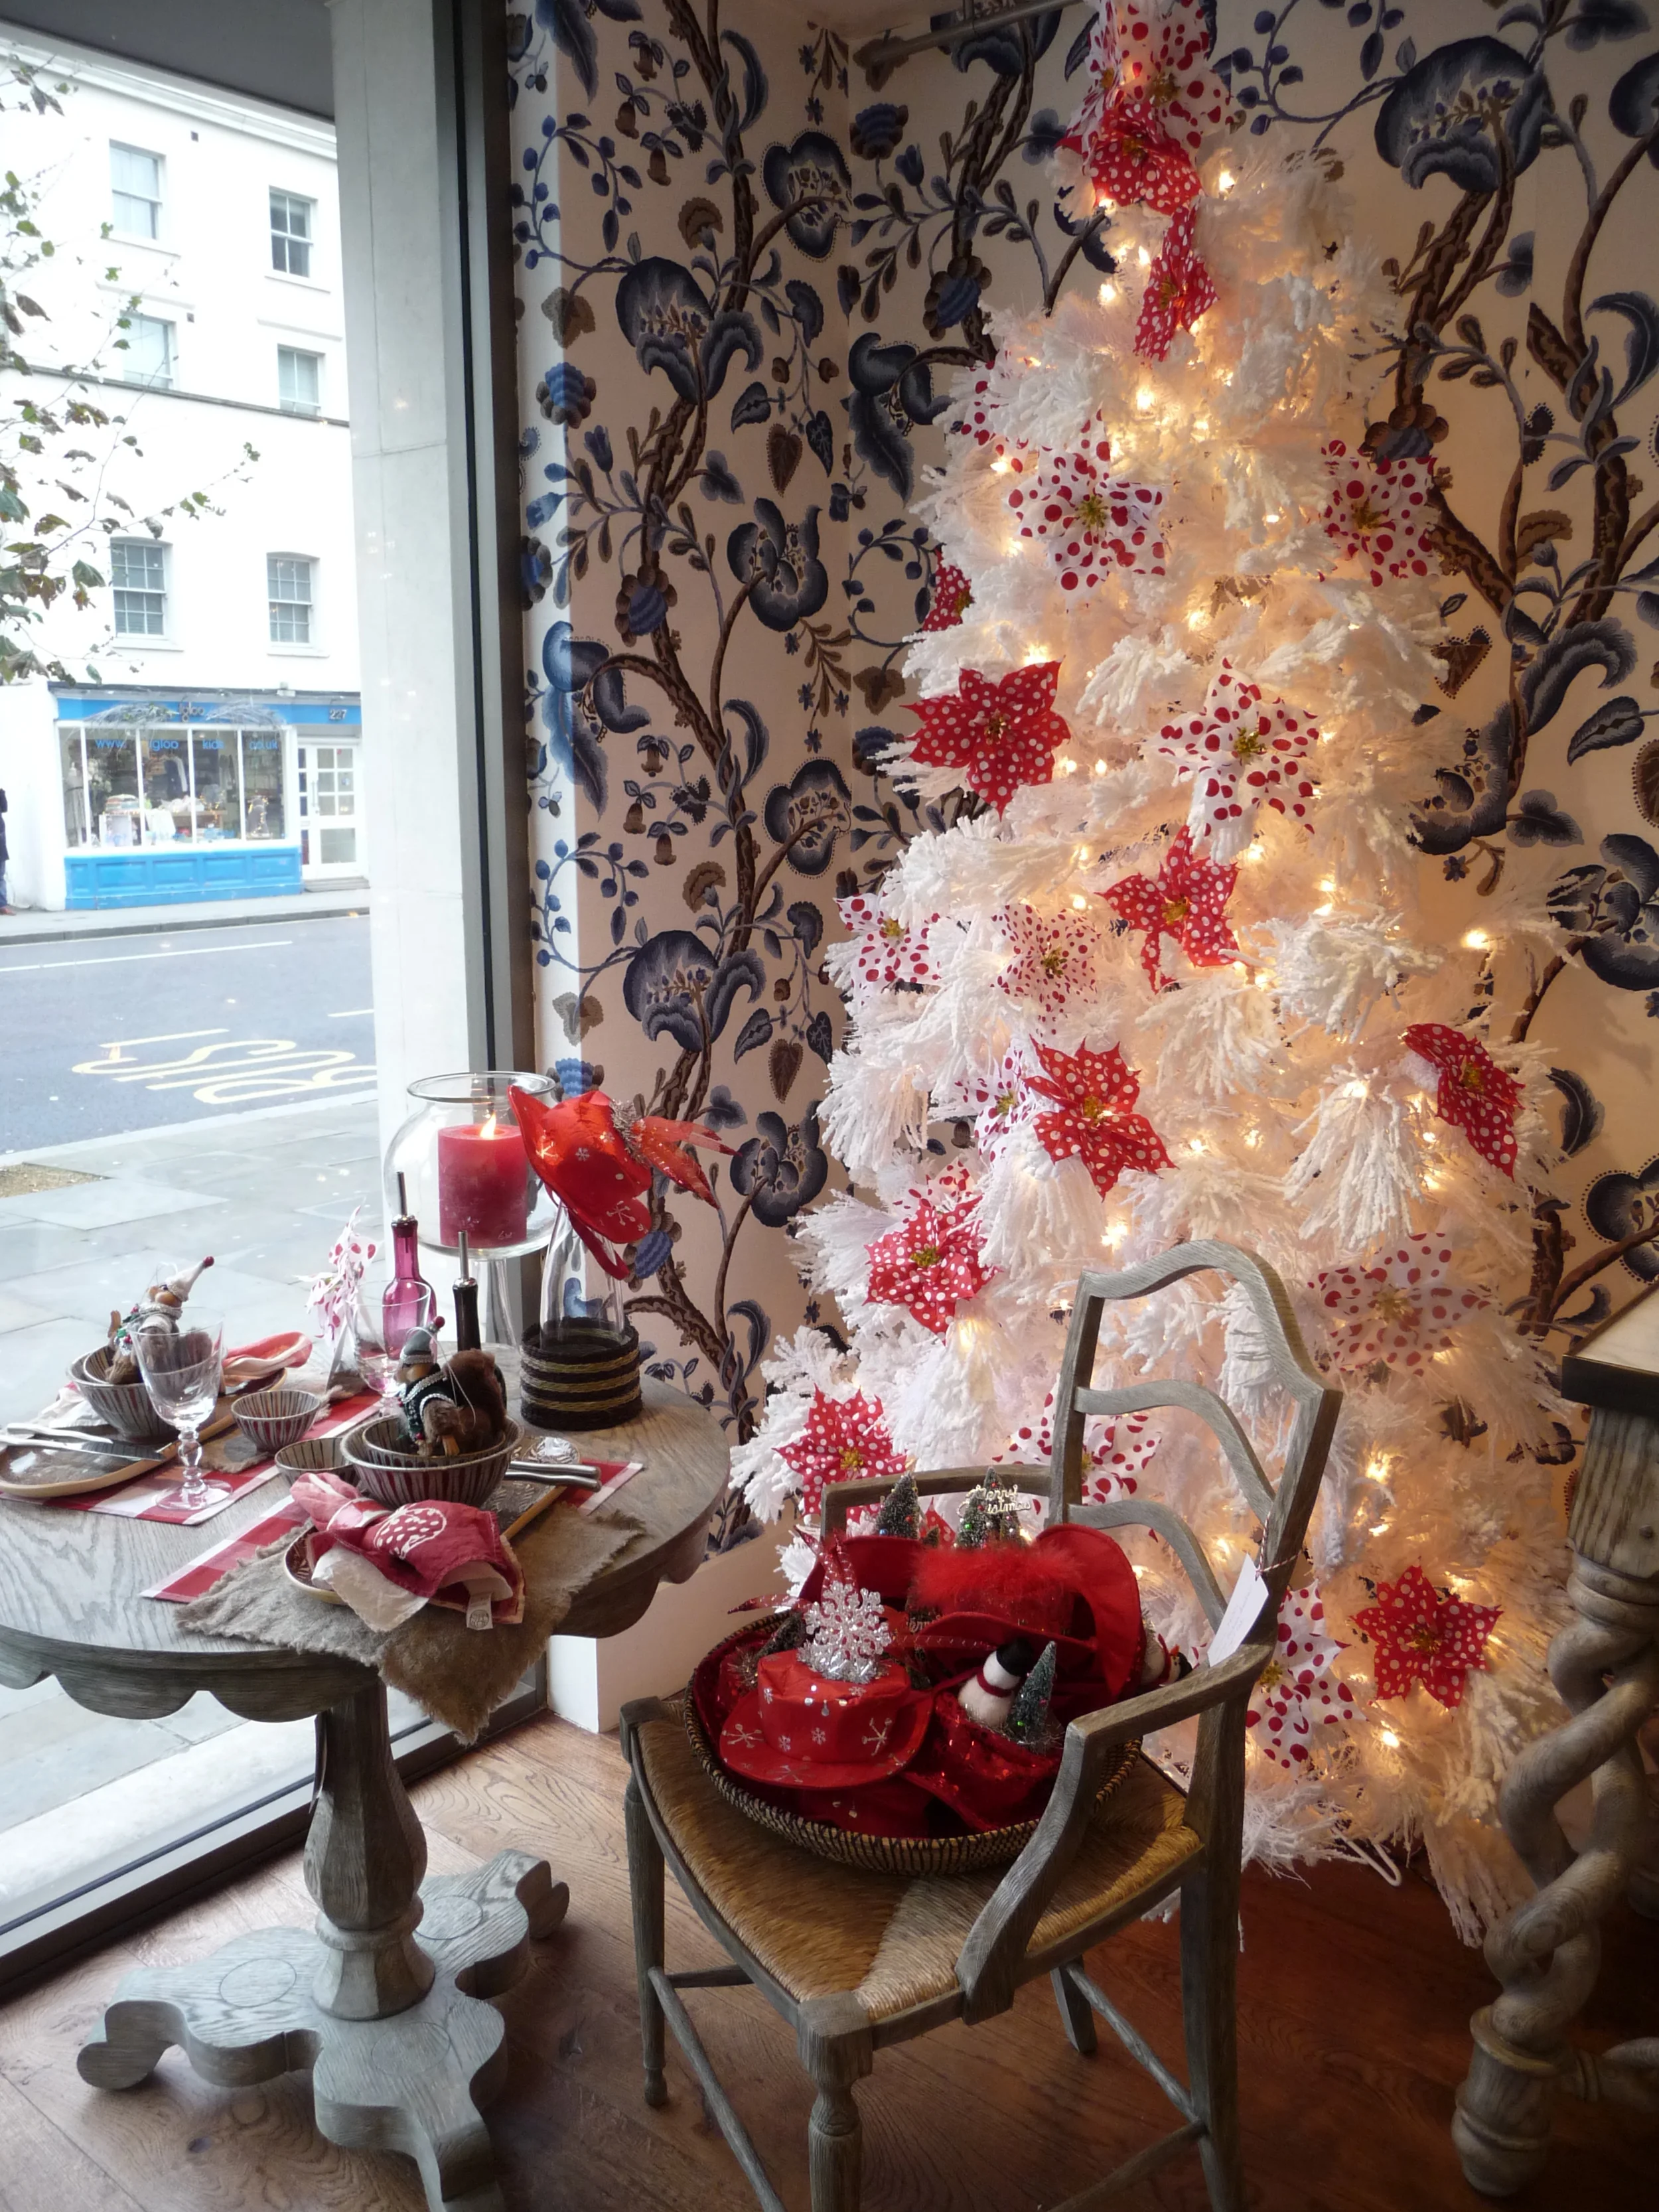
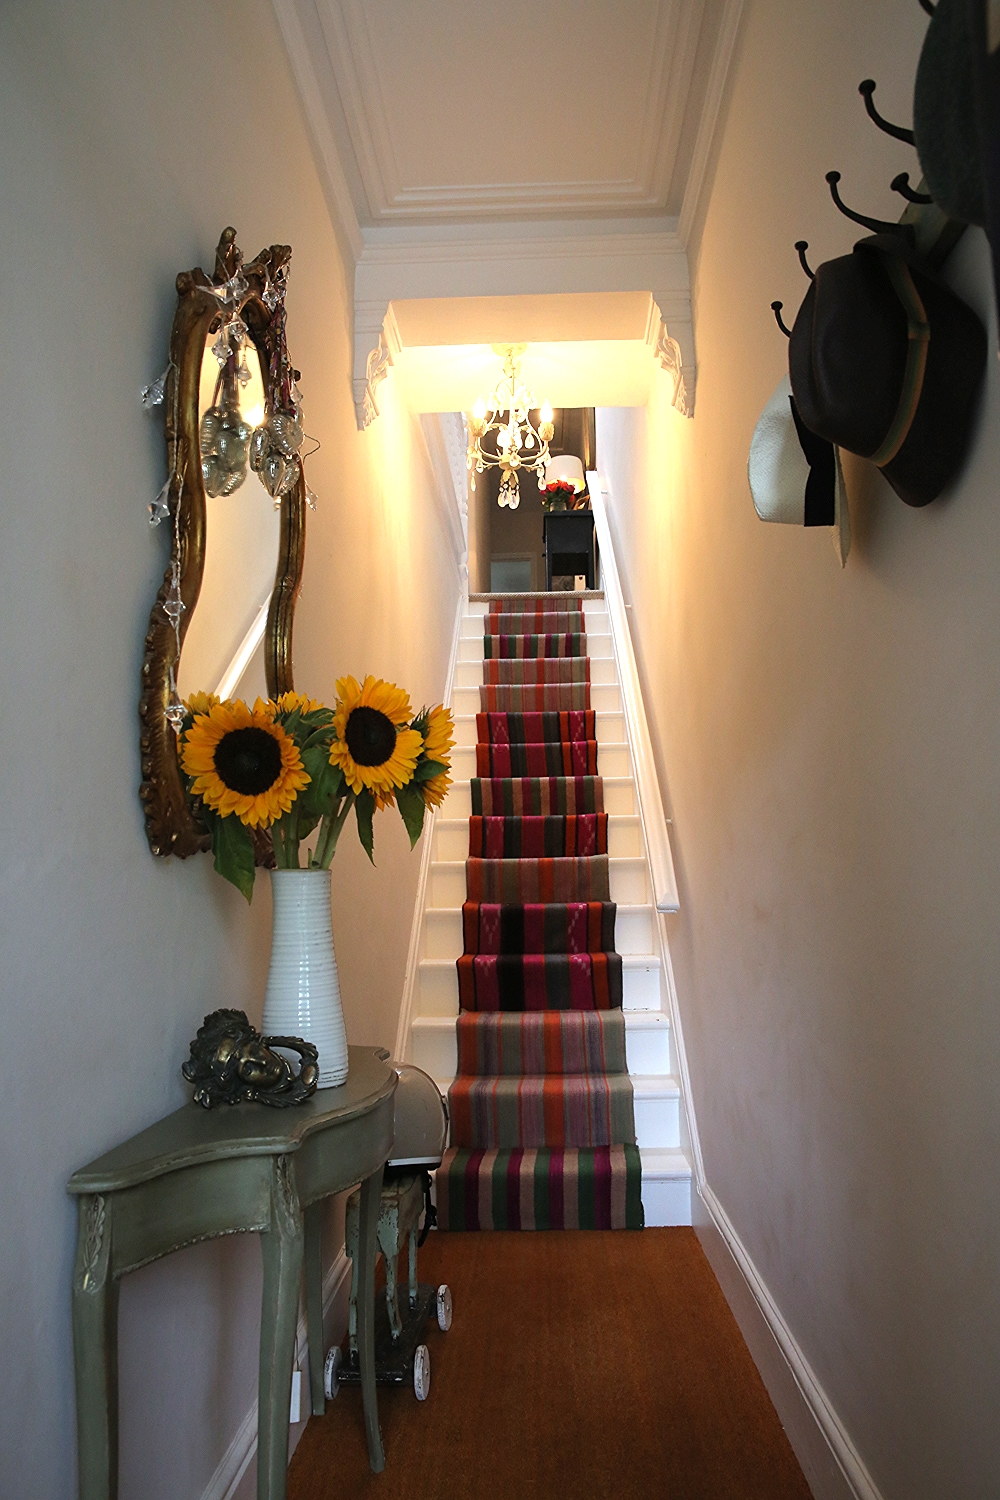
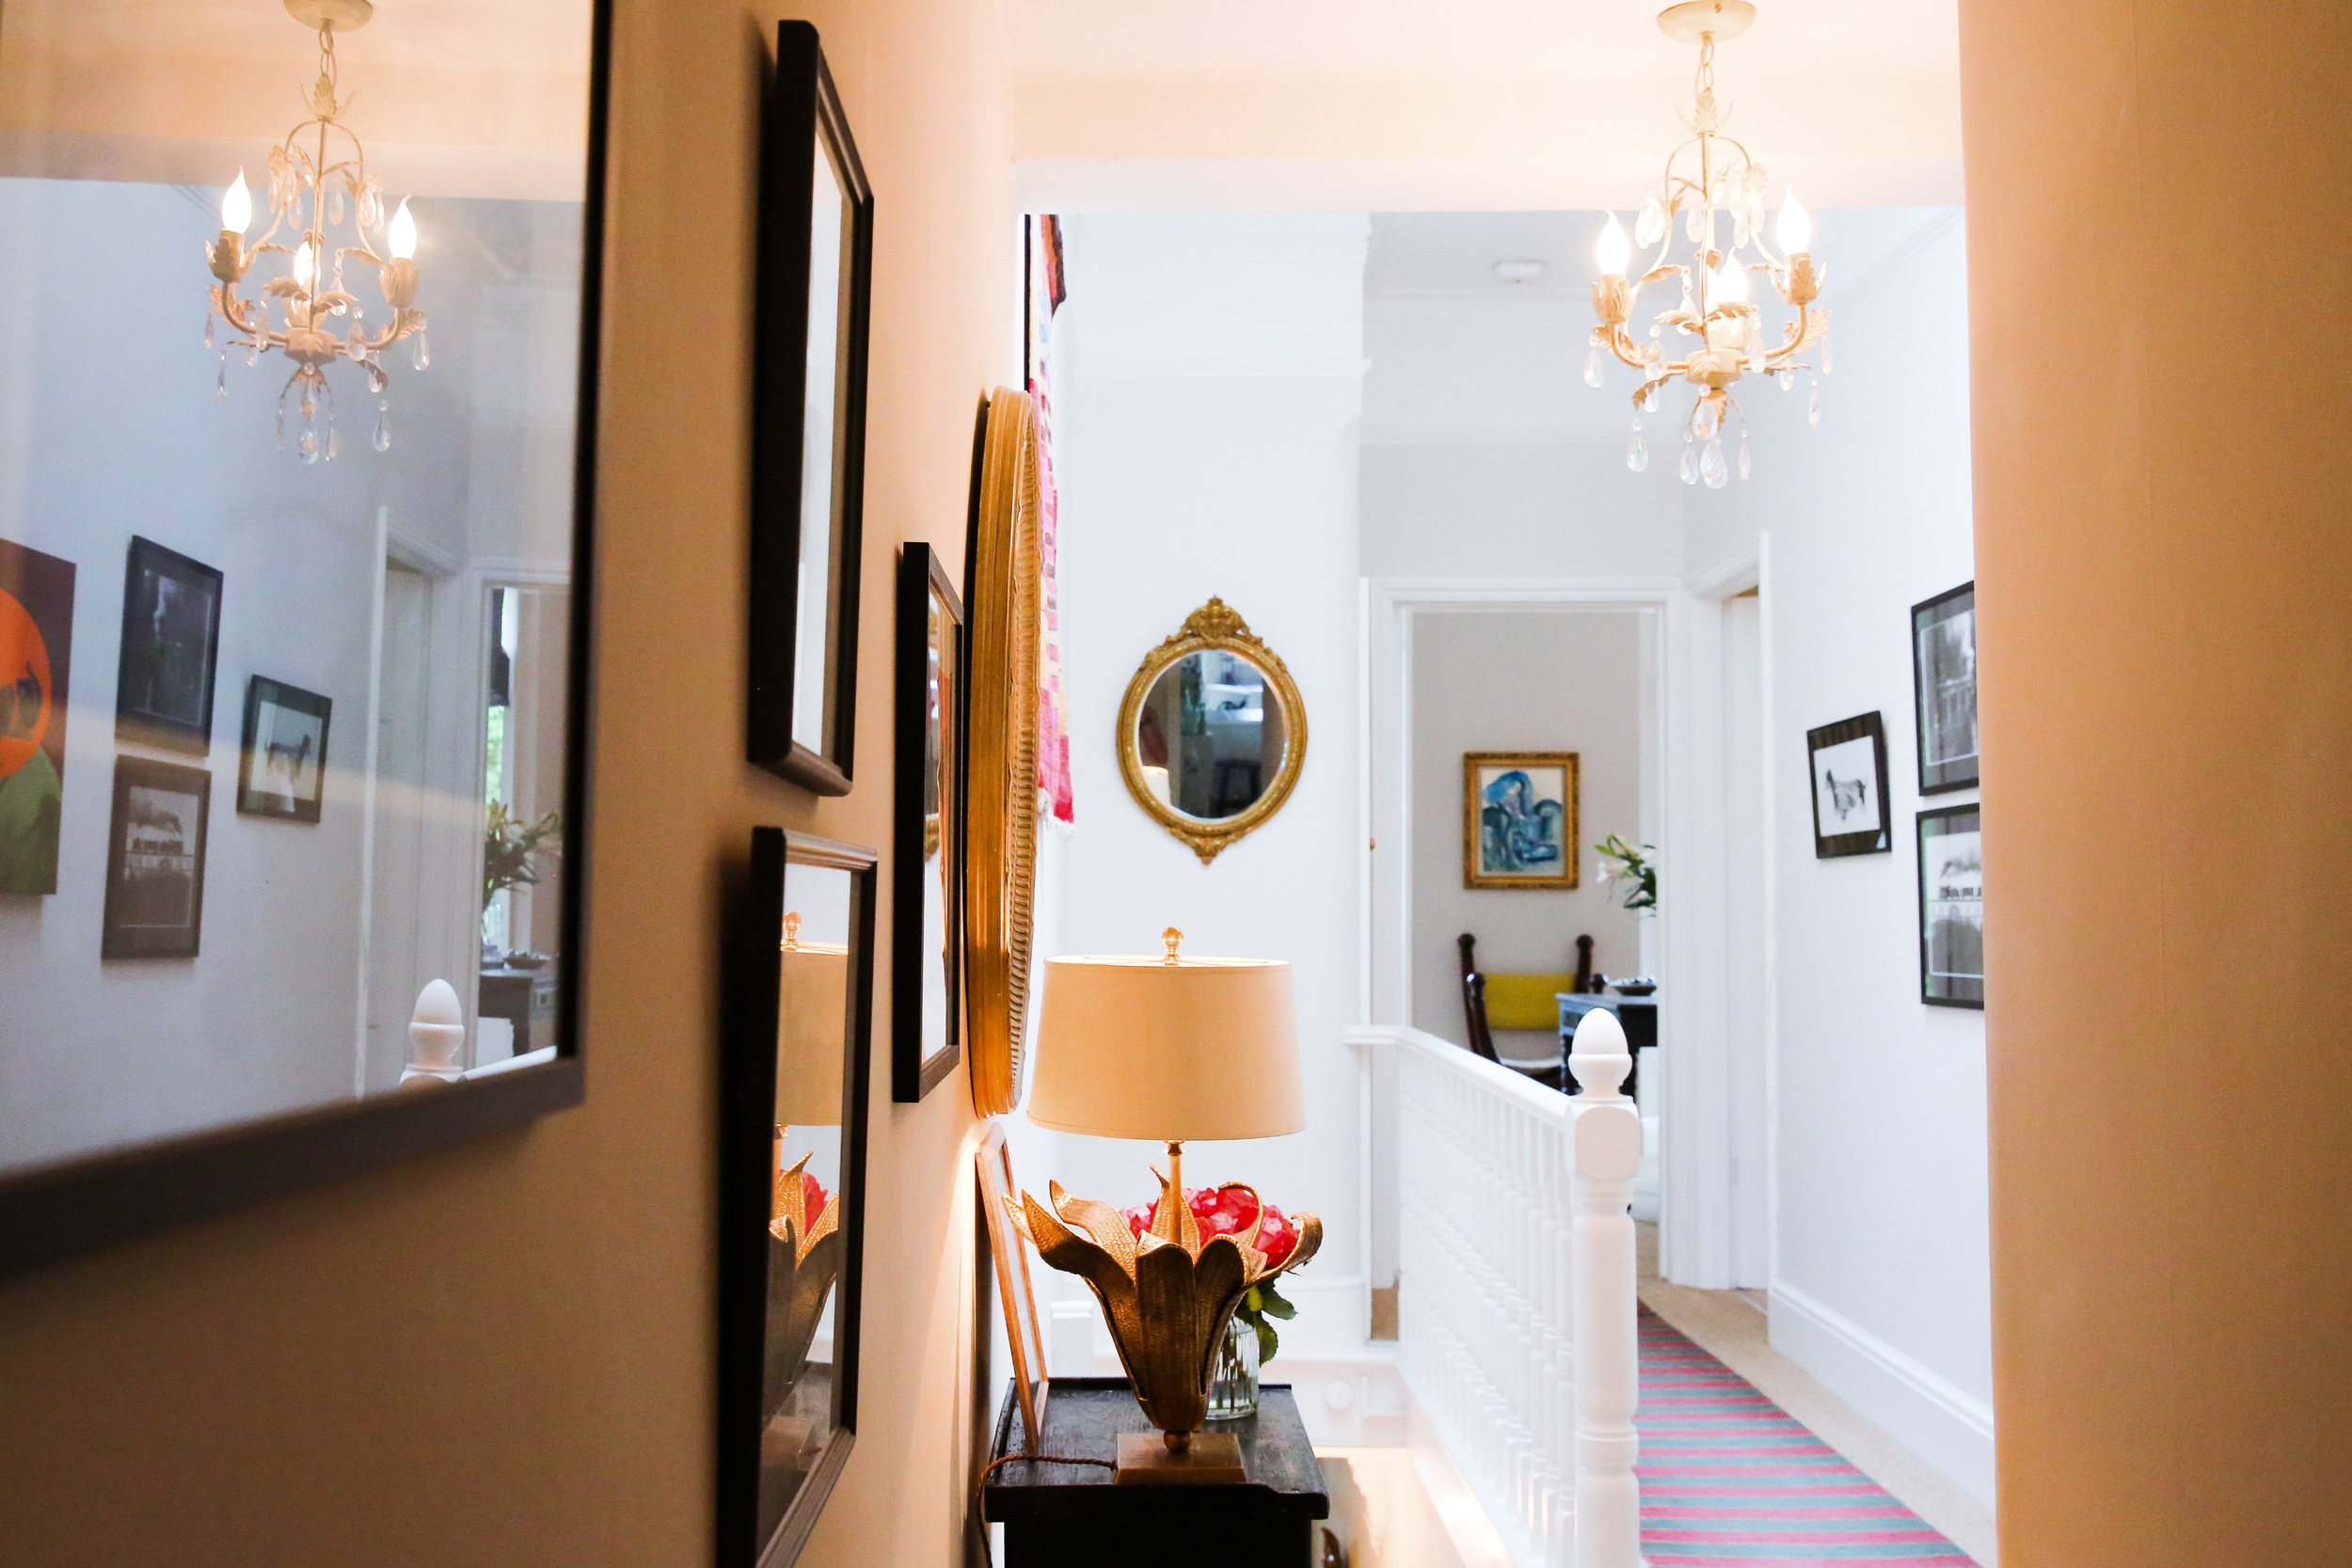
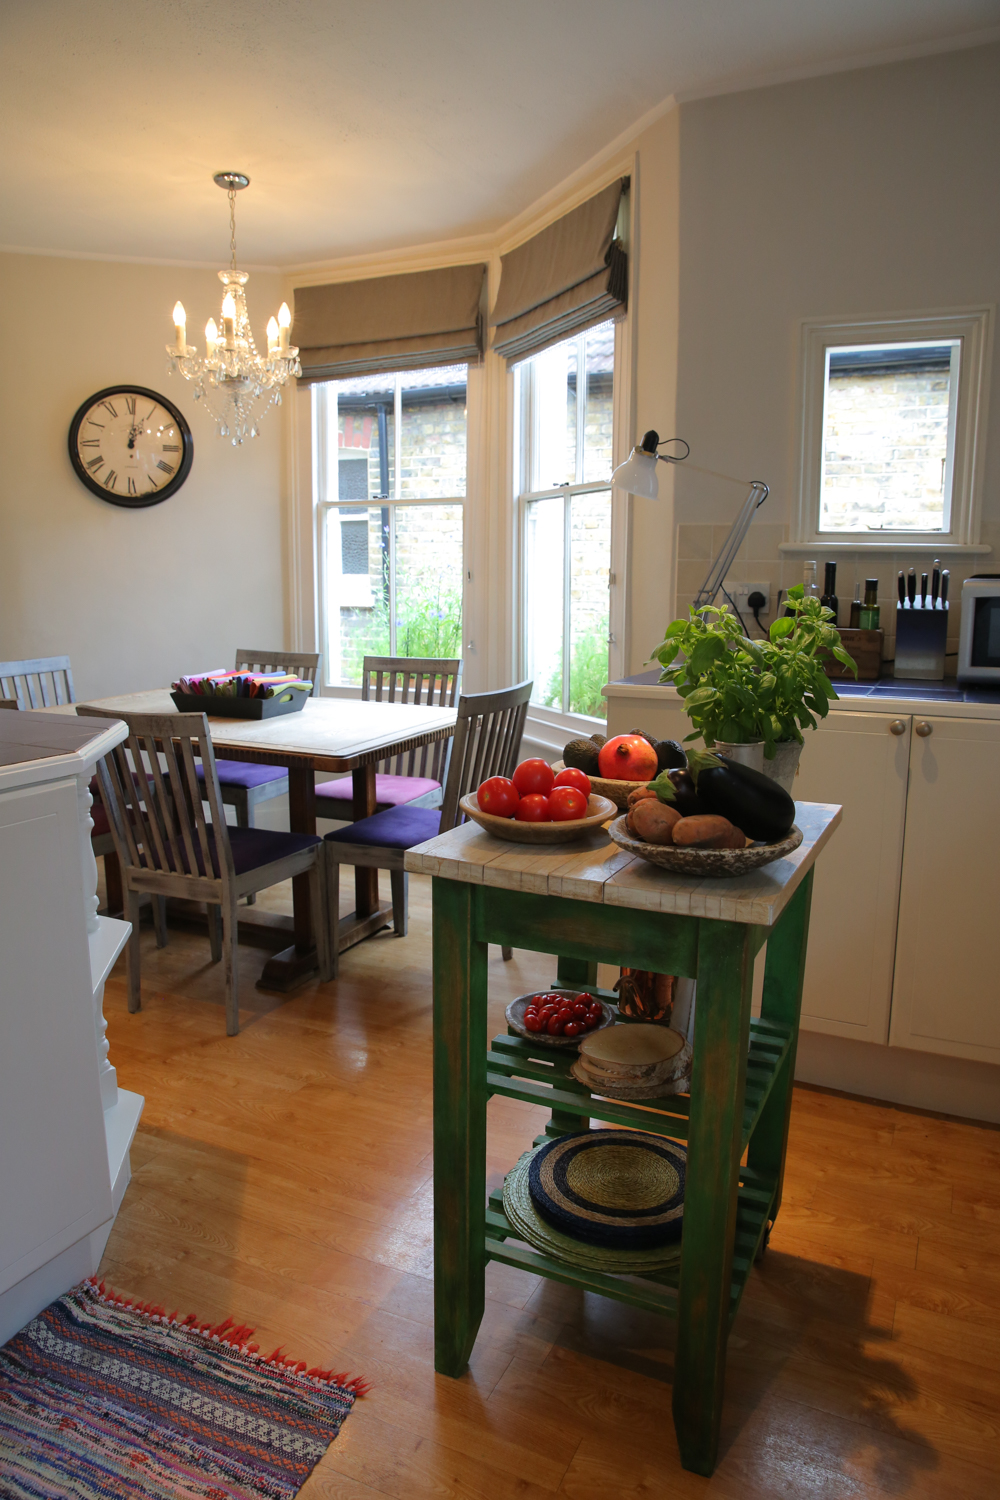
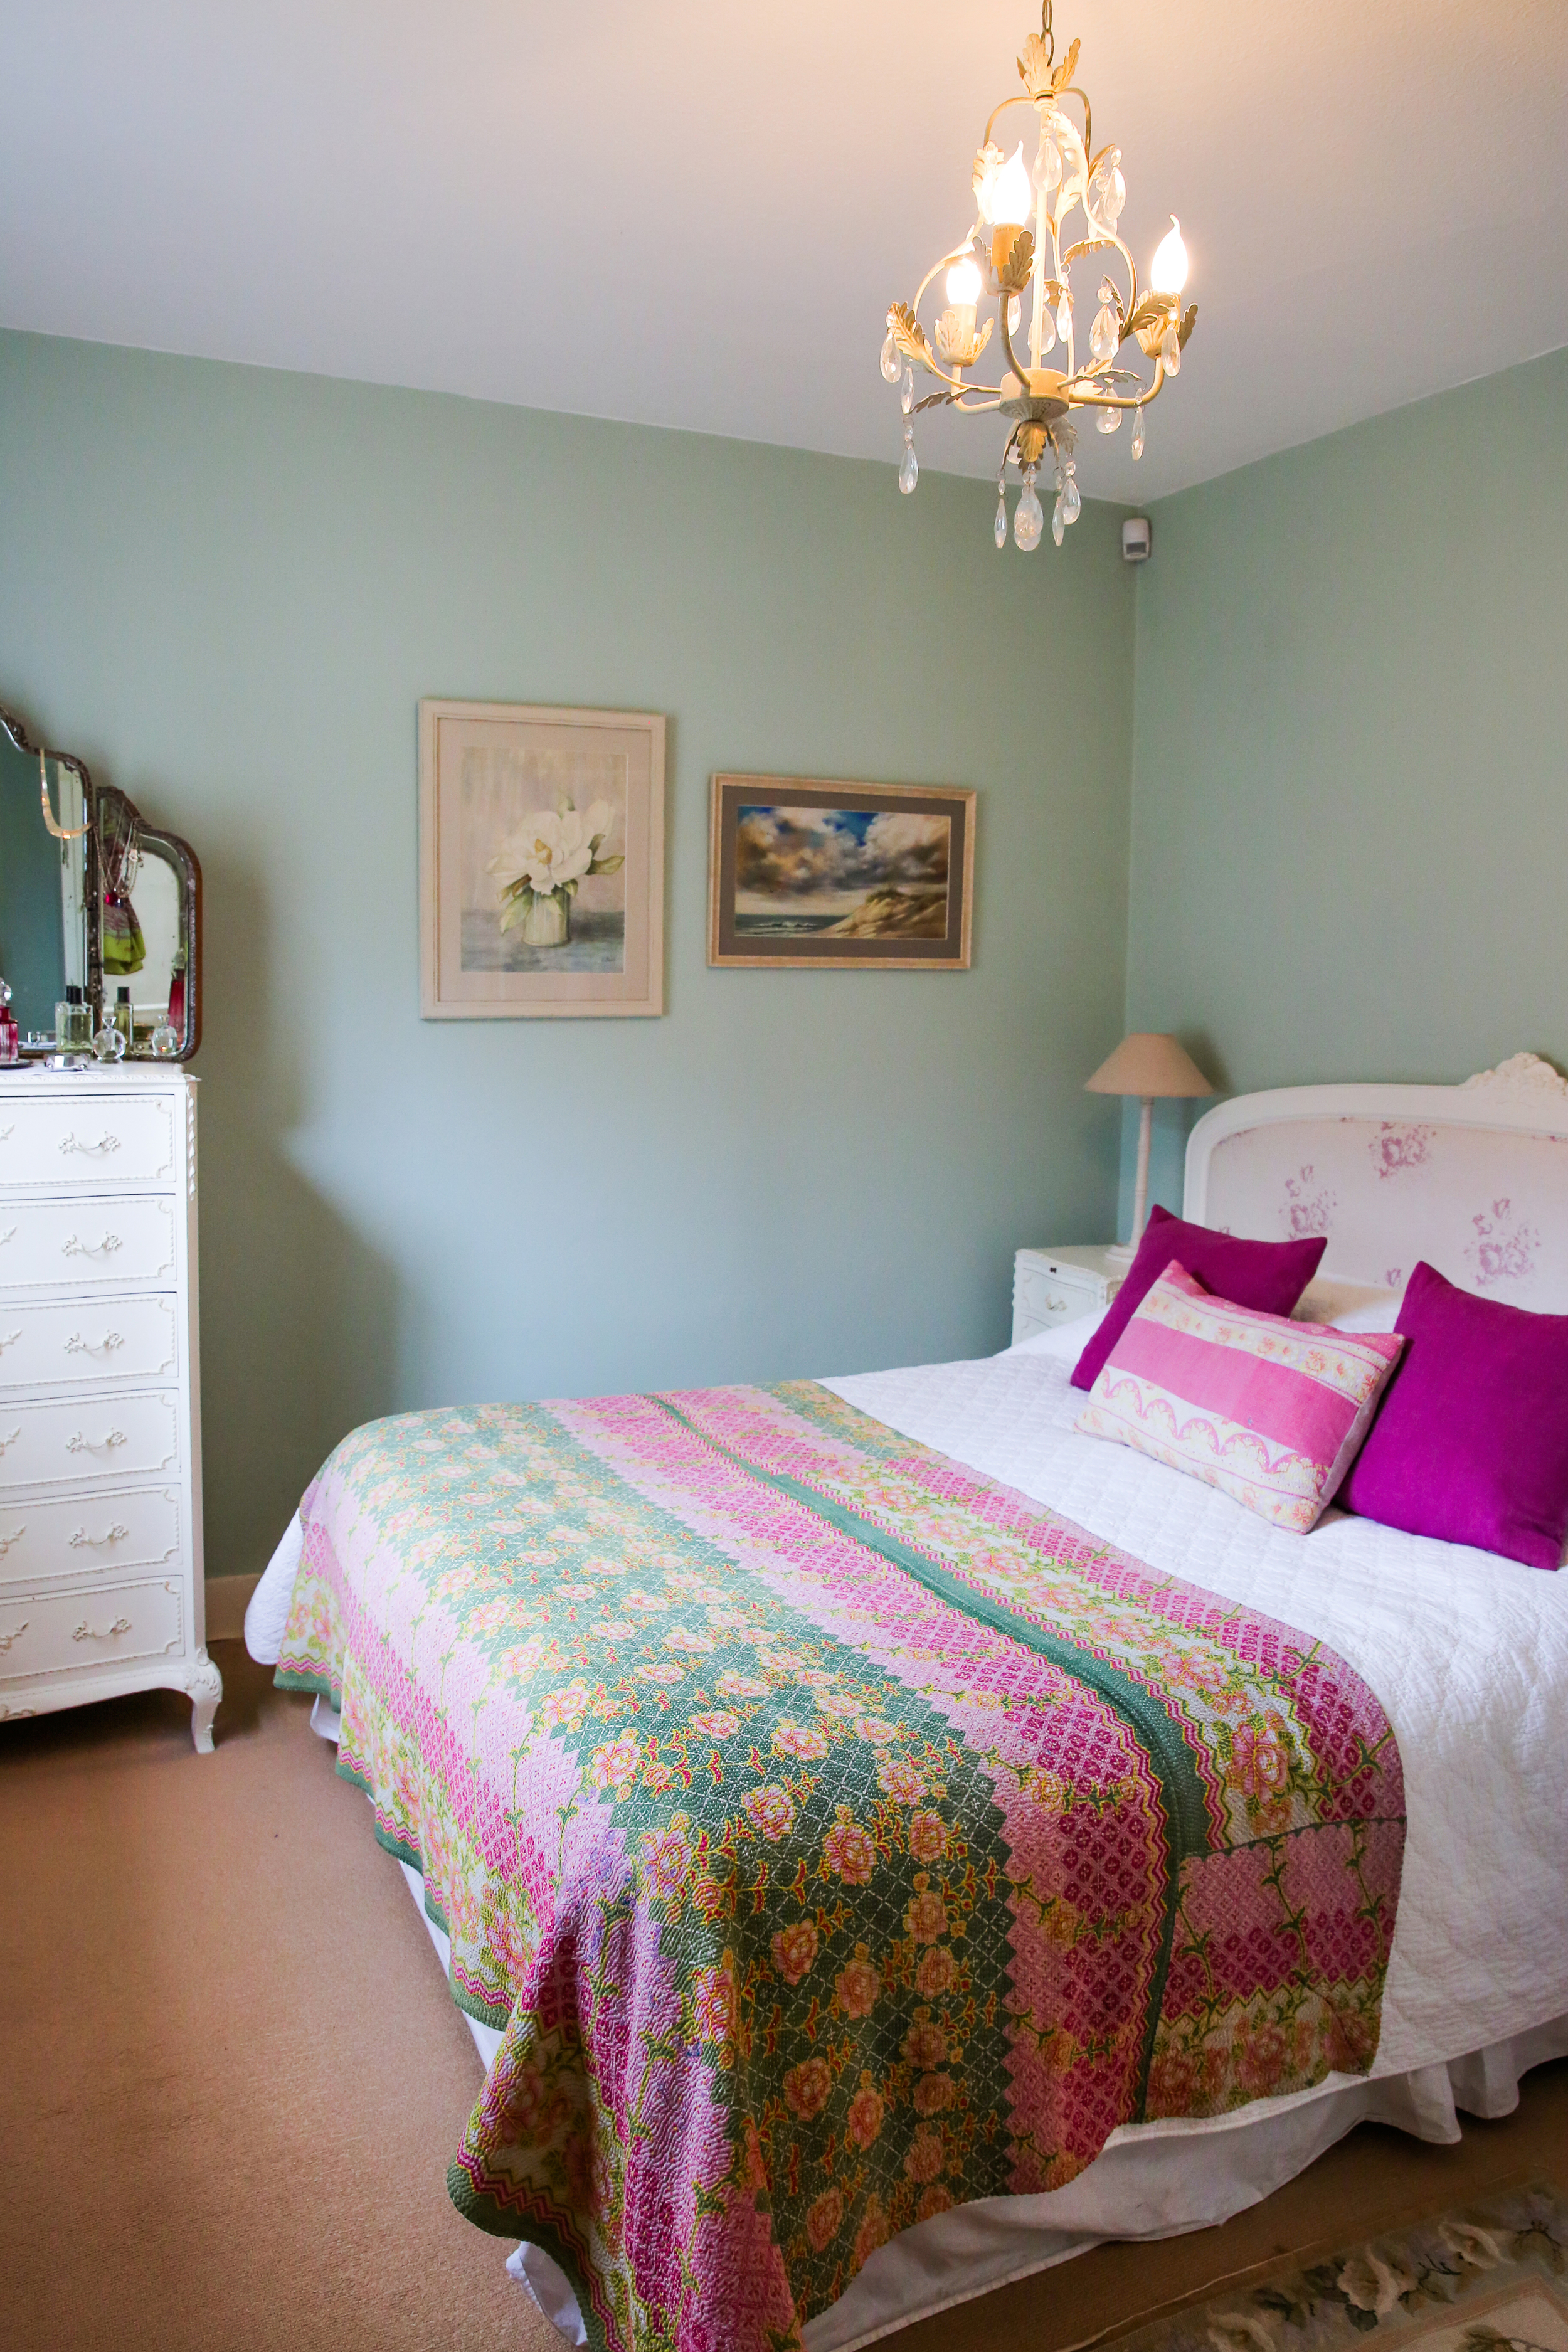
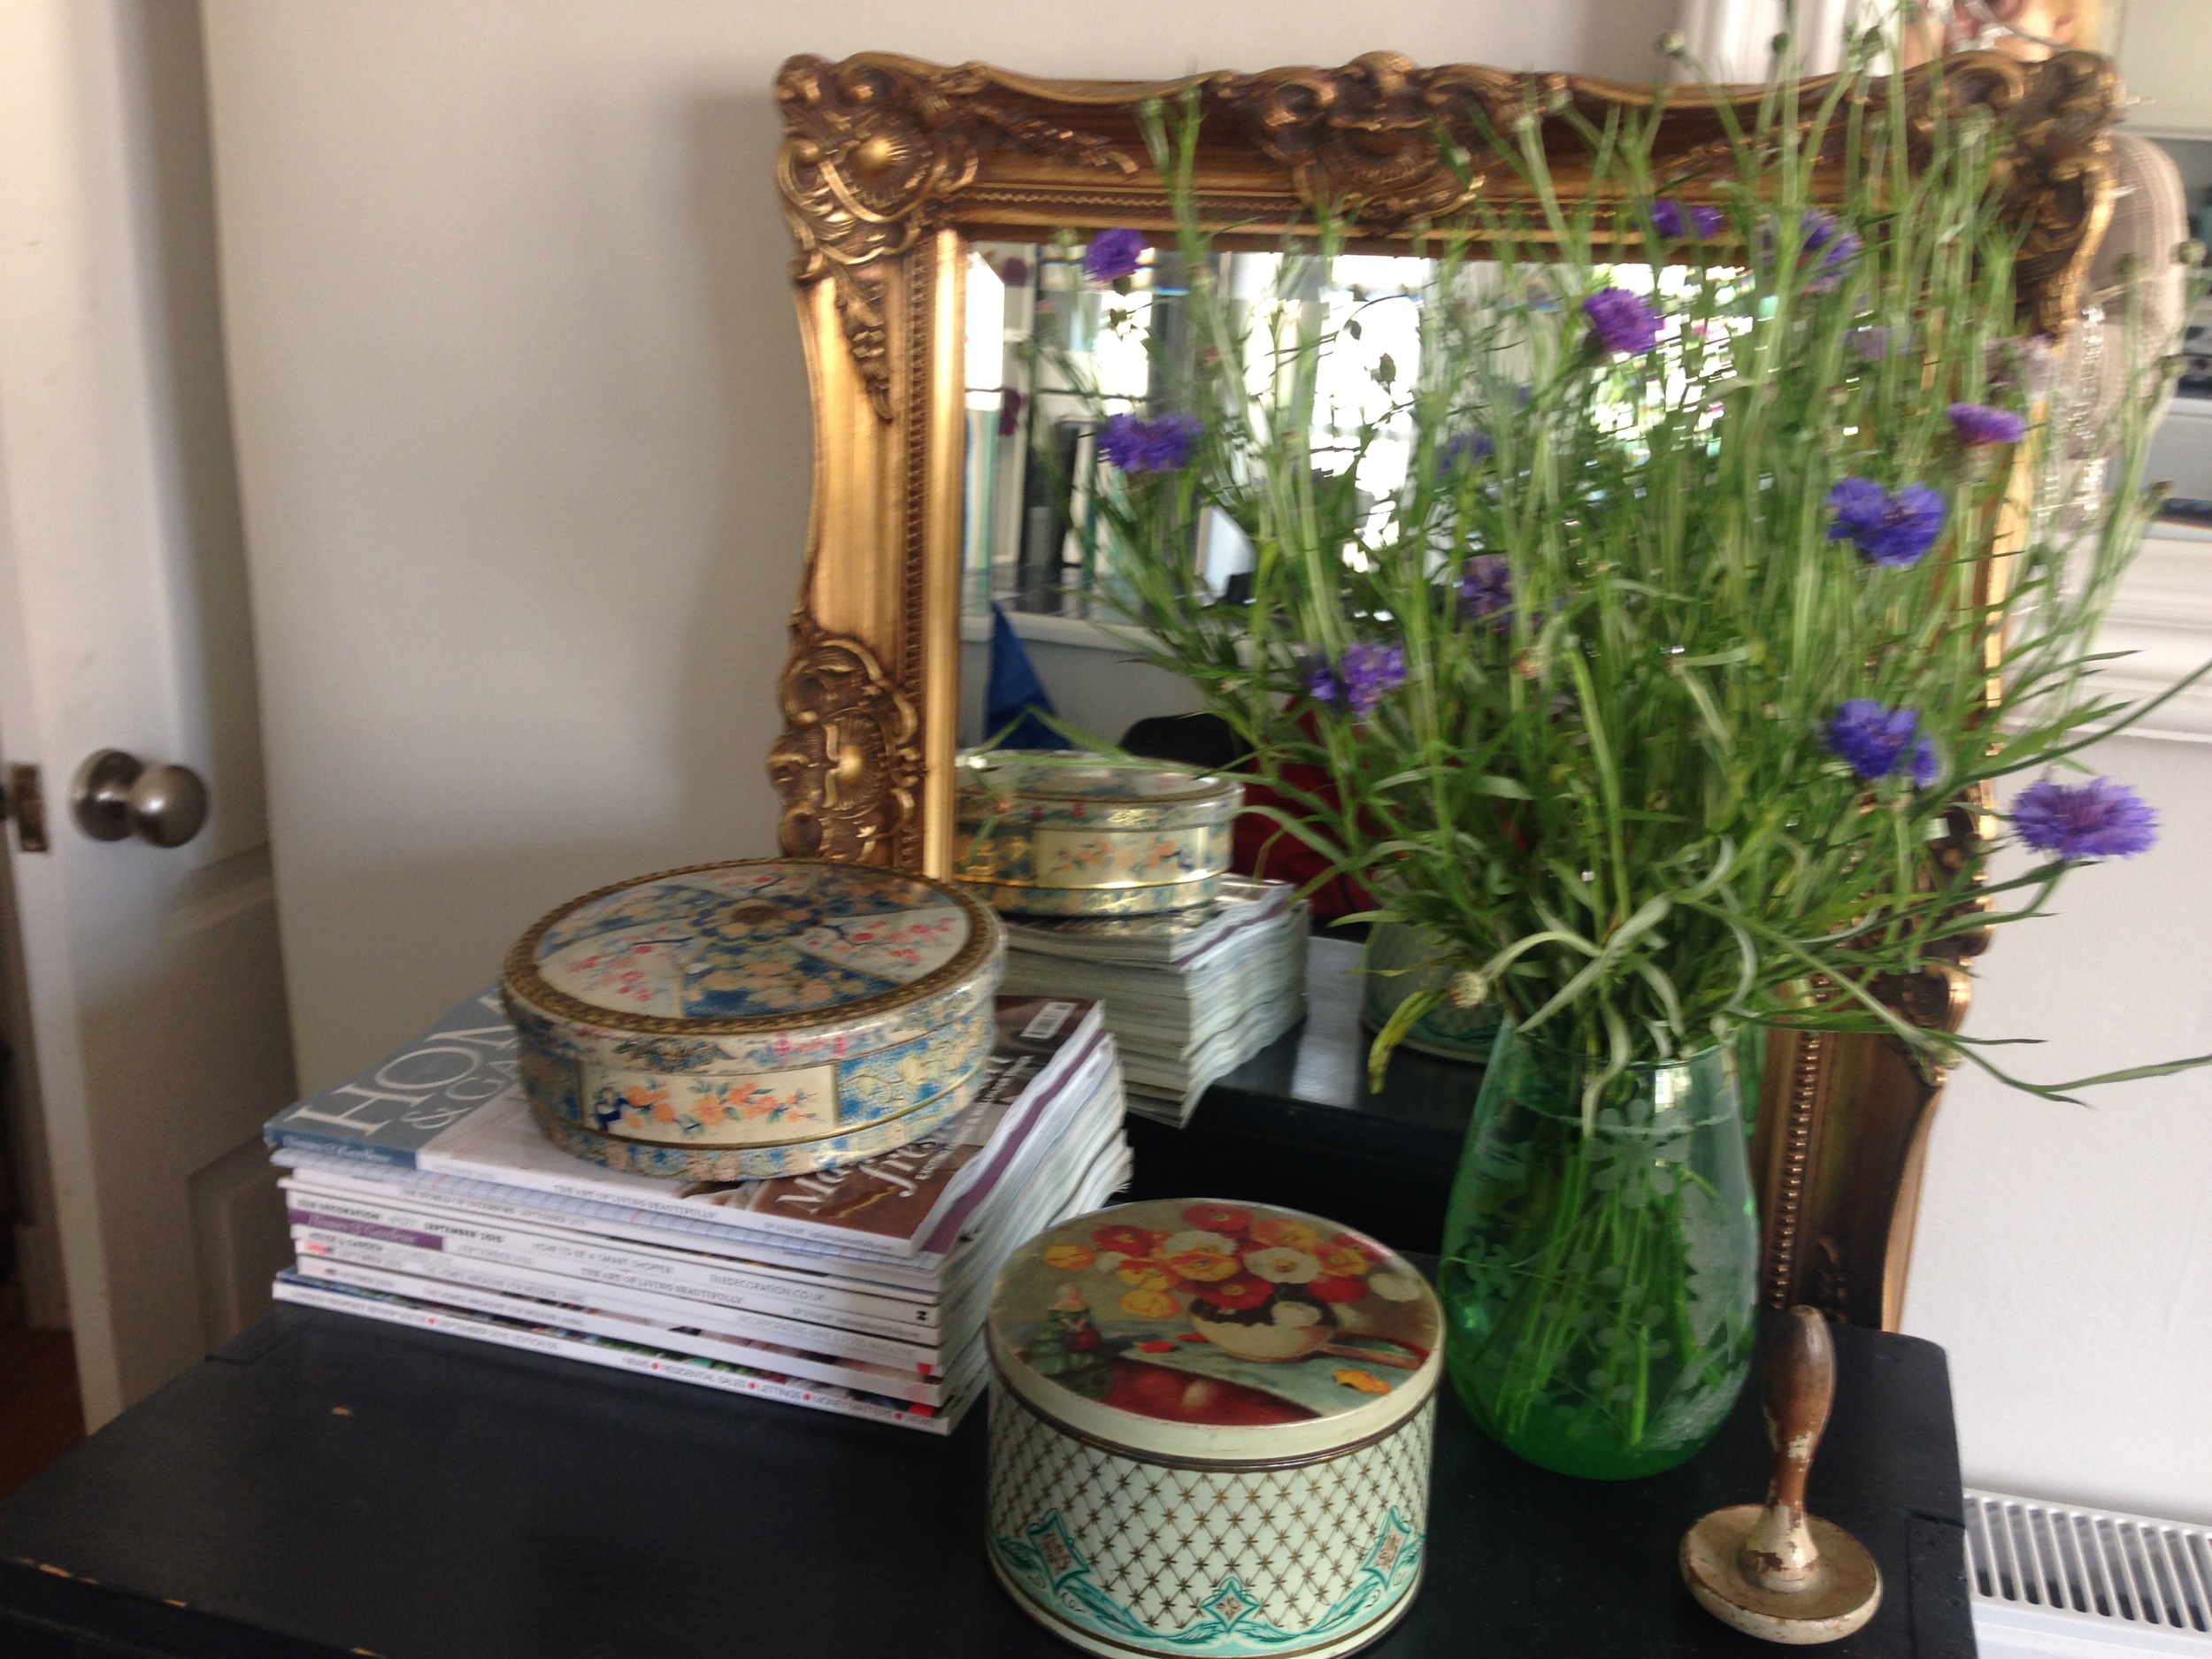
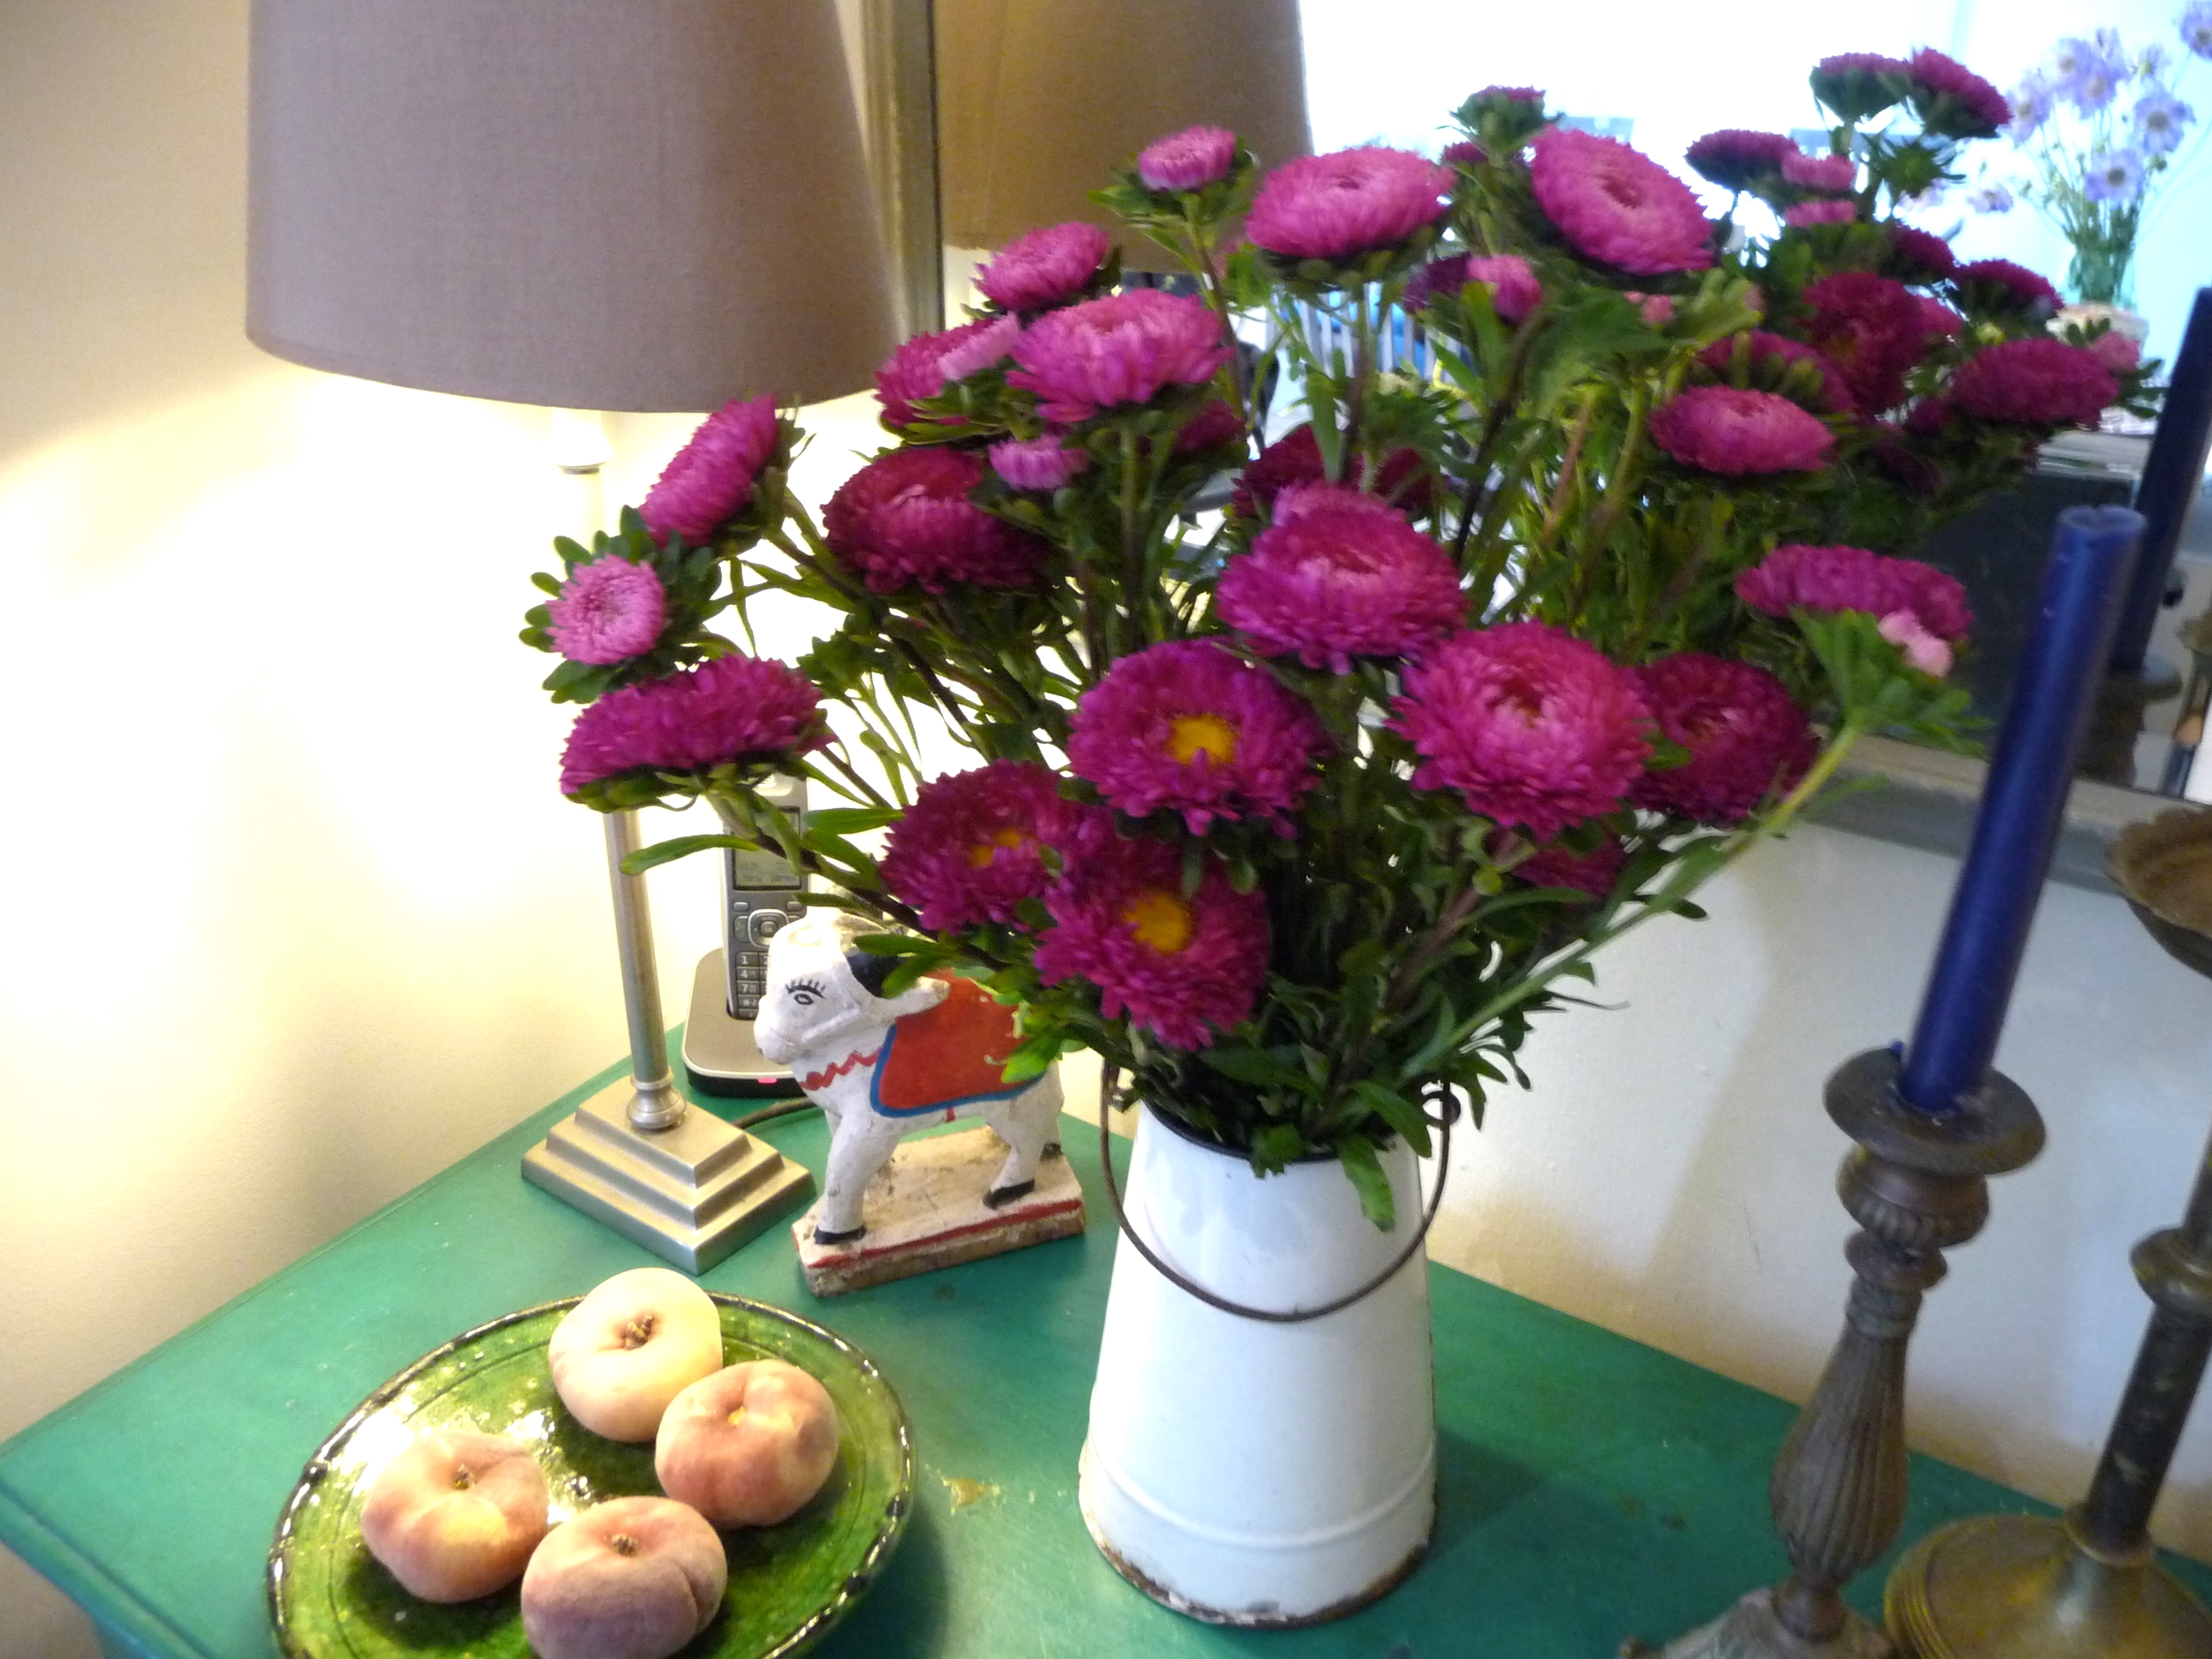
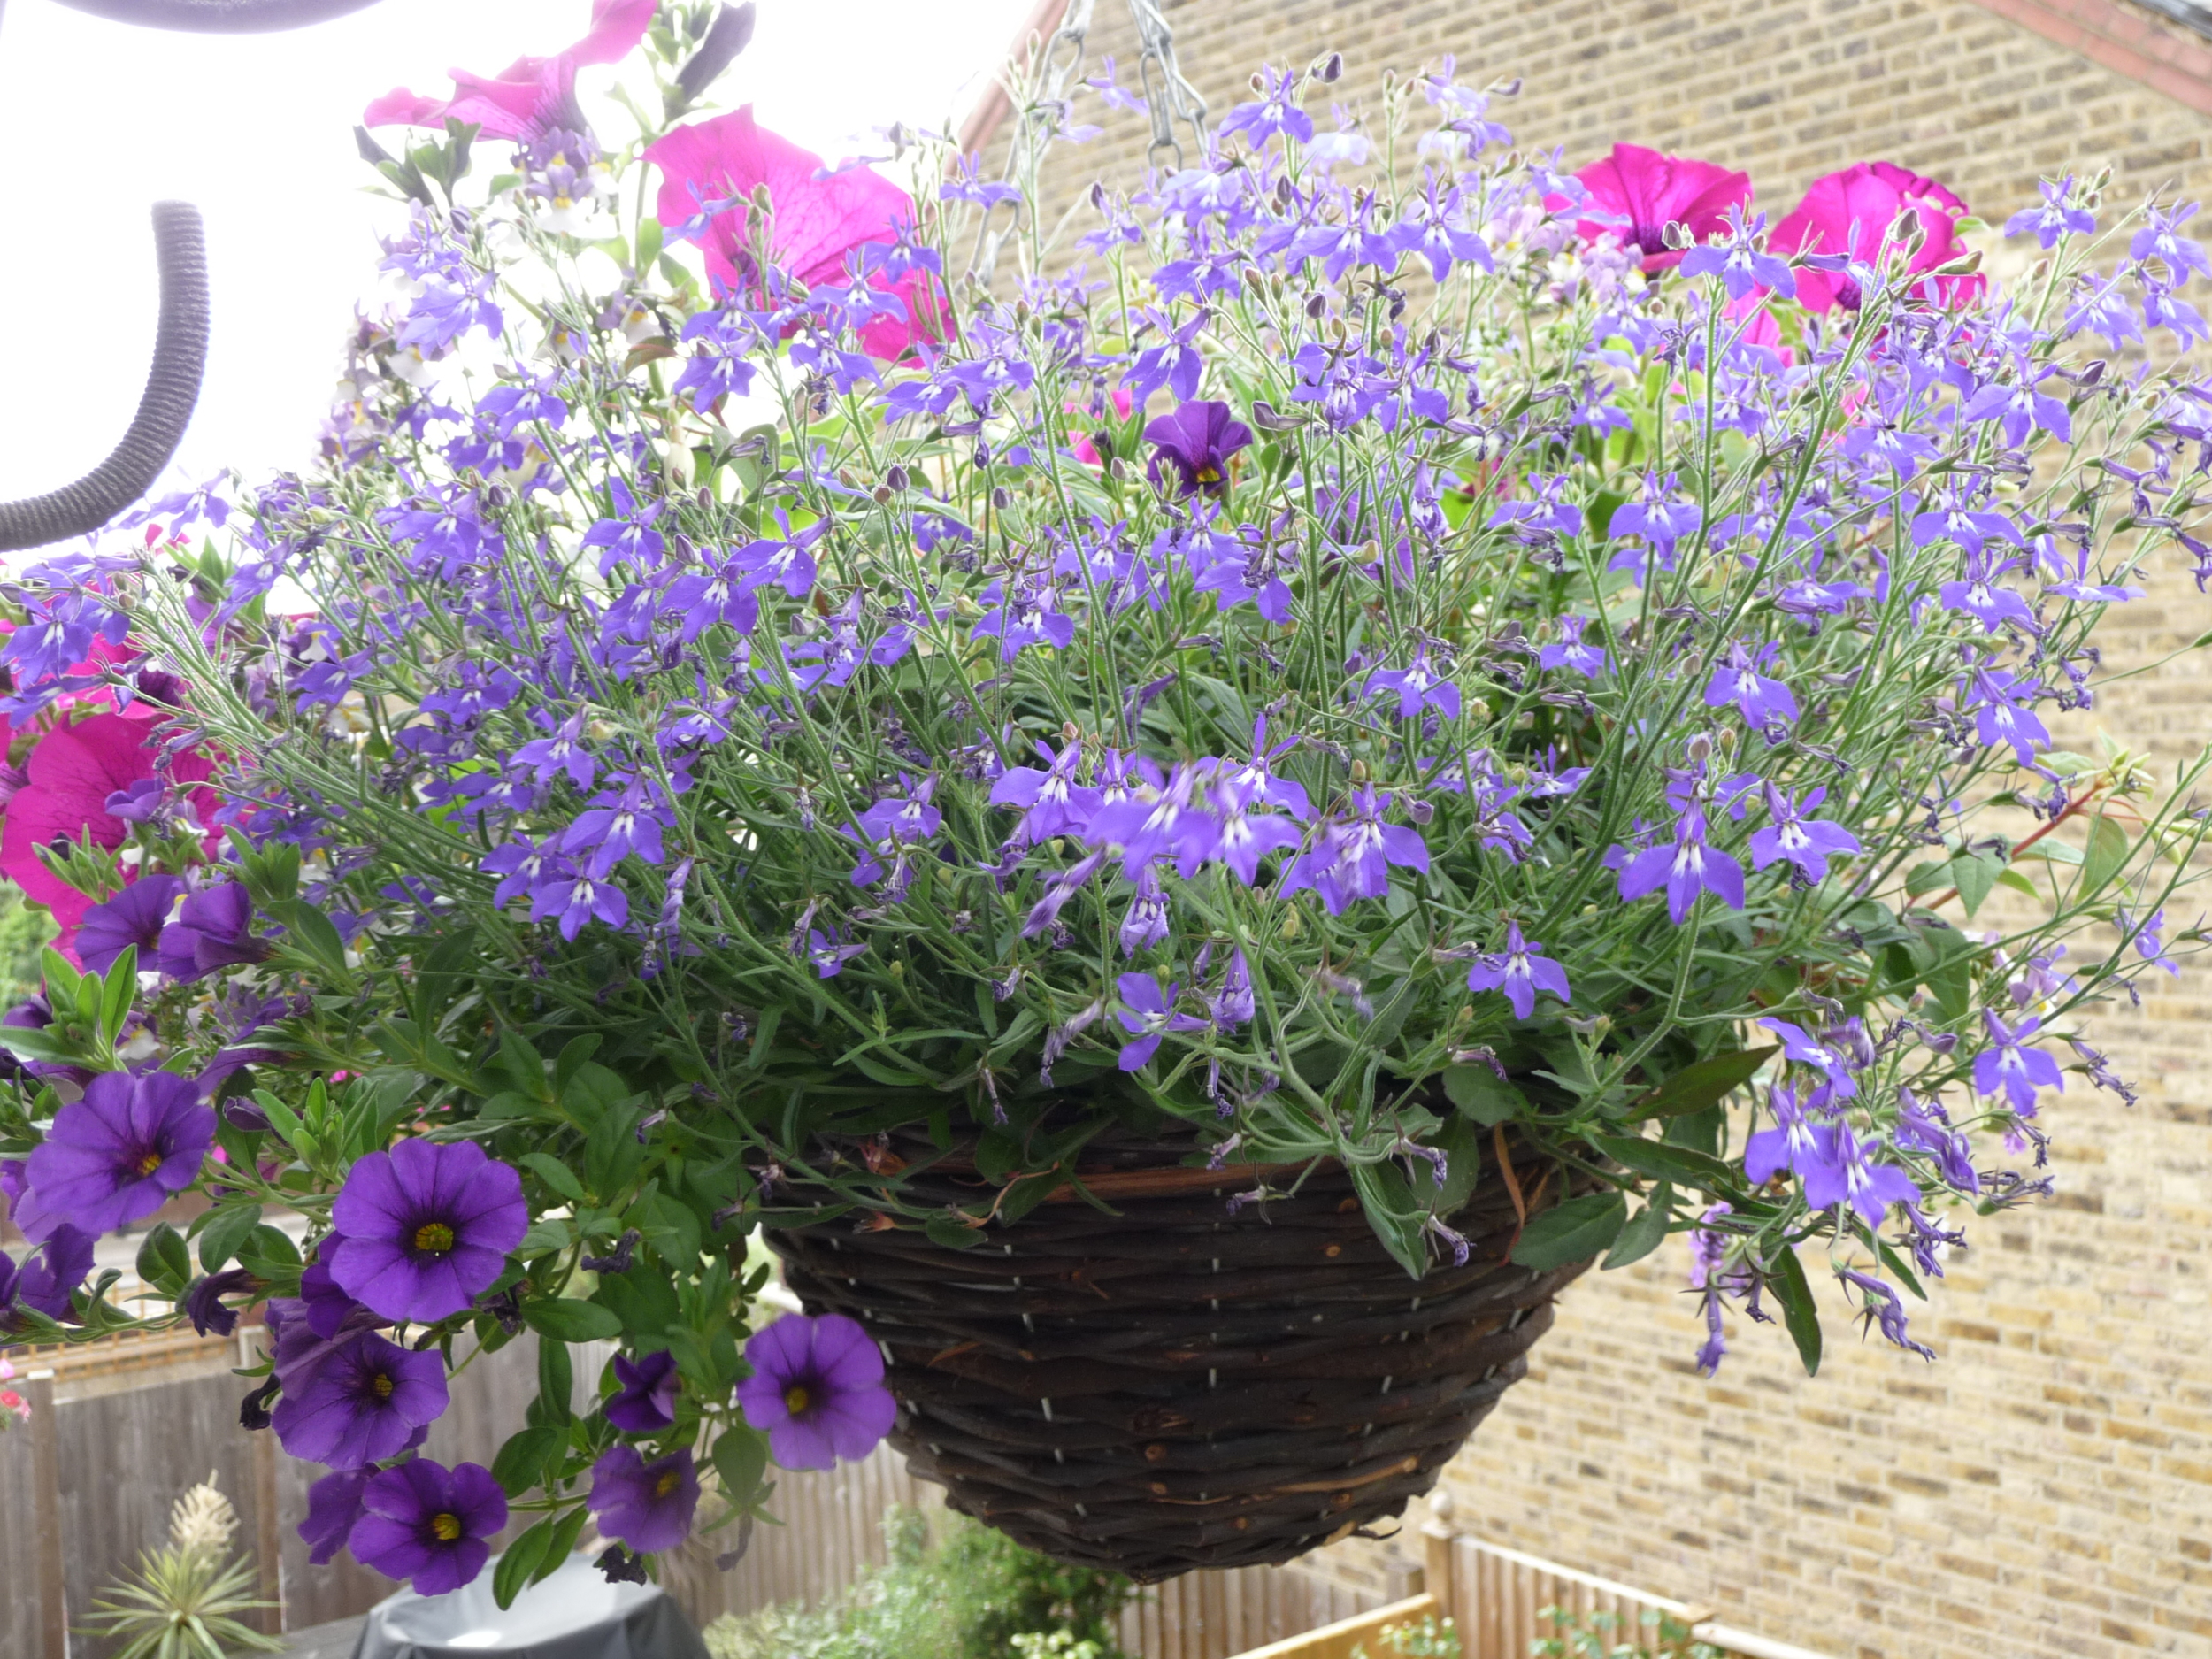
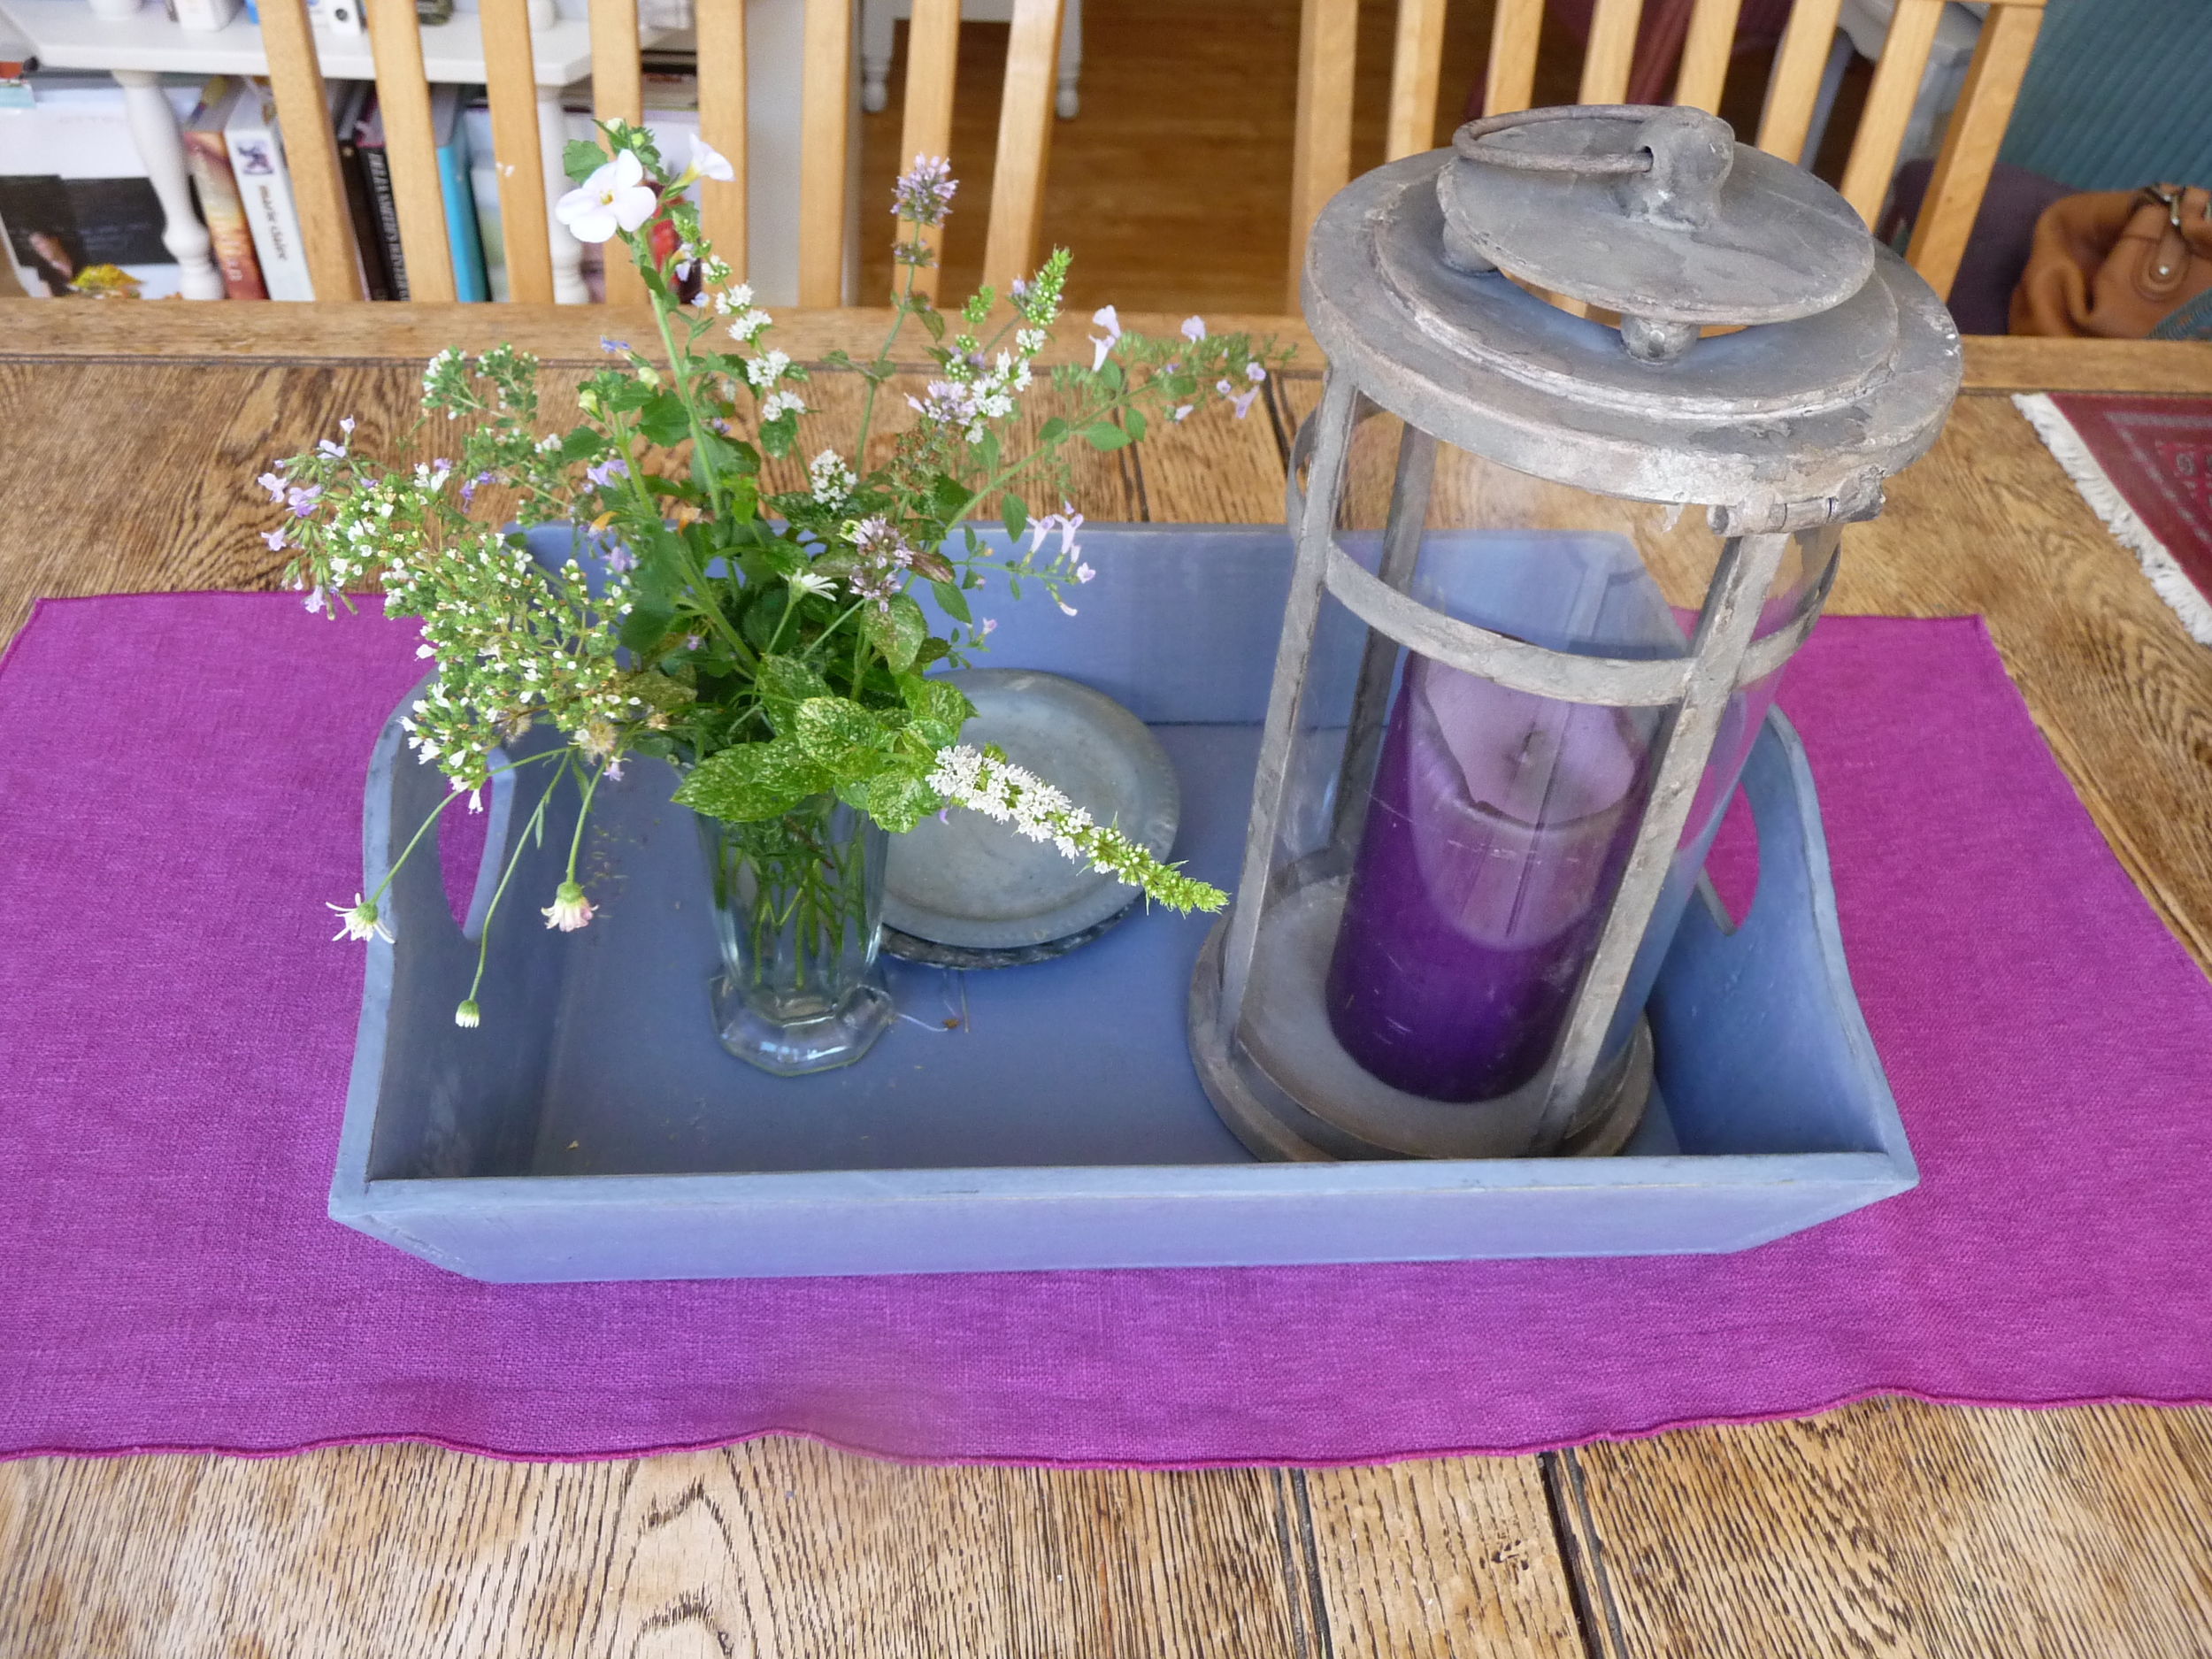
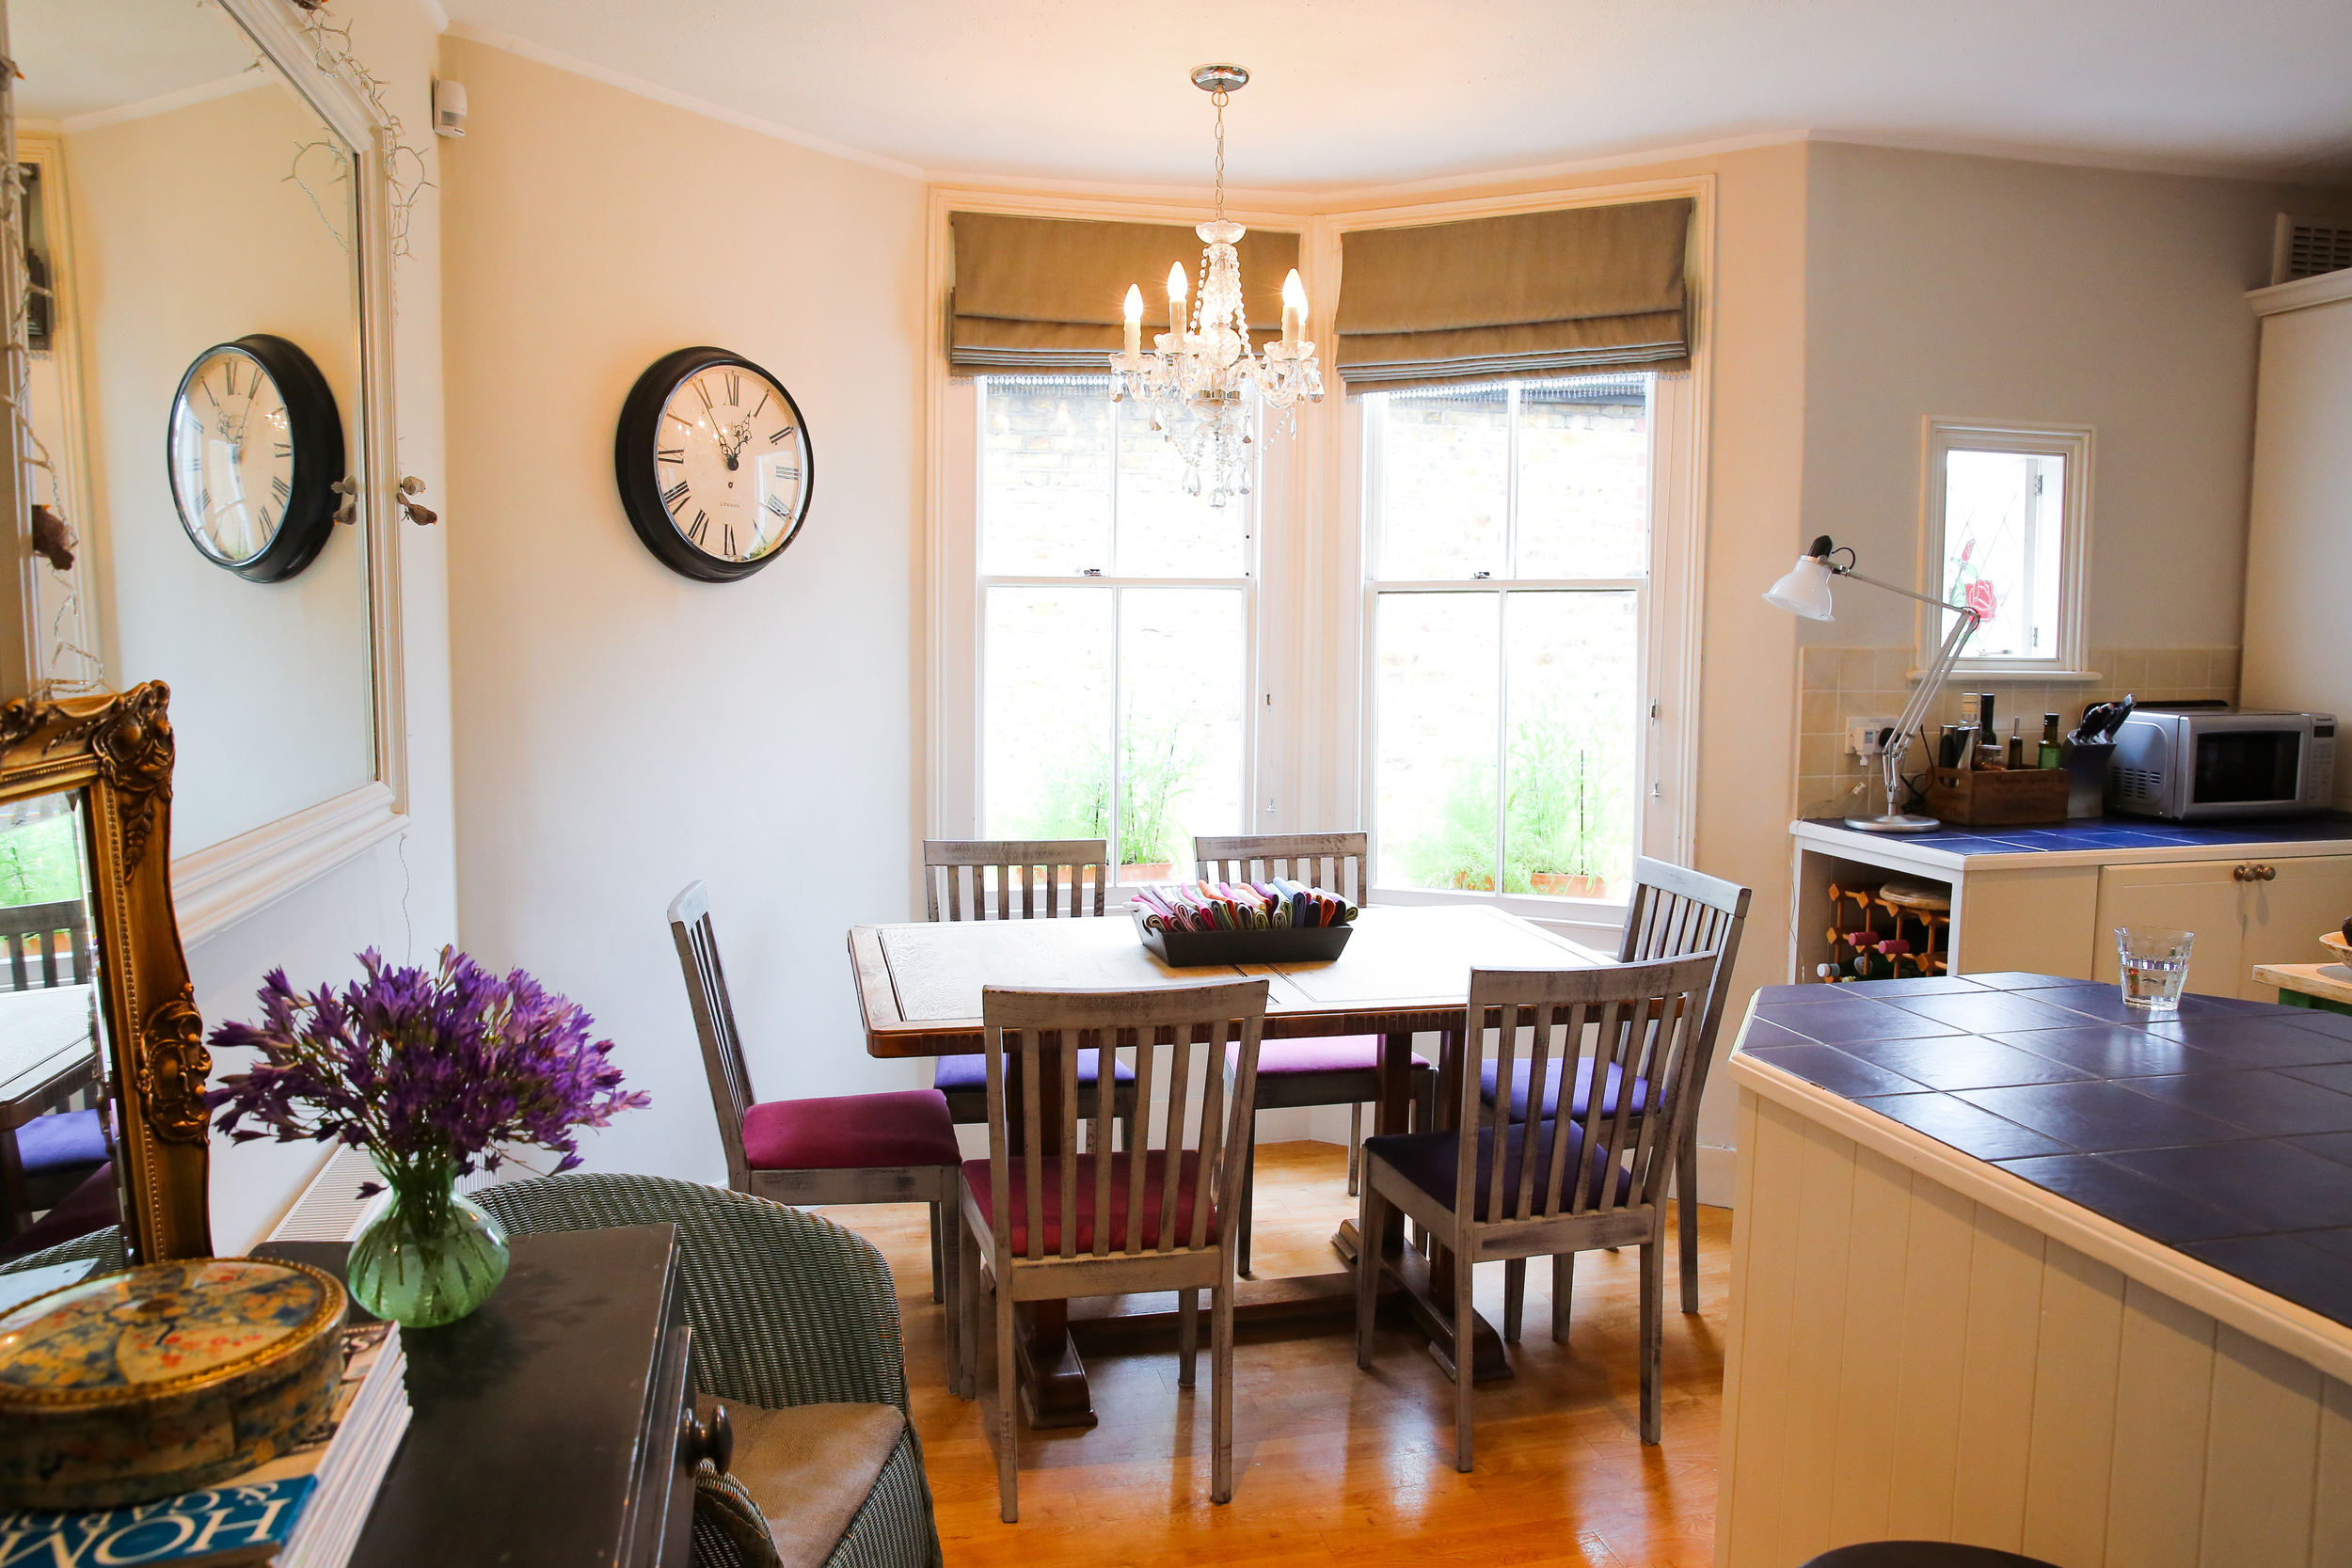
8. Use flowers to style a room - flowers are a great way to add colour to a room but don't forget they can also add texture, height, scent and of course to create a focal point. Here are some examples of how I've used flowers in my home this week:
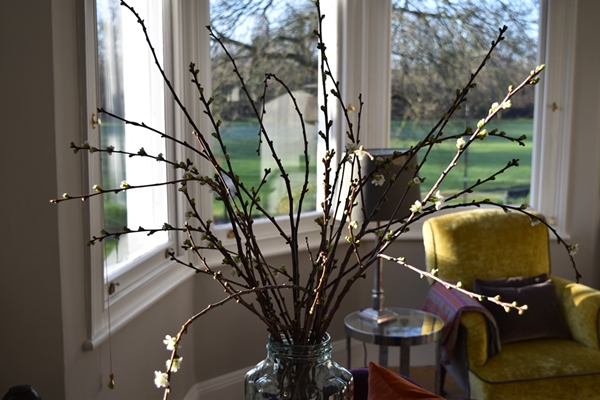
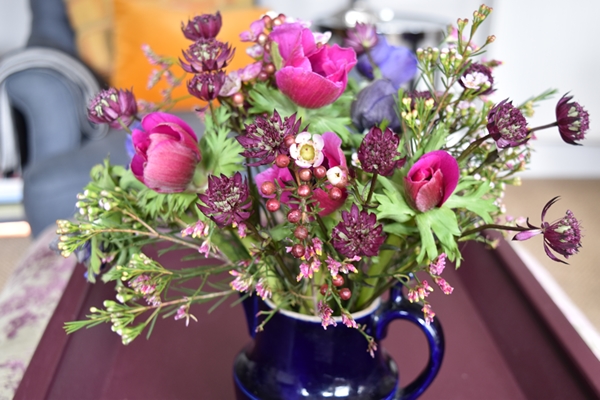
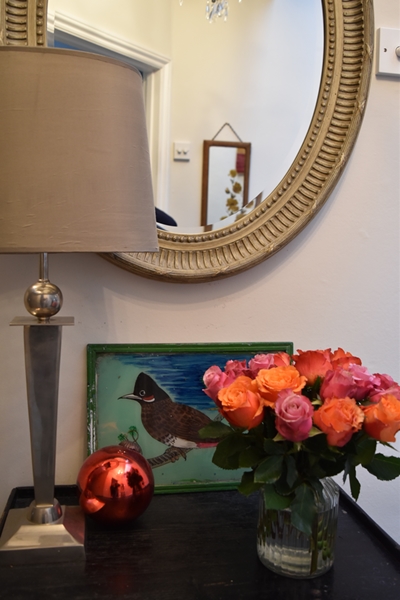
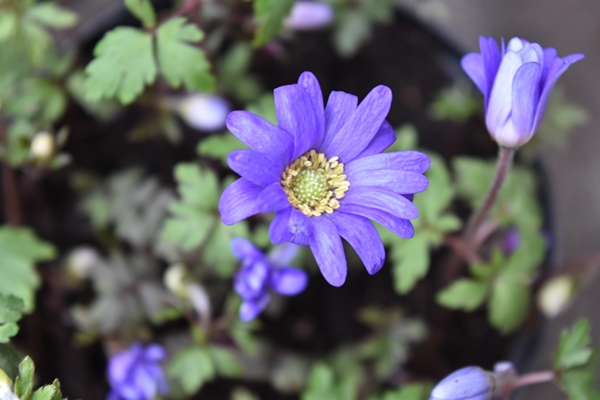
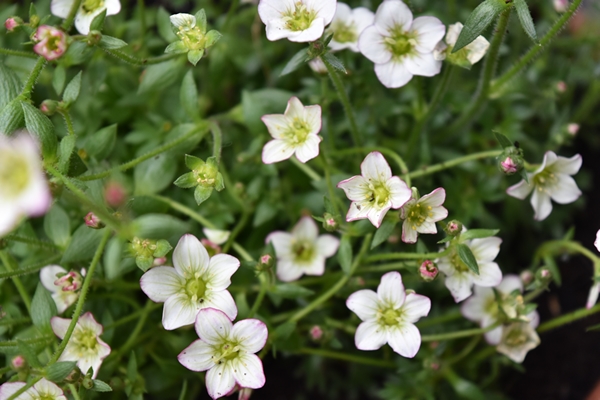
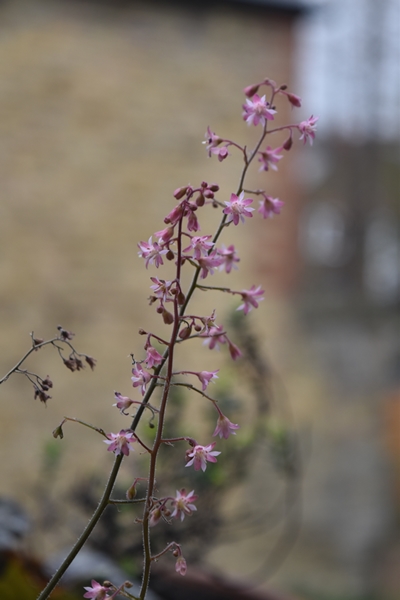
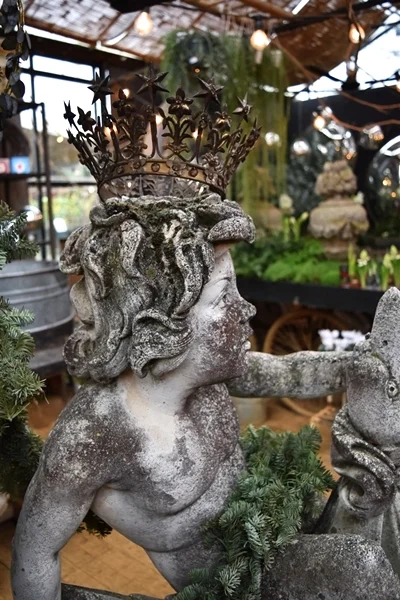
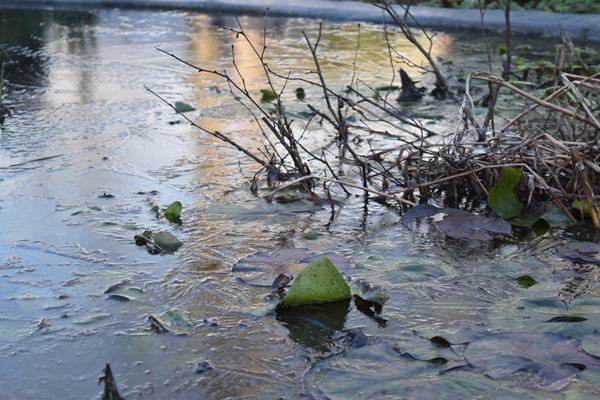
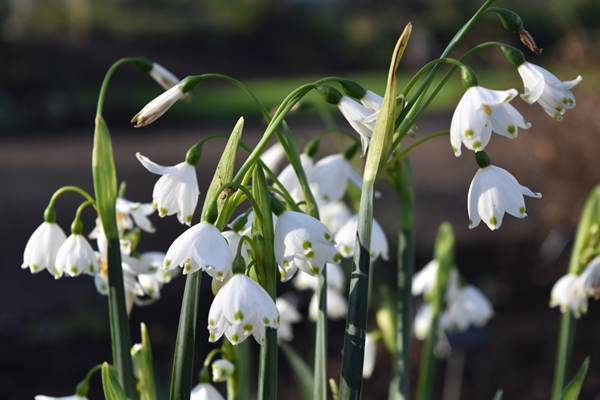
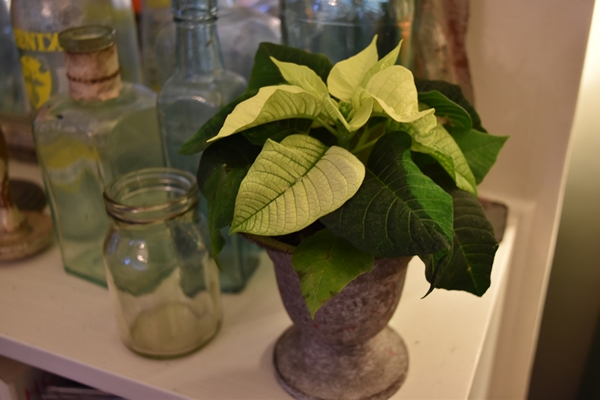
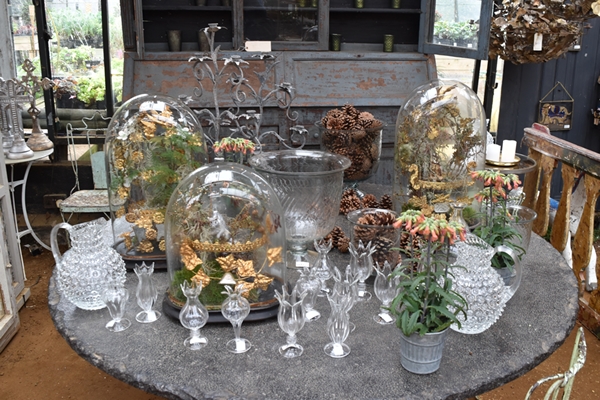
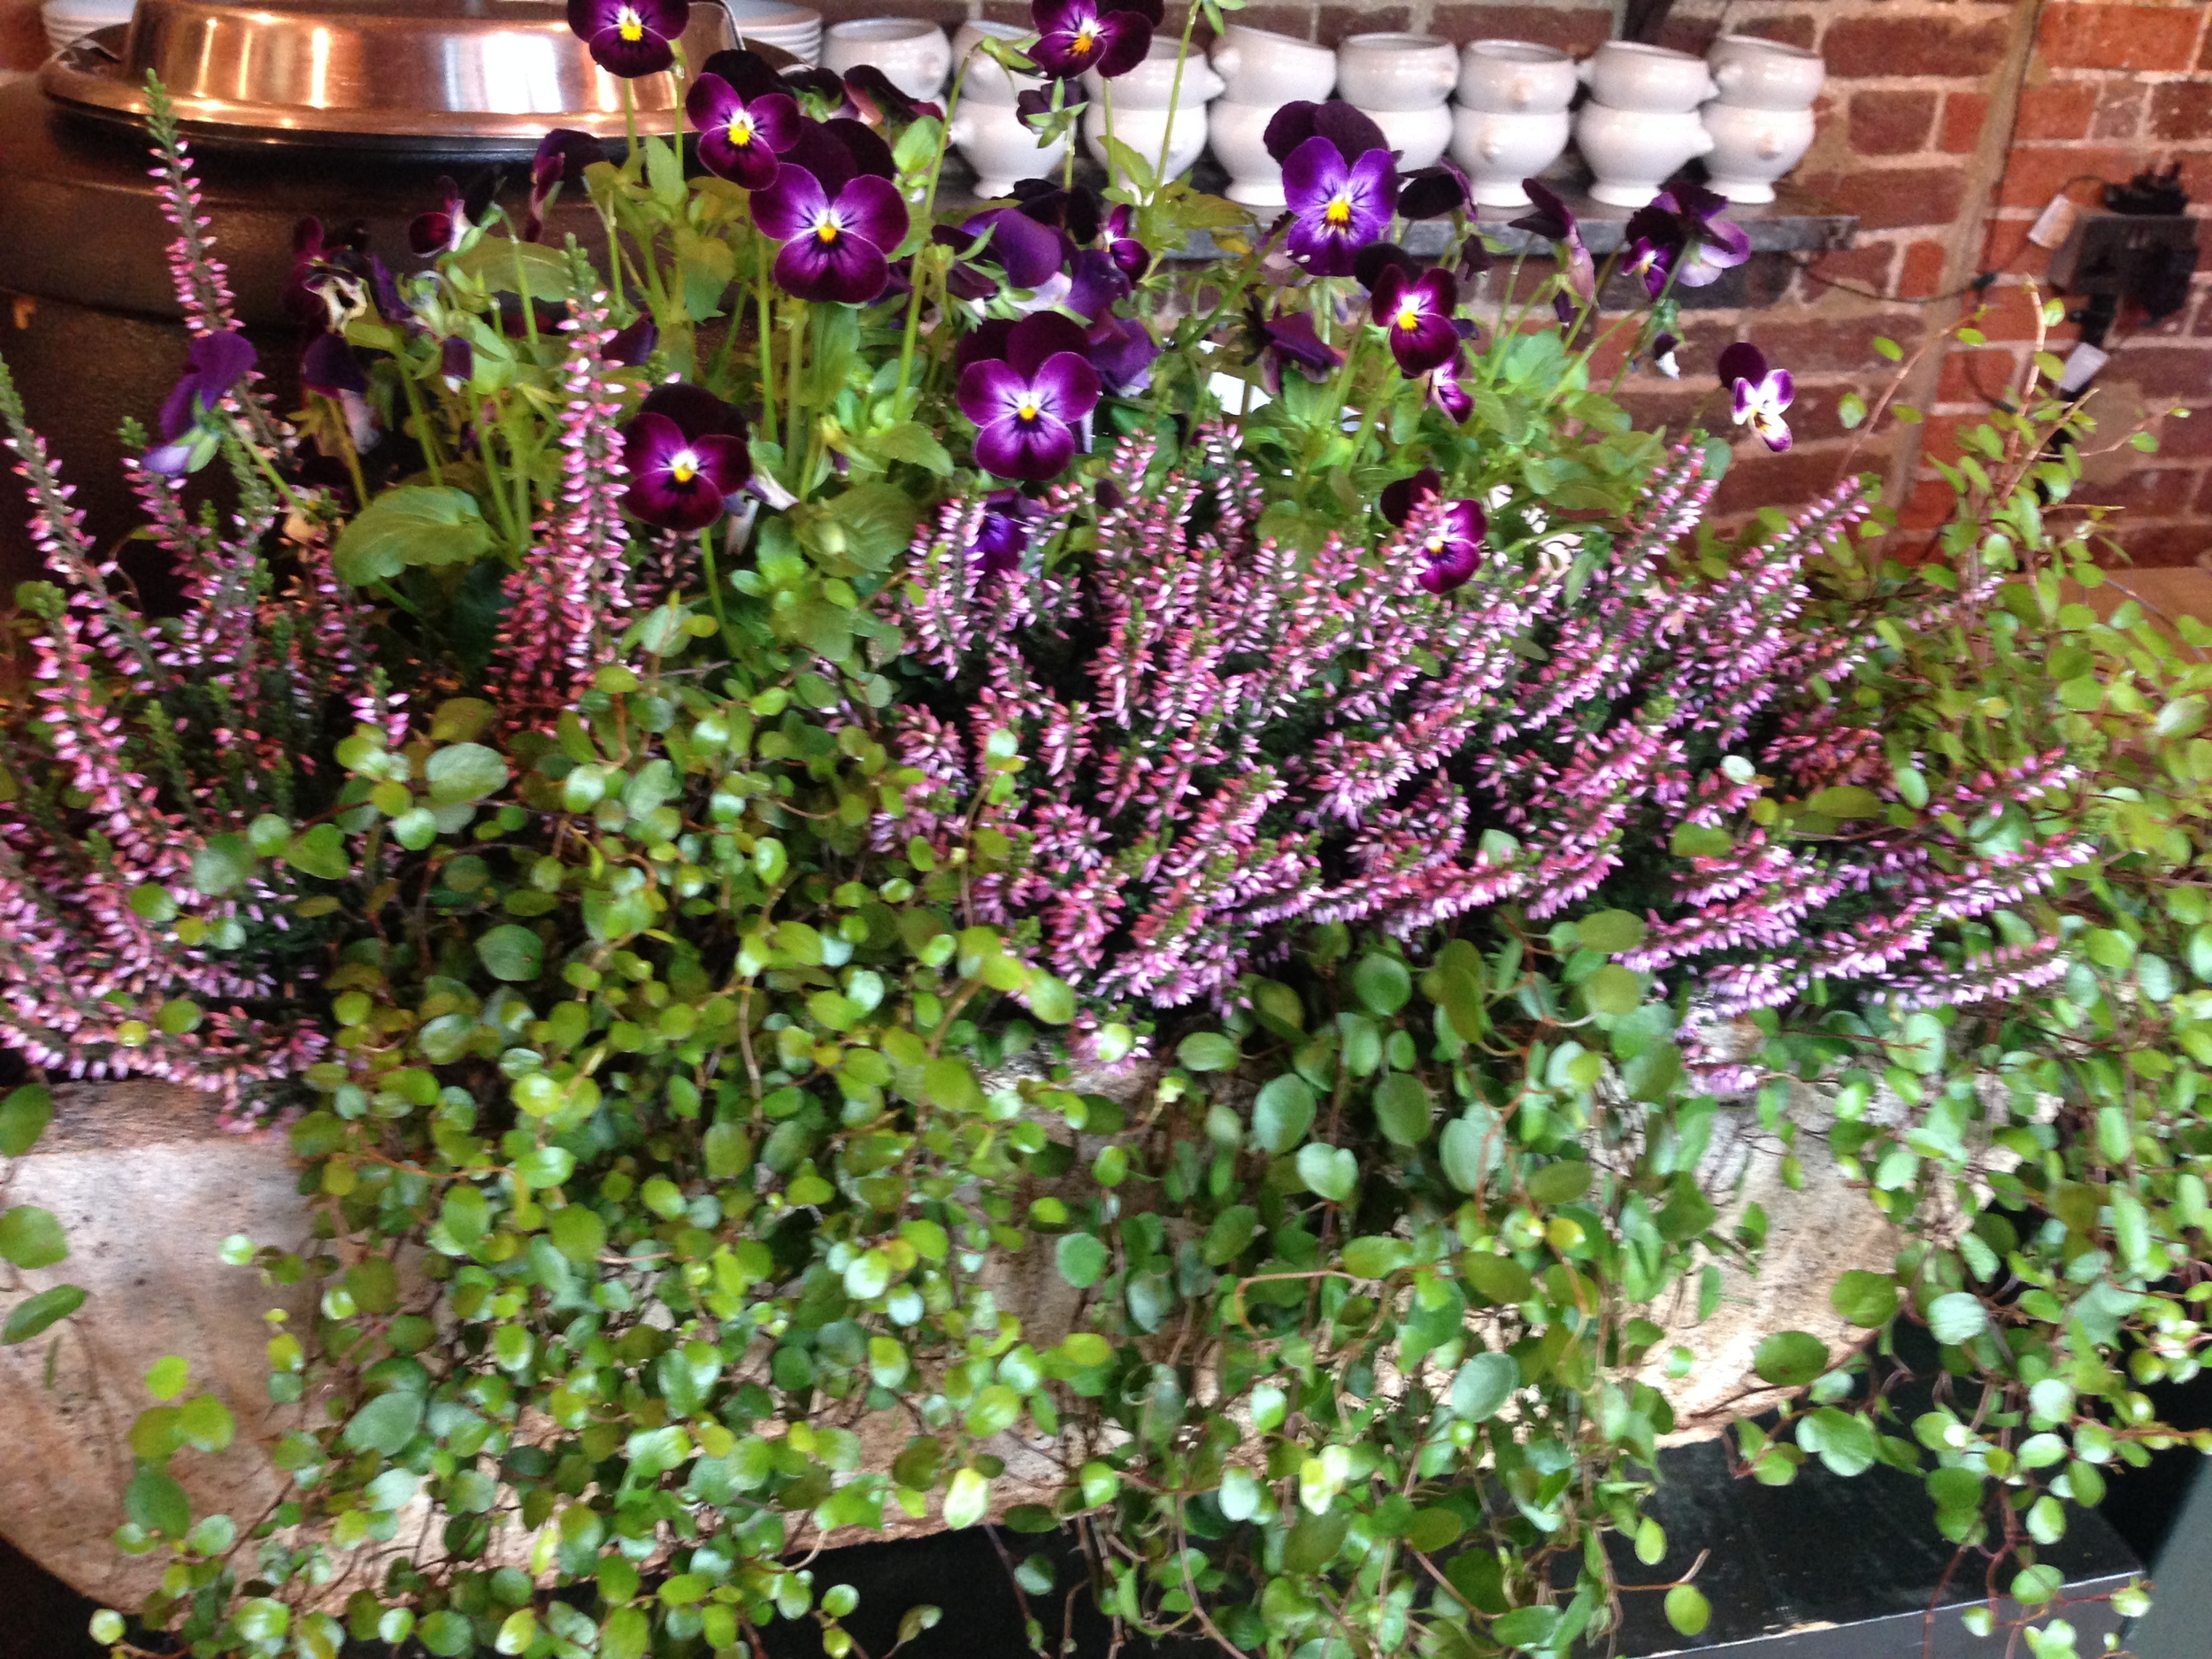
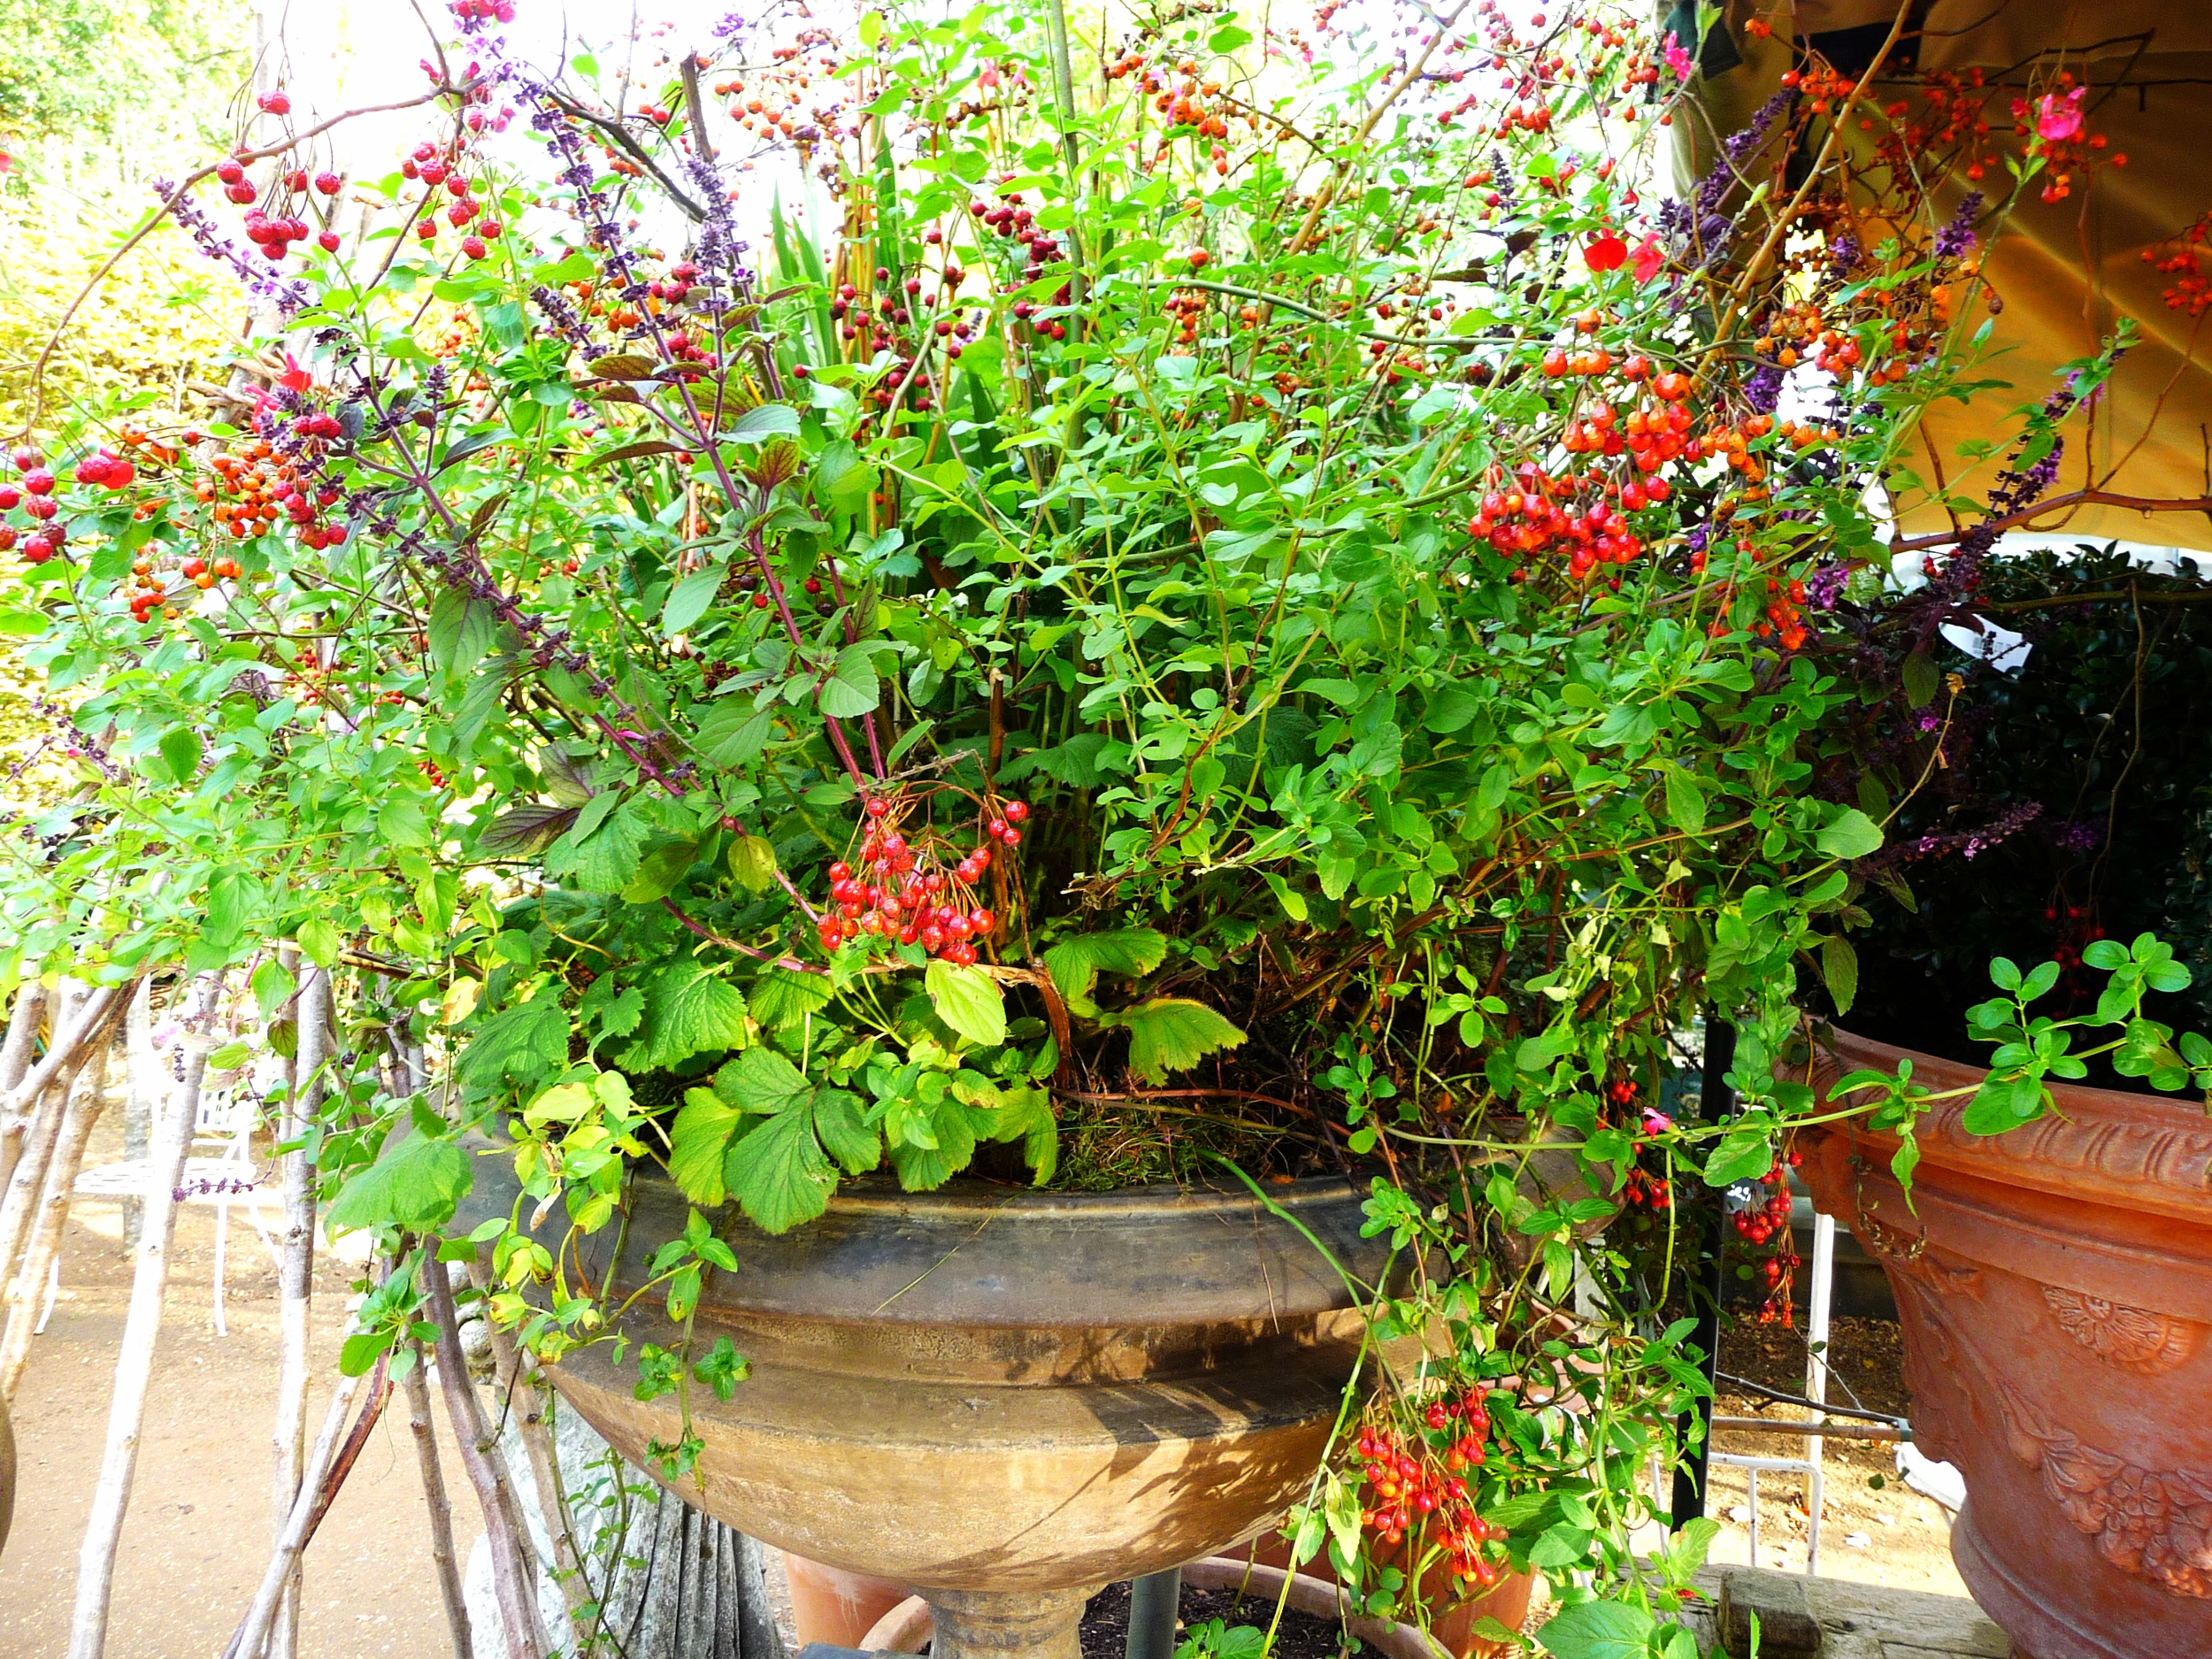
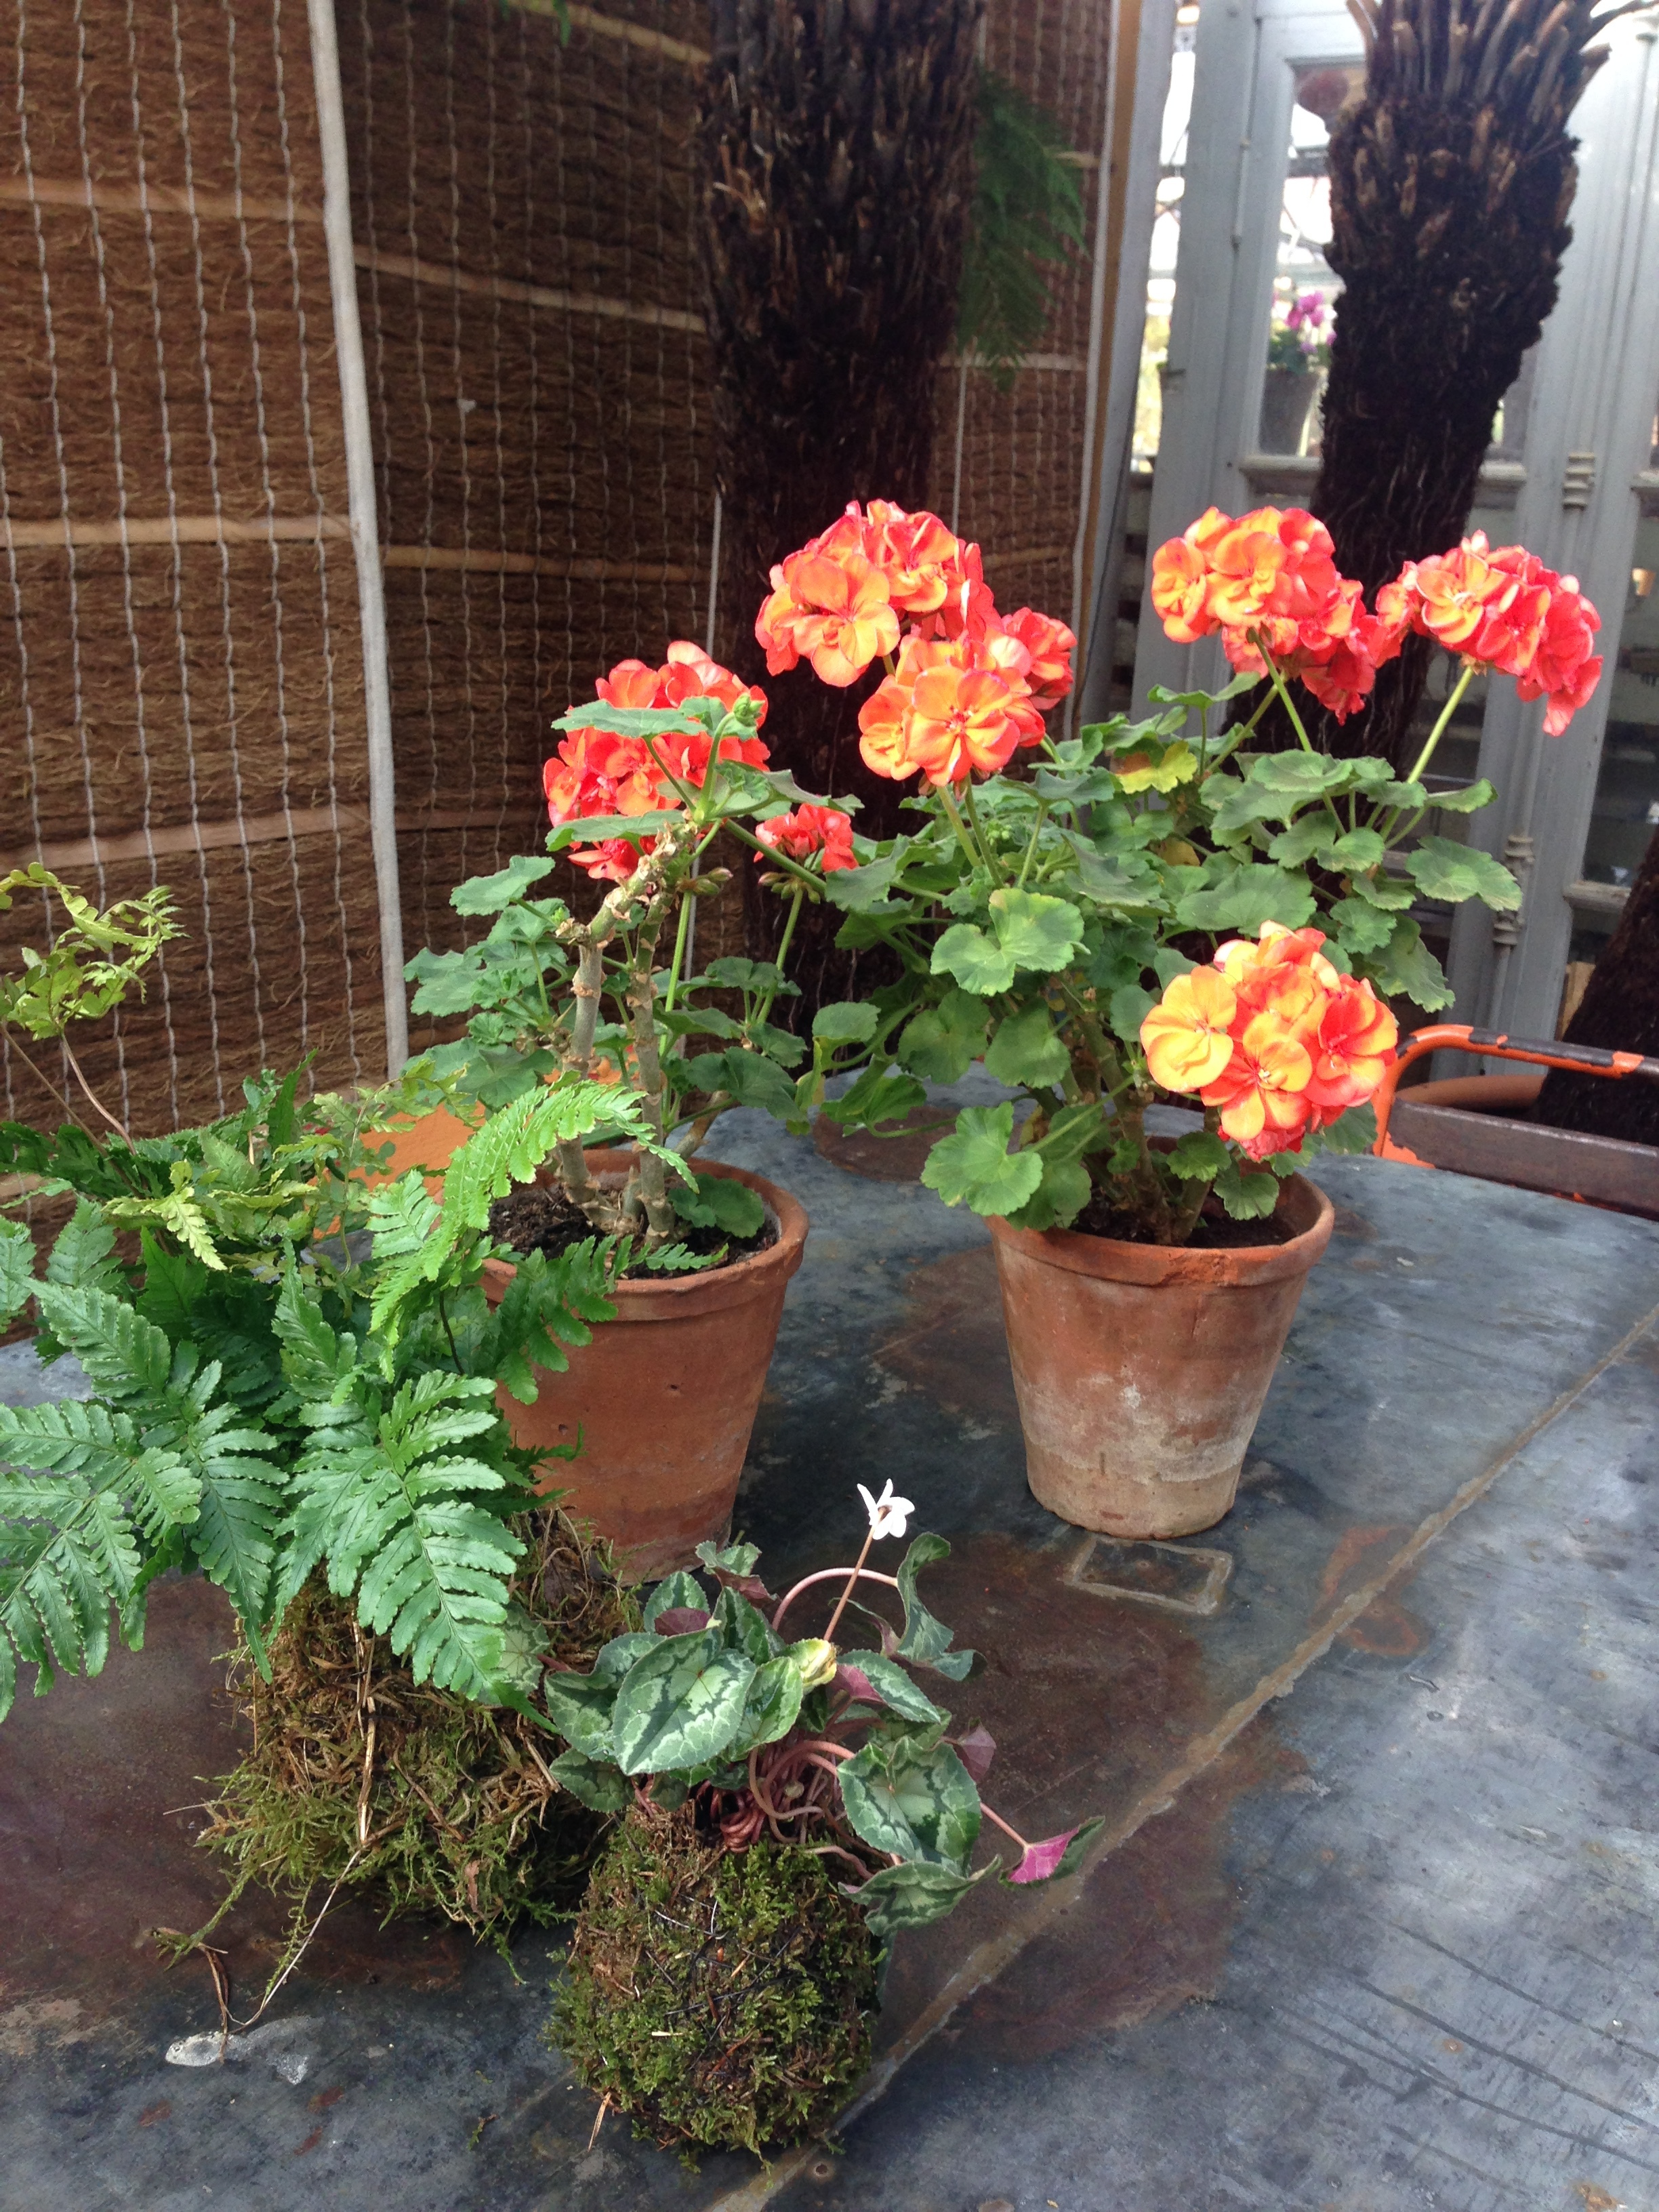
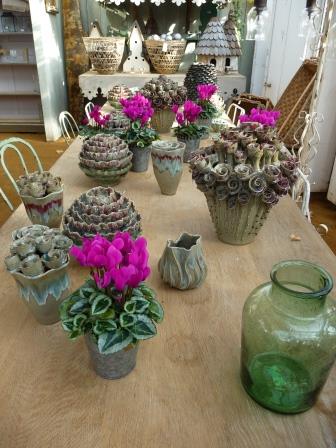
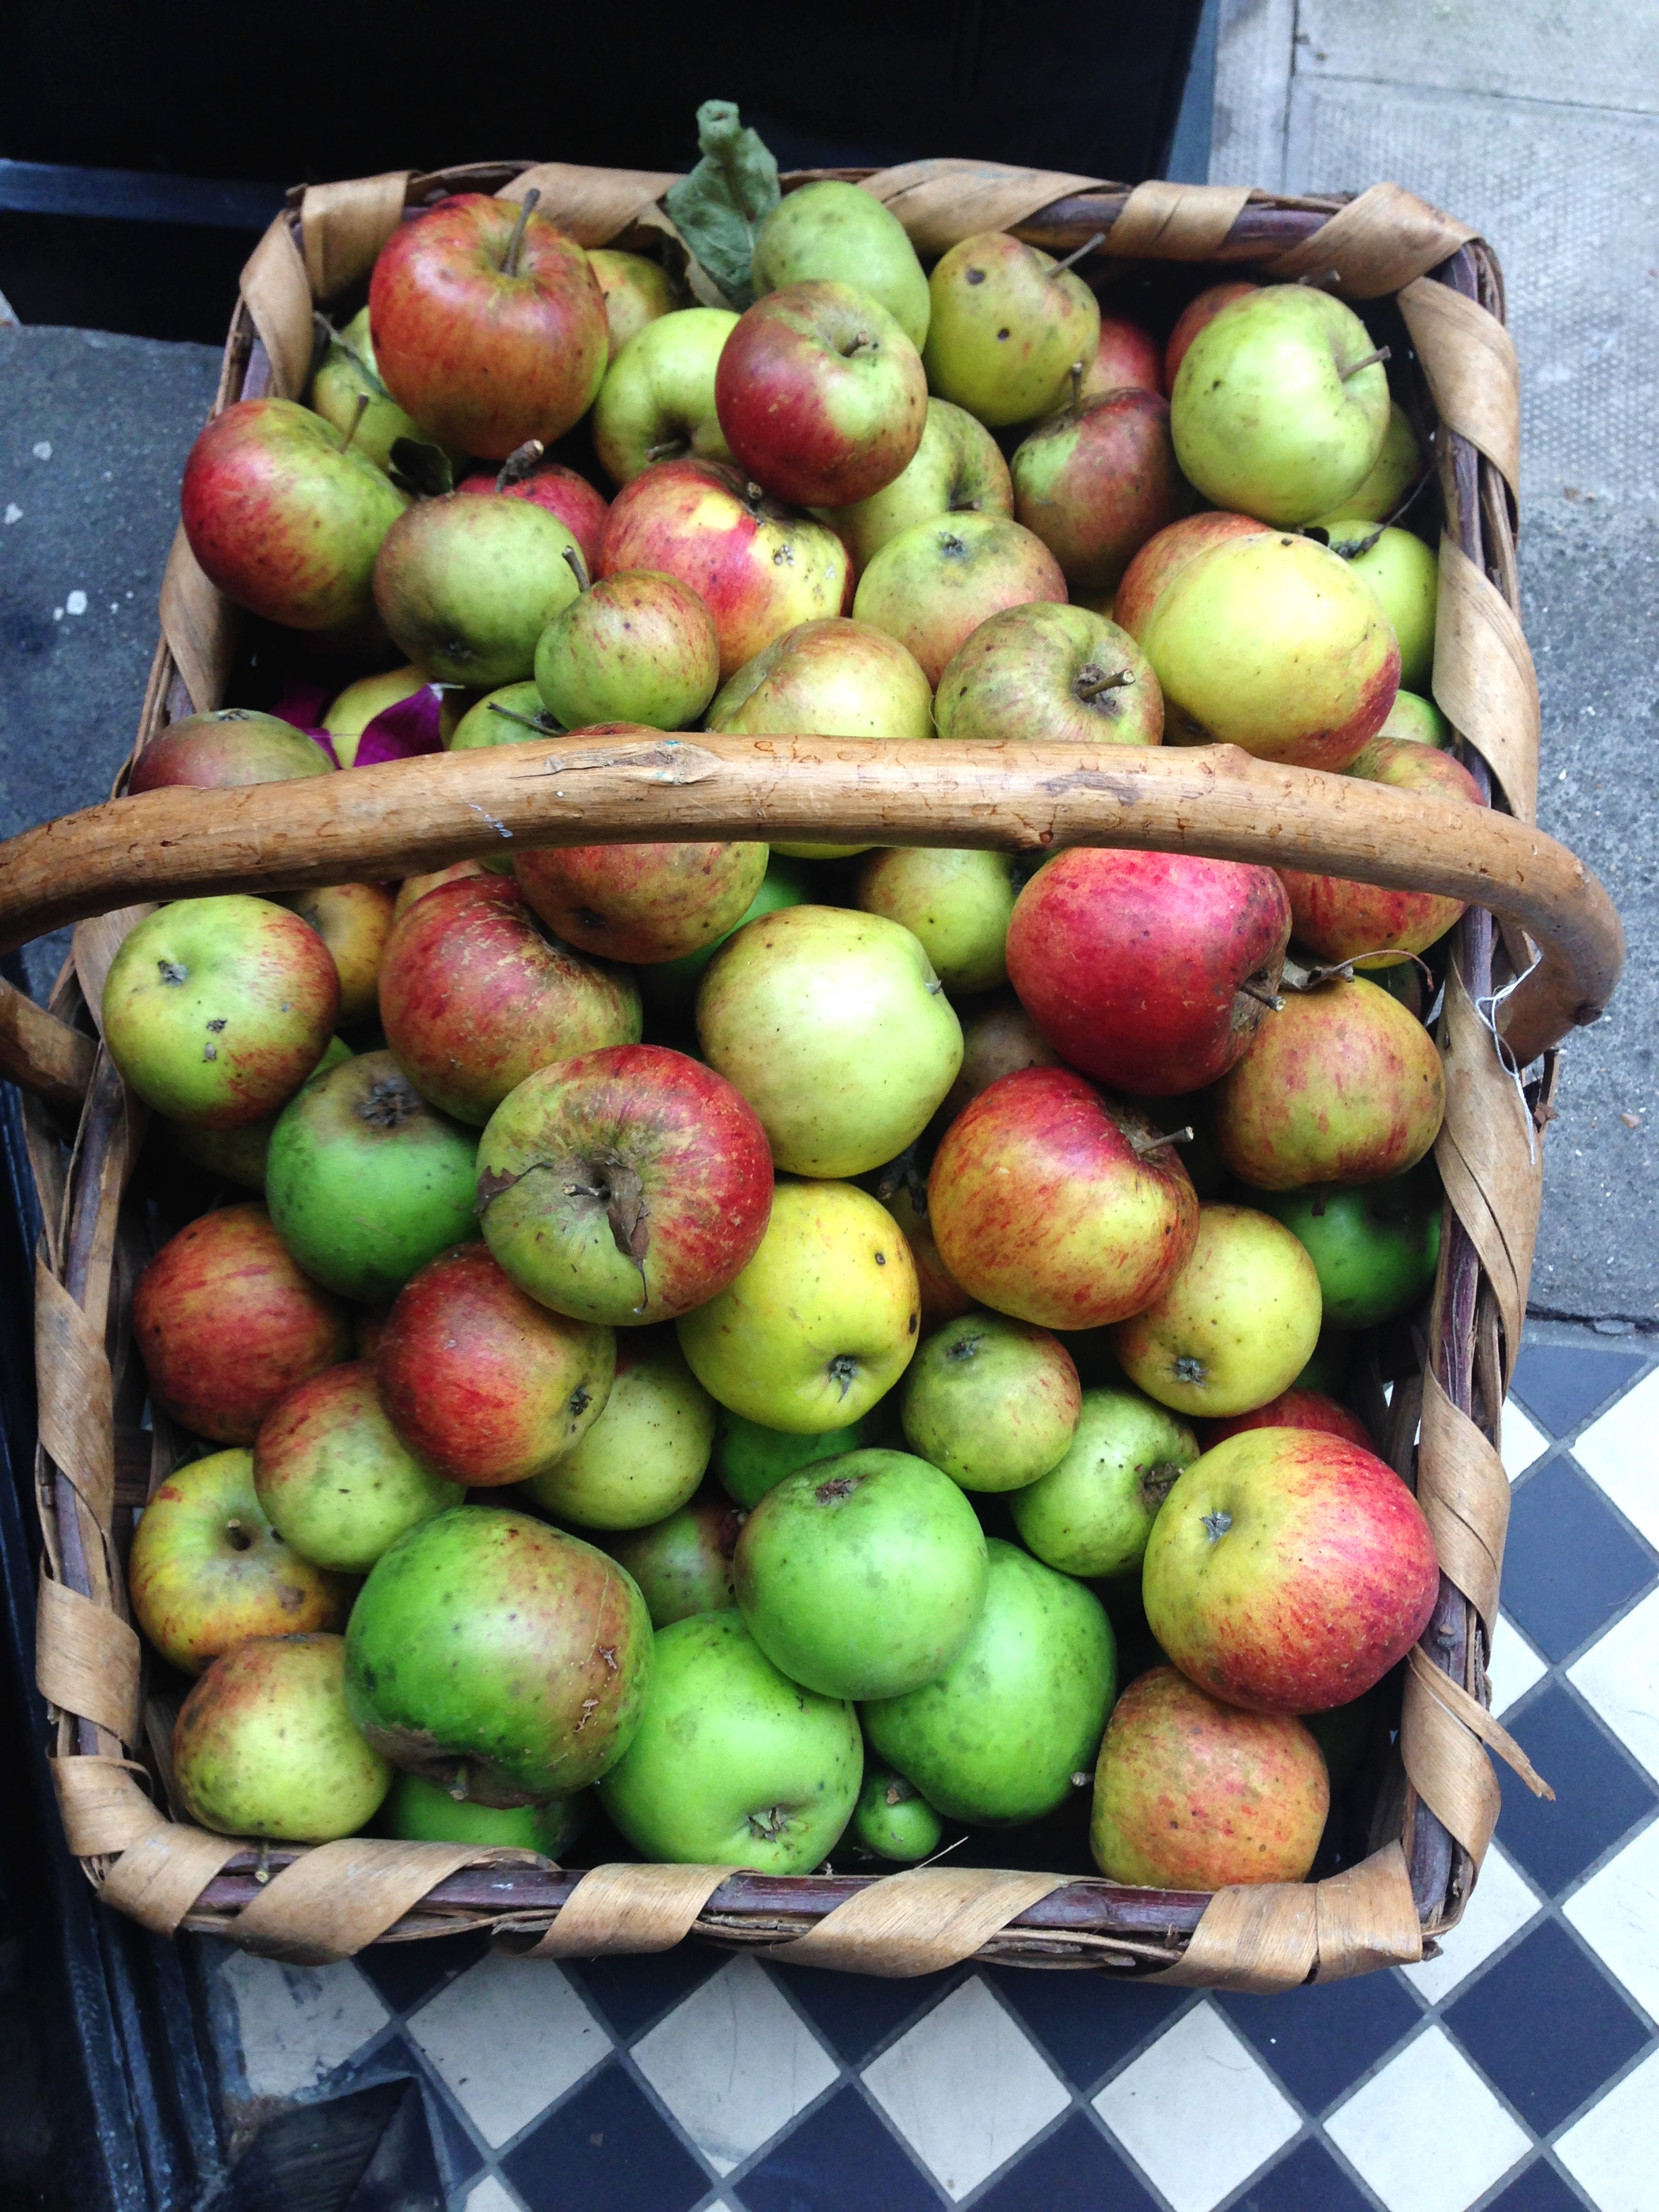
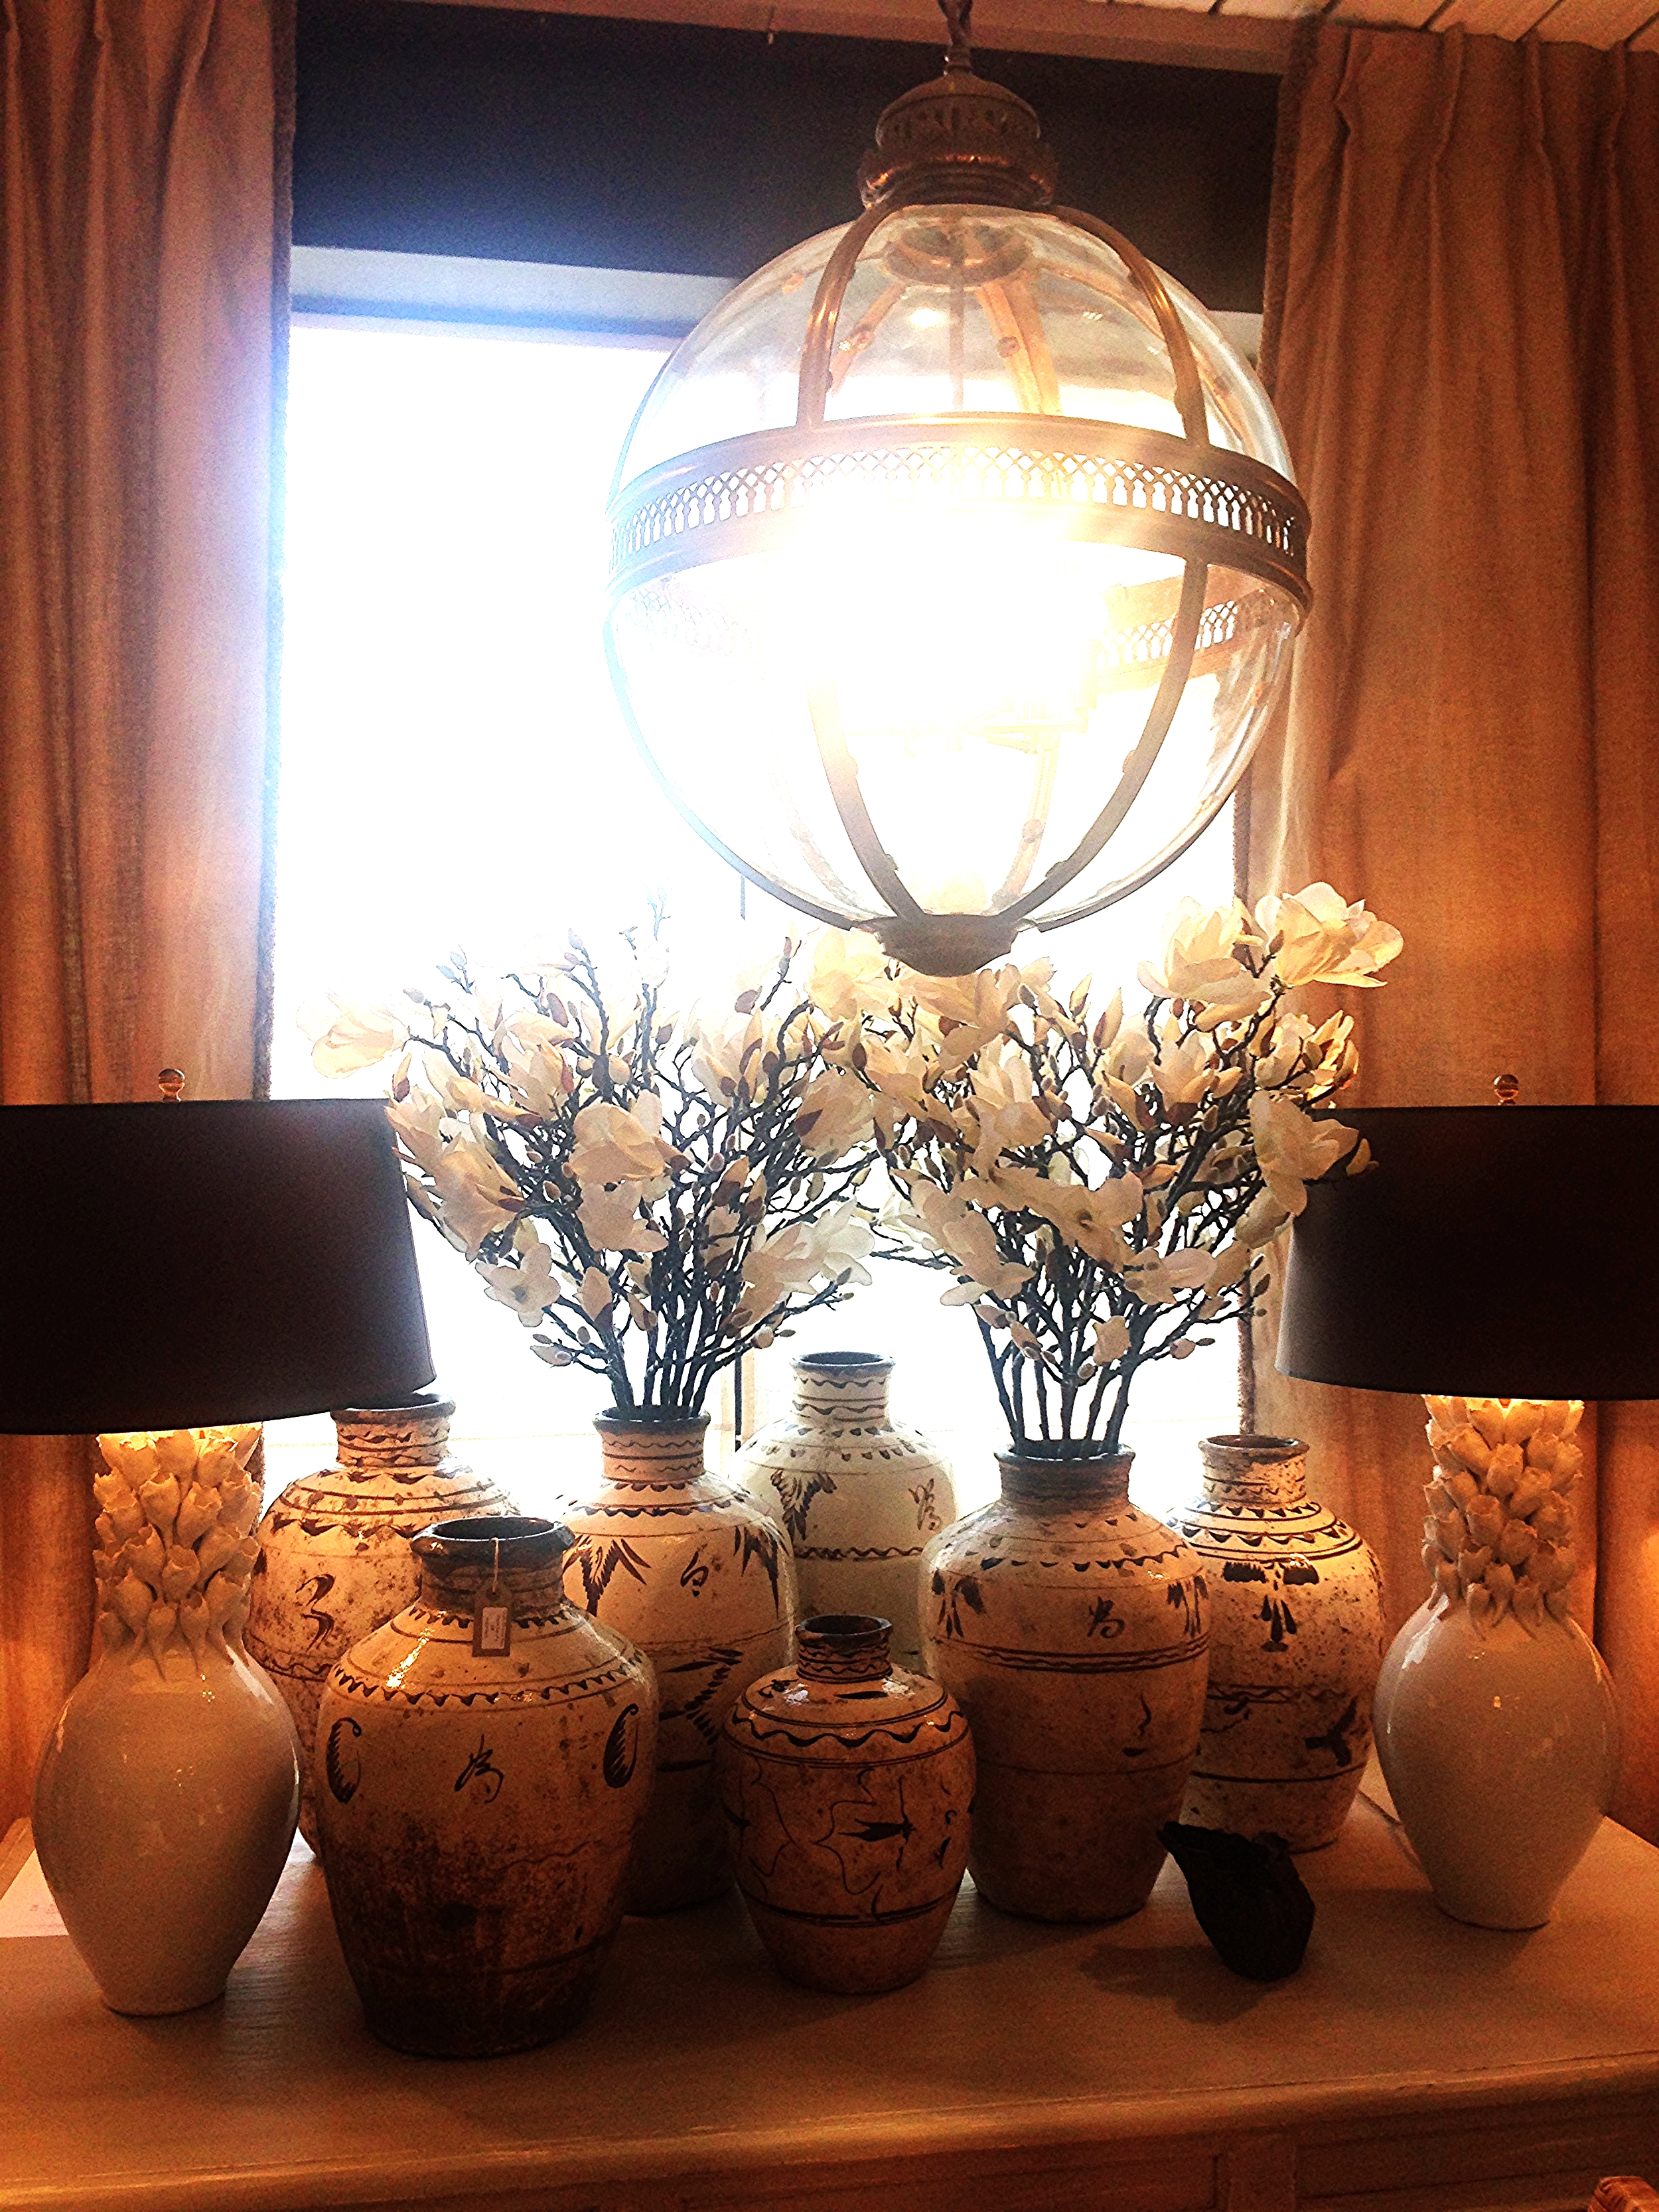
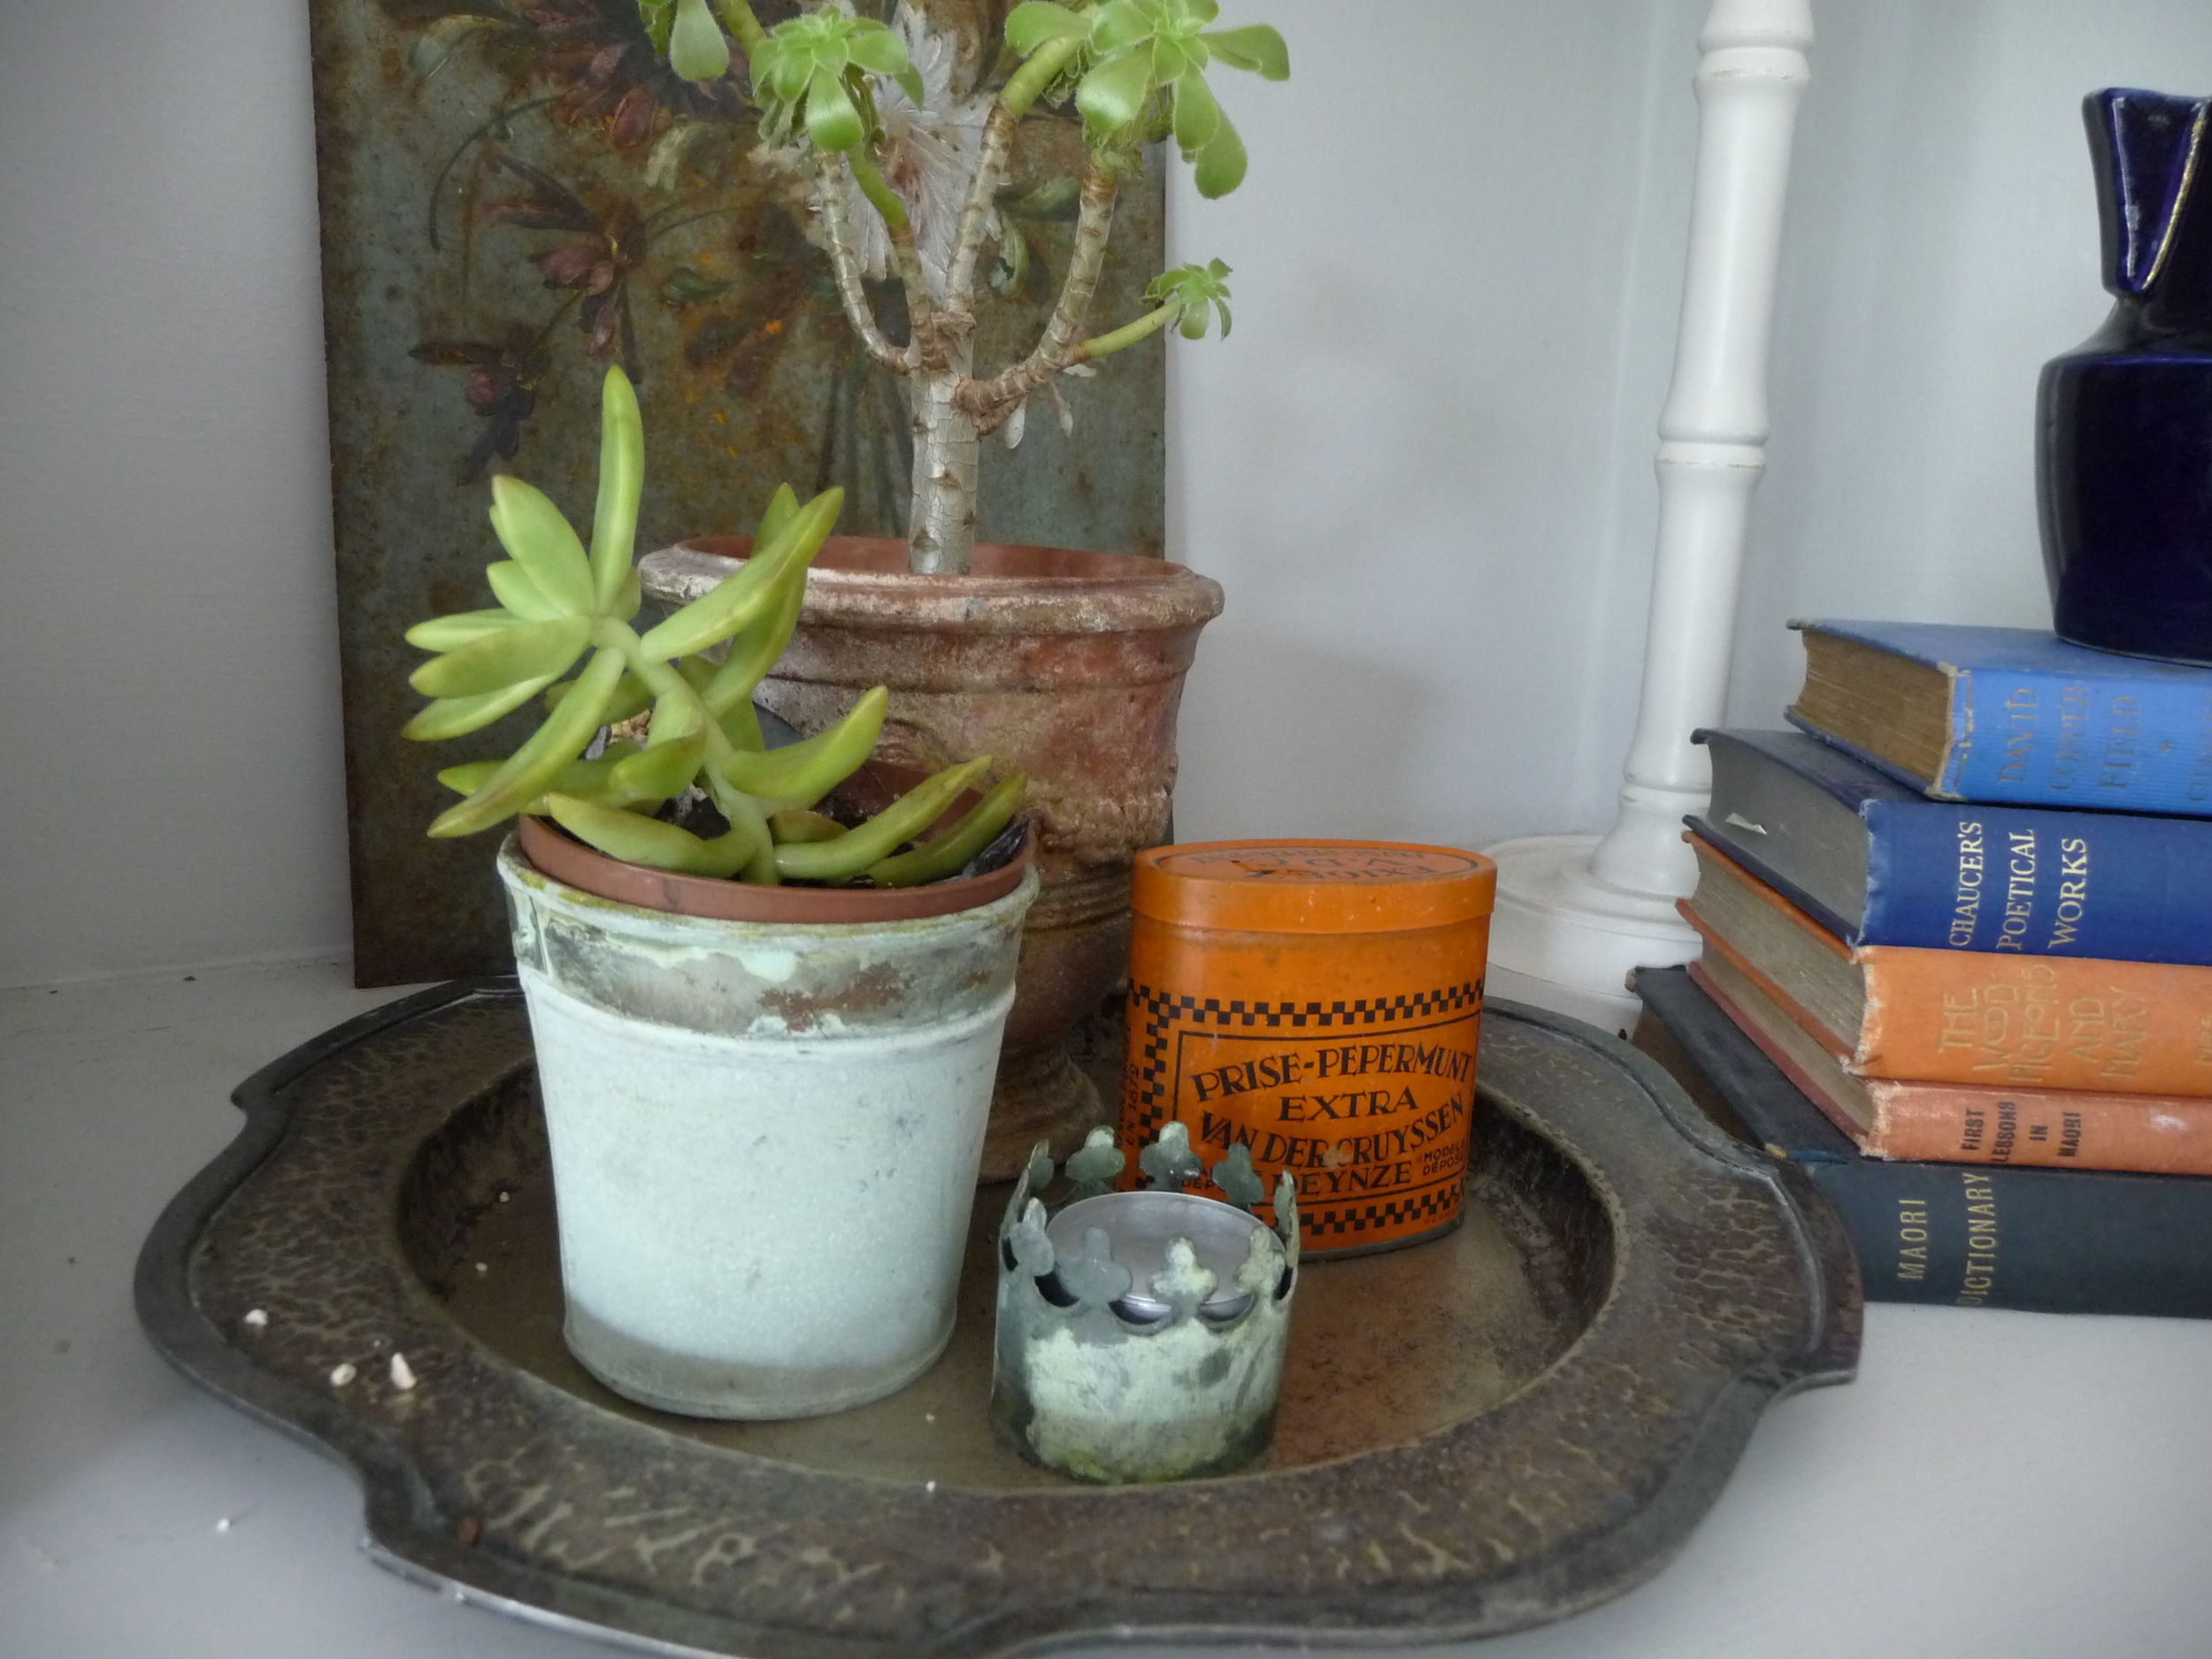
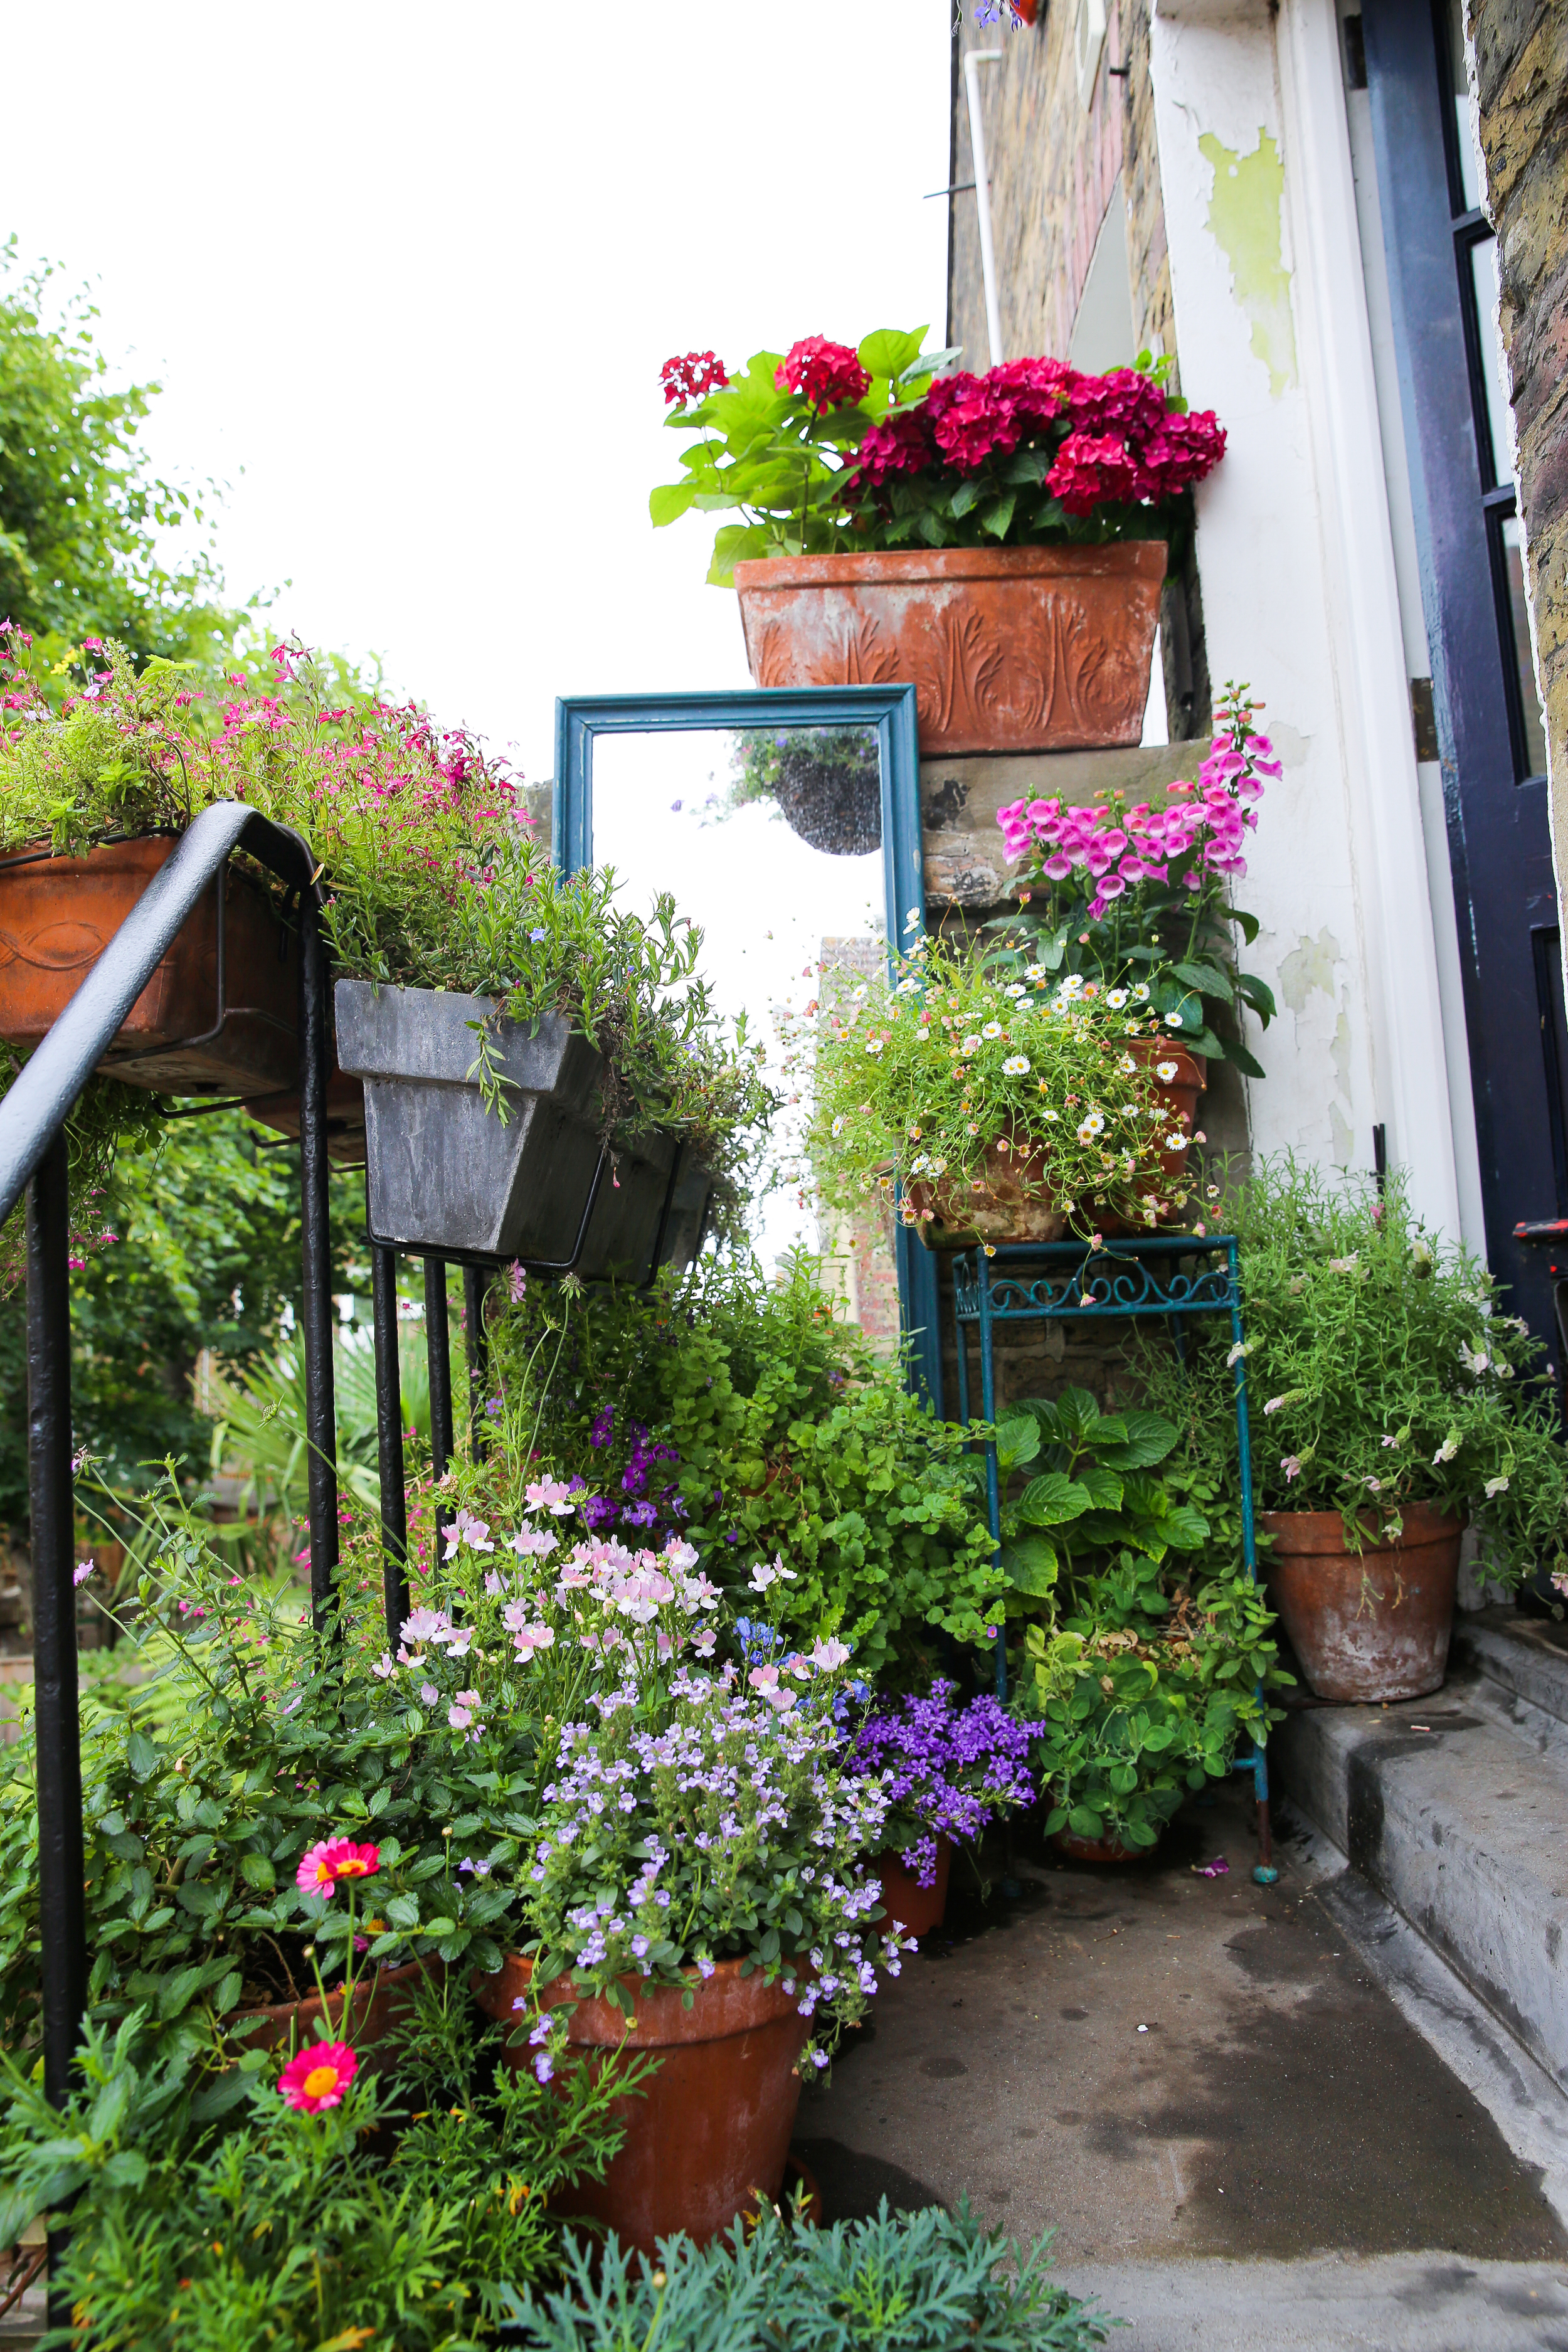
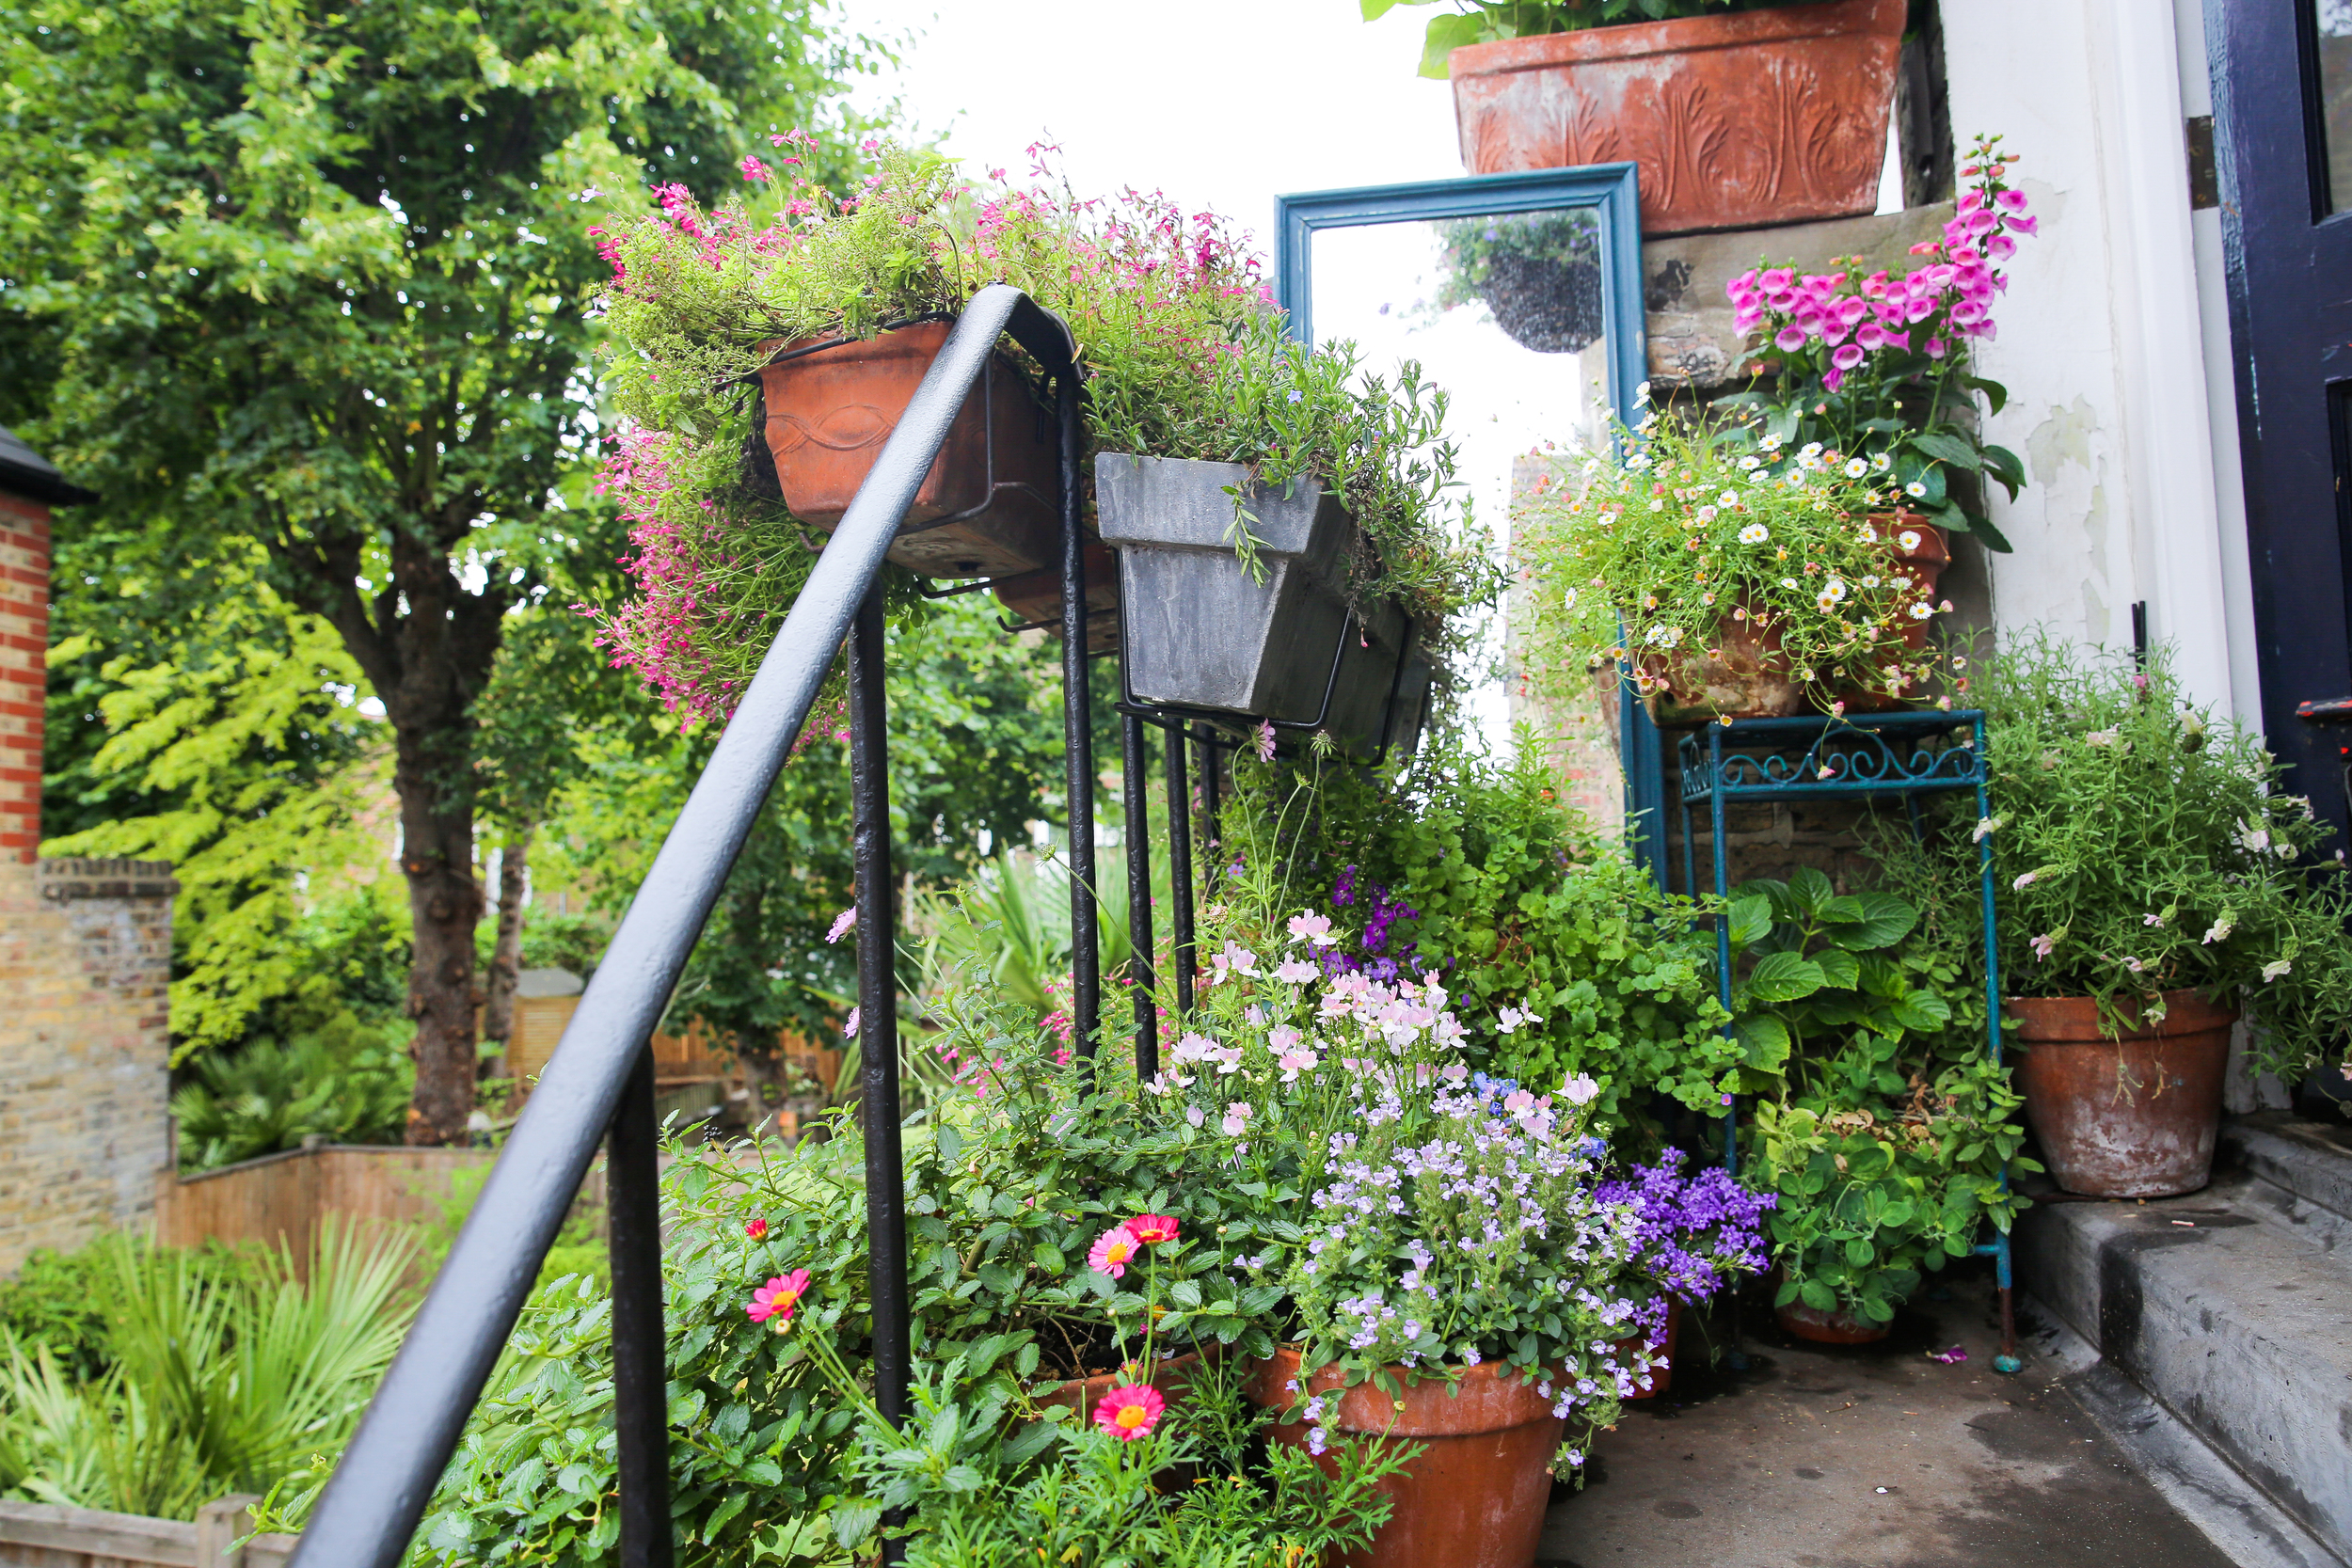
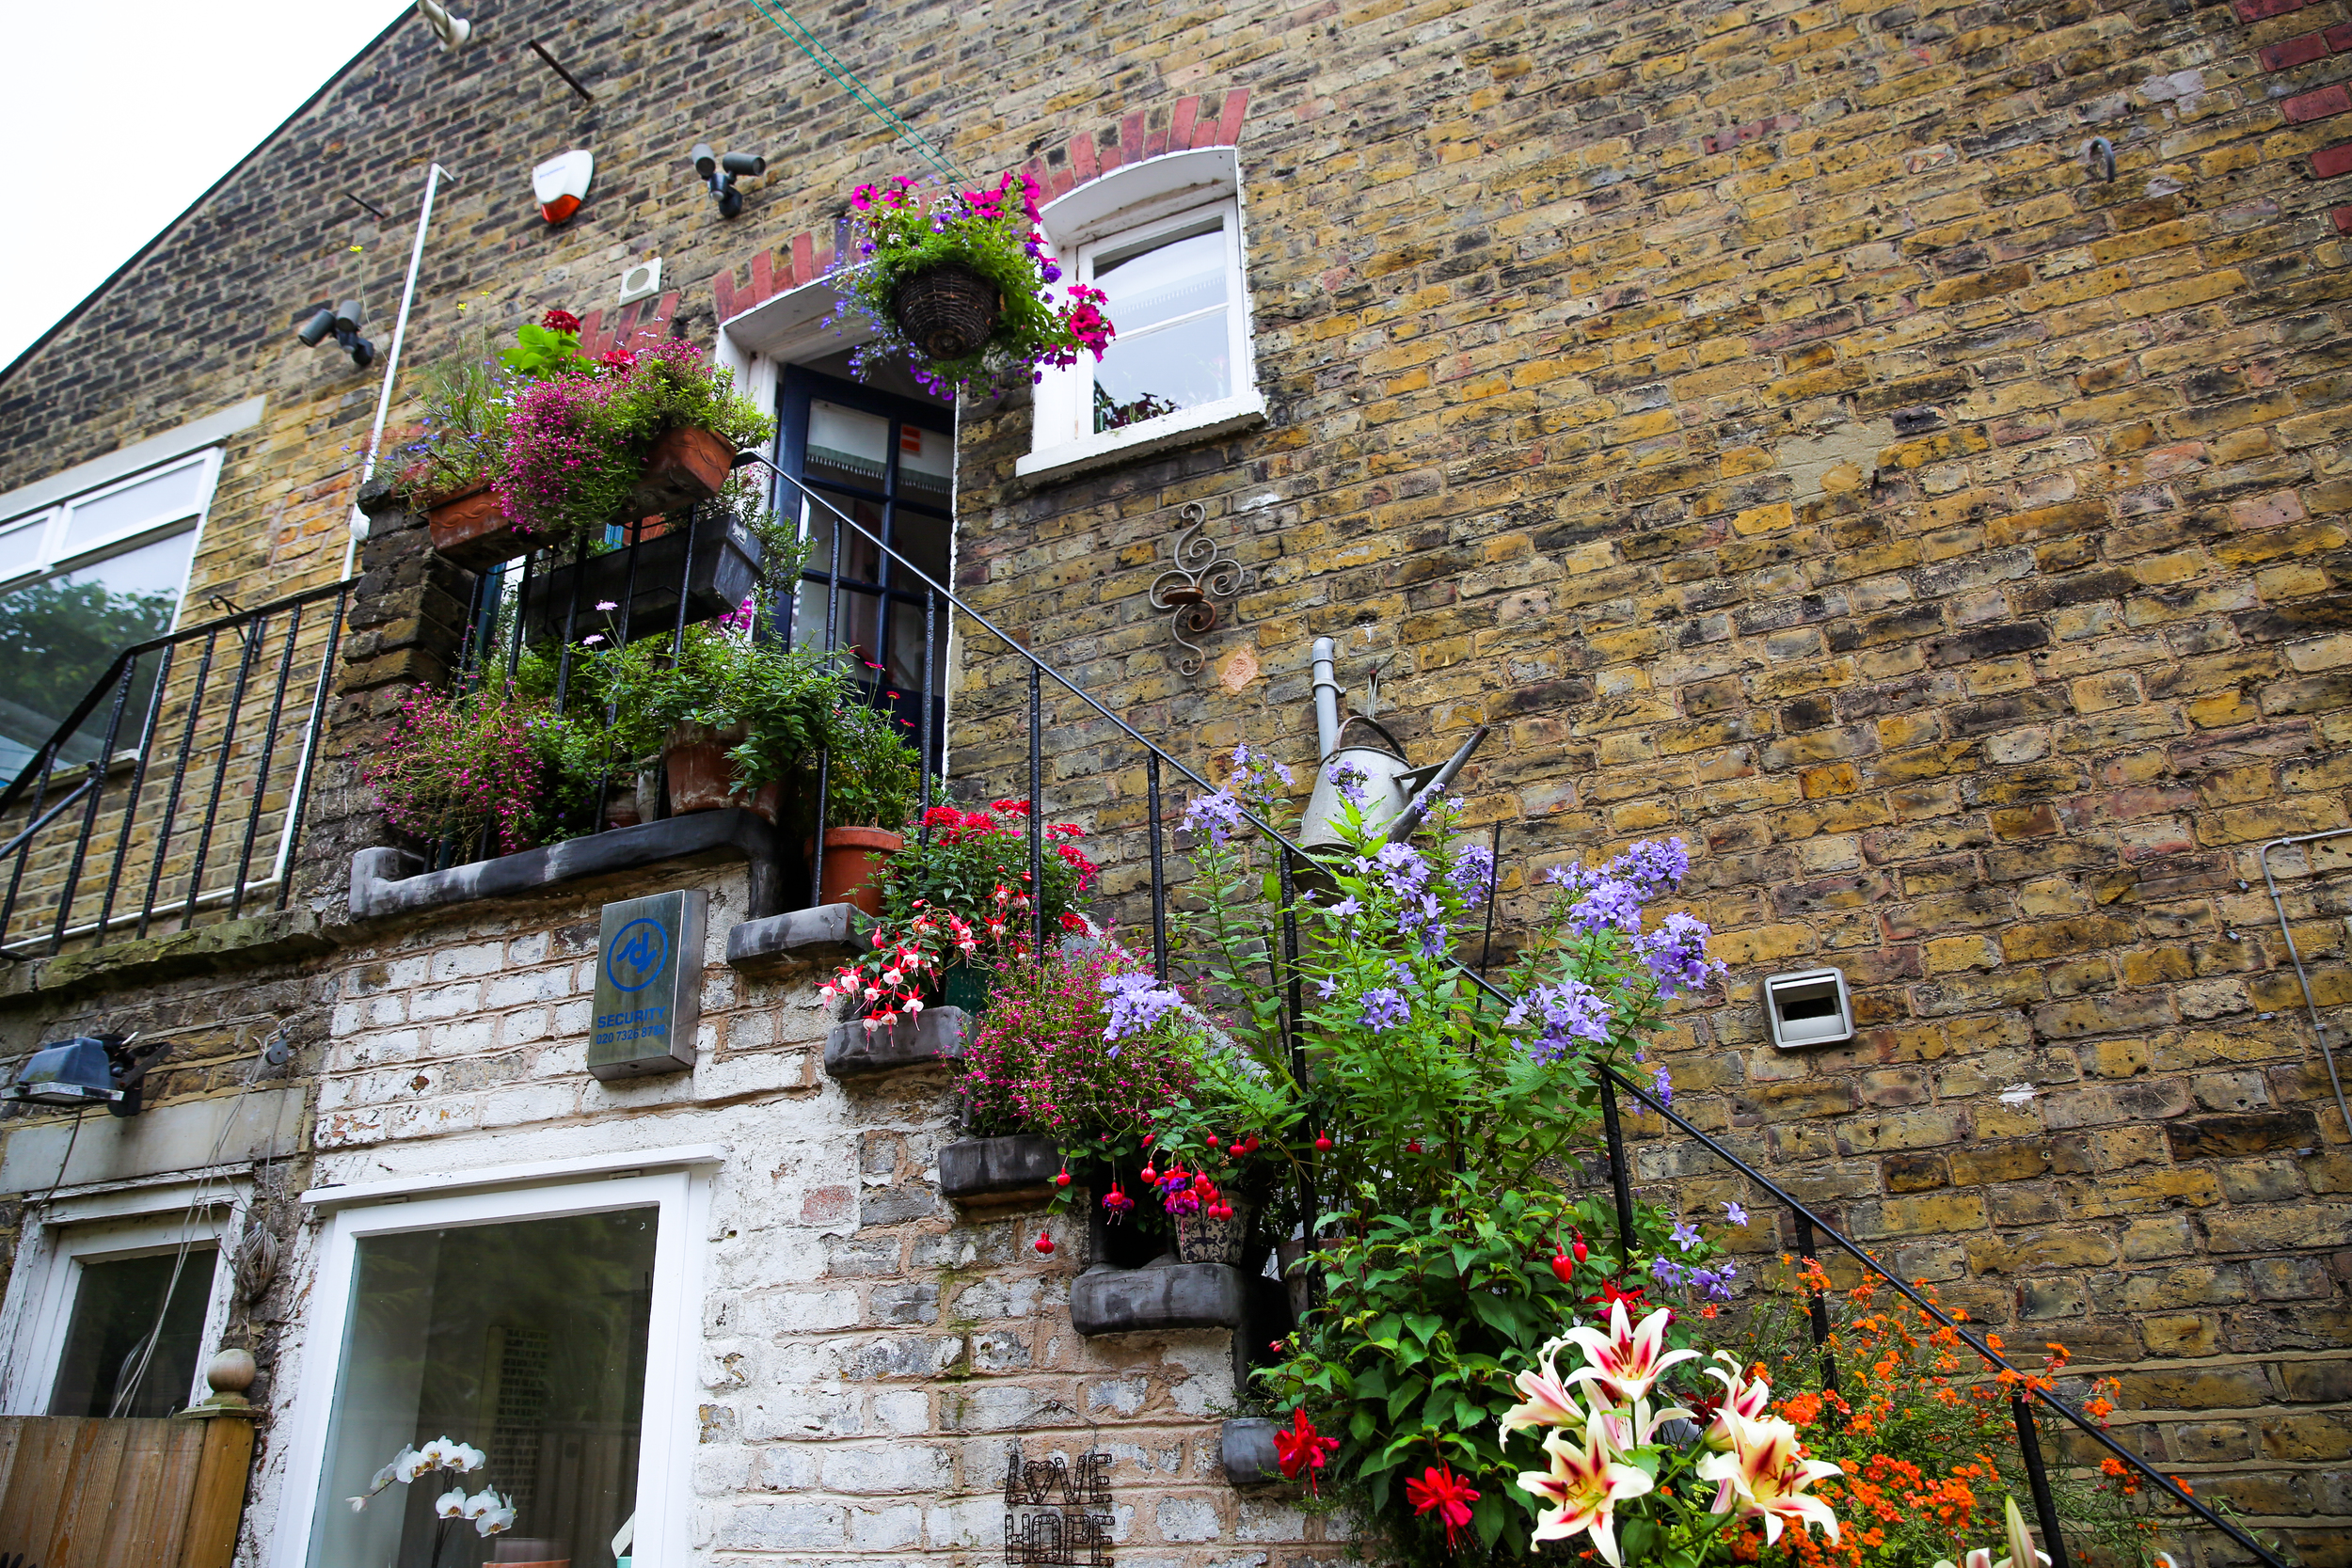
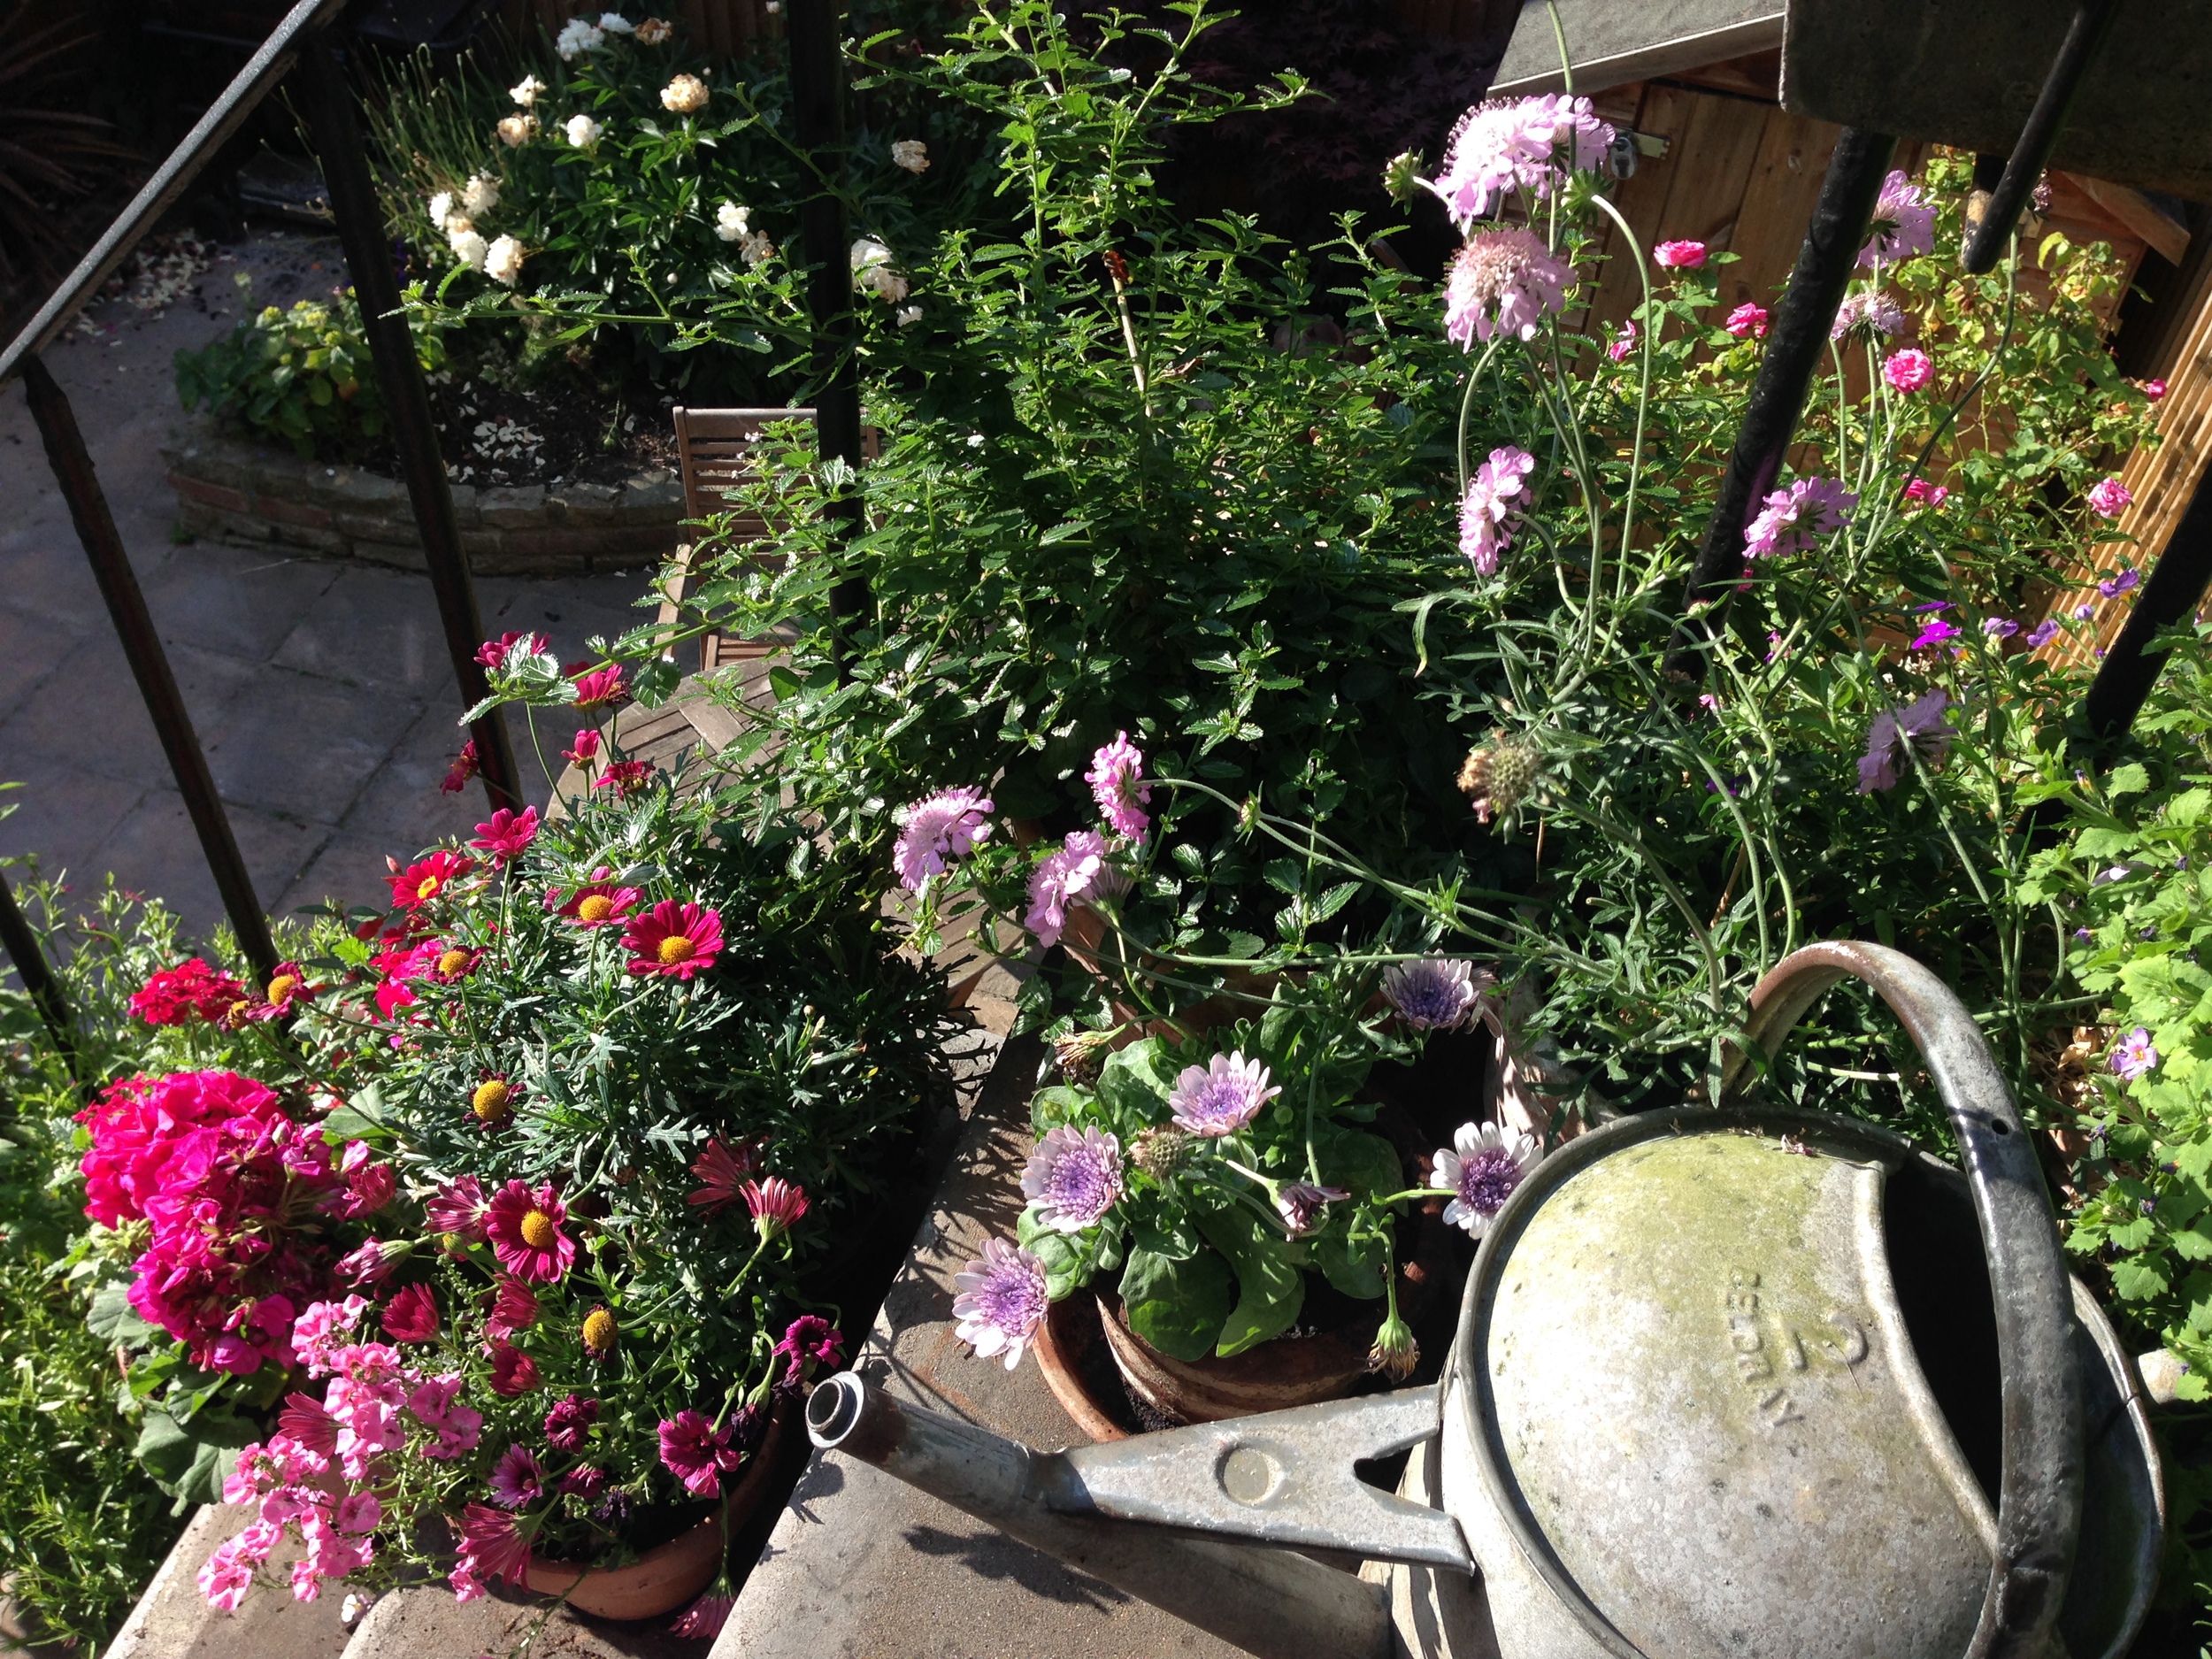
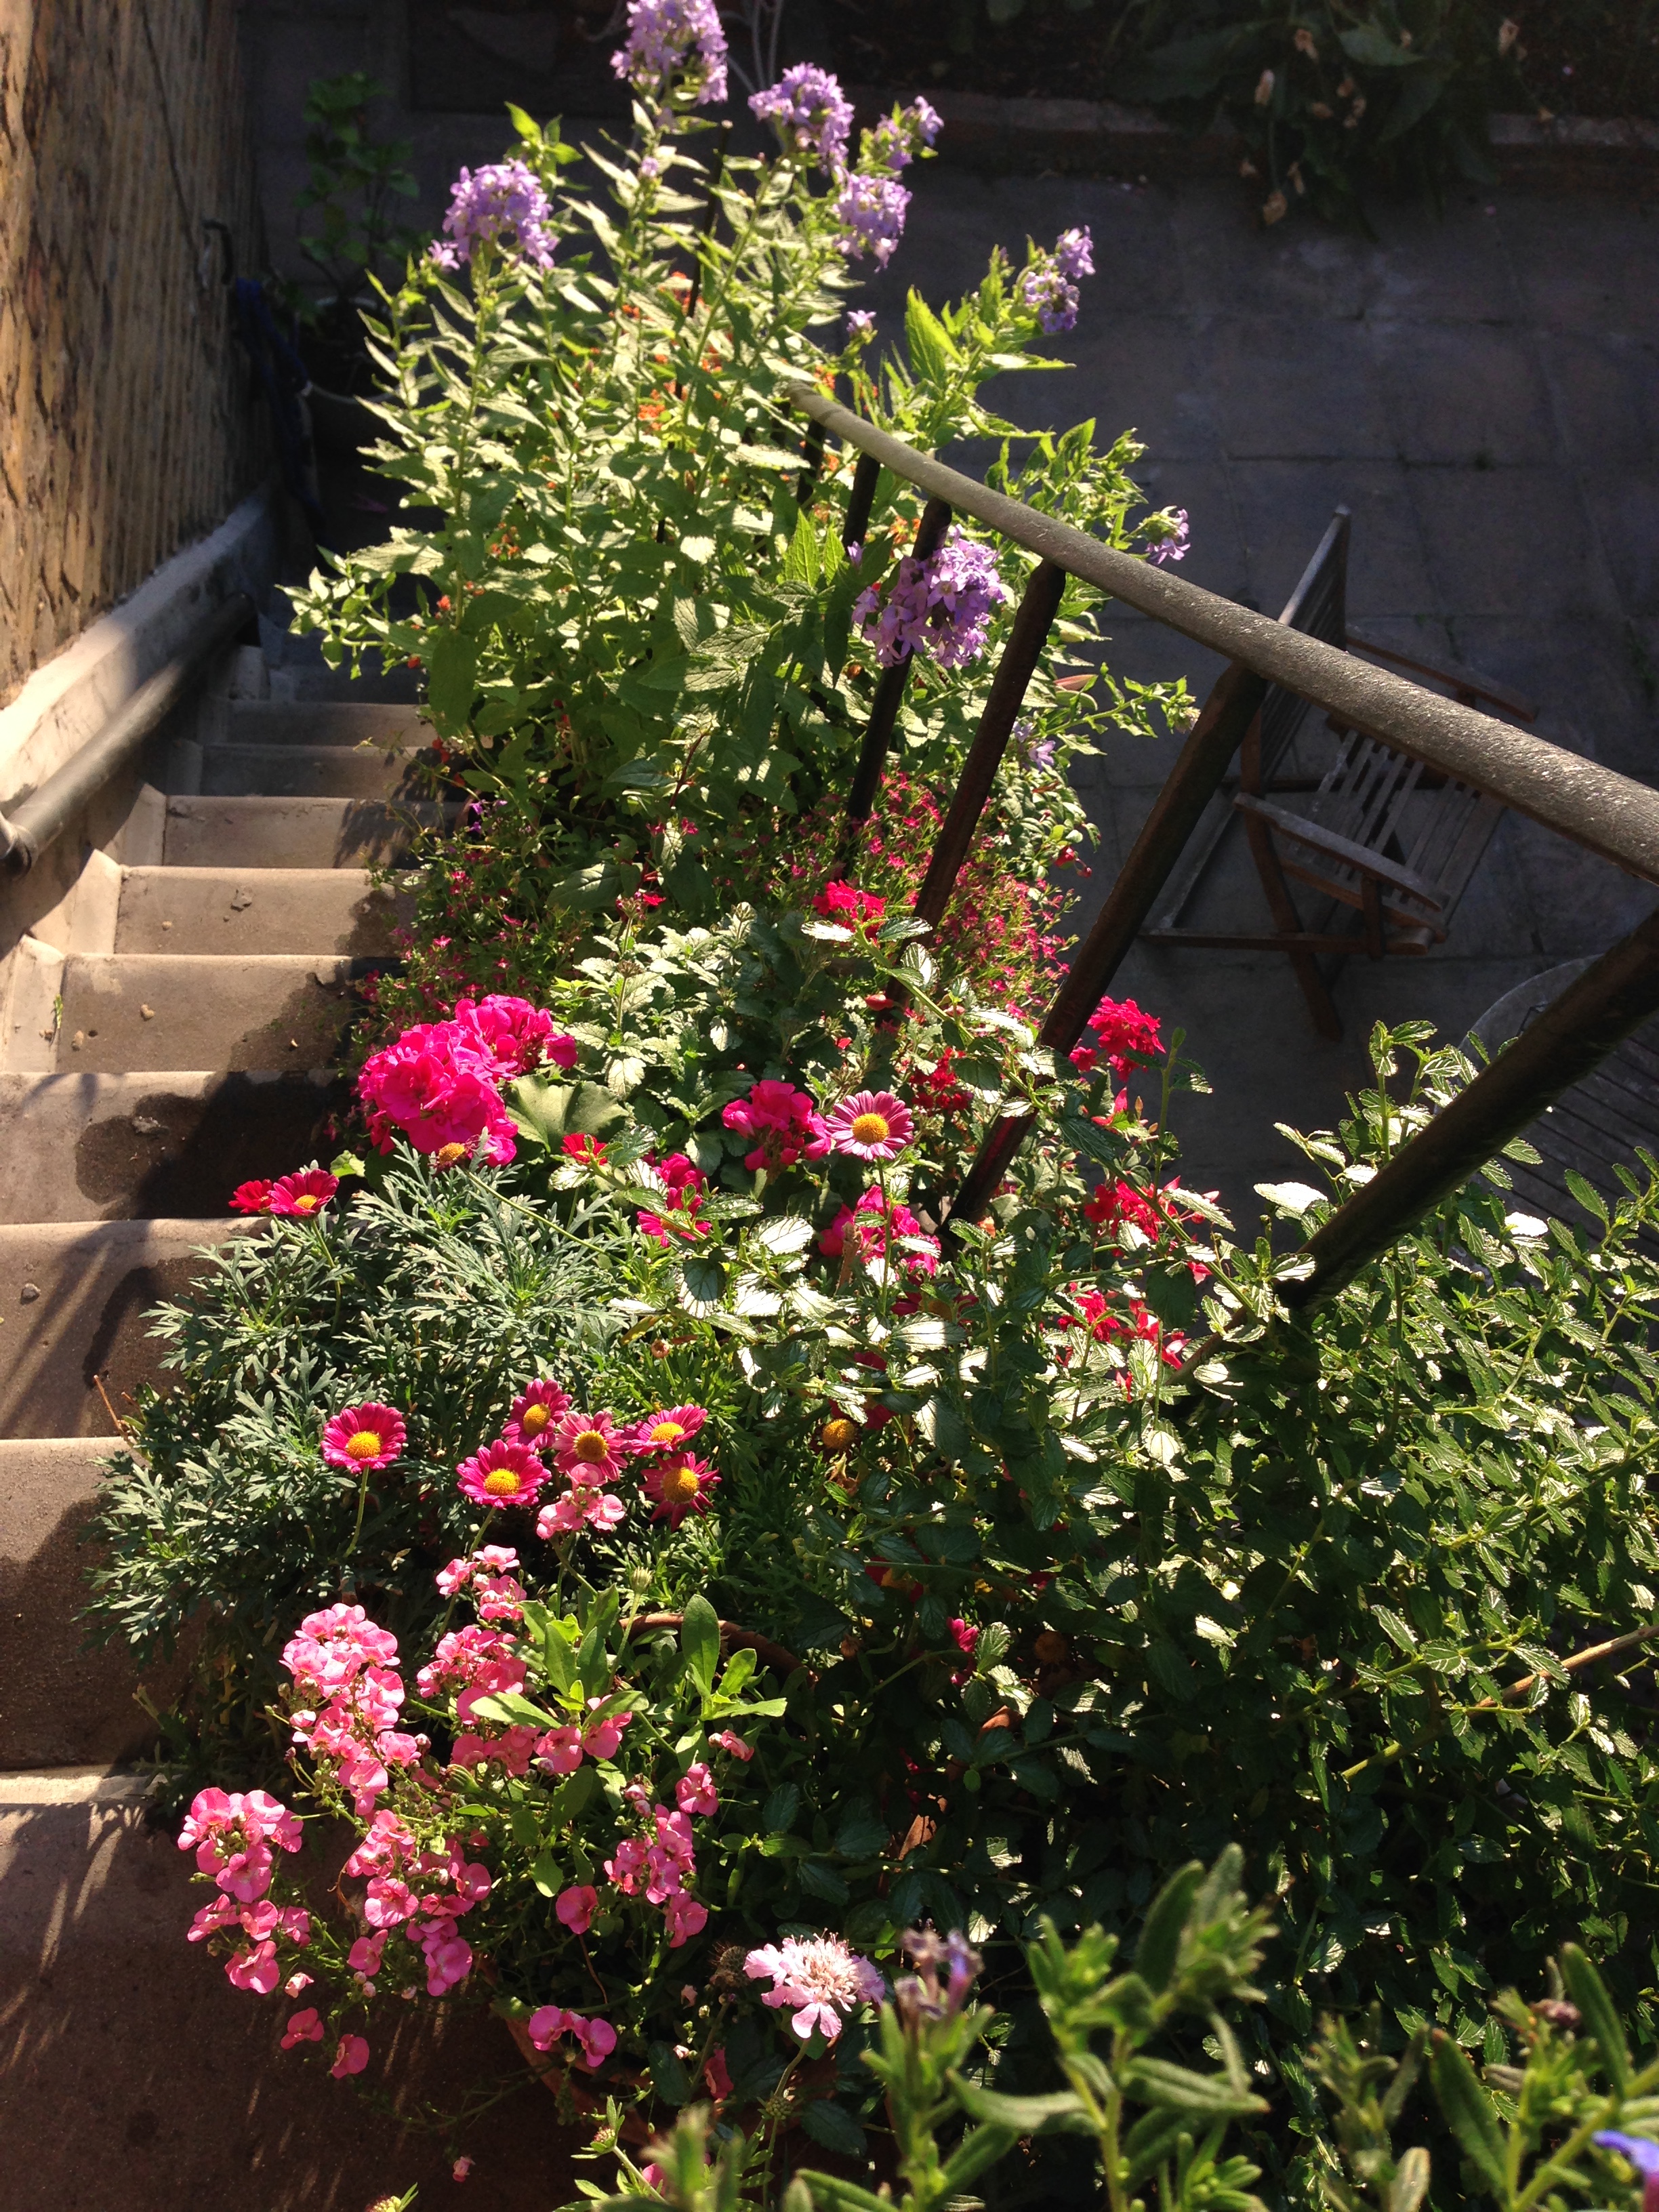
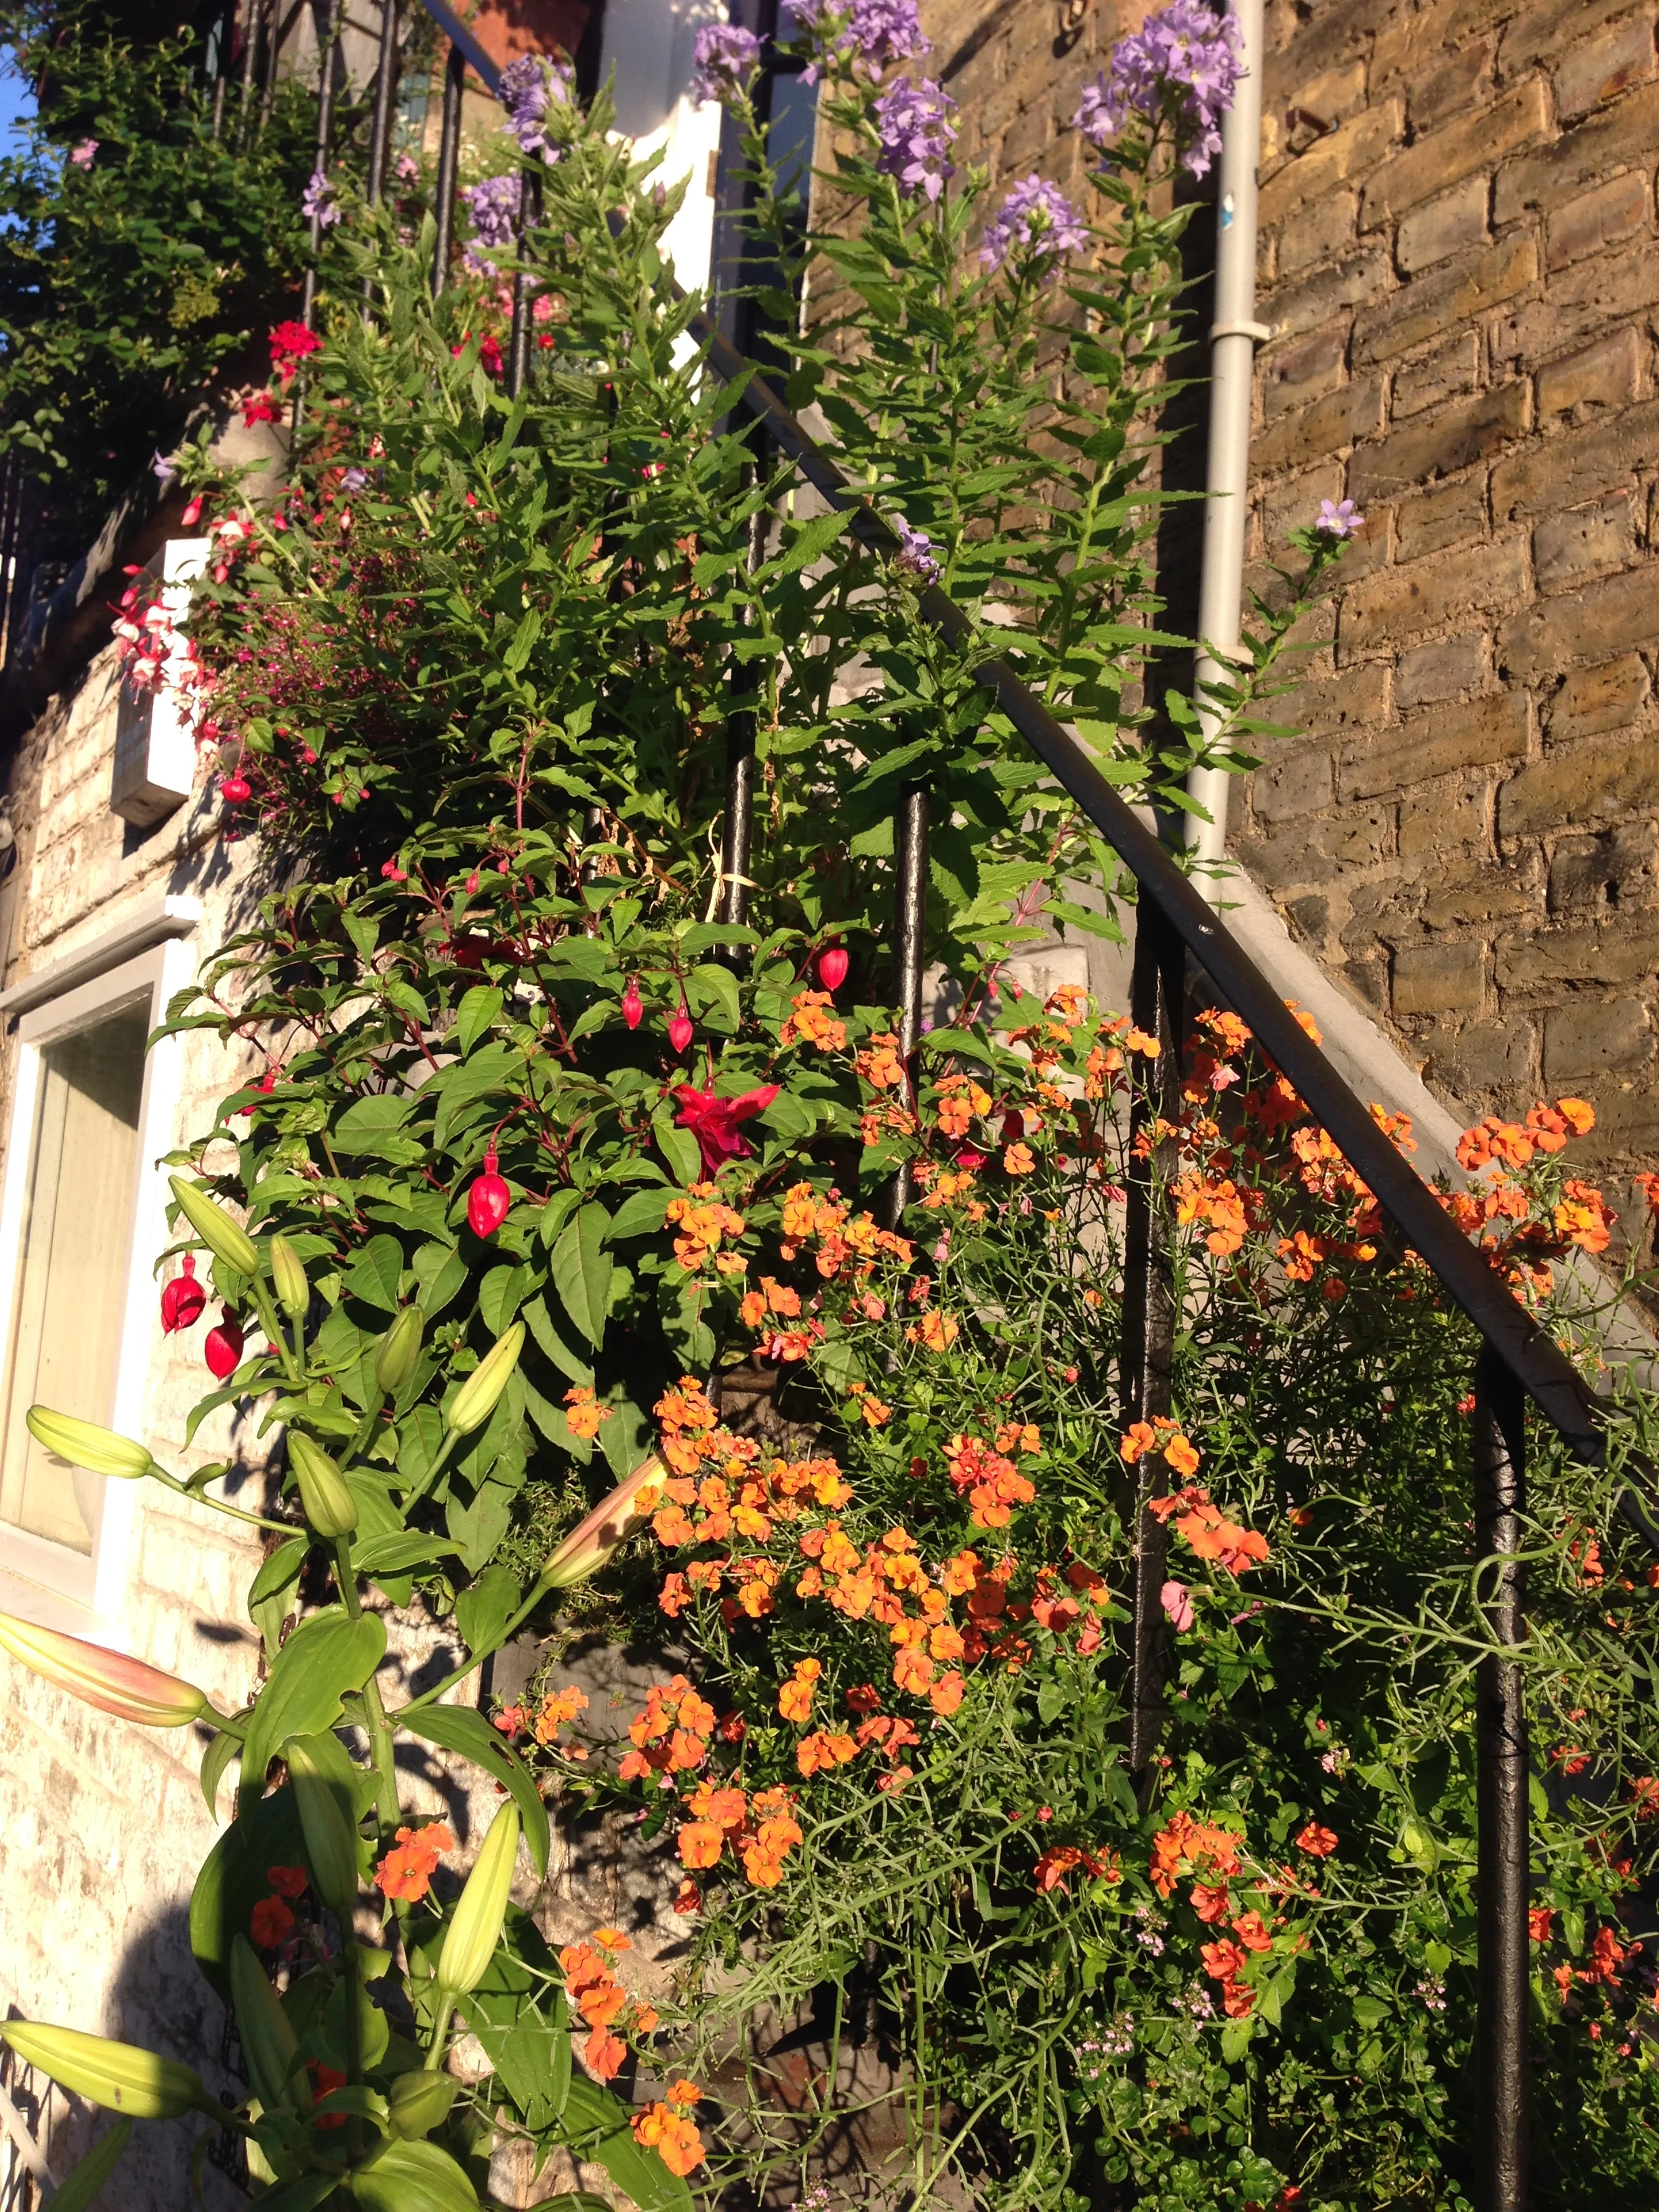
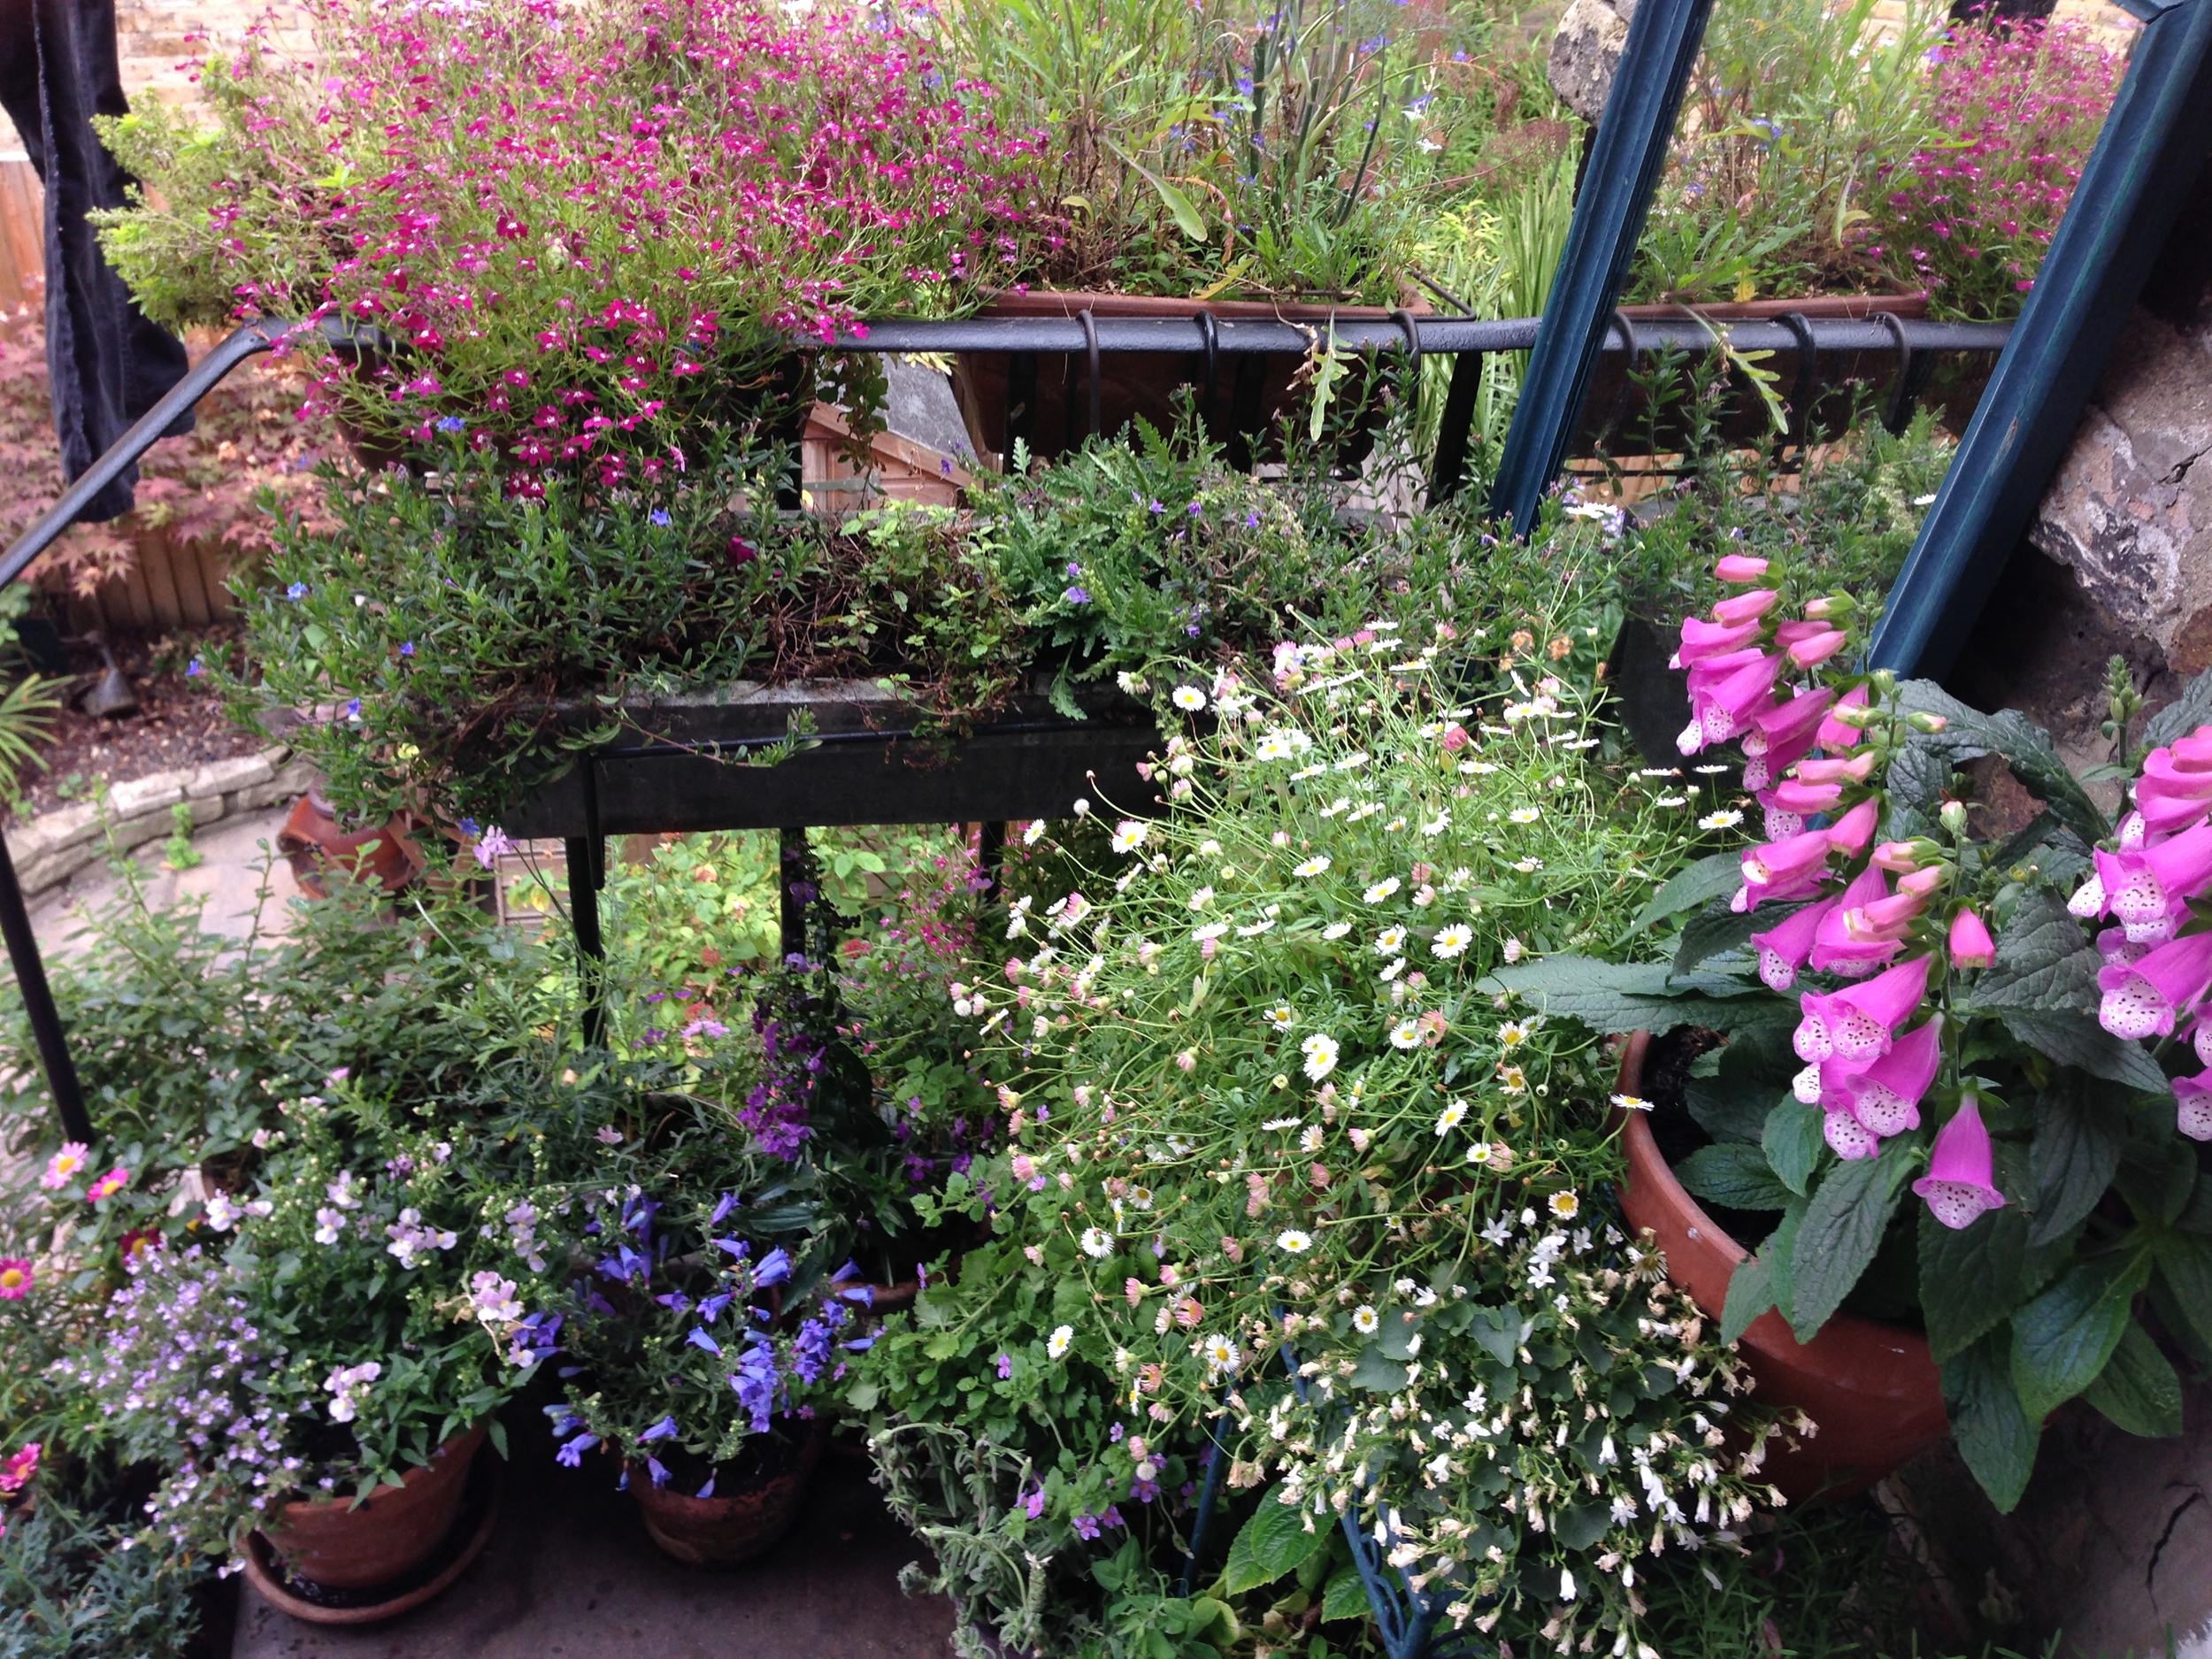
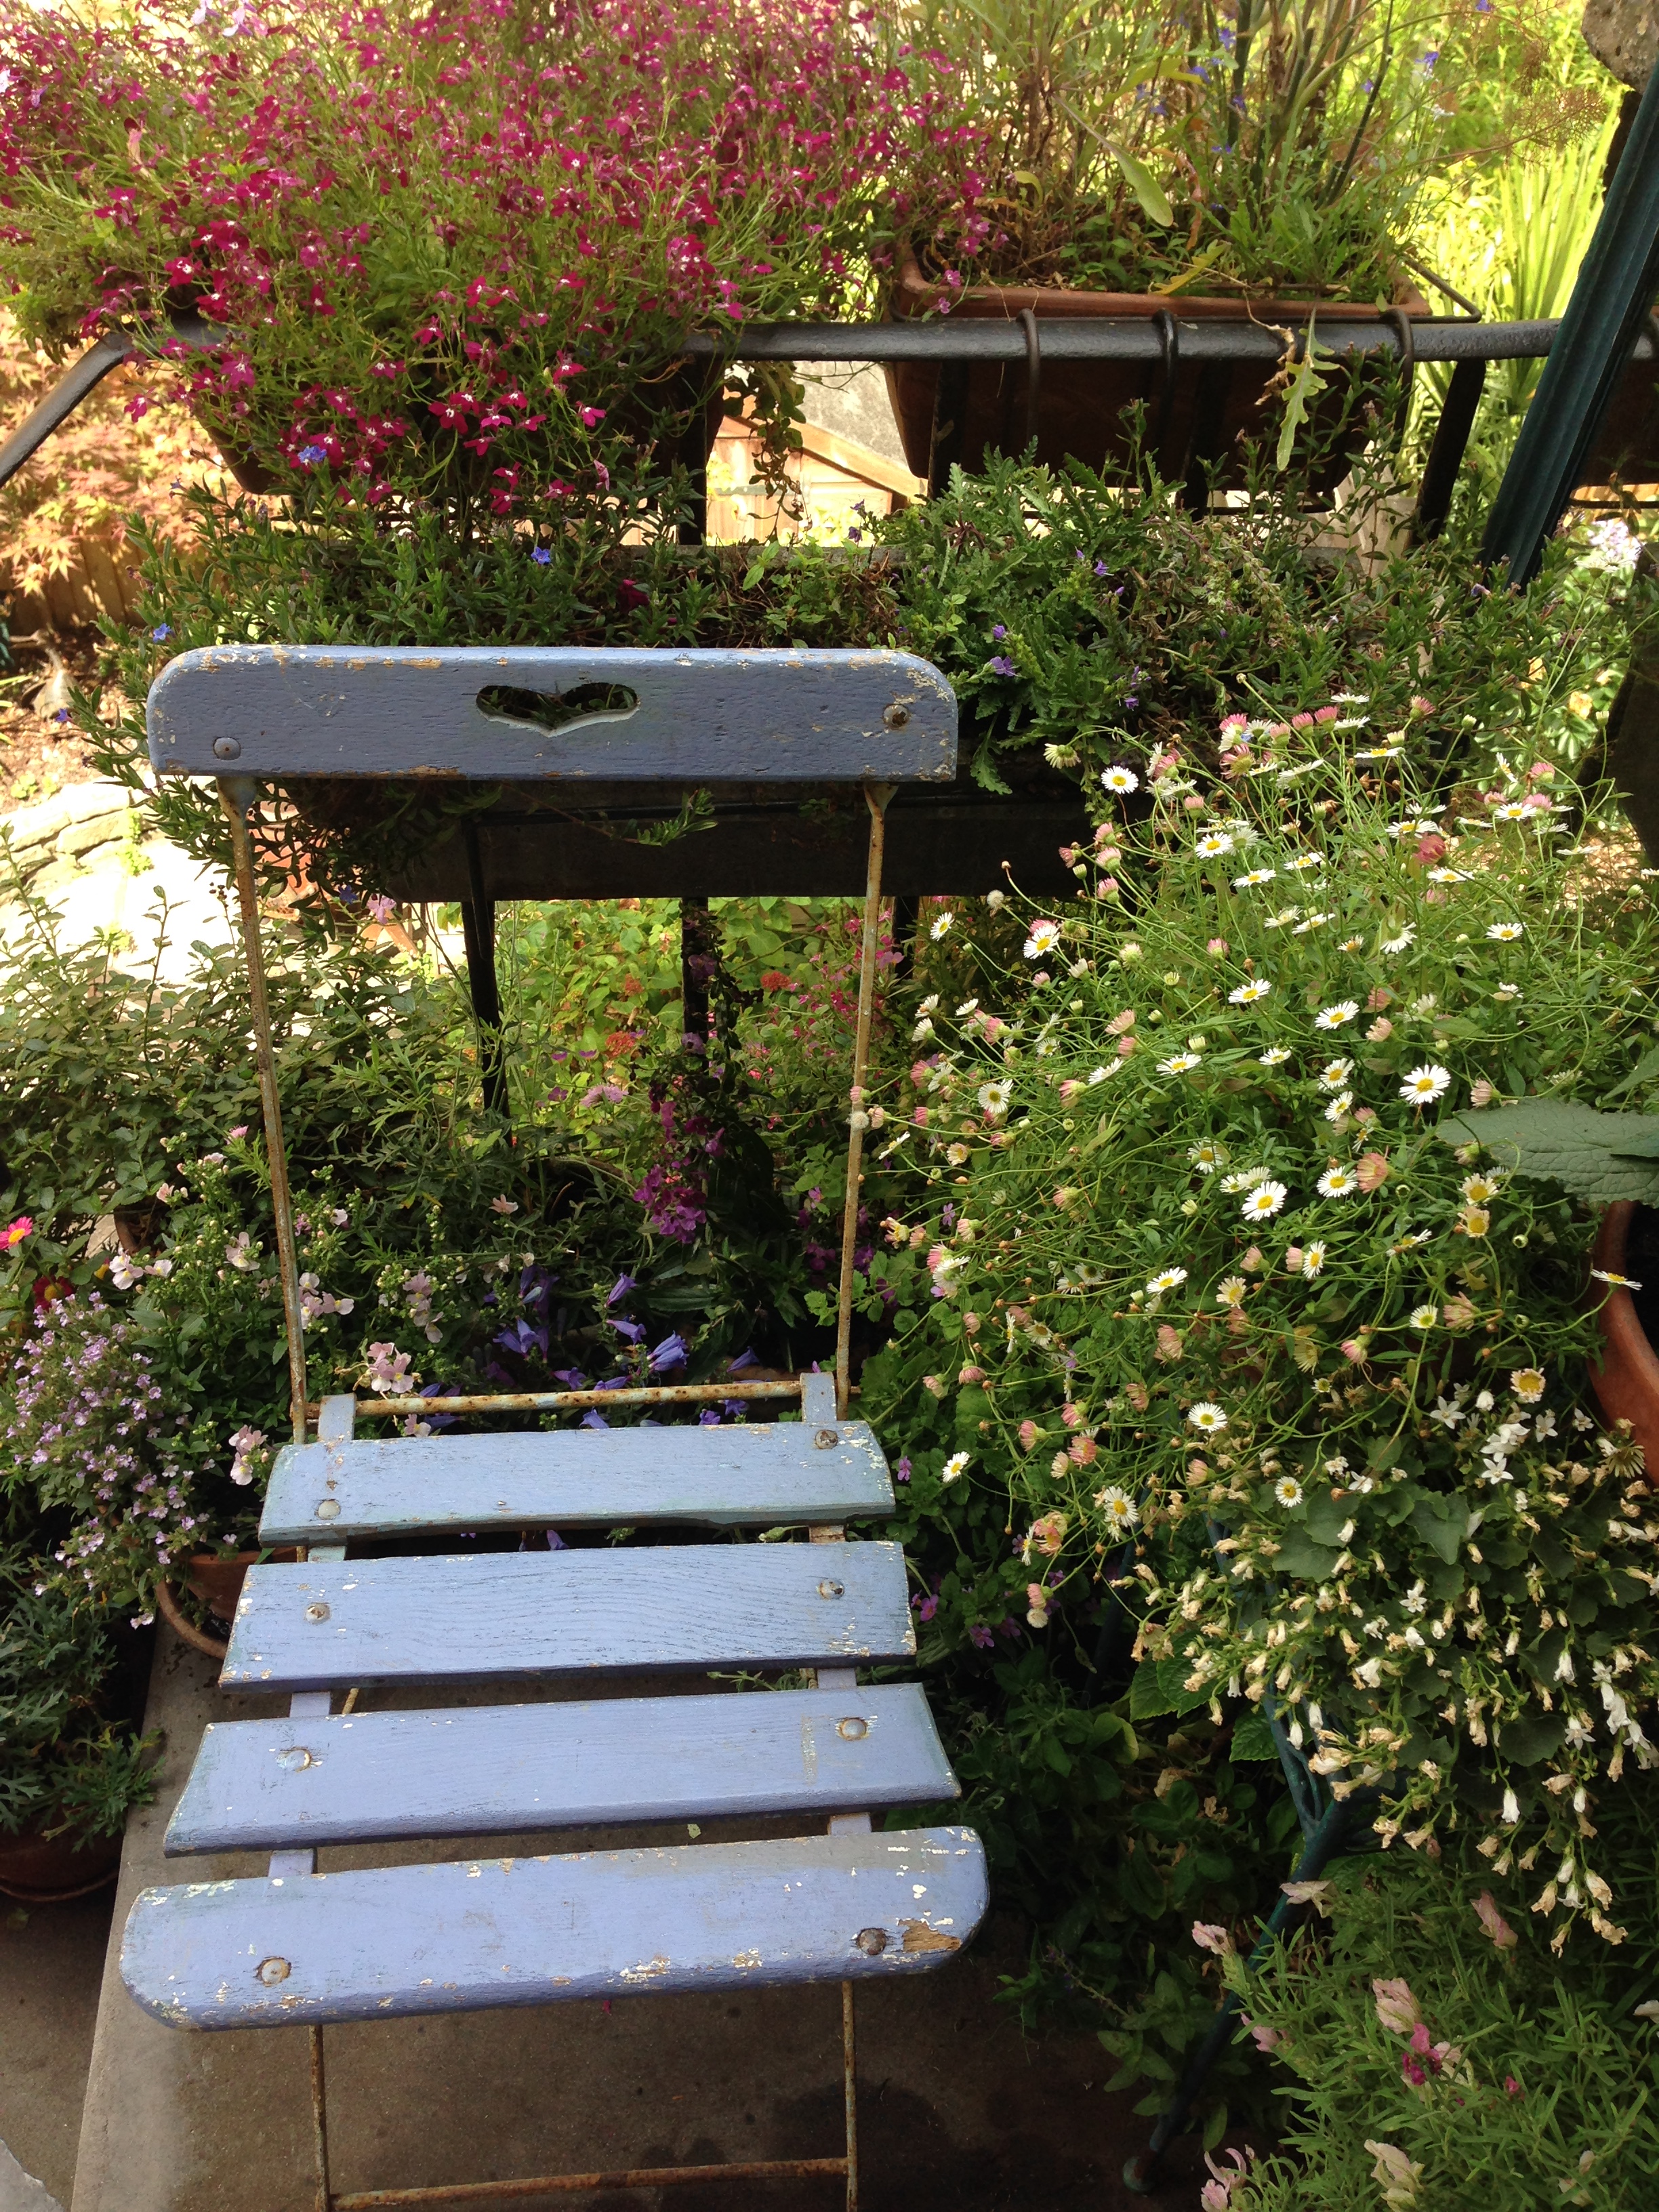
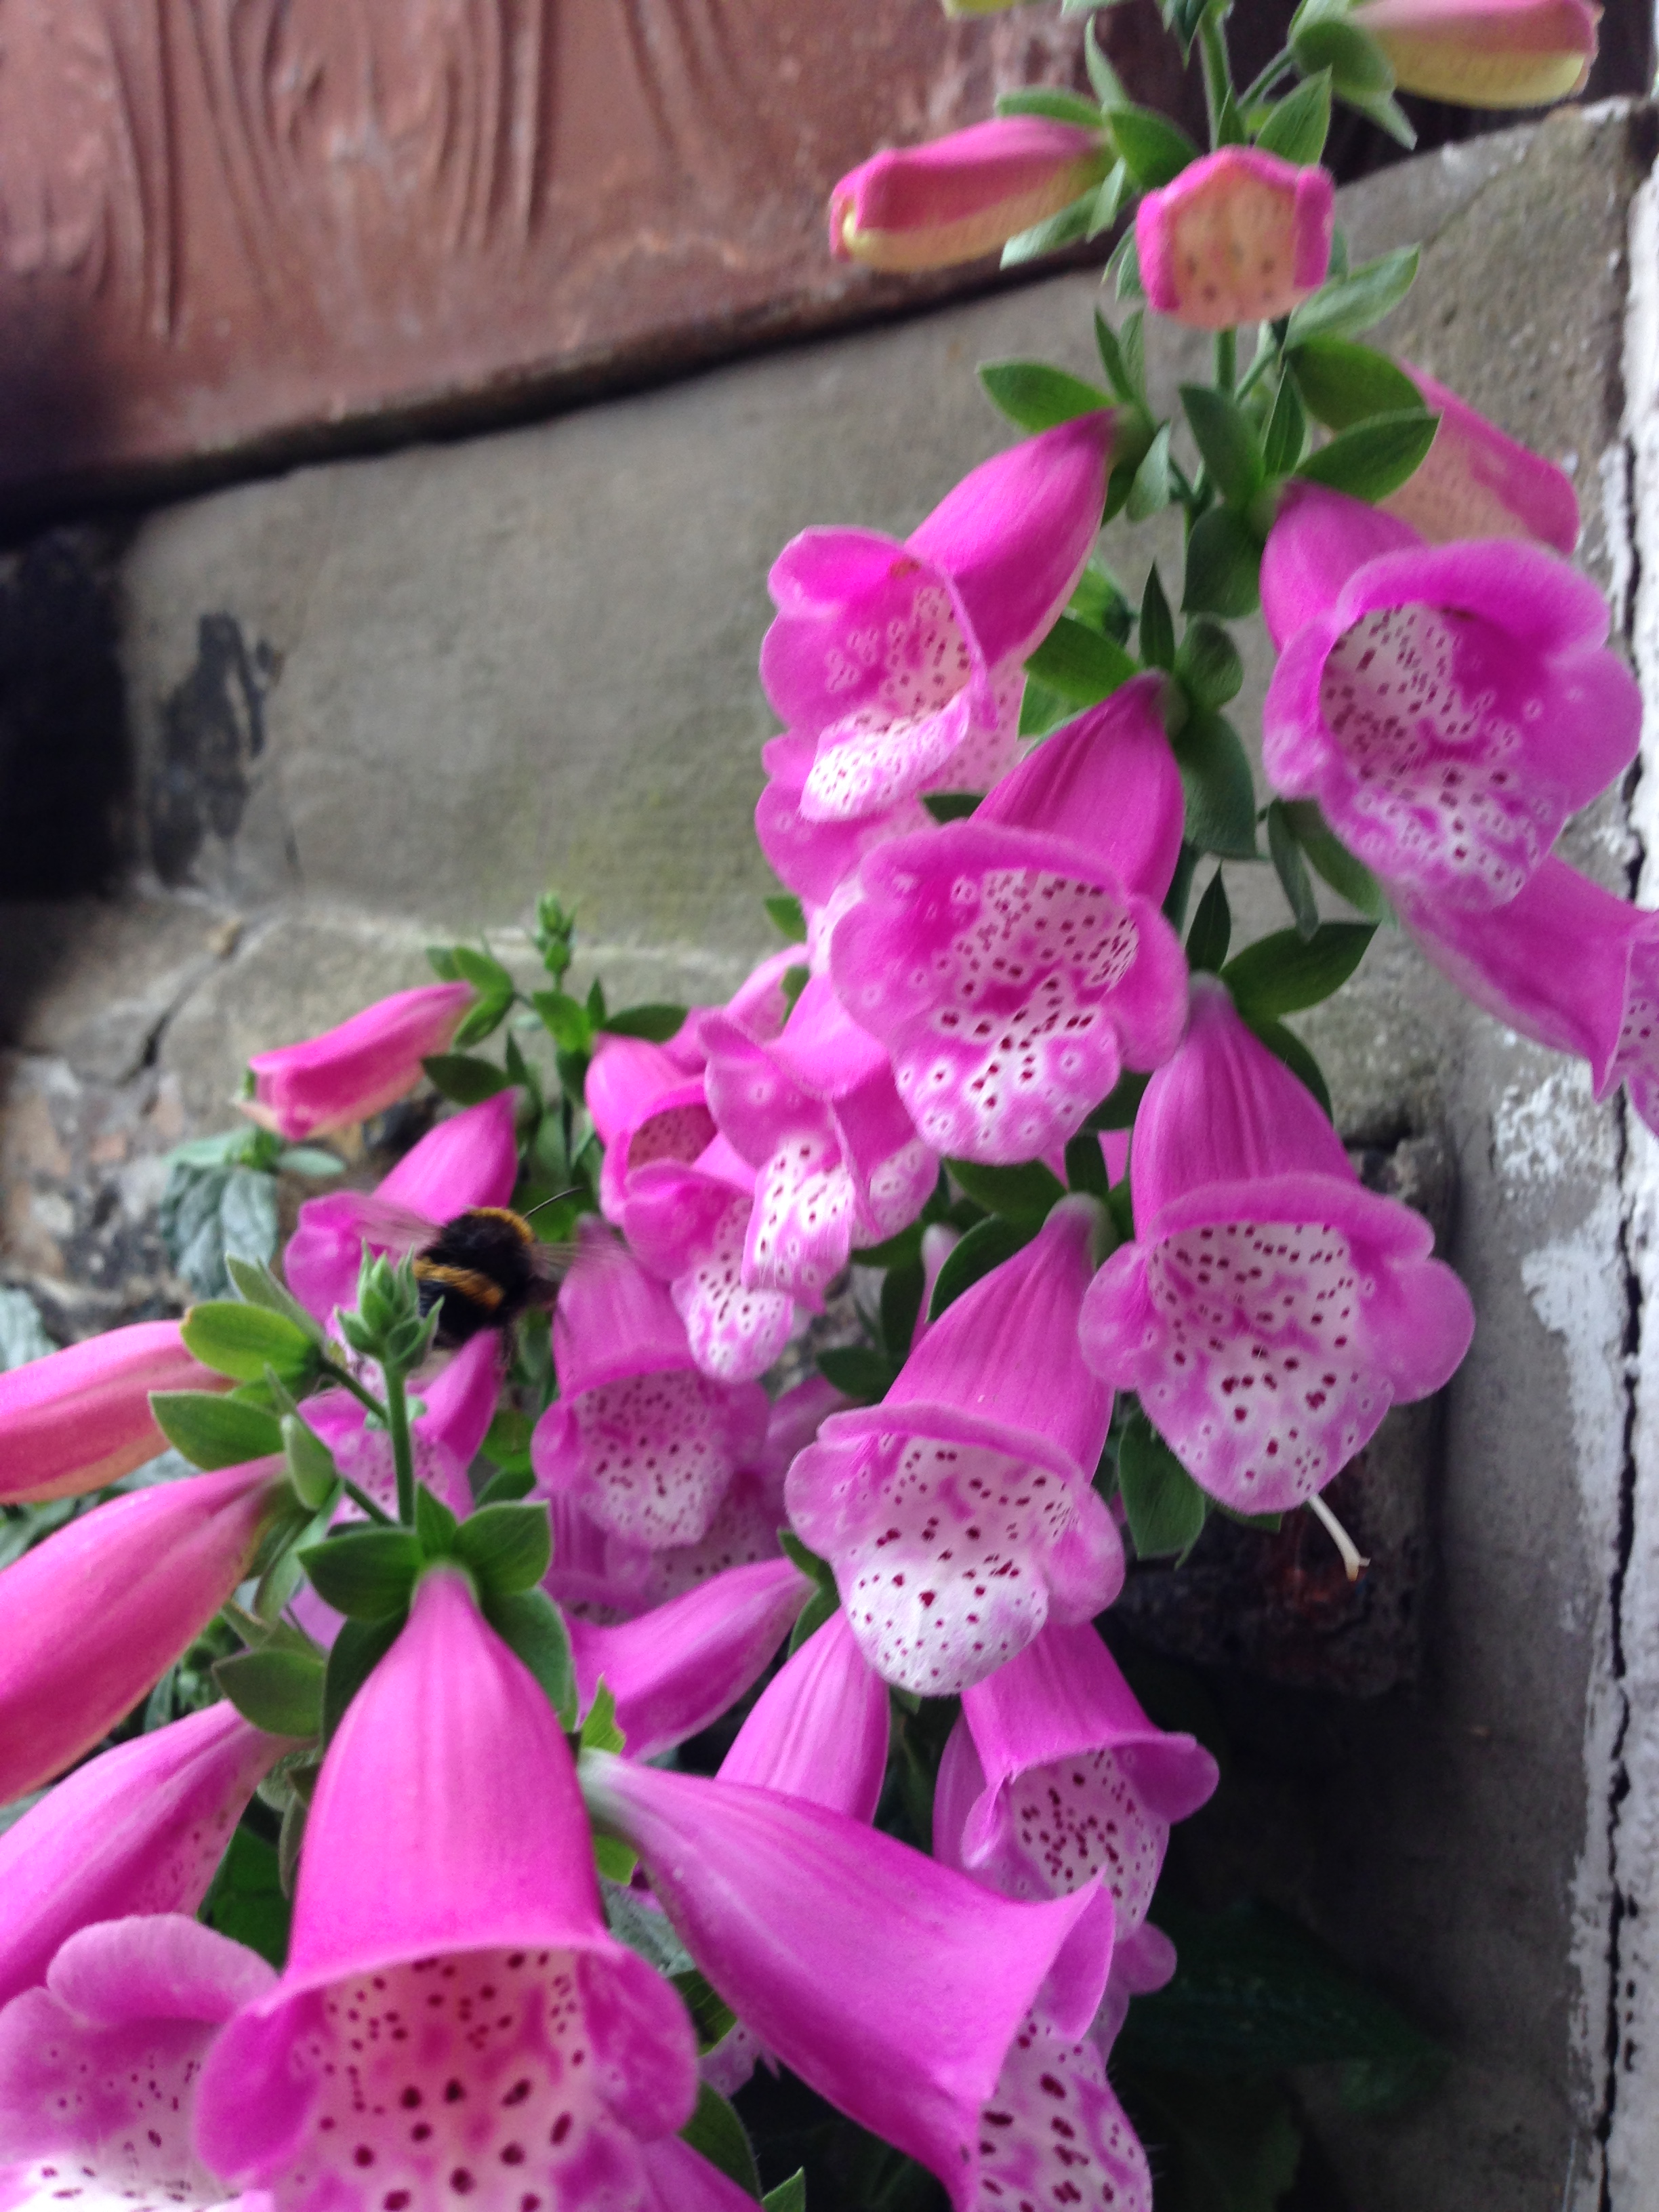
9. Do it on a budget - it doesn't have to cost you a lot of money to style your home with plants and flowers. If you buy carefully and look after your flowers you can create multiple containers of beautiful flowers, some large and some very small, that will last you several weeks (or even longer). Here are some that I have in my home currently, both inside and outside.


I hope these tips will help you to enjoy buying flowers for your home. If you have any questions or comments please don't hesitate to contact me. I'm always happy to help!
You may also like to read


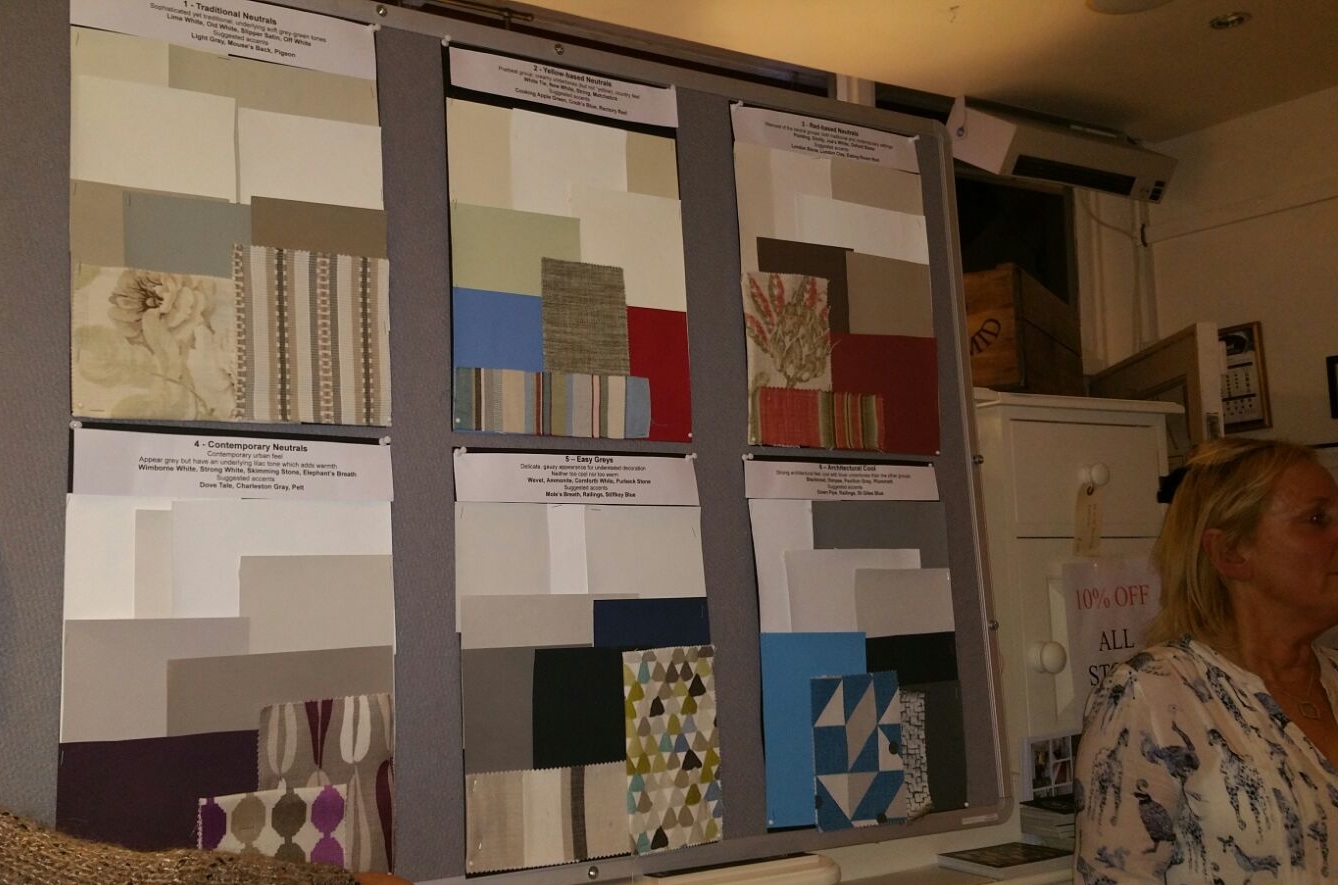
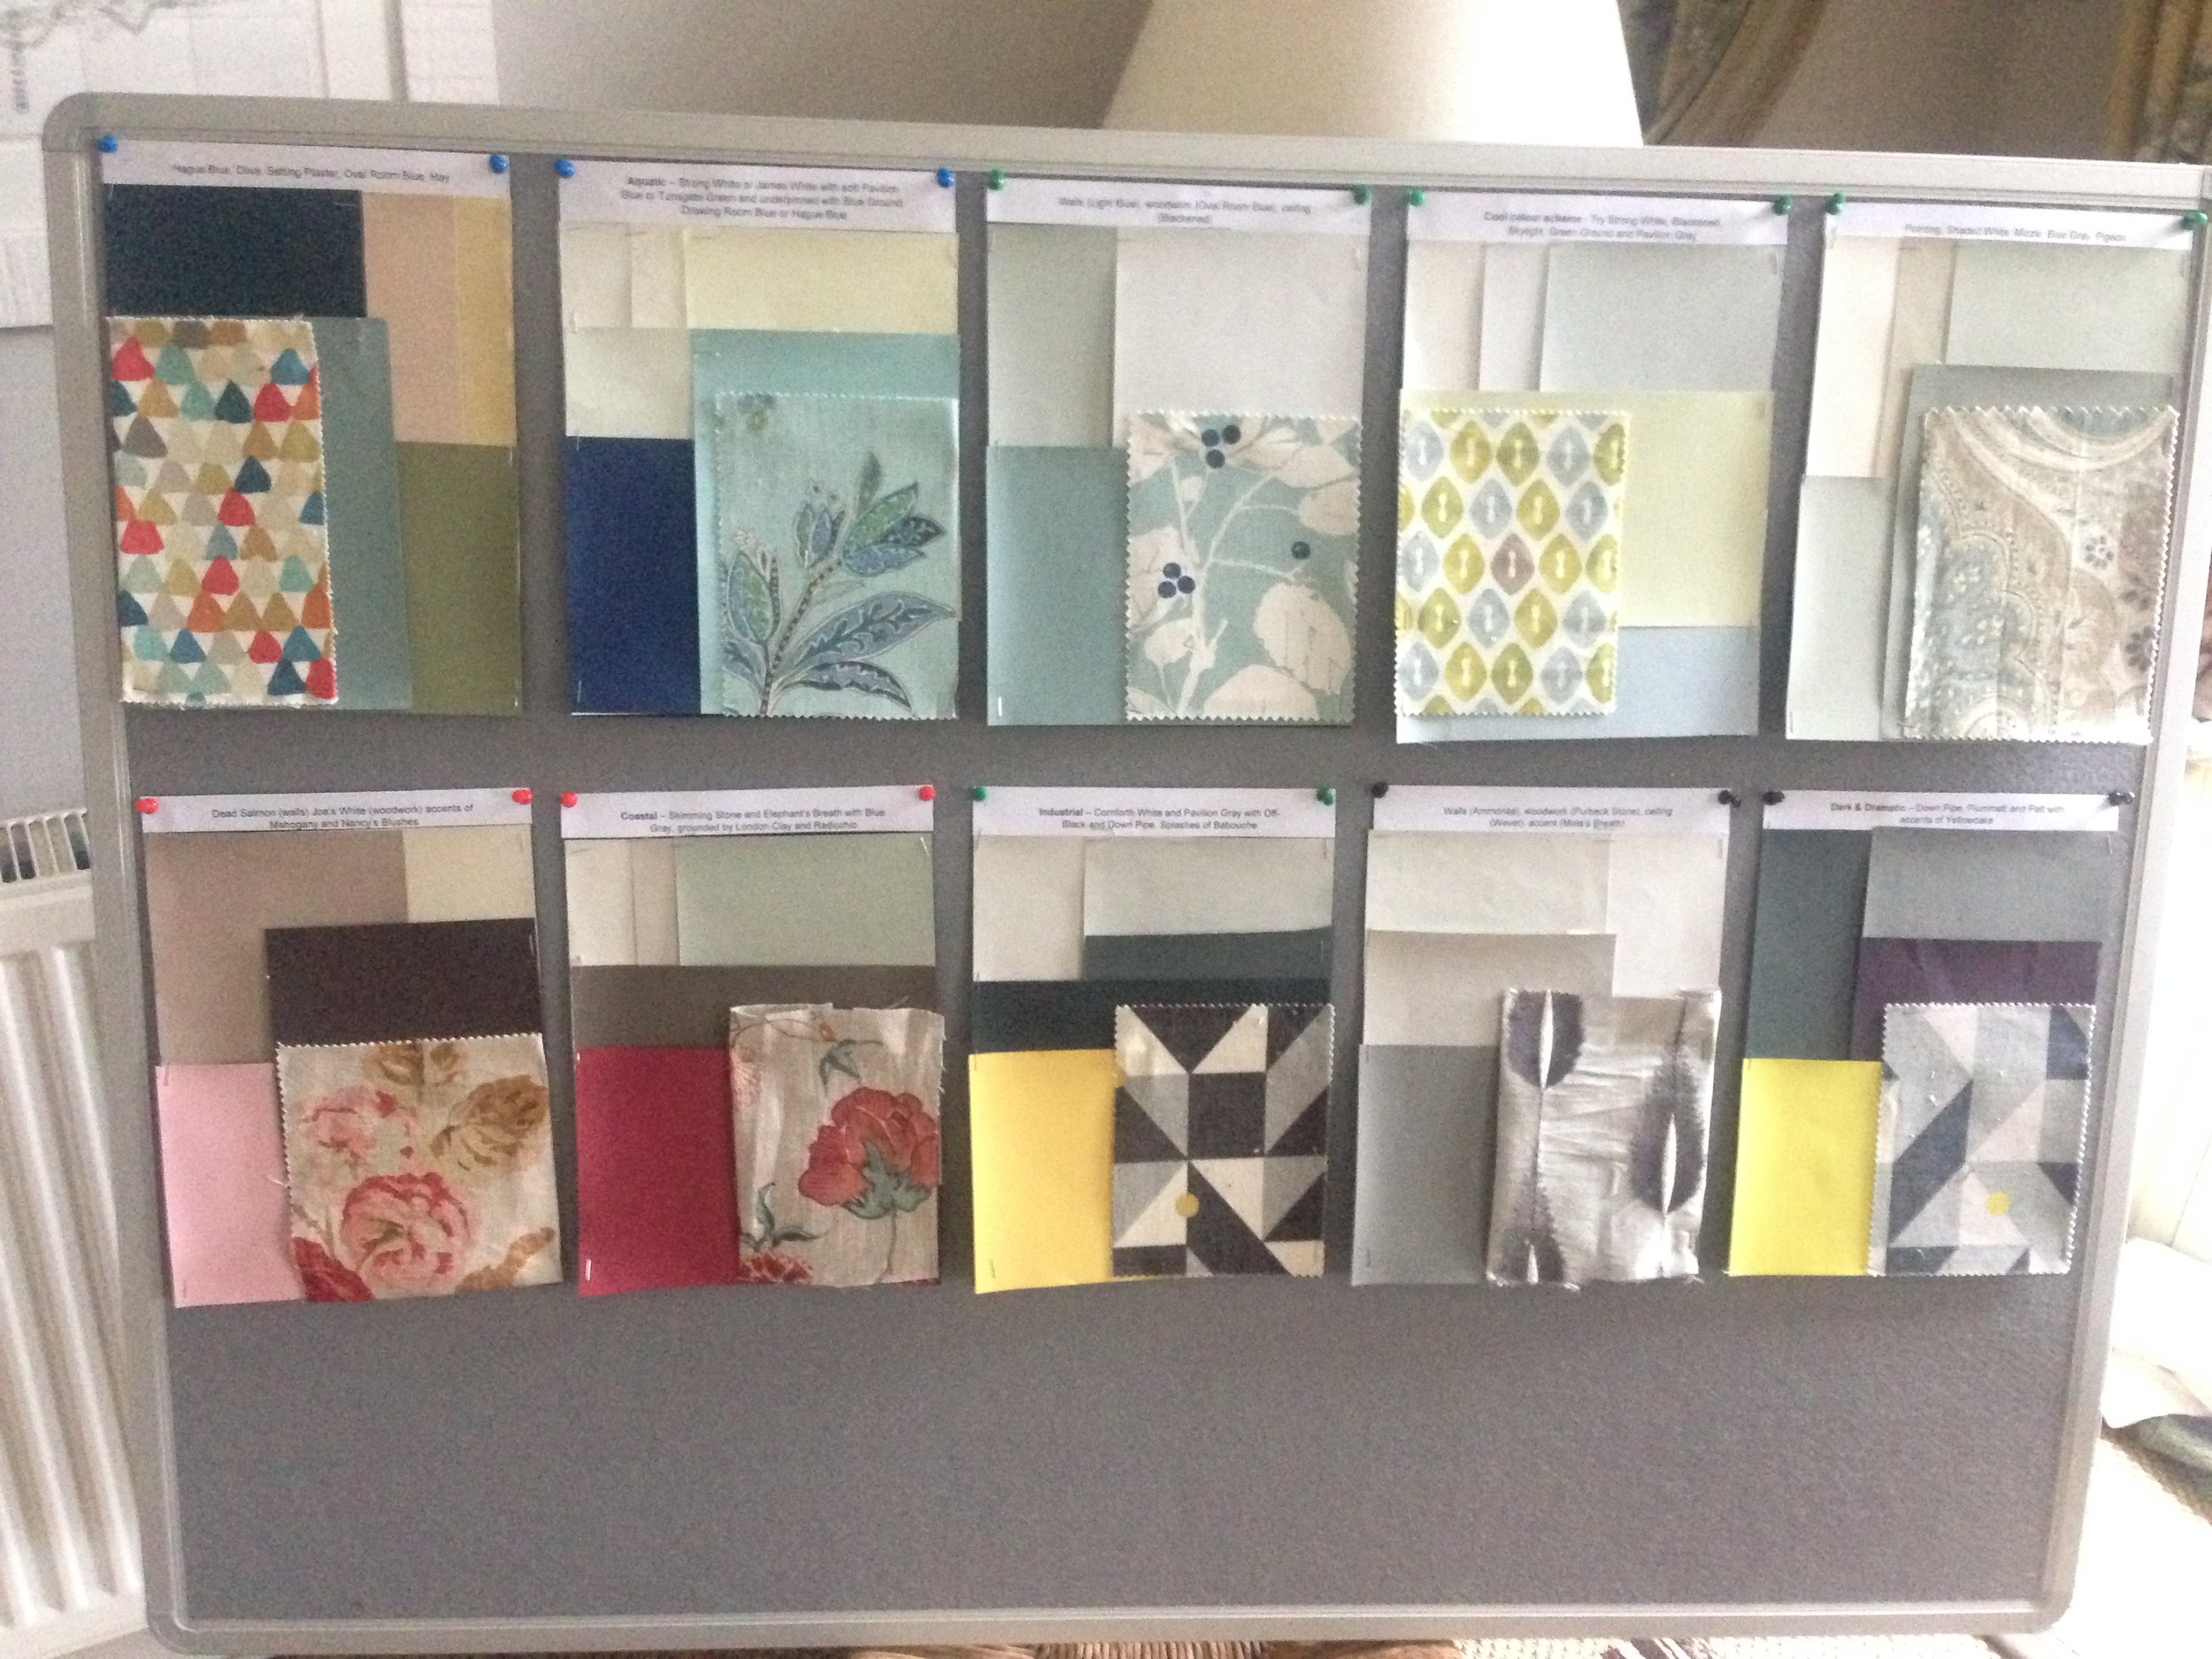


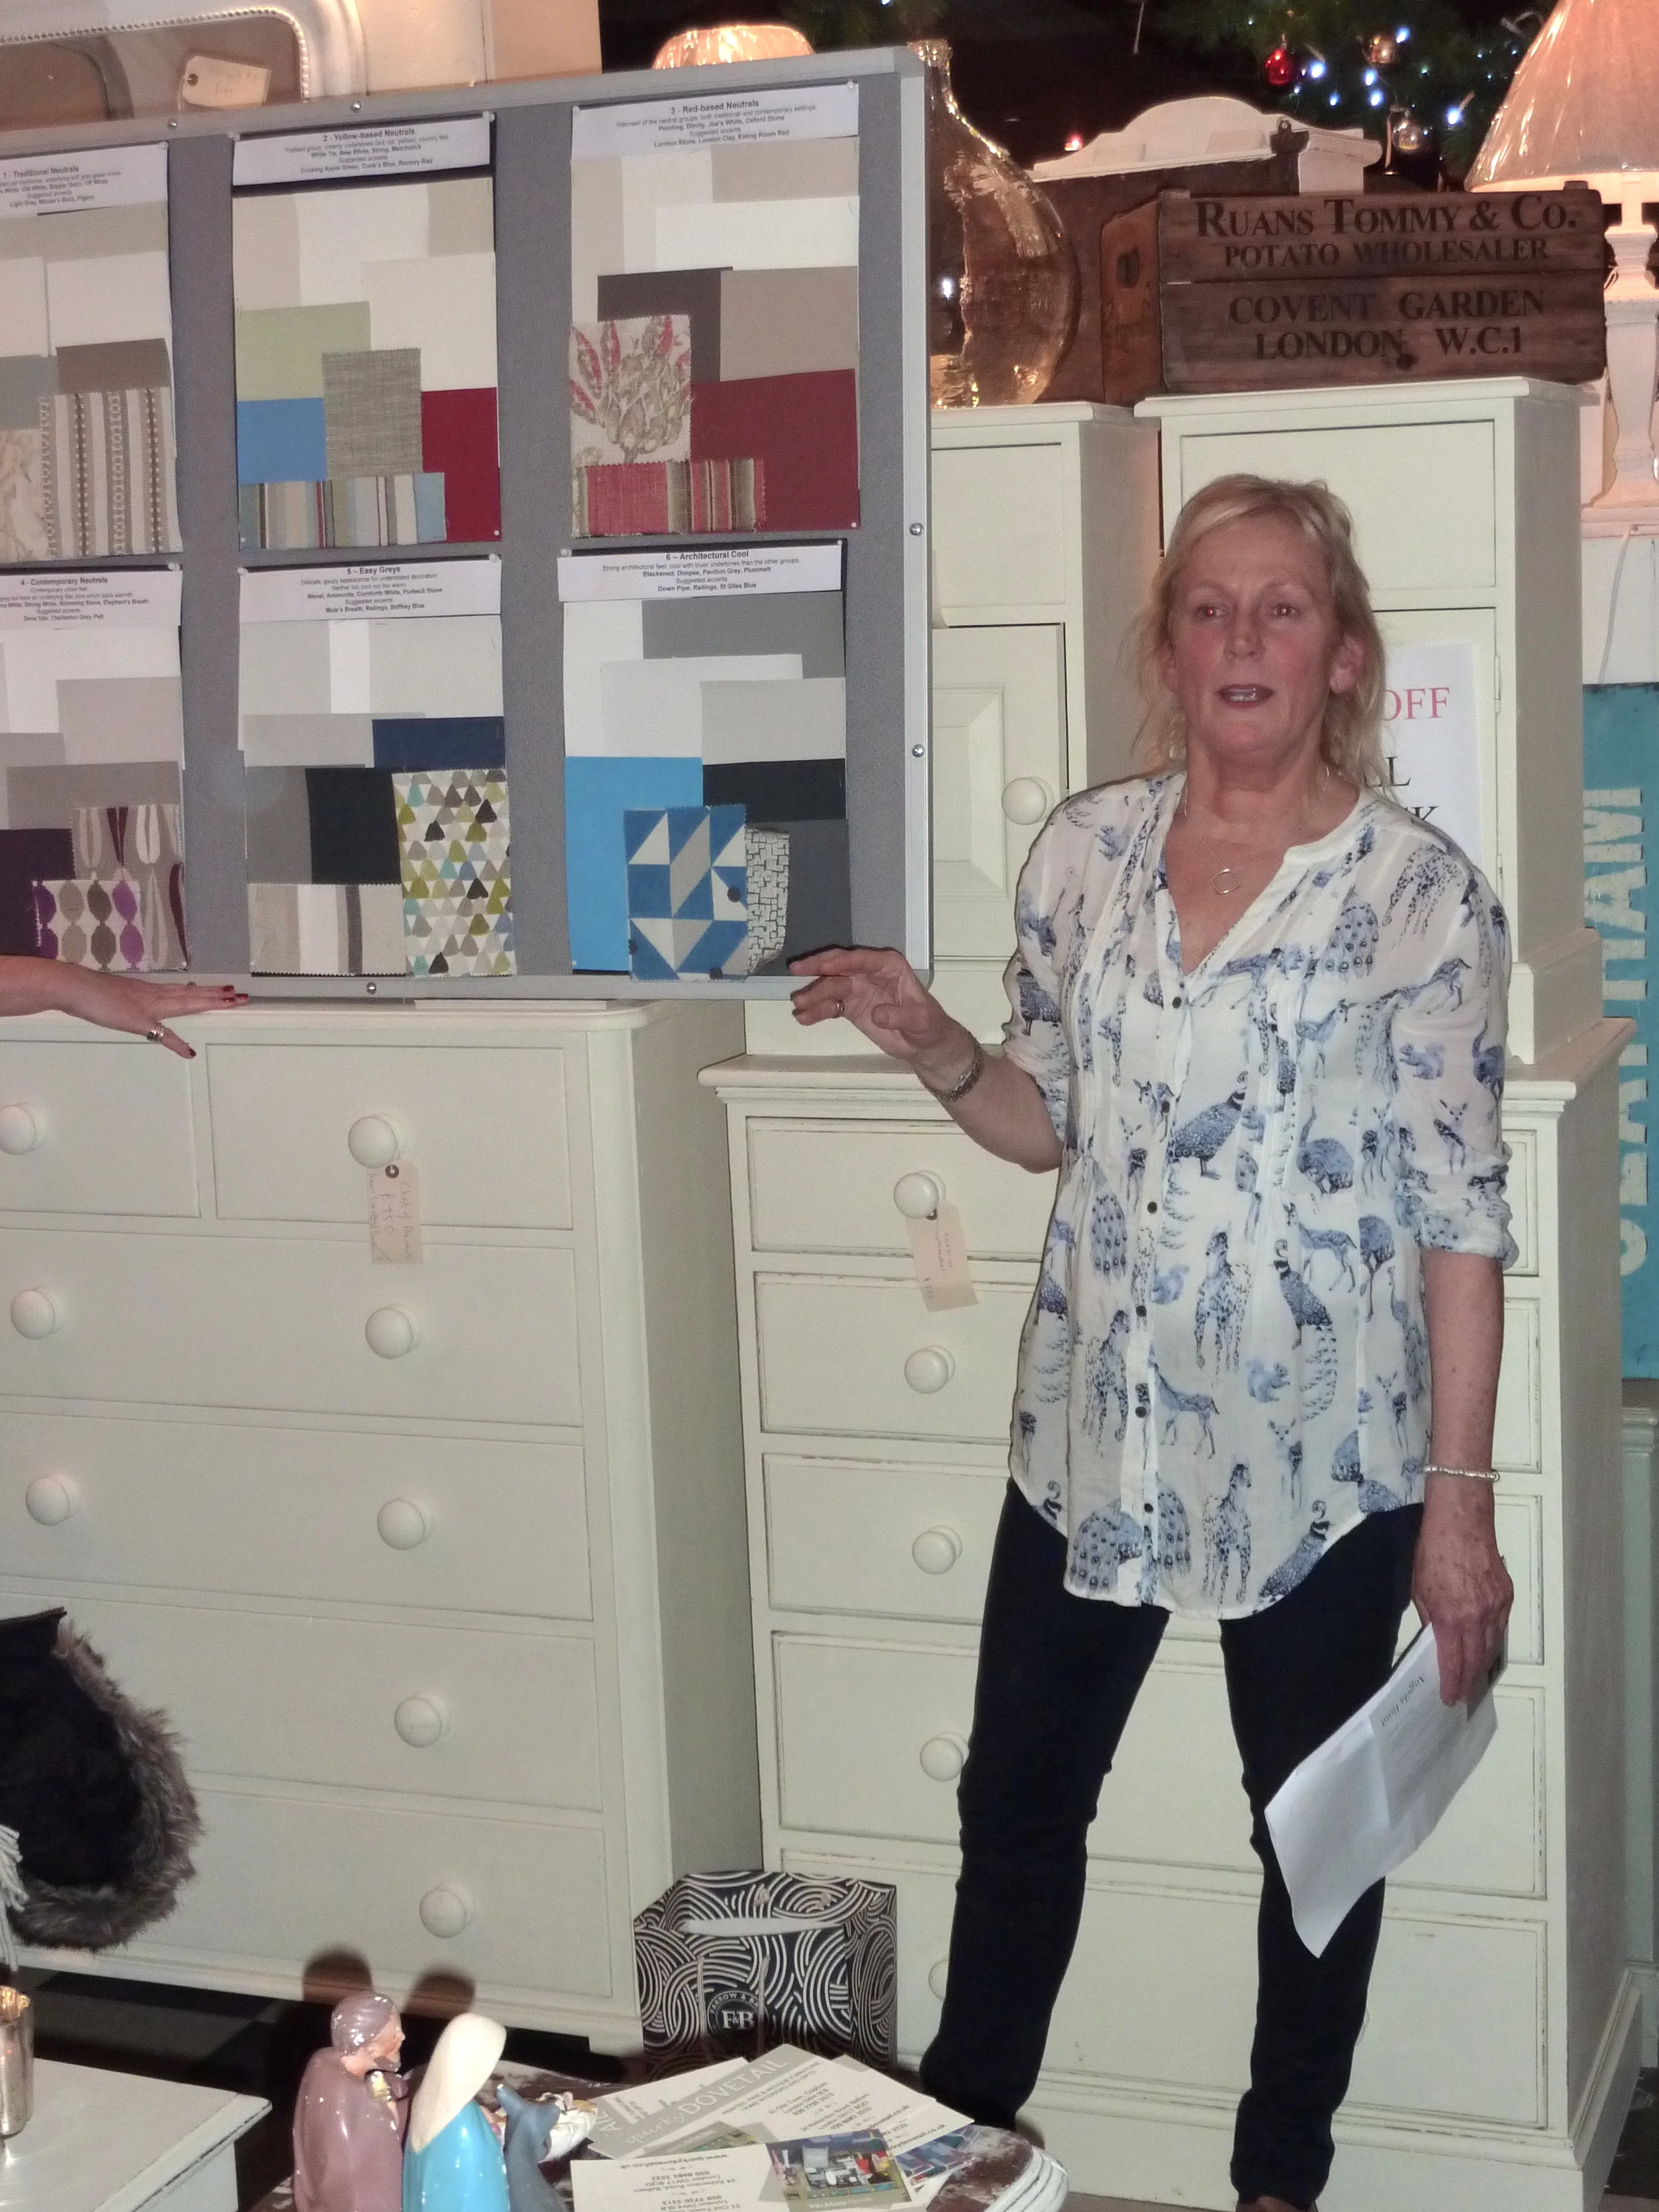


From where to start, how to choose a brand and a colour, through to adding little pops of colour to a grey-themed room, here are my tips on how to lighten up.